Flashlight: Optic Blast!
And Ode to Cyclops
You wouldn’t believe it, but Marvel’s Cyclops is actually pretty cool. While everyone gushes over Wolverine, I’ve always been more of a champion of Cyclops. So I’m a bit miffed the internet is filled with articles like:
15 Reasons Why Cyclops Is Everyone’s Least Favorite X-Man
Anyway, I’ve been wanting to build a project centered around Cyclop’s Optic Blast for some time now. Here it is, finally:
“Vintage” Flashlight
I suppose the standard flashlight is quite vintage now. All the better. I set out to make this project in the form of a large, handheld flashlight with a switch. And because we’re noobs and don’t know how to build cylinders yet, I decided to use a layering technique to build a cylinder the hard way. I used the drill press on larger slabs of wood, especially the top and bottom of the handheld portion. I opted for the laser cutter when I need more exact measures and intricate detail to make space for circuitry and components.
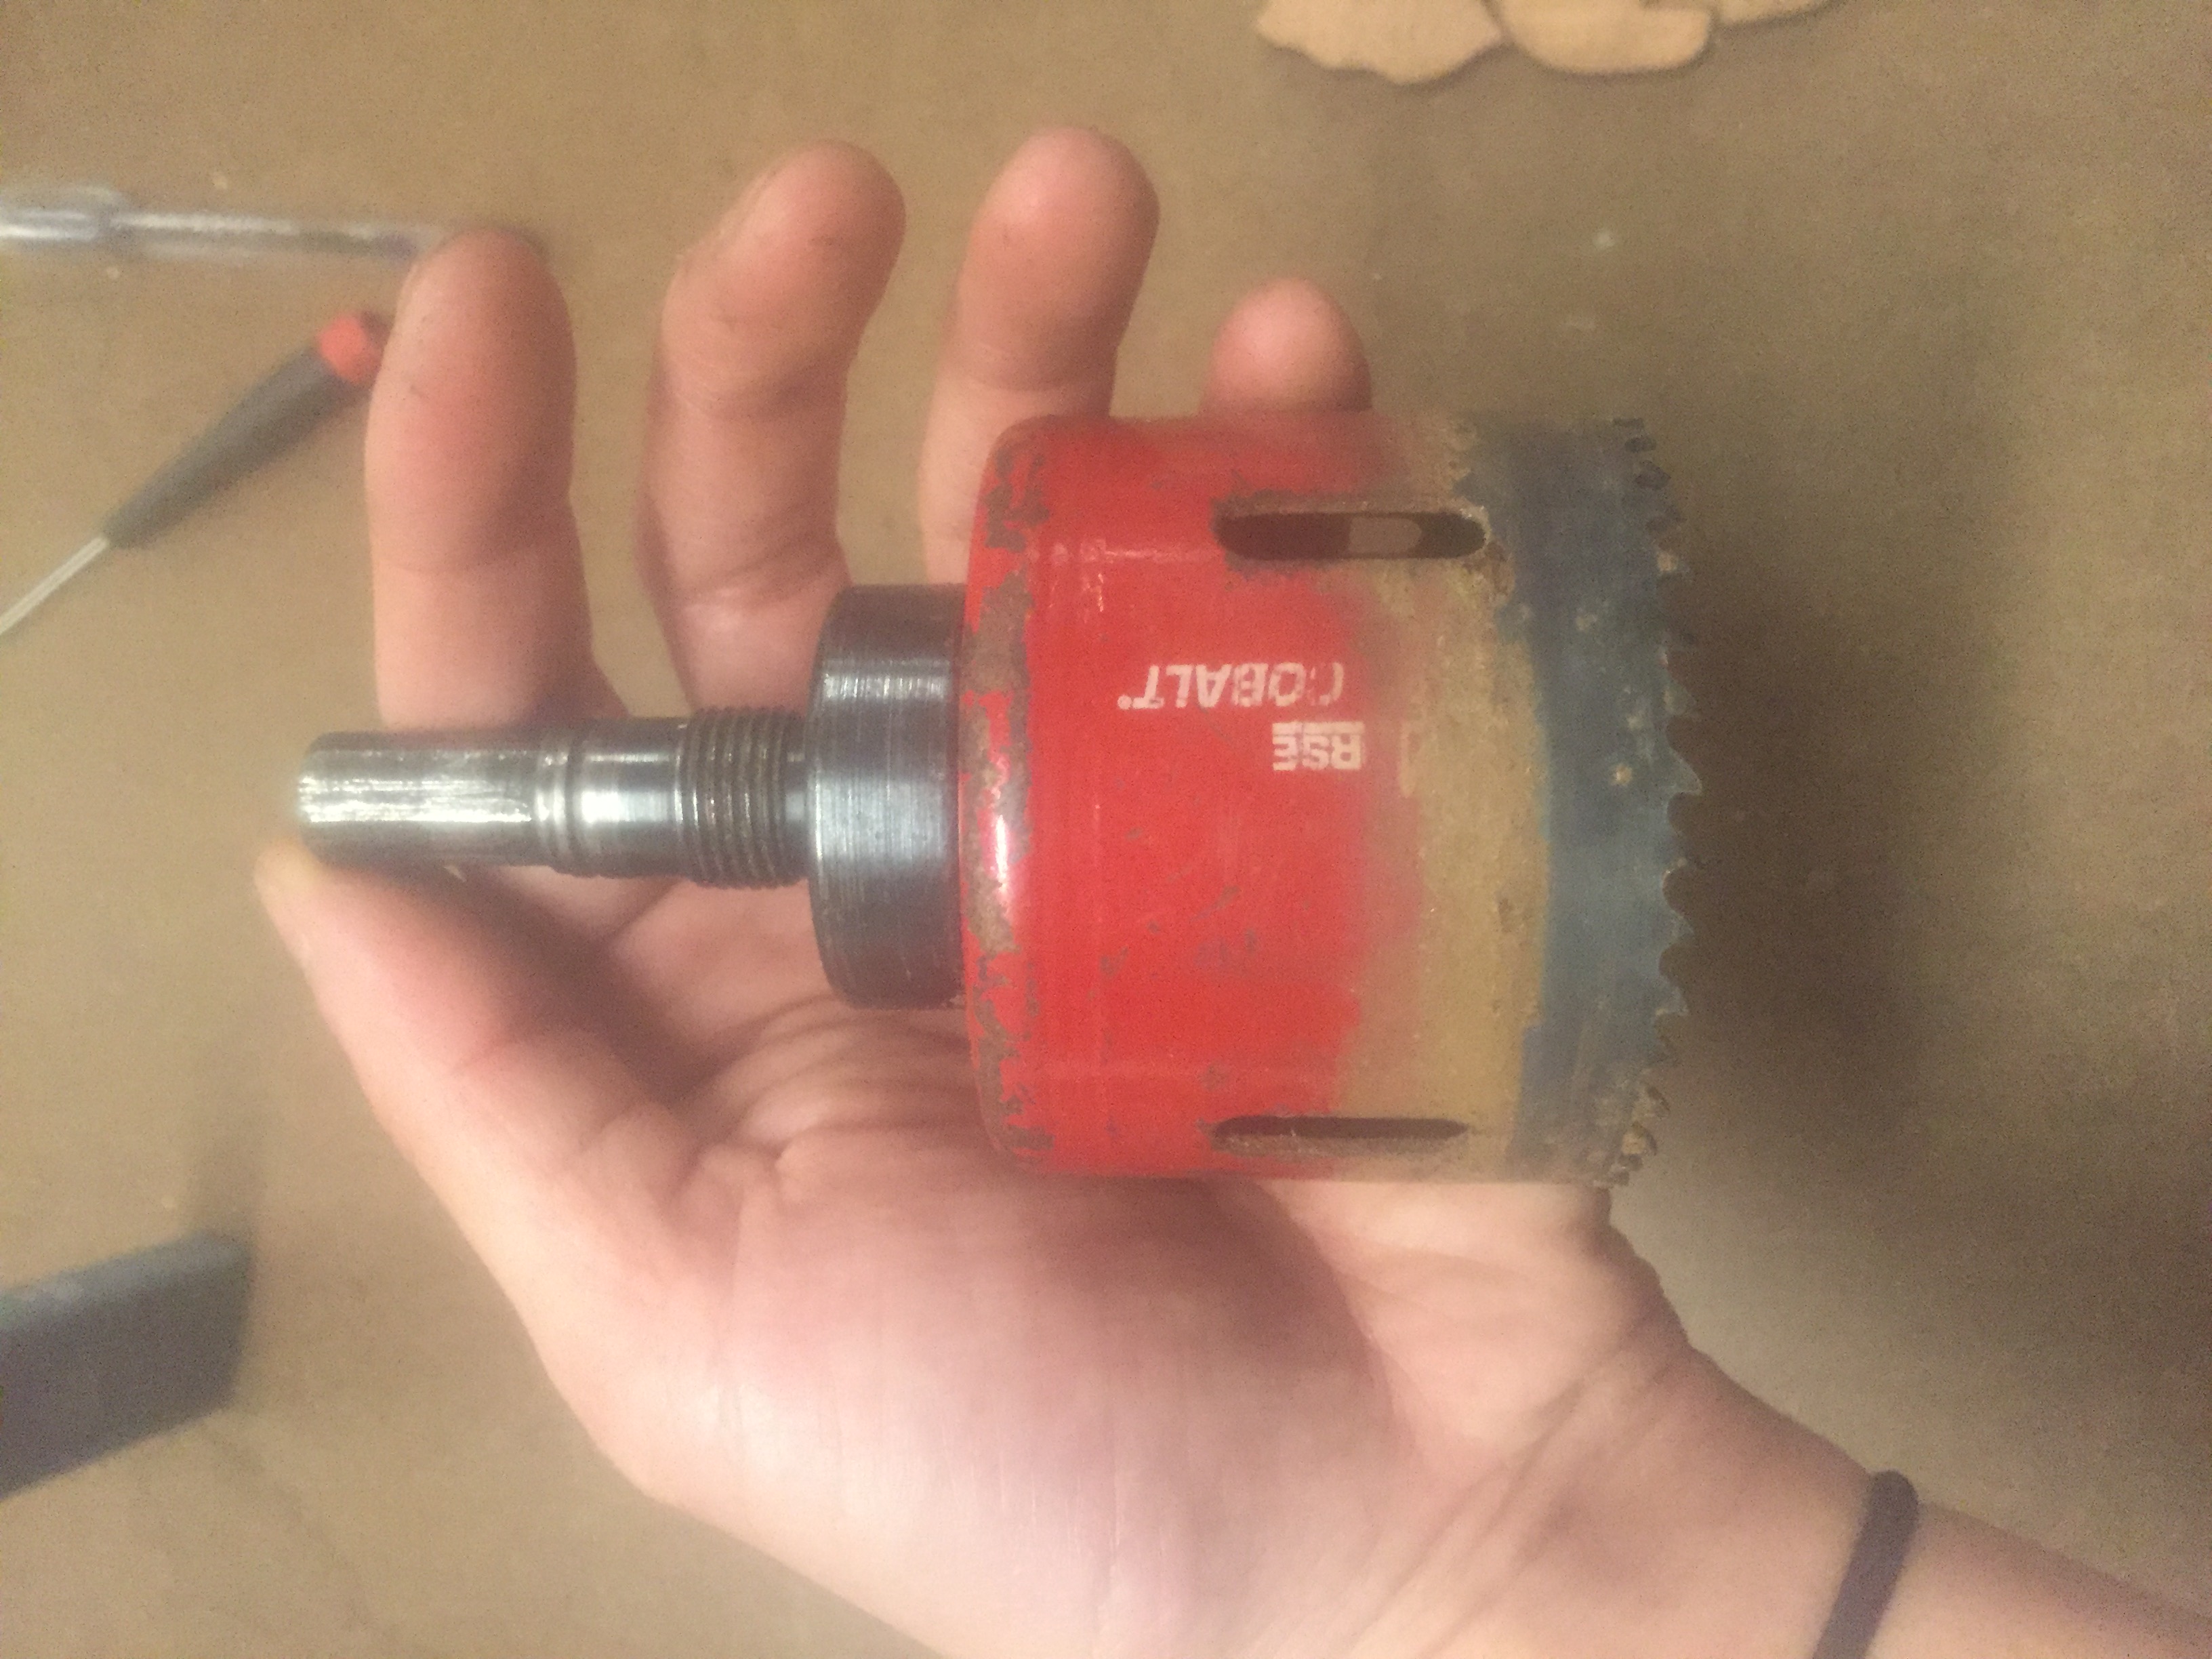 The largest hole saw drill bit in the shop. (And actually, one of only a few bits that actually attach to the drill press…)
 Drill pressing some thin circles. First time and getting the hang of things!
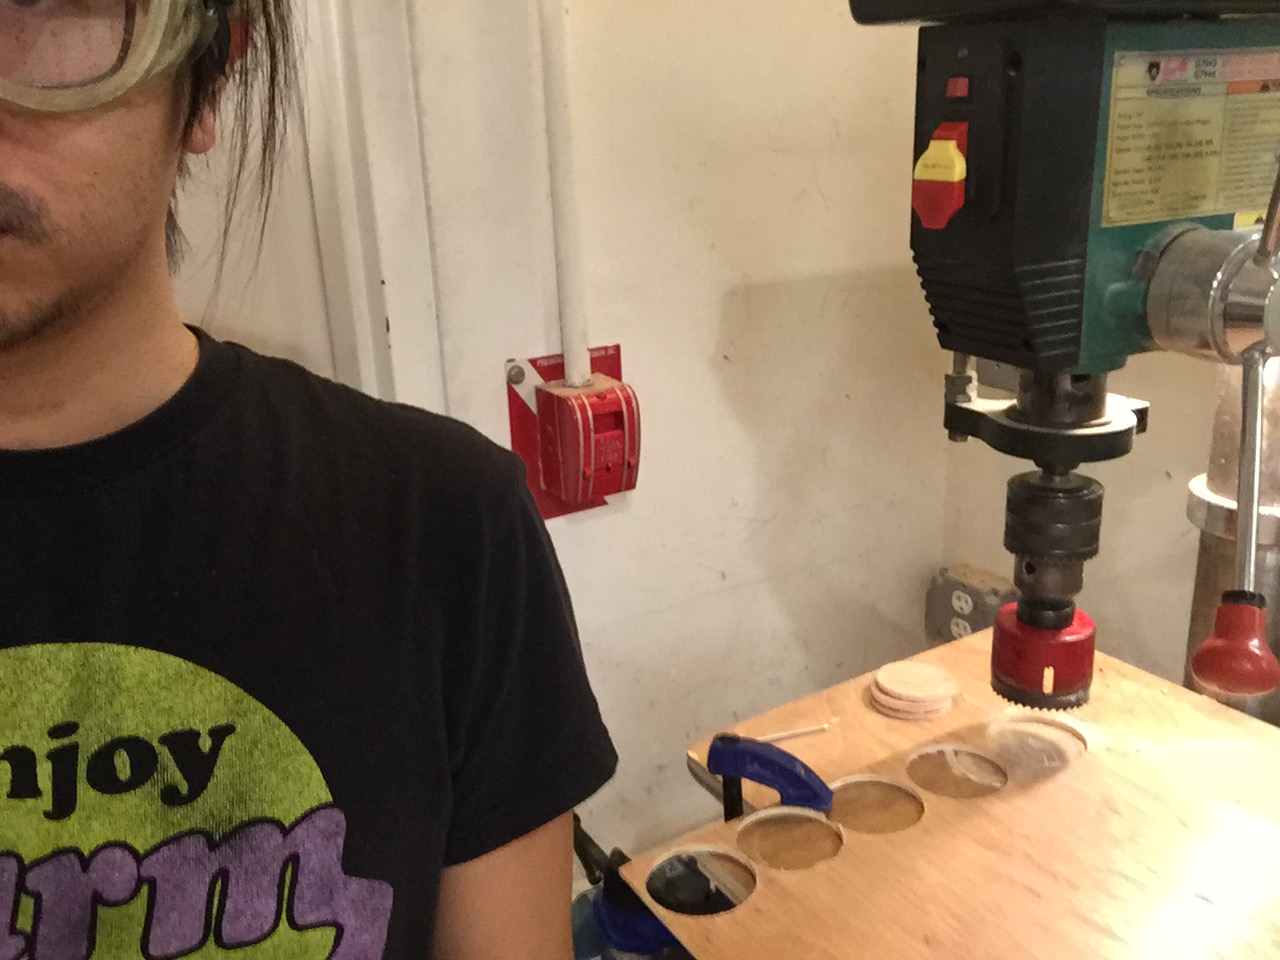
 Drill pressing thicker slabs of scrap wood. It get’s really hot and smoky as there is a bit of burn. I found it to be really helpful to pause now and again to blow out the sawdust.
 Lasercut circles. <3 lasercutters because they’re fast and you can design at home while drinking a beer and watching football. However, lasercutting thick wood (1/4” here) really burns the edges. I’m keeping the look for now but if I were to do it again I might bump the diameter an extra 1mm for padding, so there is some extra material to sand down the burnt edges.
Cyclops Head
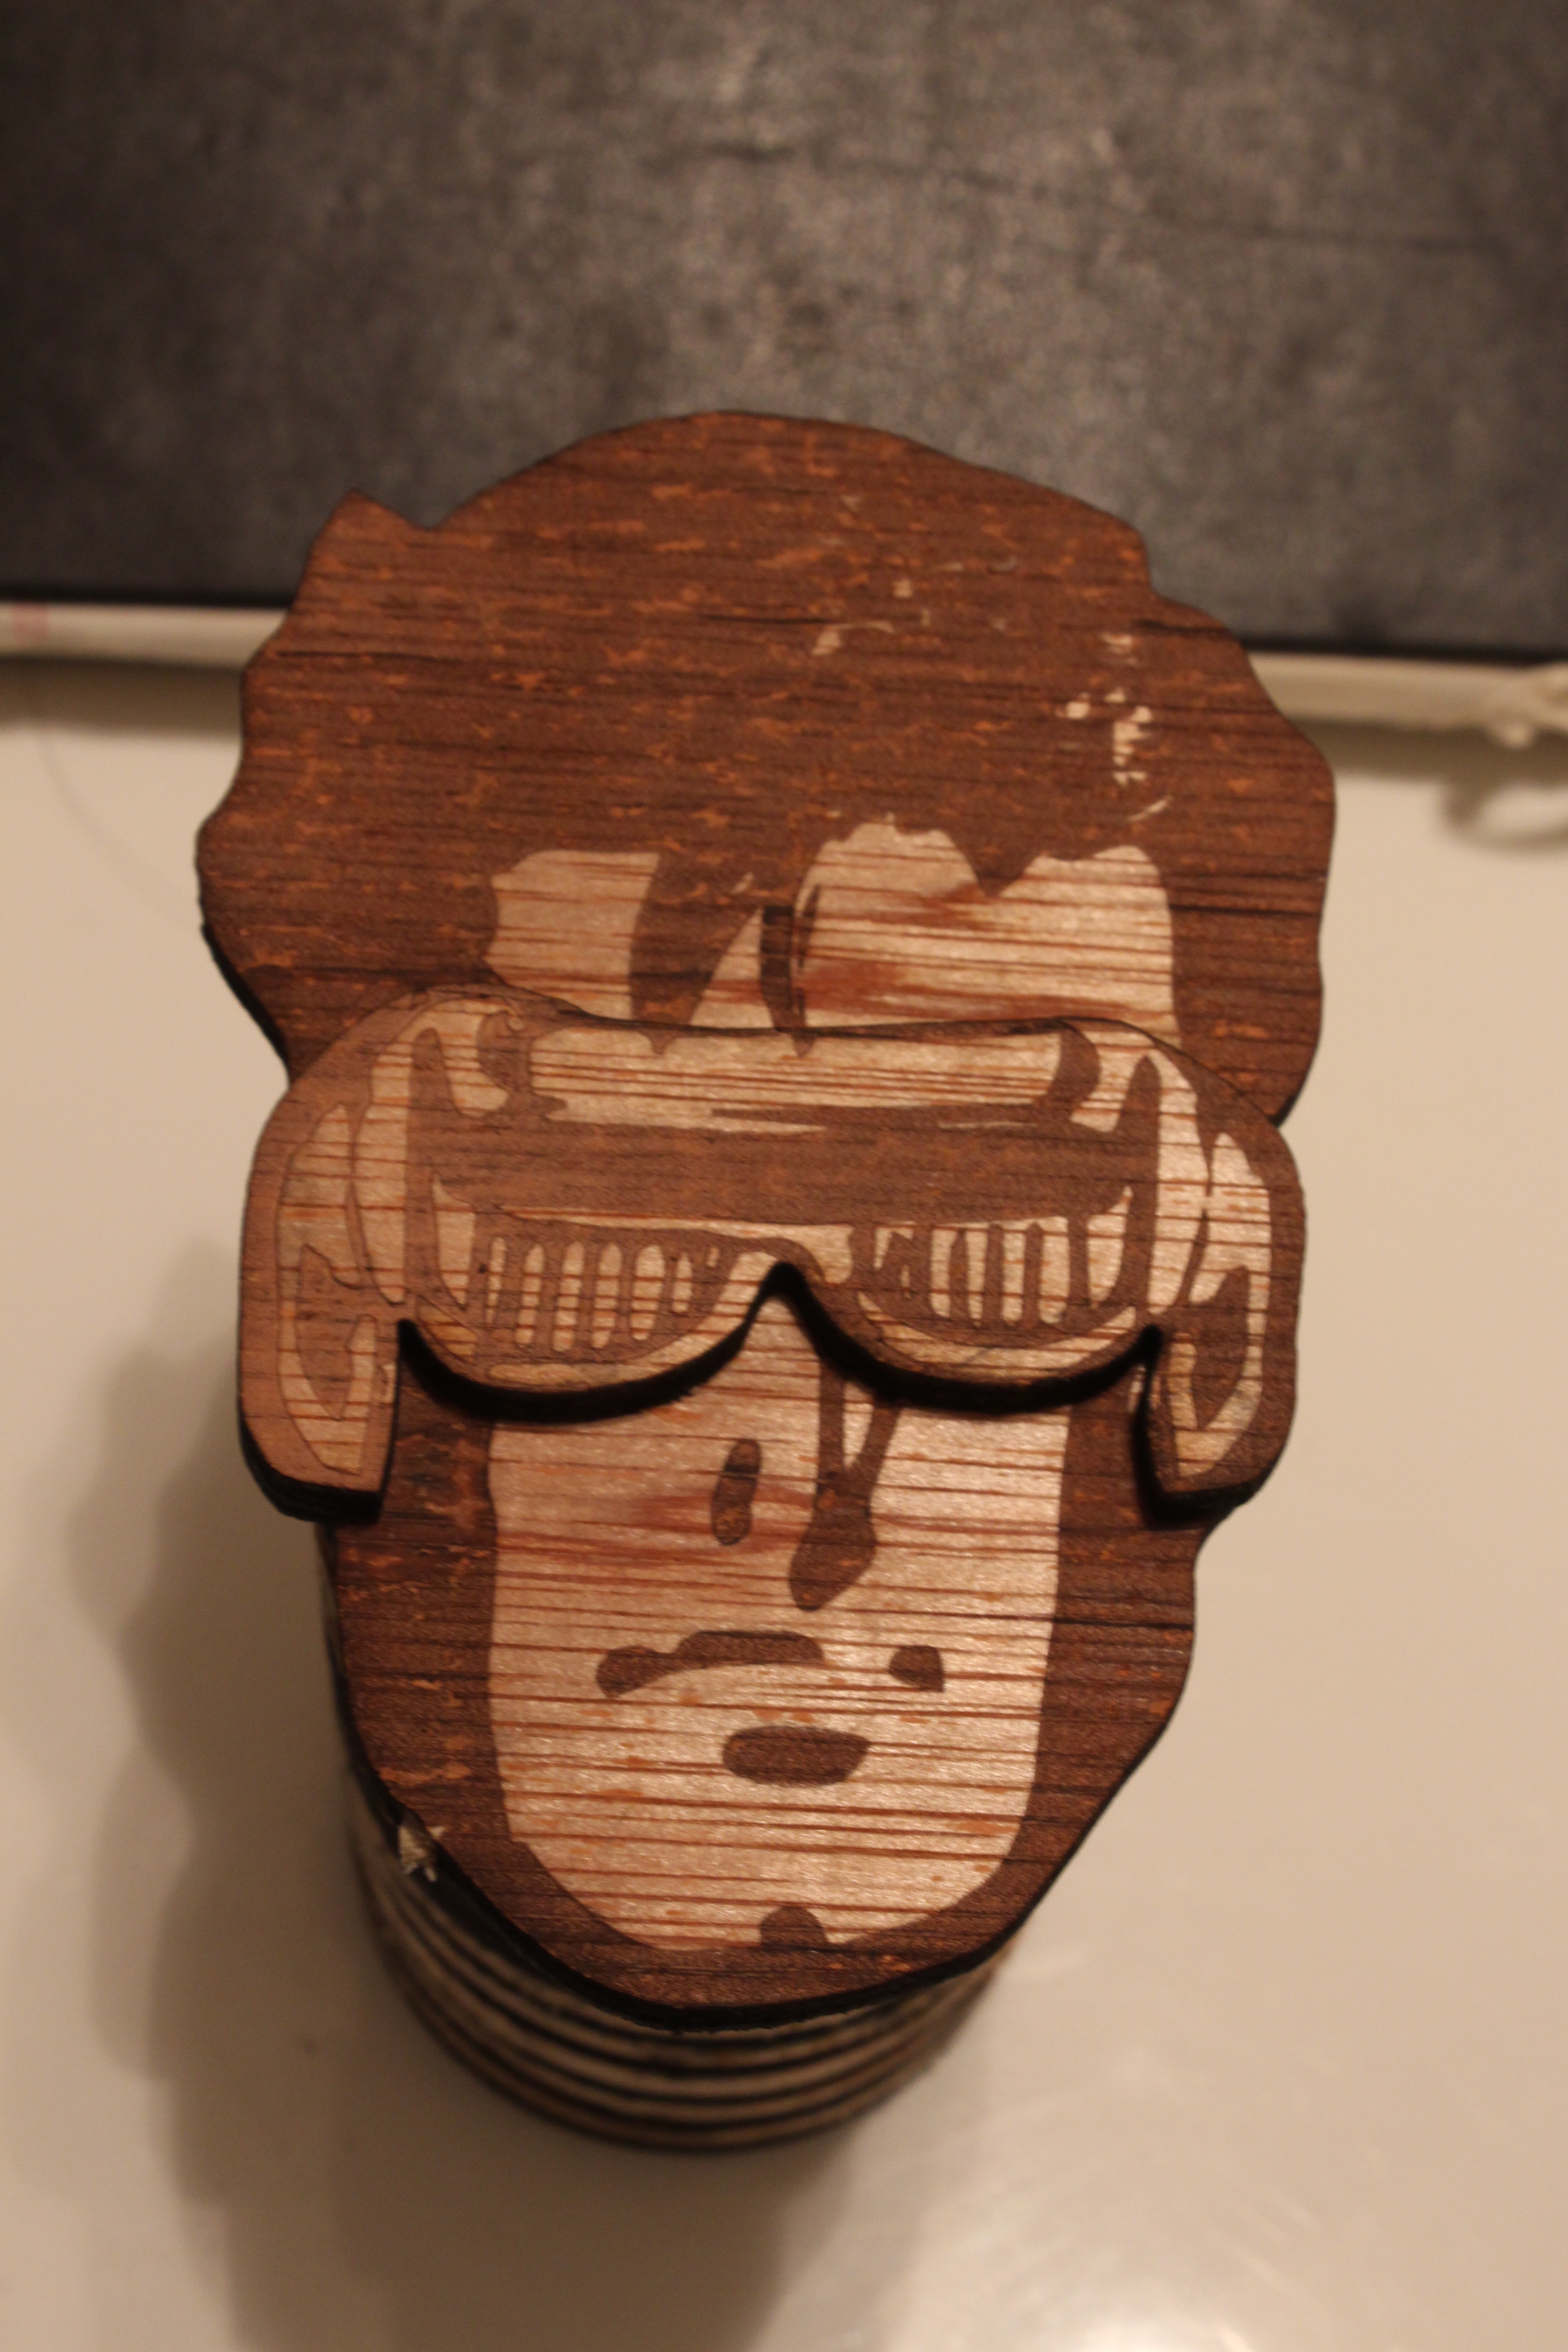
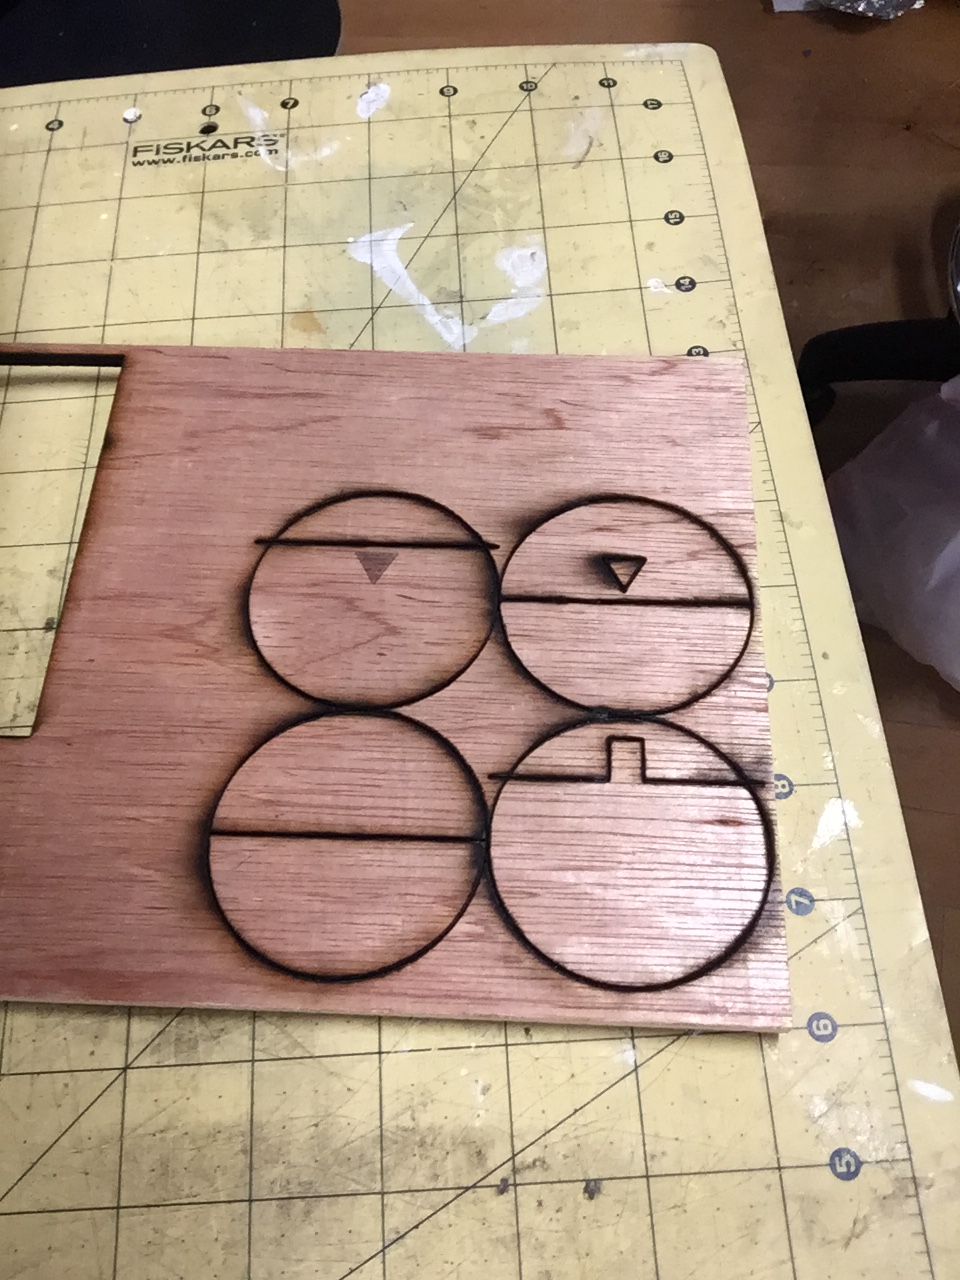
Using a lasercutter, I then set out to prototype the main concept: Cyclop’s head and visor!
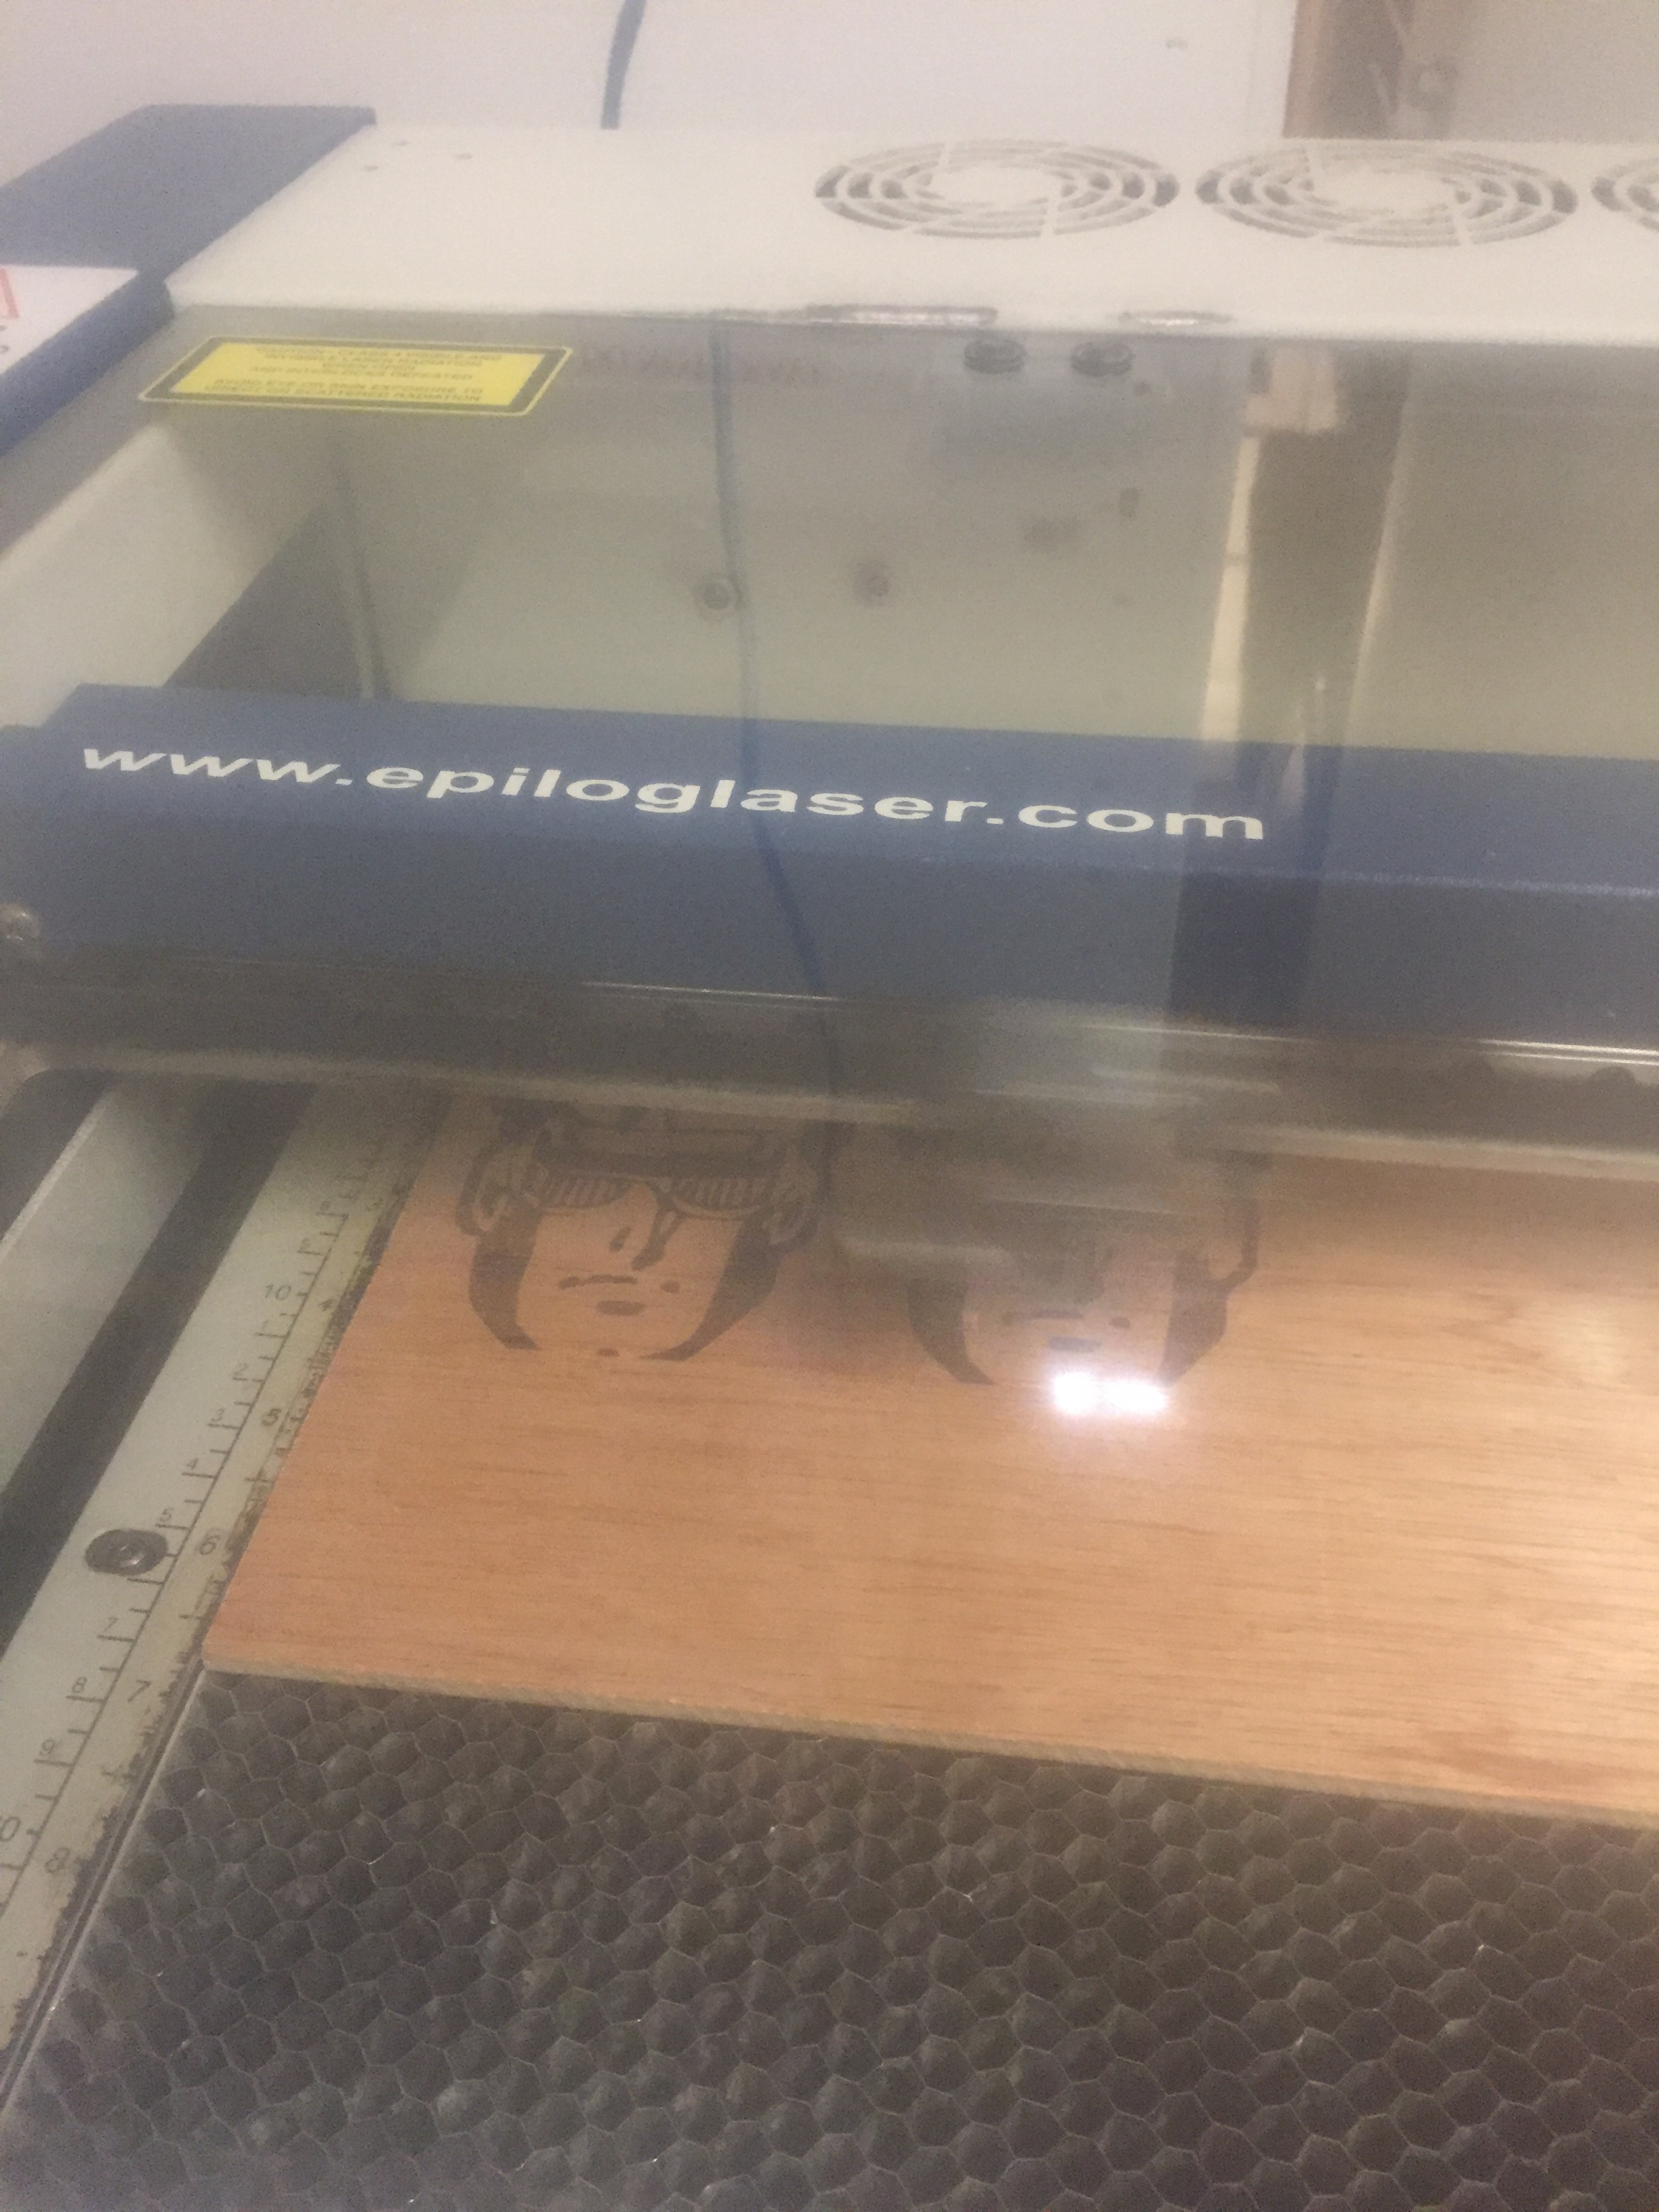 Lasercutting in action
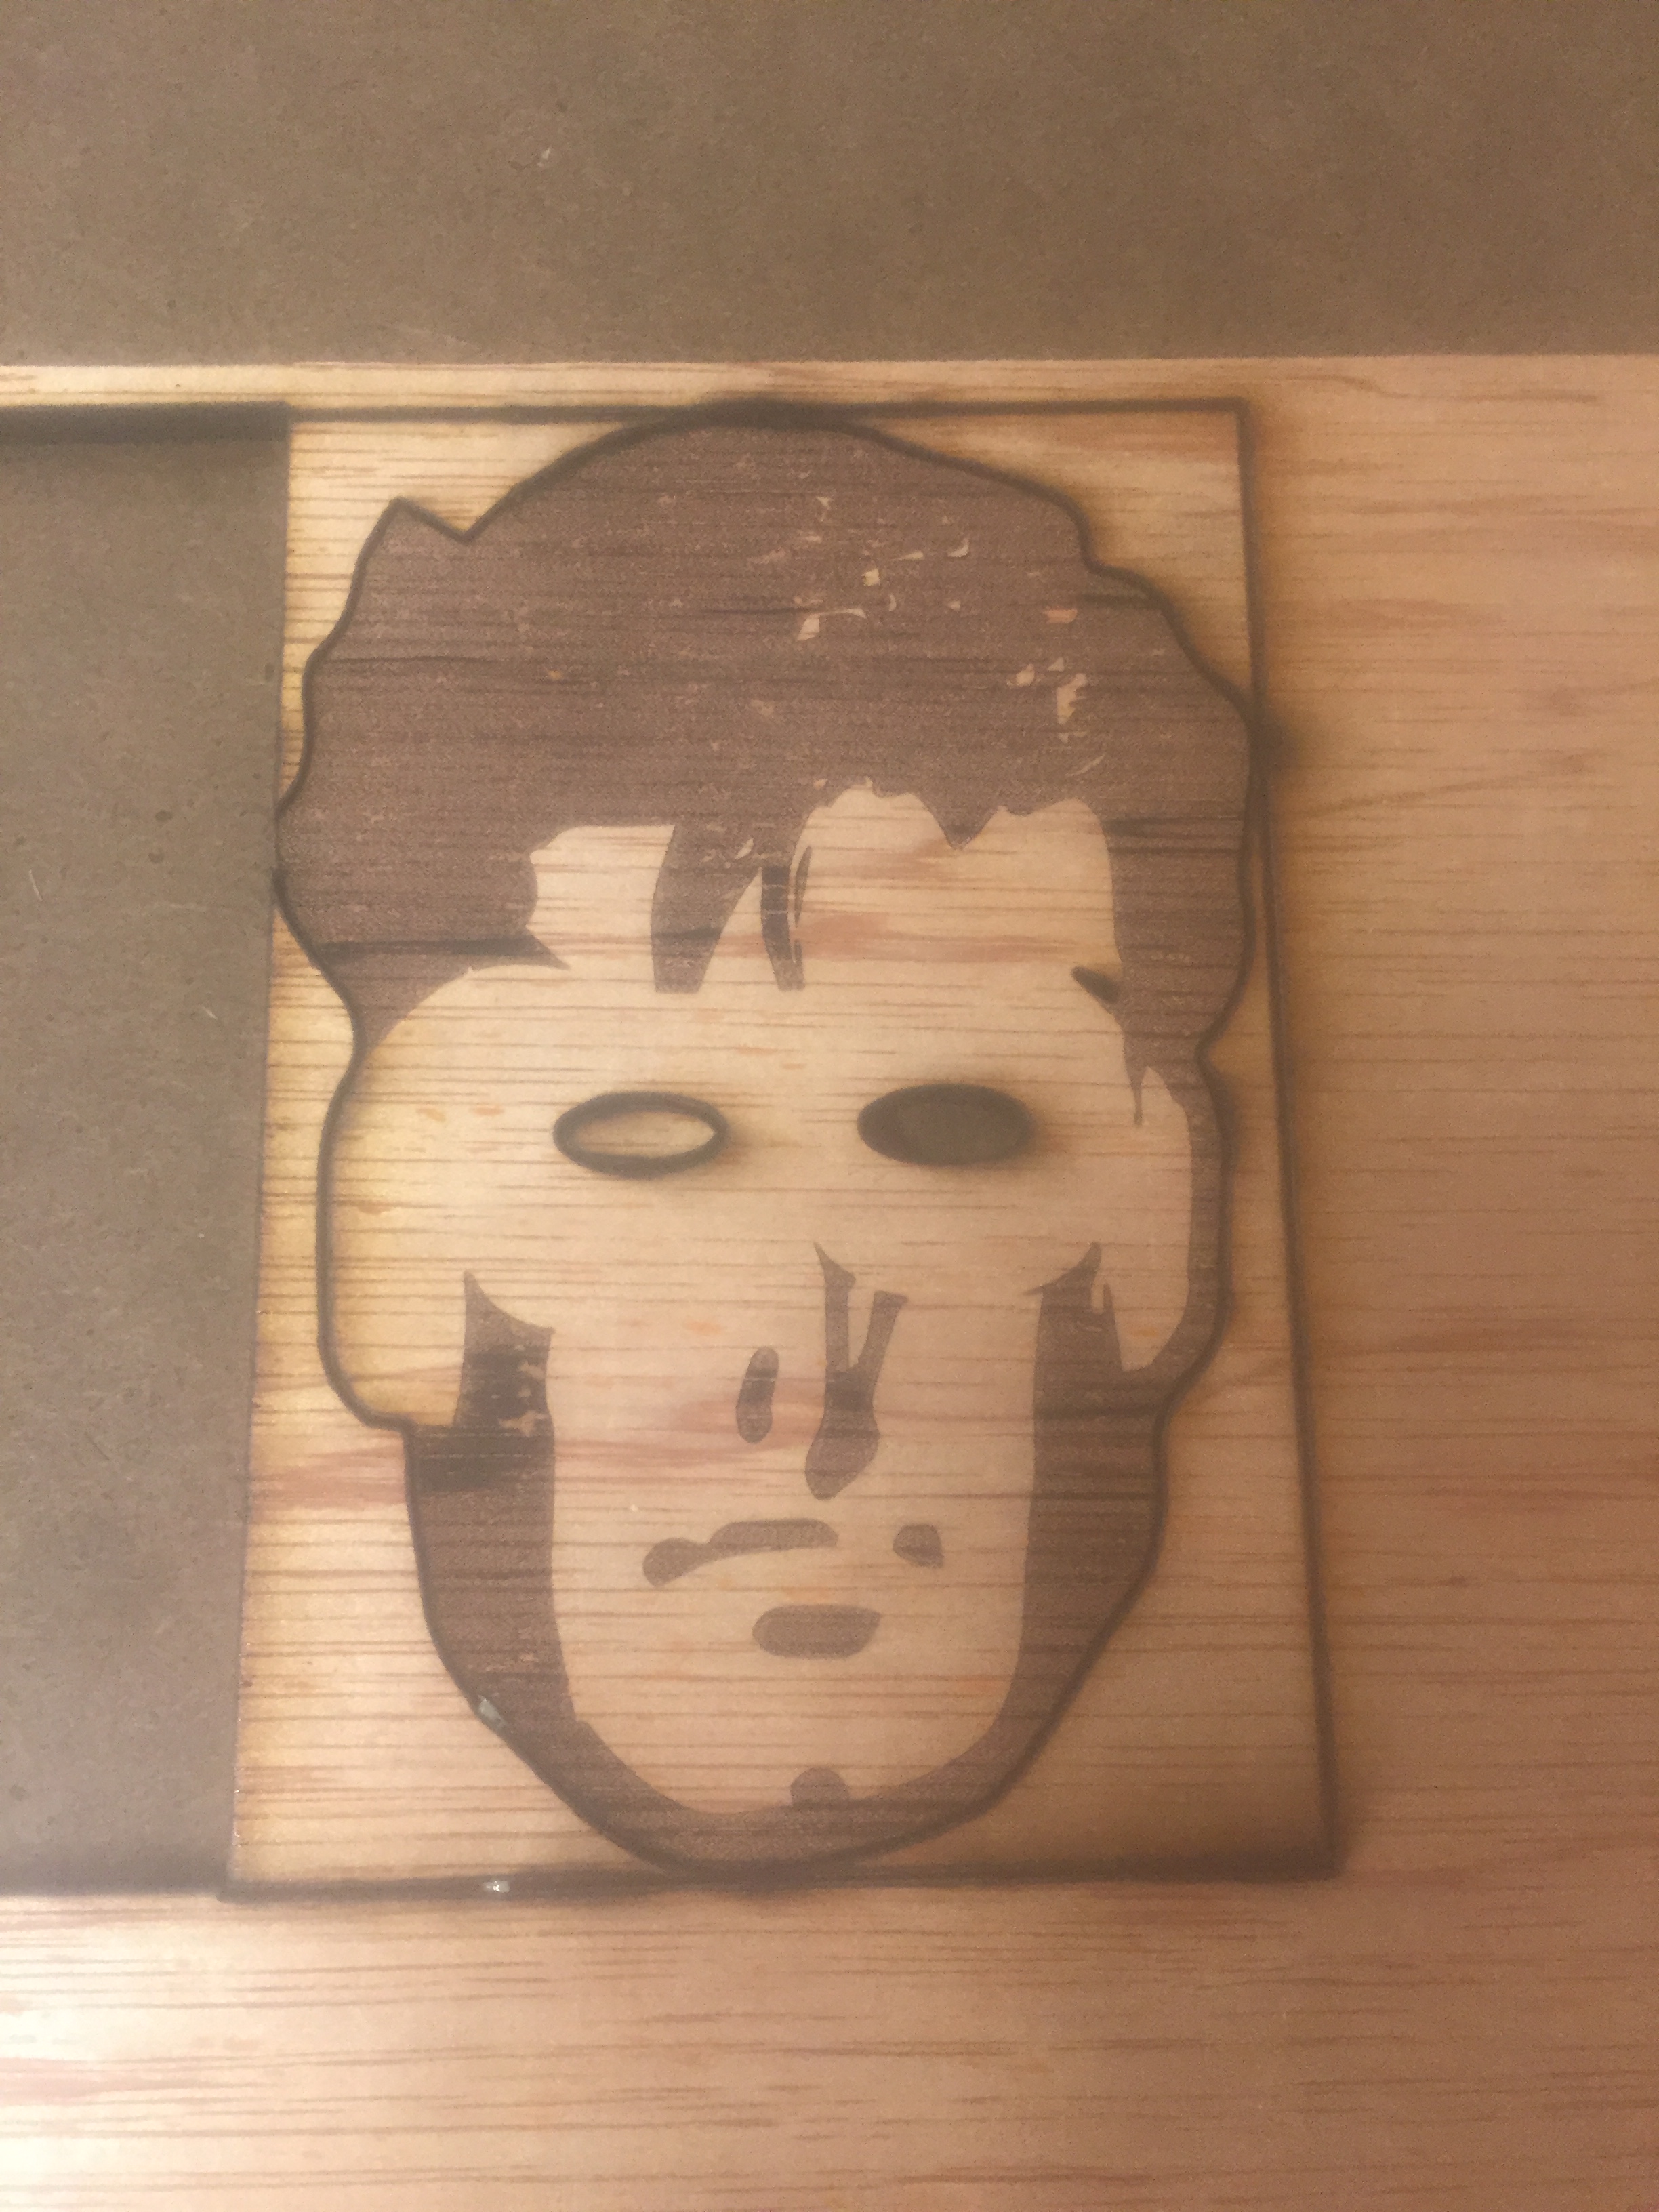 Base of Cyclop’s face, with some negative space for the visor to sit on top.
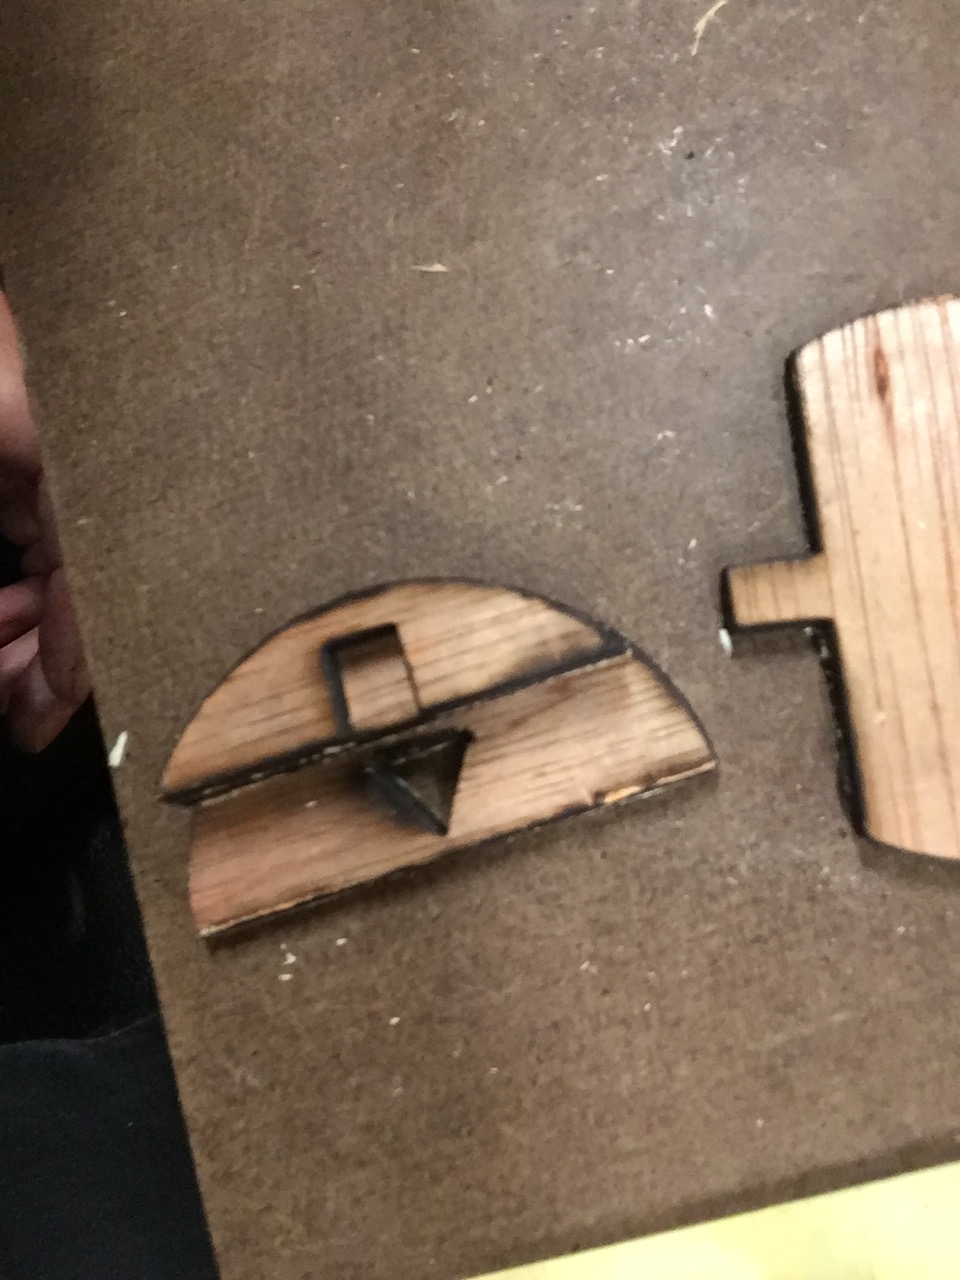
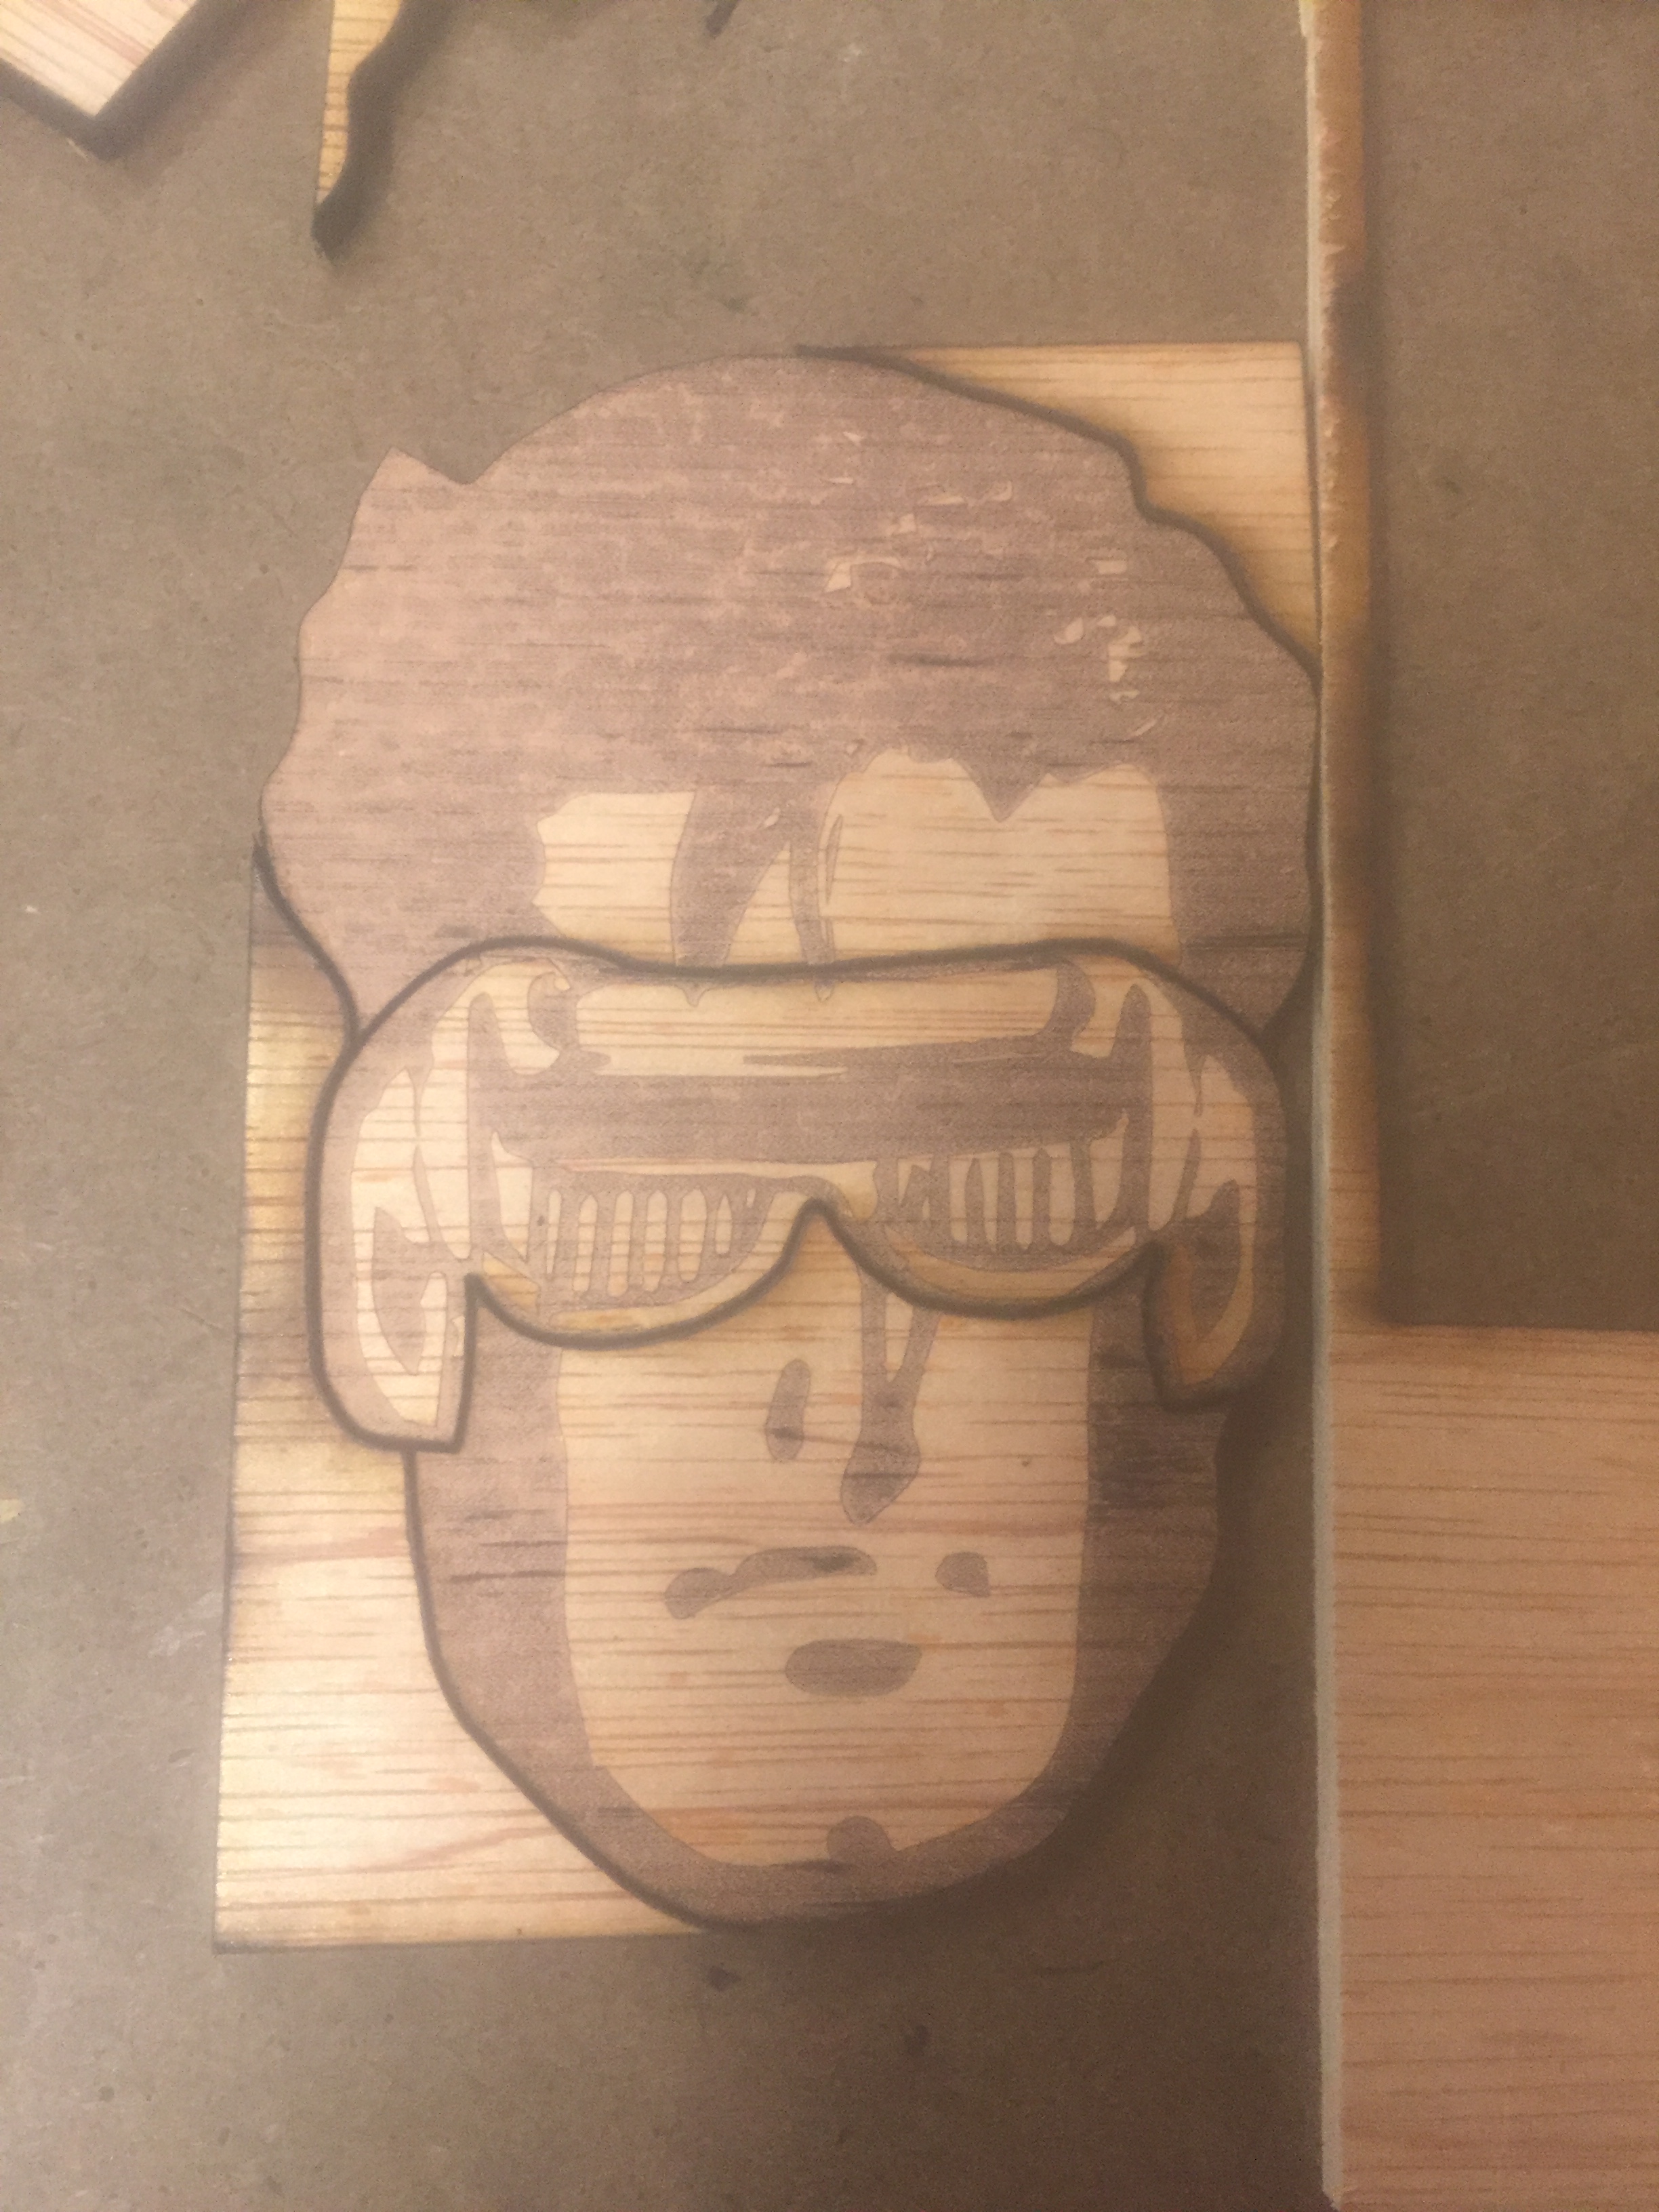 A full cut out with the visor.
 A full cut out with the visor.
Constructing the Handle
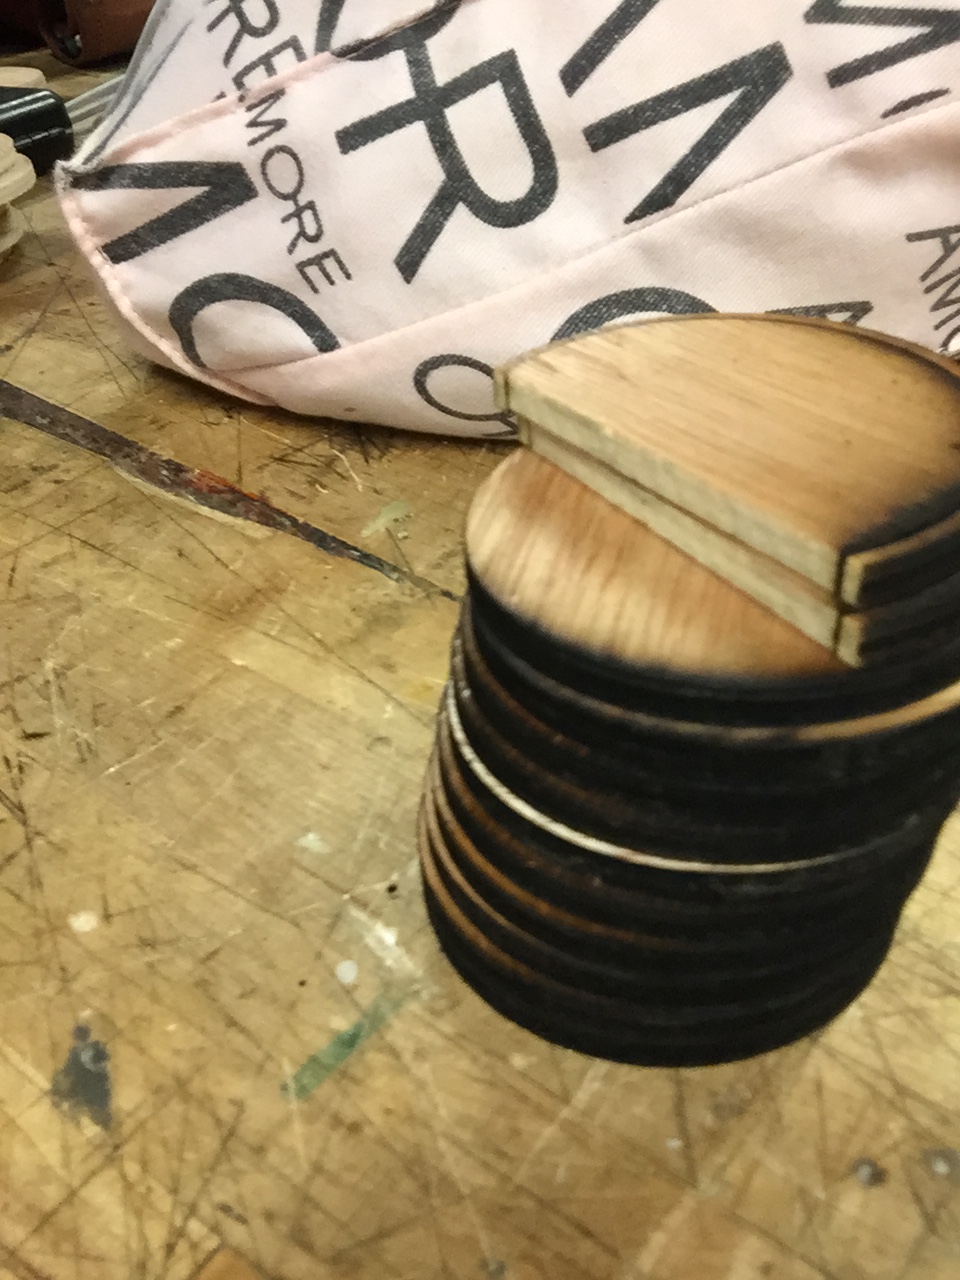
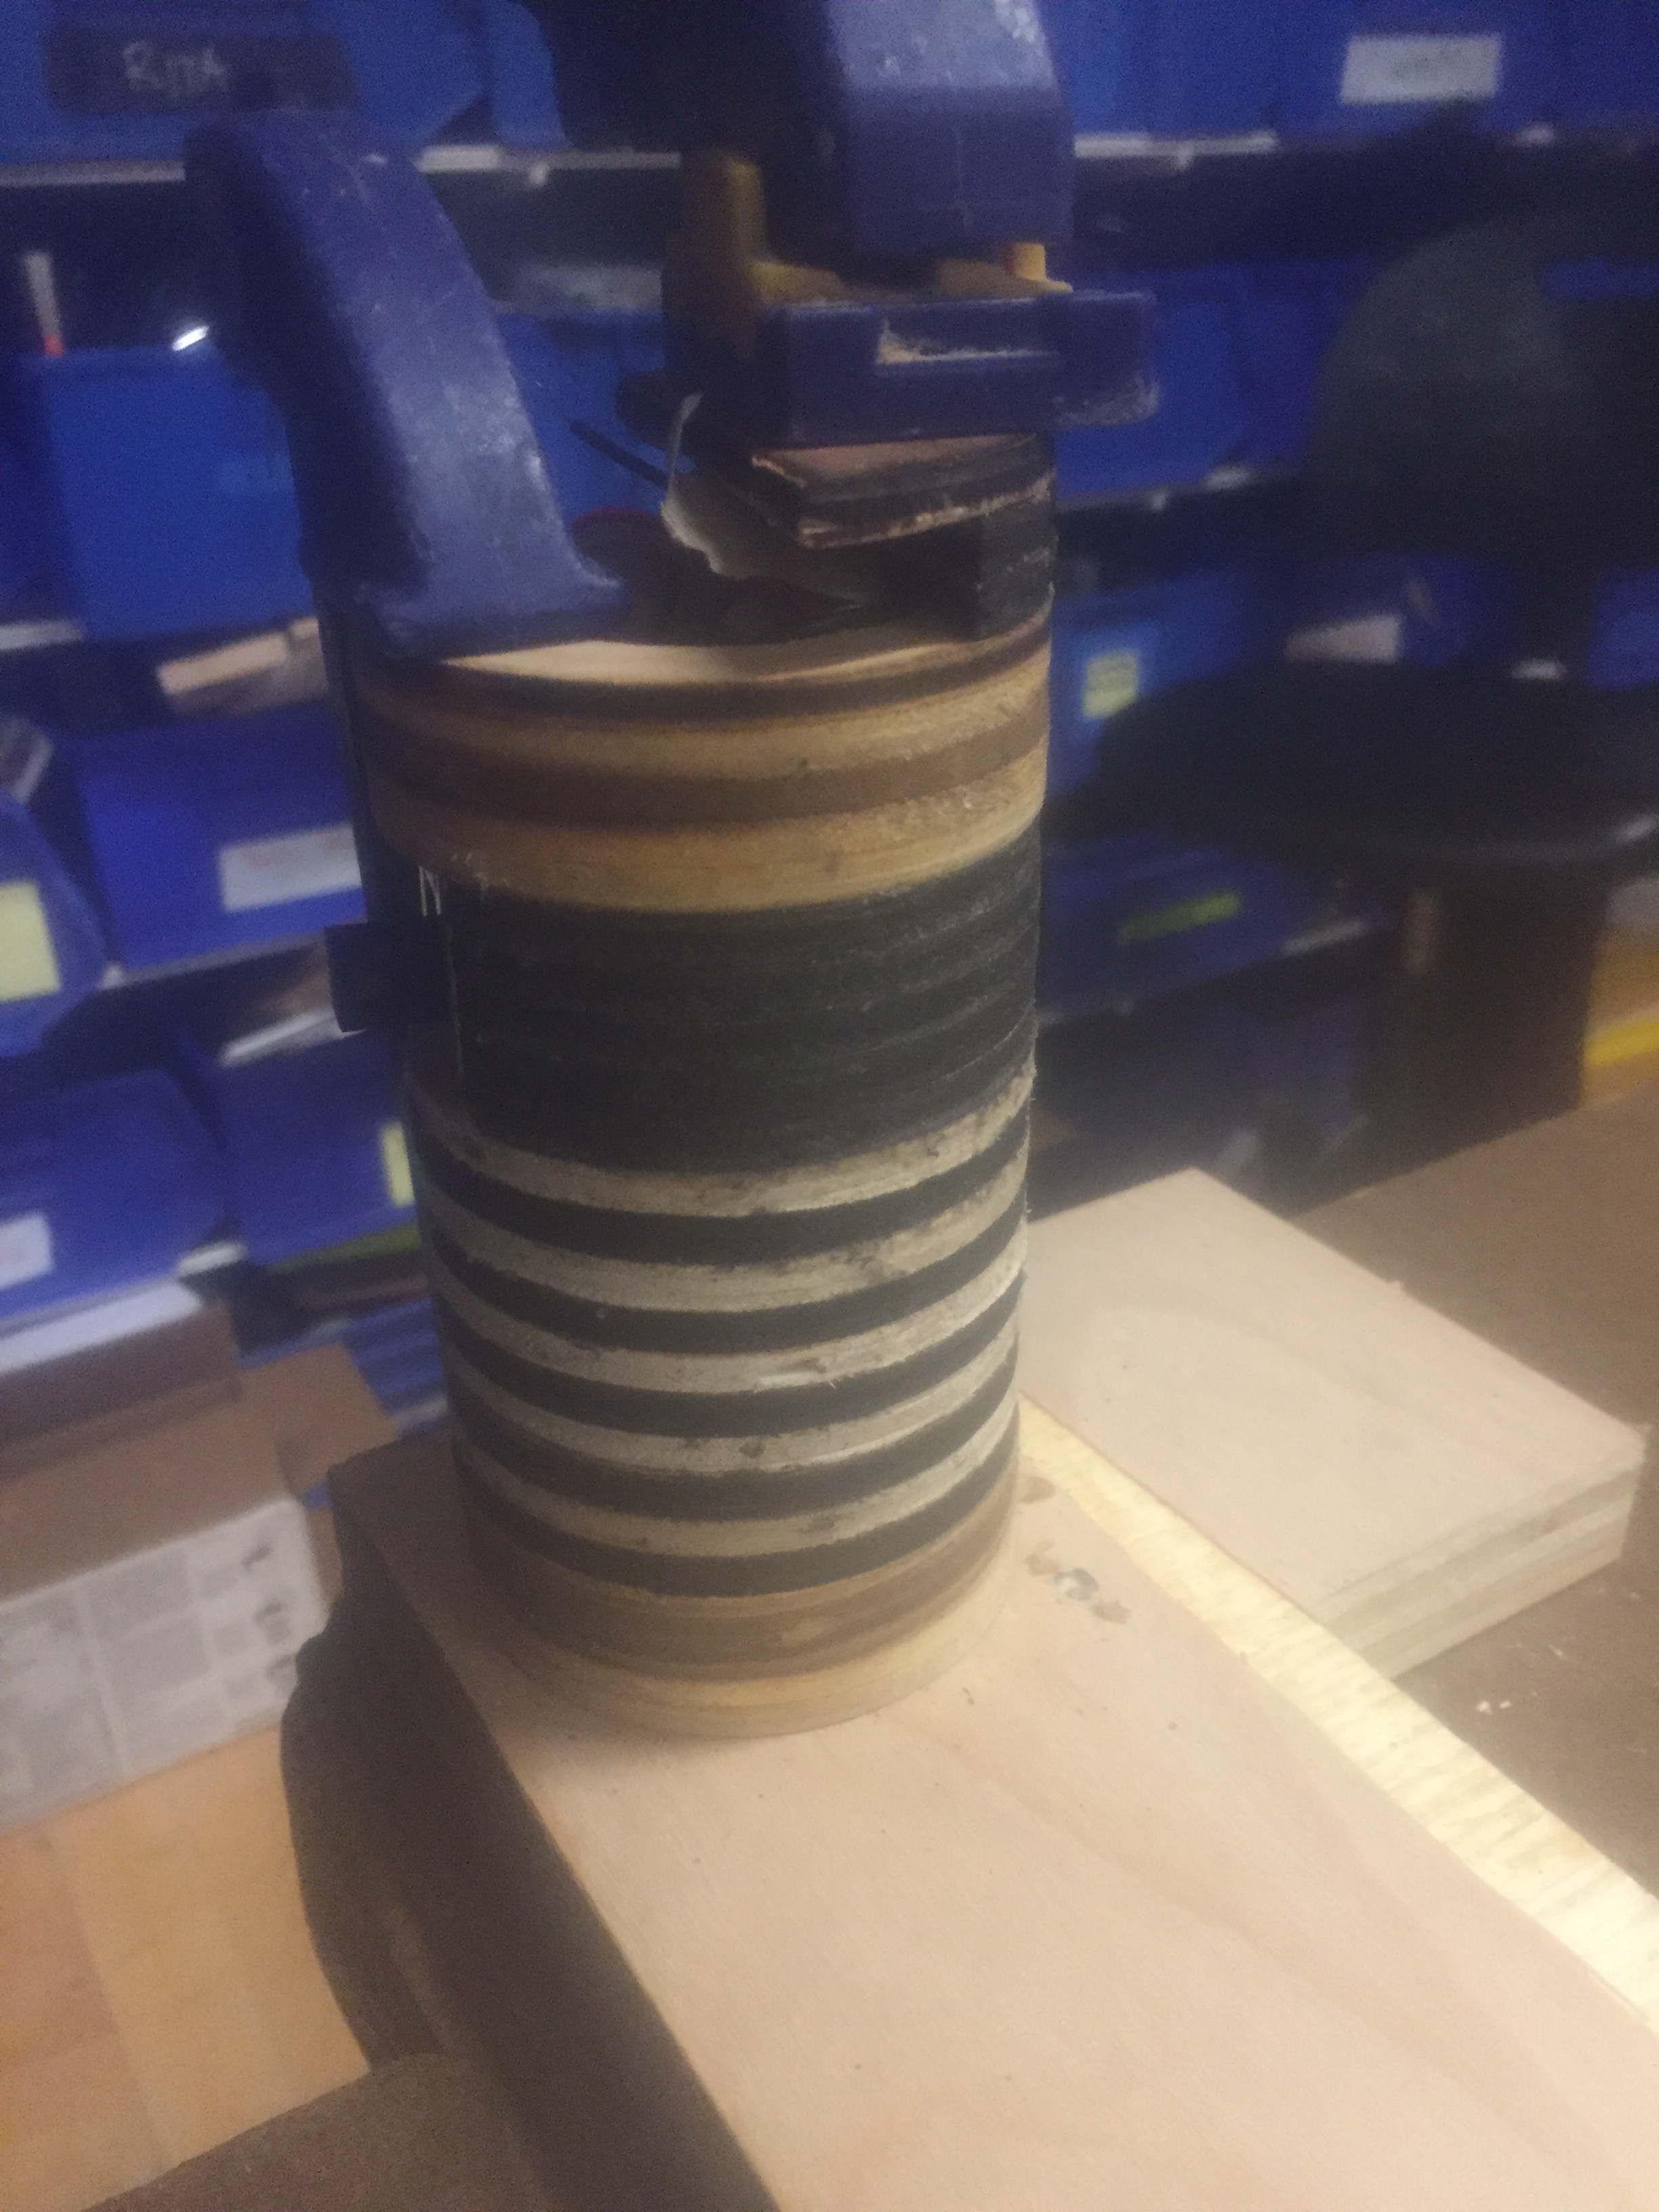
 Next, we start putting the circles together to form our cylinder. First, we glue everything. This is important because next we use a spade (the biggest we can find in the shop at 1.5”) to hollow out the cylinder core to fit a battery pack.
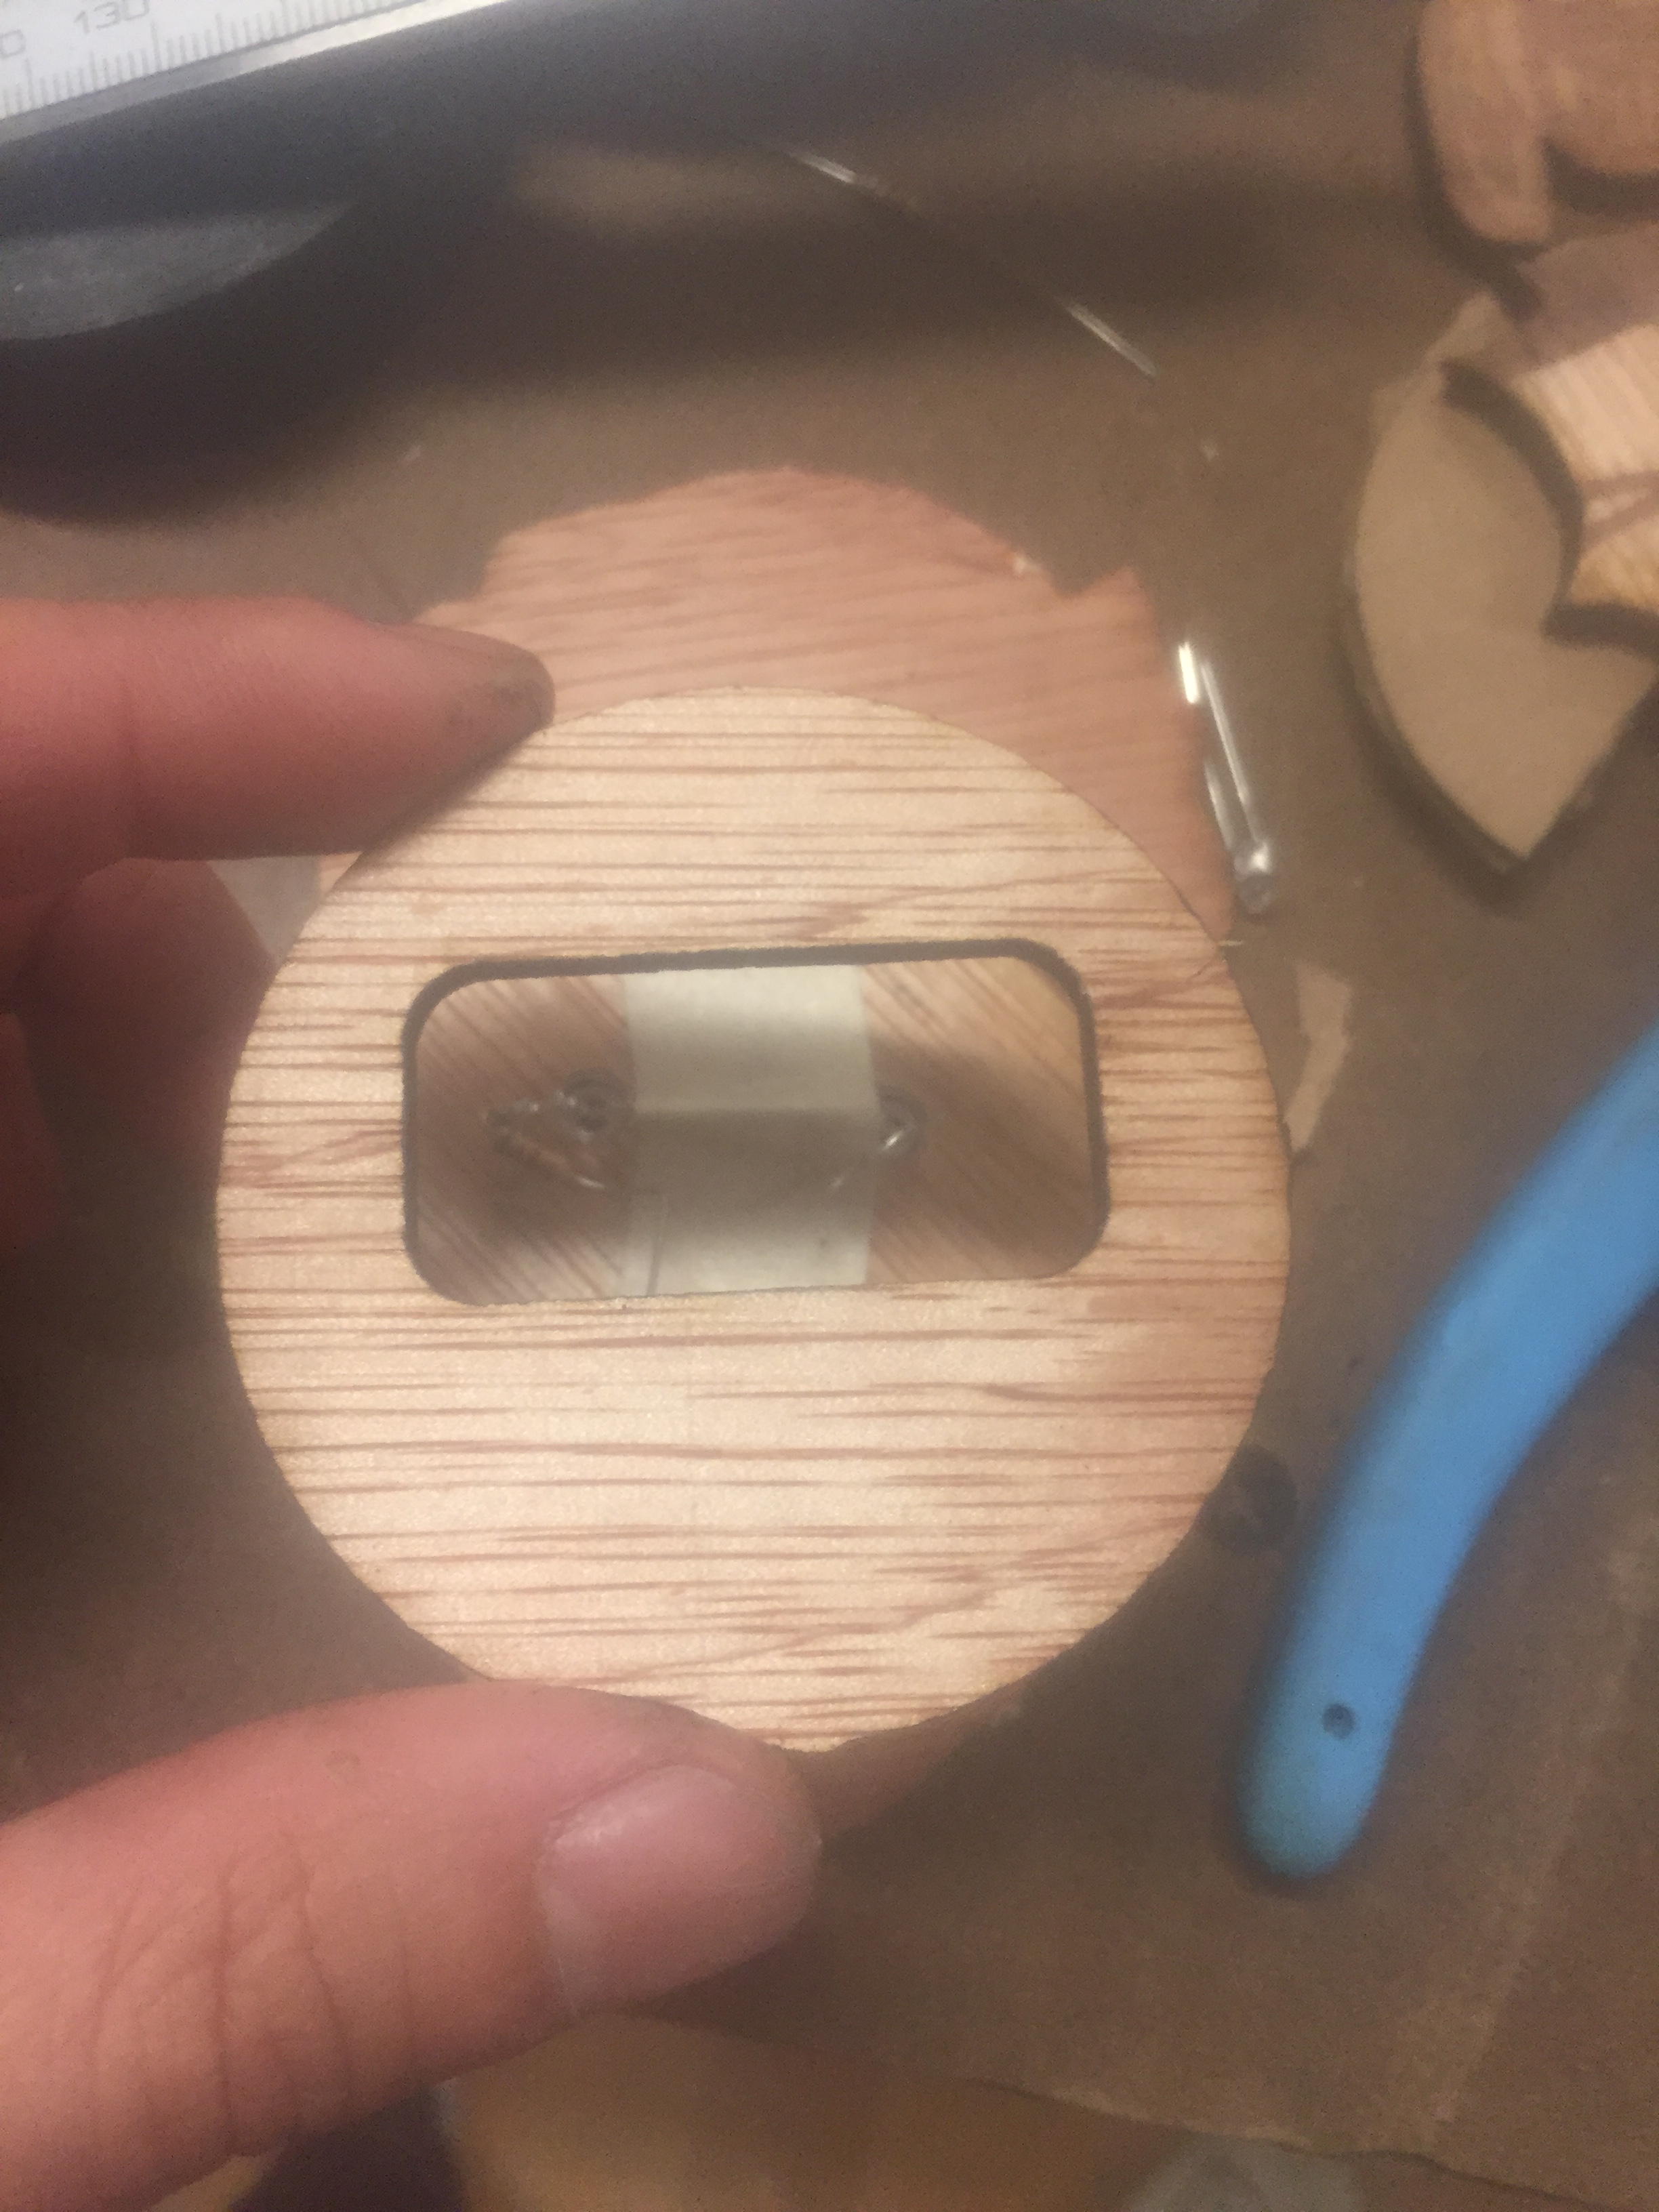
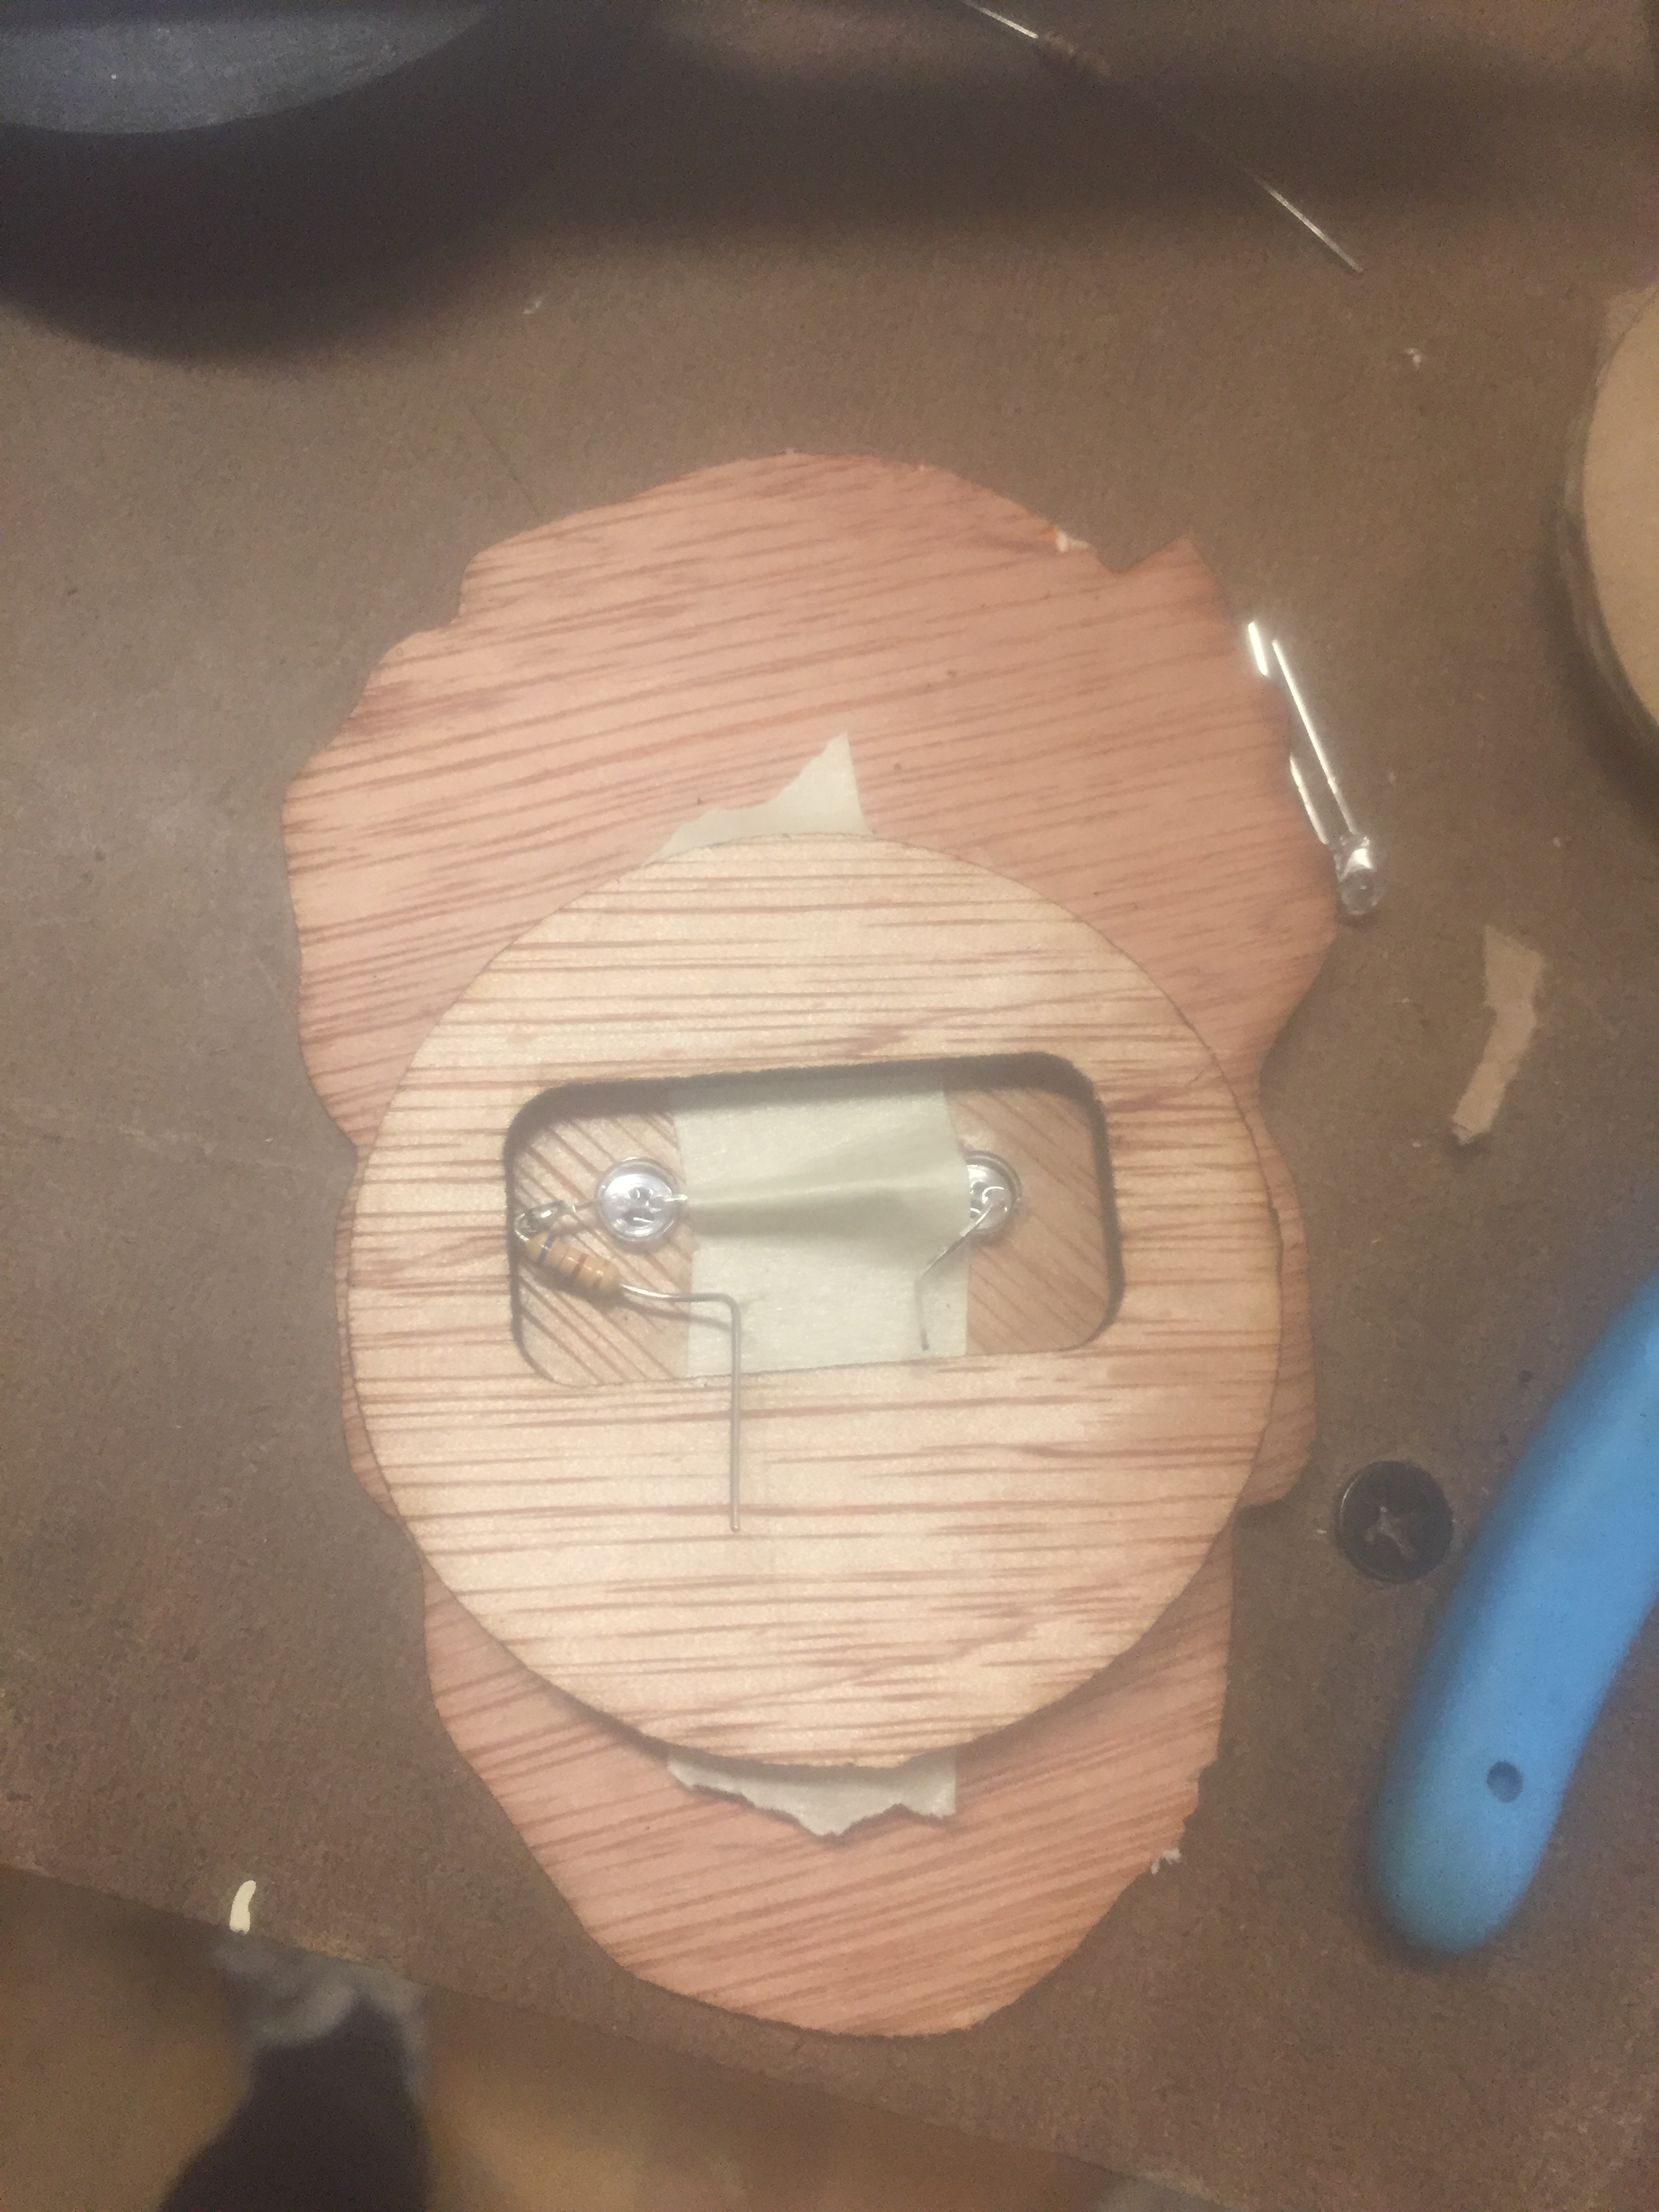
 We use slightly different layers for the switch so that it can sit flat on the handle.
 Next, we go ahead and solder our switch up, being sure to tape our ends so we don’t short circuit, ESPECIALLY since taking the battery-pack in/out was NOT well thought out. =[
Interchange-able faceplates!
Because I always have a hard time committing to one idea, I thought it would be fun and challenging to build our flashlight head so that is interchange-able. Ideally, we could make multiple heads that draw on the same battery load and plug them in.
The key part of figuring this out? Building an interchange mechanism that let you remove one flashlight head and lock in another. I had a few ideas around this might work and I made a really strong effort to not consult the web and try to think it up organically. In the end it works, but I’ll admit it was really difficult to visualize. A LOT of rough cardboard prototypes were made.
 Lasercutting the parts for our interchange-able mechanism.
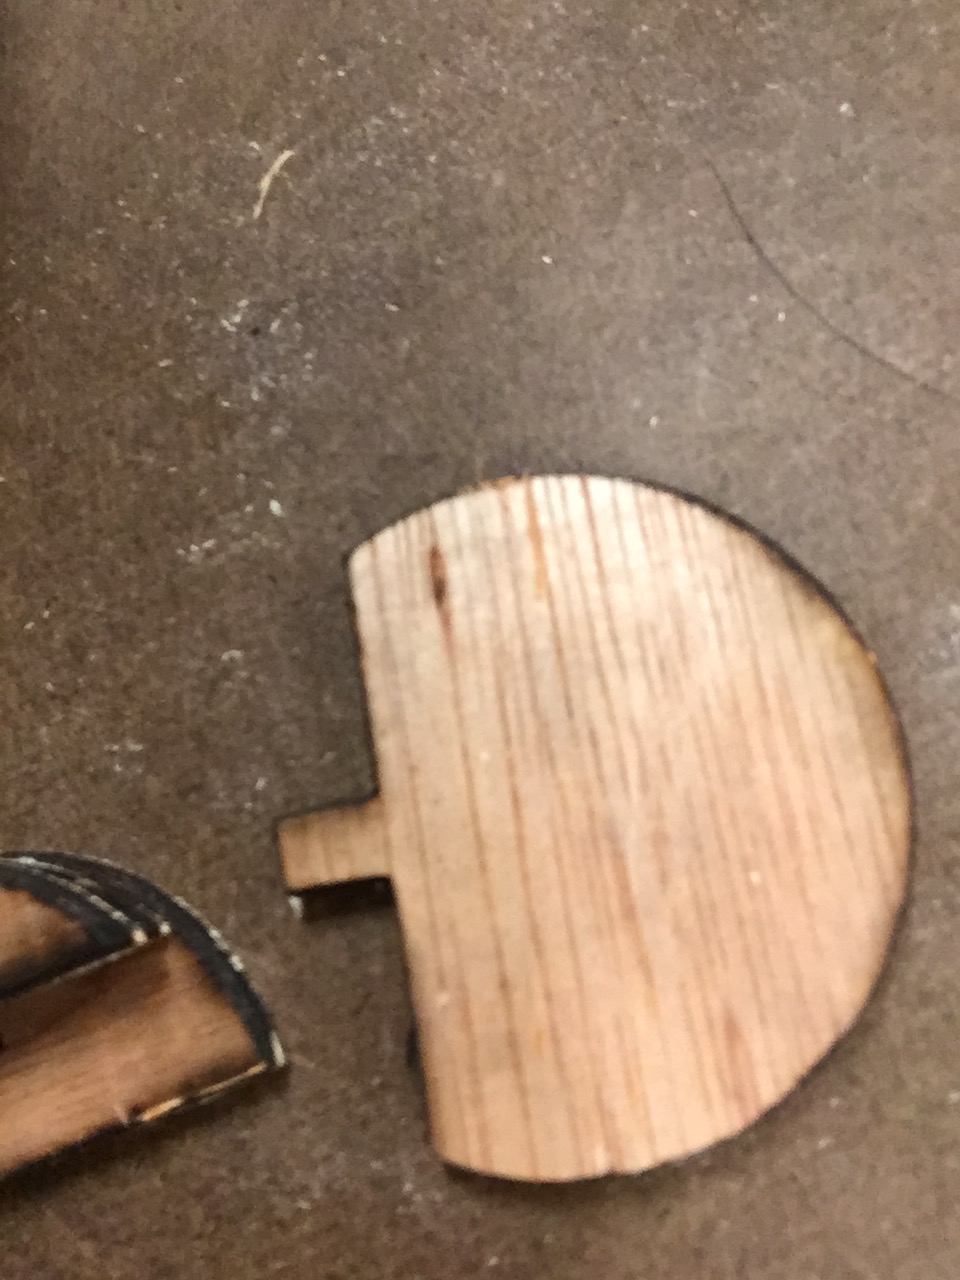
 Assembled attachment for the flashlight head.
 Assembled attachment for the flashlight body.
 The locking mechanism. After placing the head onto the body, this piece, separate from the other two core parts of the flashlight, is inserted between to “lock” via a bit of friction.
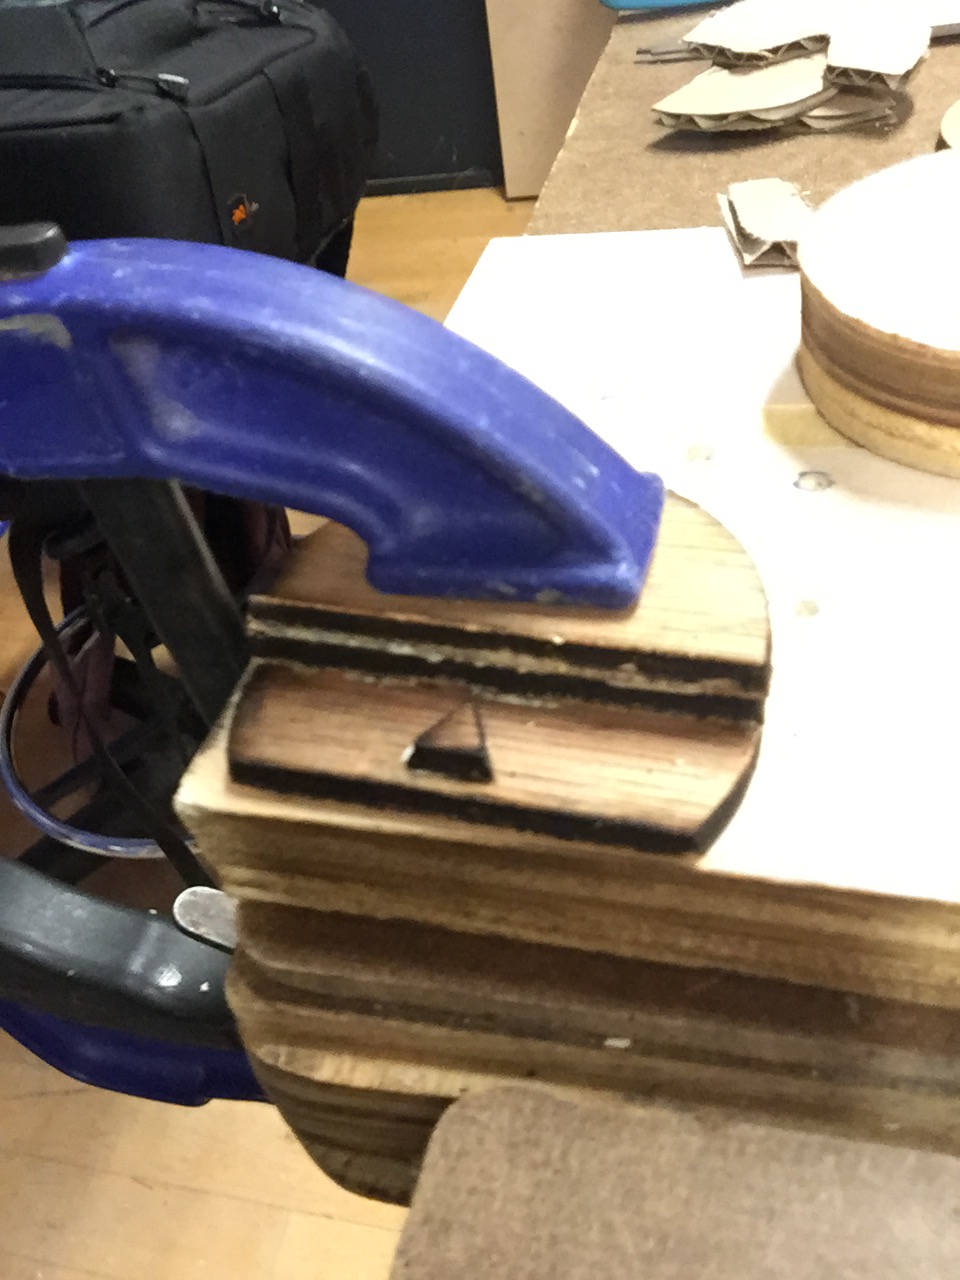 Time to start clamping!
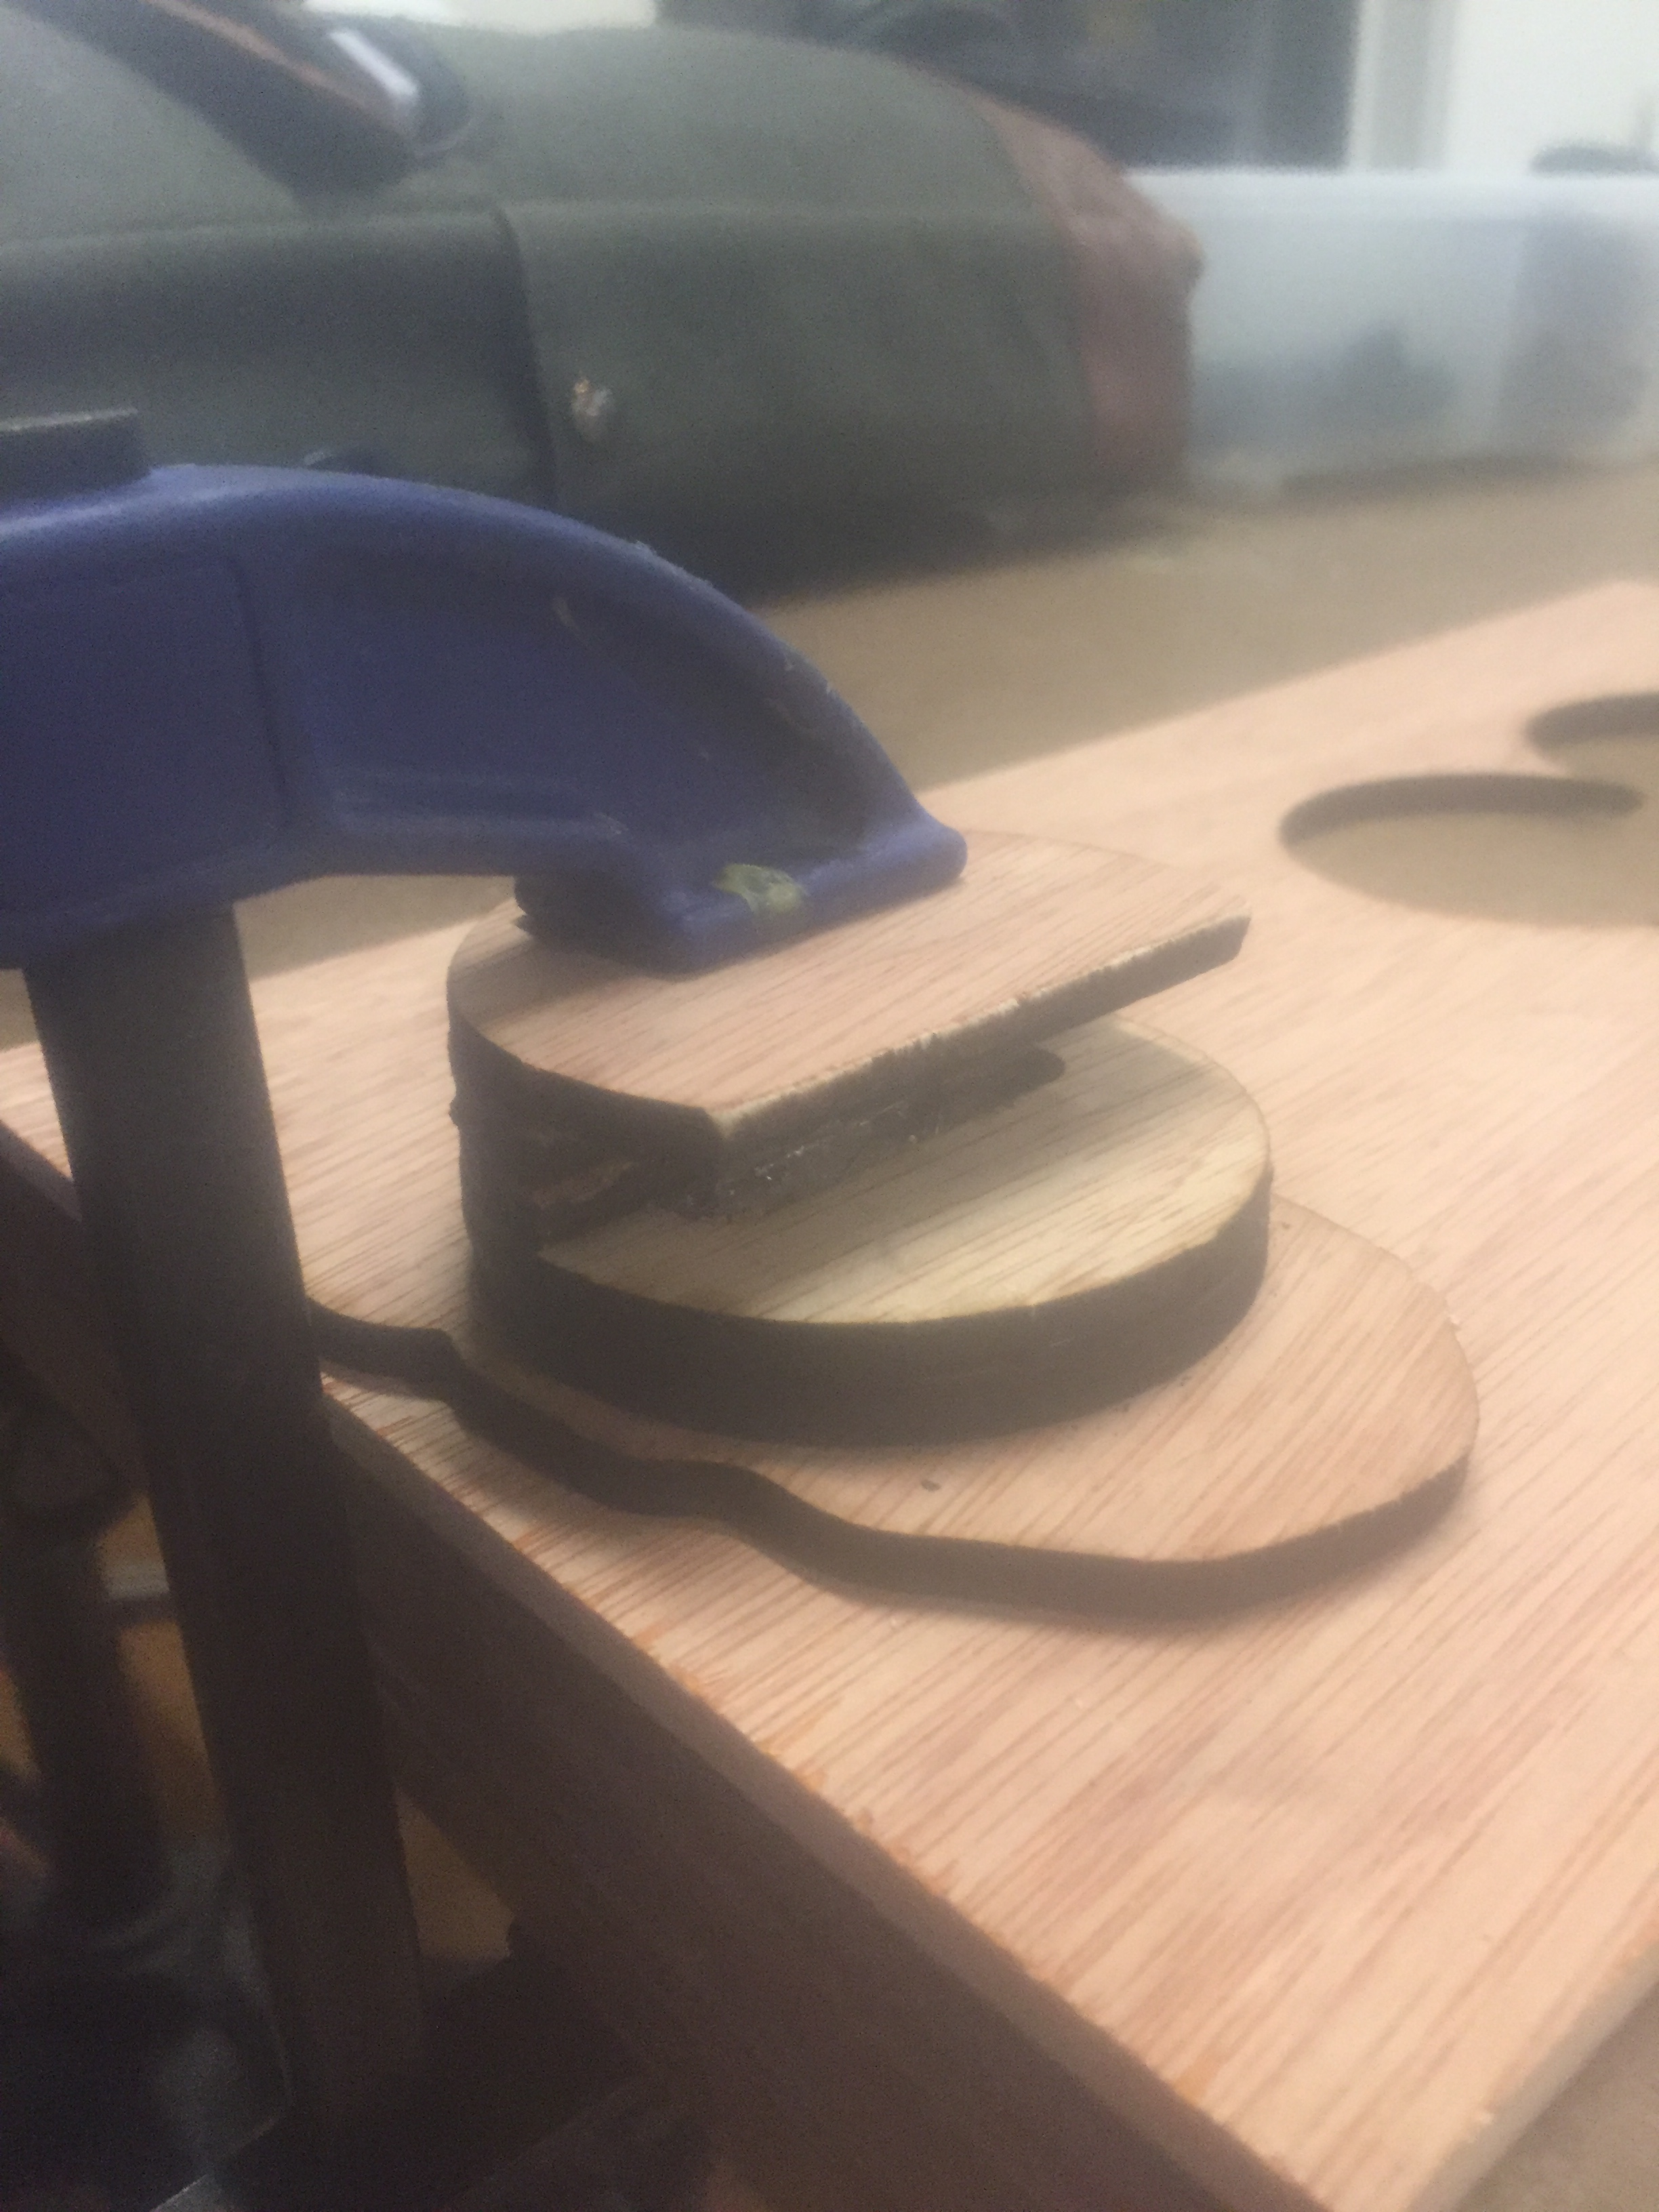
 Clamping the interchange-able mechanism onto the flashlight body.
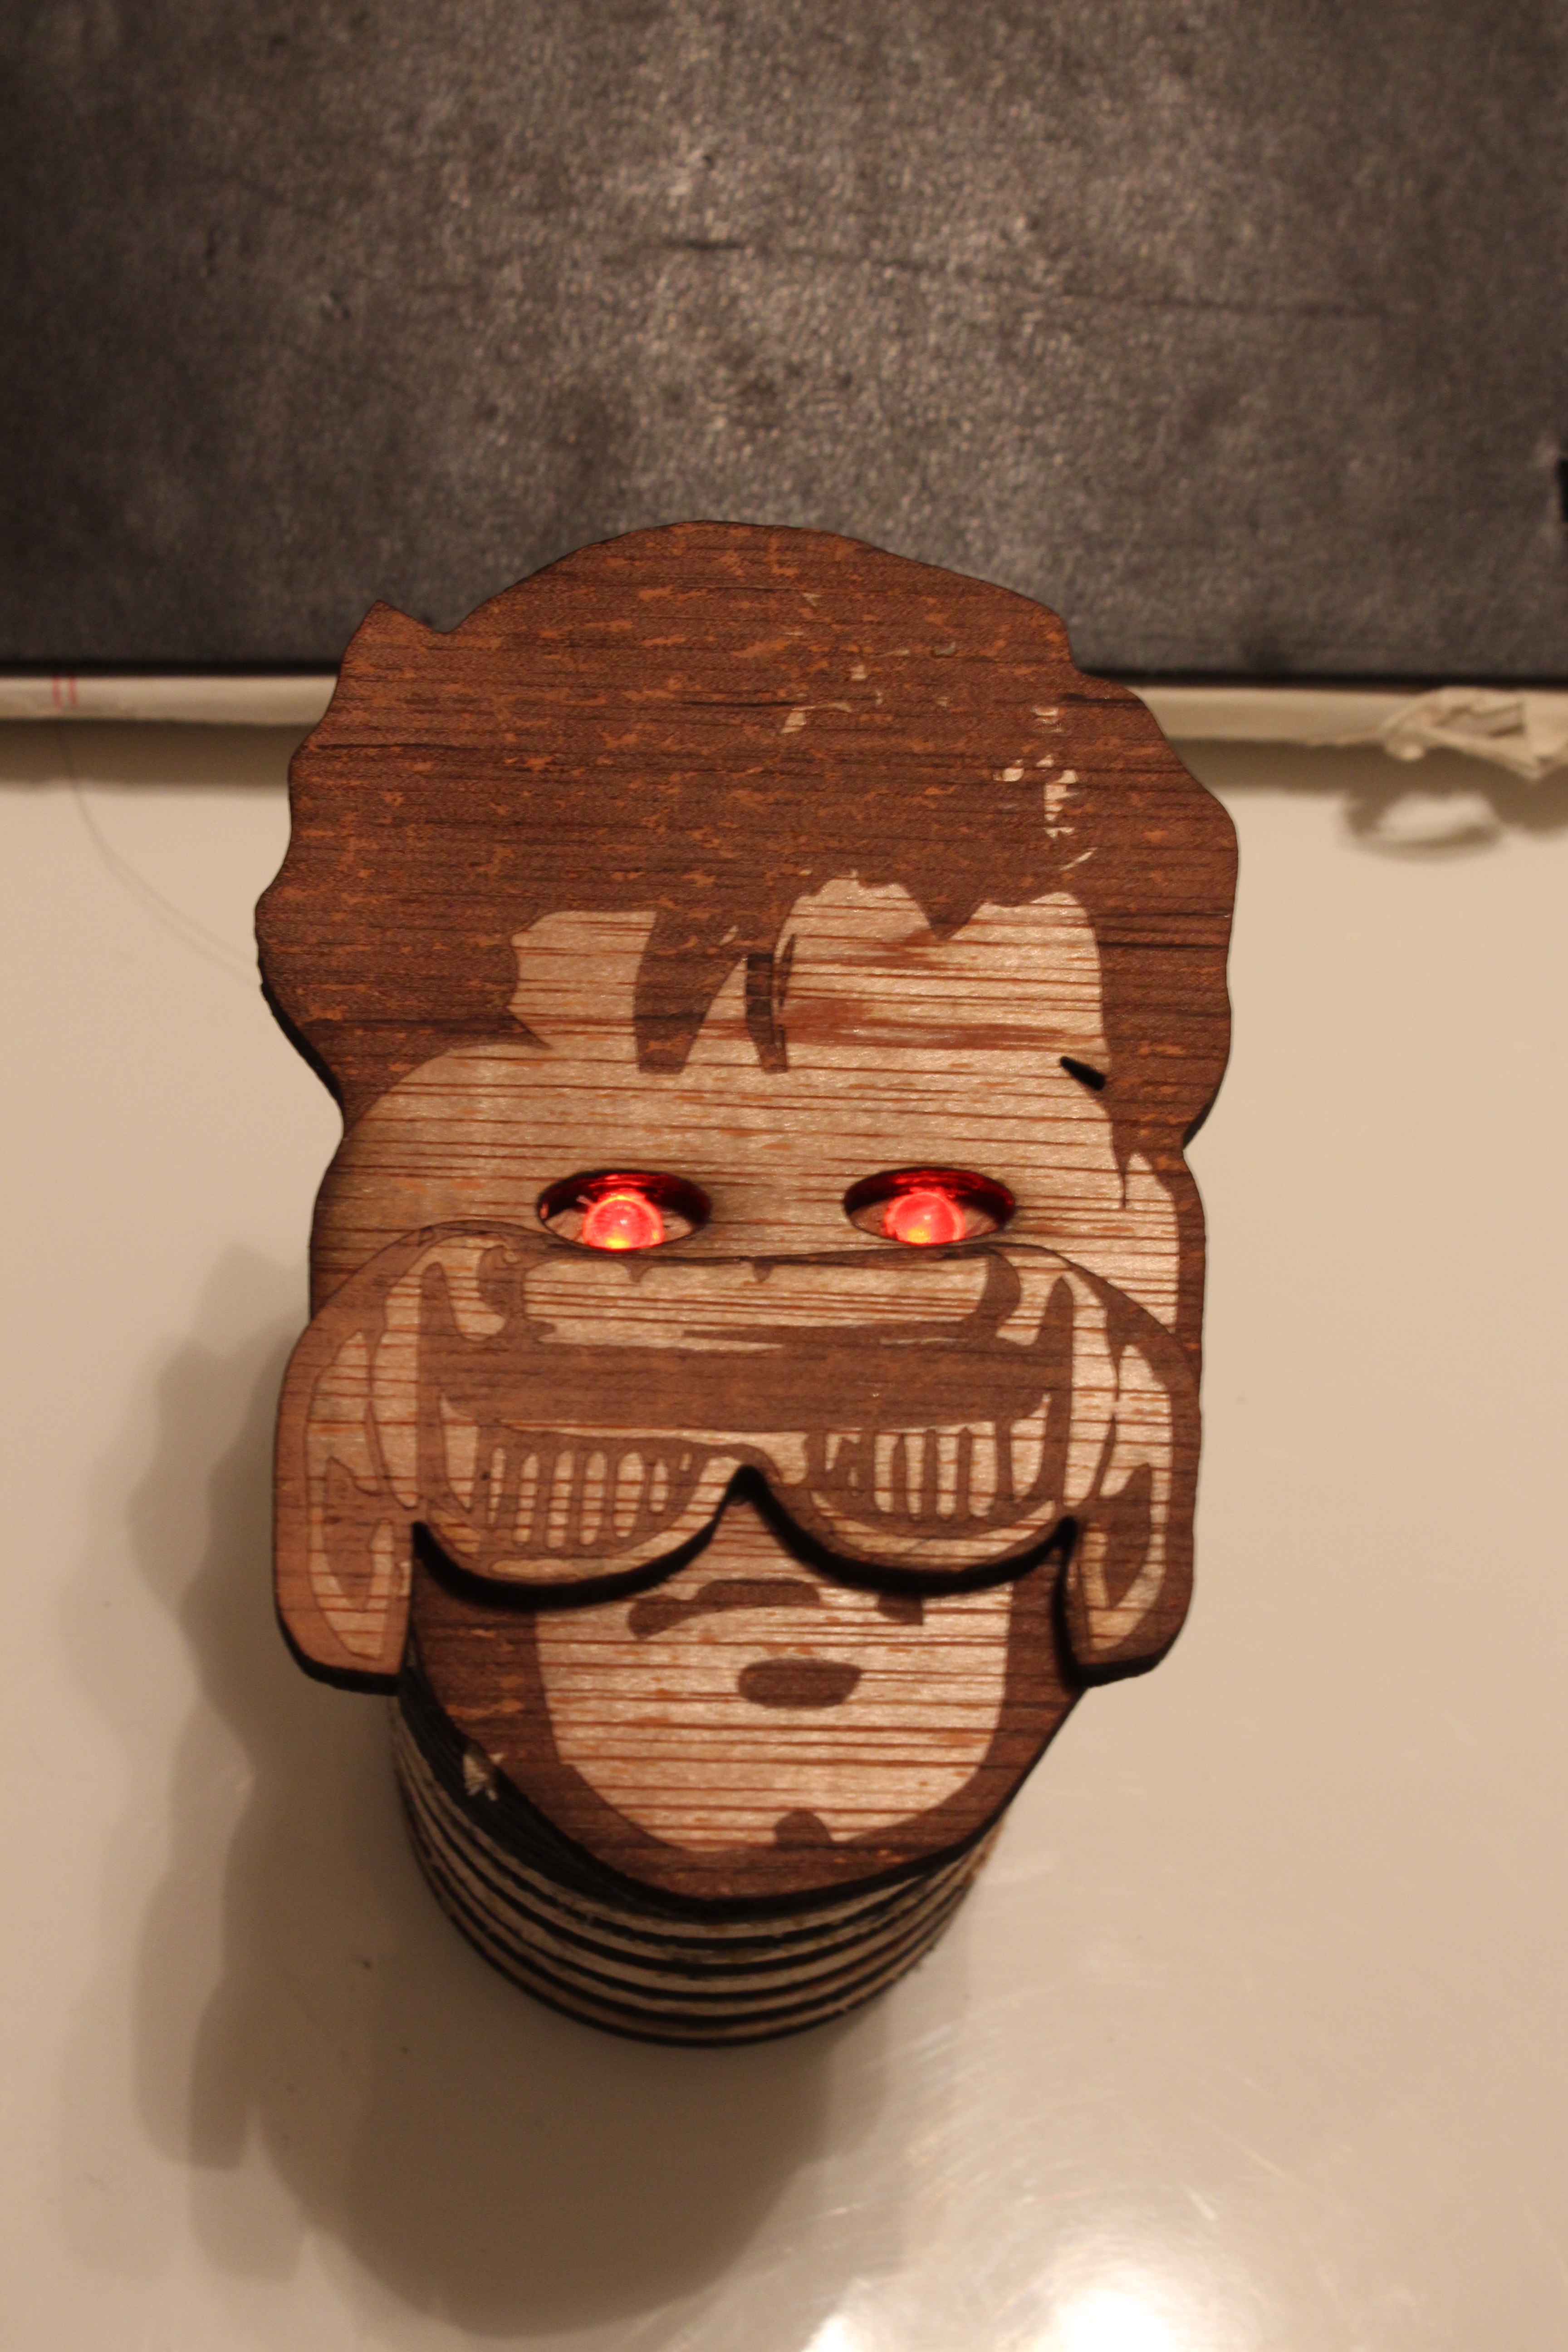
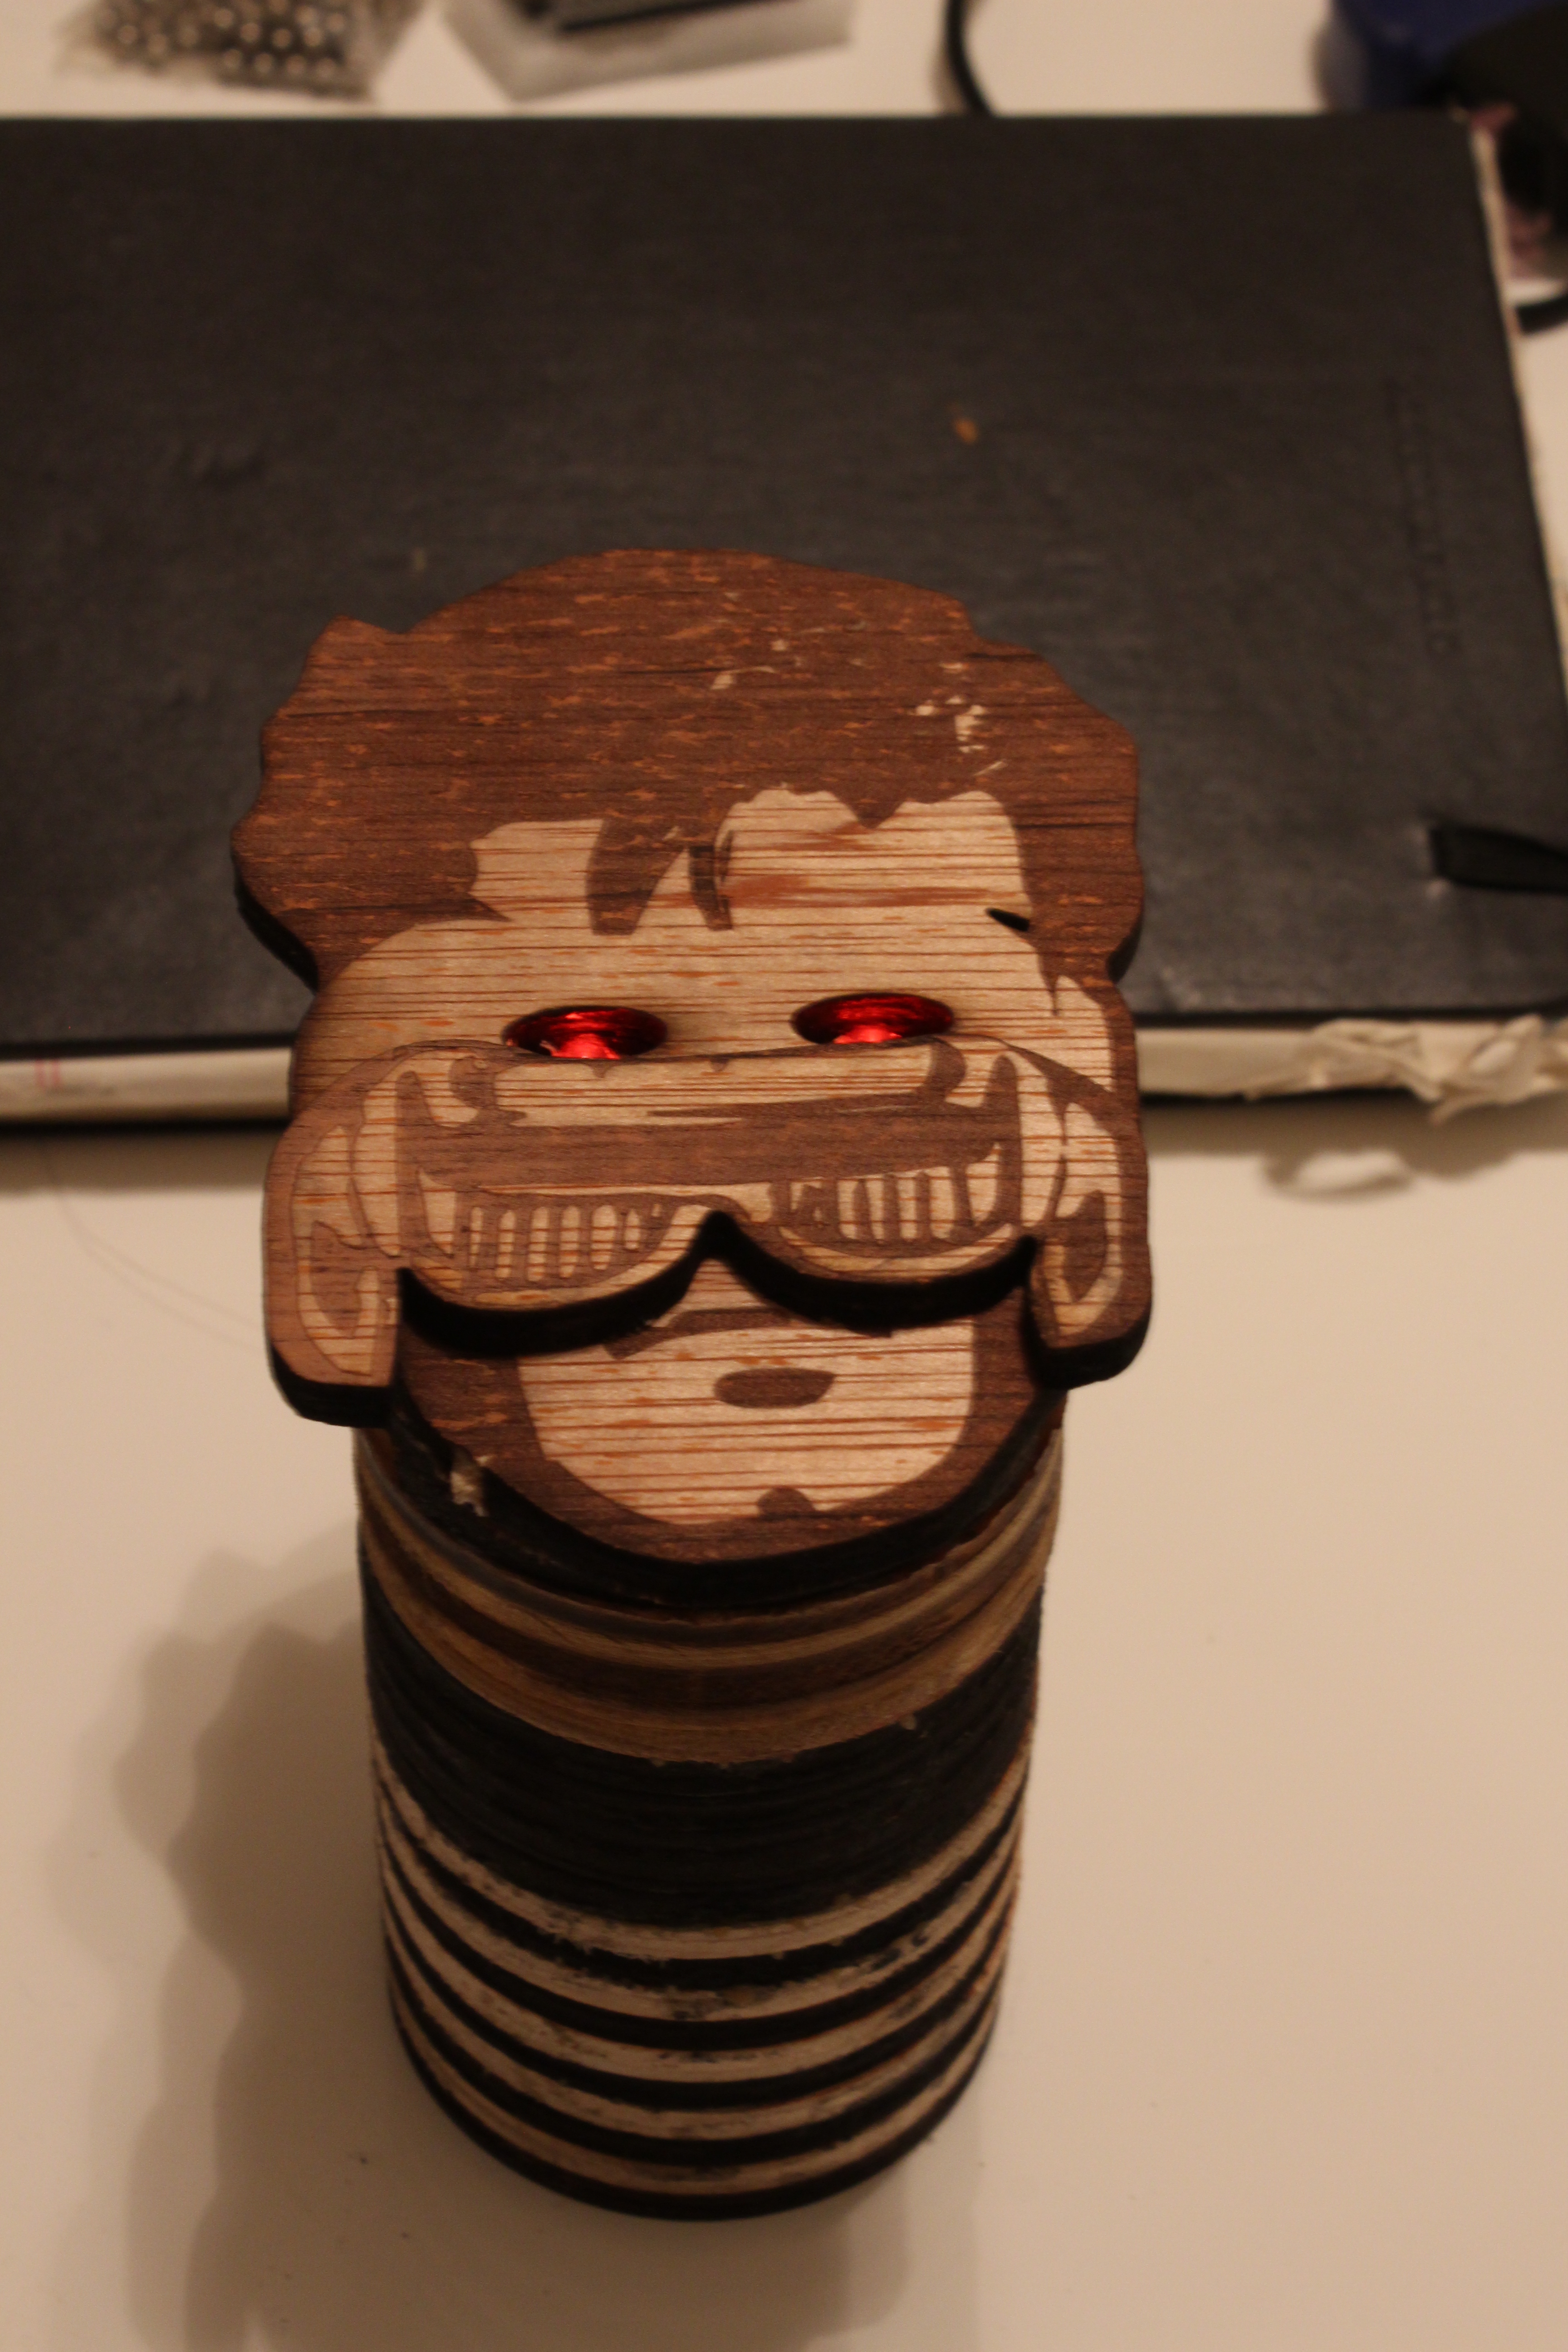
Cyclops!
Don’t forget we’re building a flashlight! using a couple of red LEDS, we drill holes into Cyclop’s eyes and insert them and solder a complete circuit.
 We then add a spacer so the circuit has room to be glued.
 Gluing the spacer.
 Finally, we clamp the flashlight head complete with the interchange-able mechanism.
Done!
Comments
Ben Light
Nice work and documentation. I’ve always been an Ice Man fan myself.
I like the stacked technique to make the handle, but you could have drilled the spade bit hole first, then the hole saw all in the same set up on the drill press. You would just have to change out bits. Or you could have used a tube and just capped the ends off.
I’m a little confused how the locking mechanism works, and would like to get a closer look at that. Maybe a short video would clear that up in the documentation.