HAMMER TIME on ITP's Wood Lathe
Hammer Time!
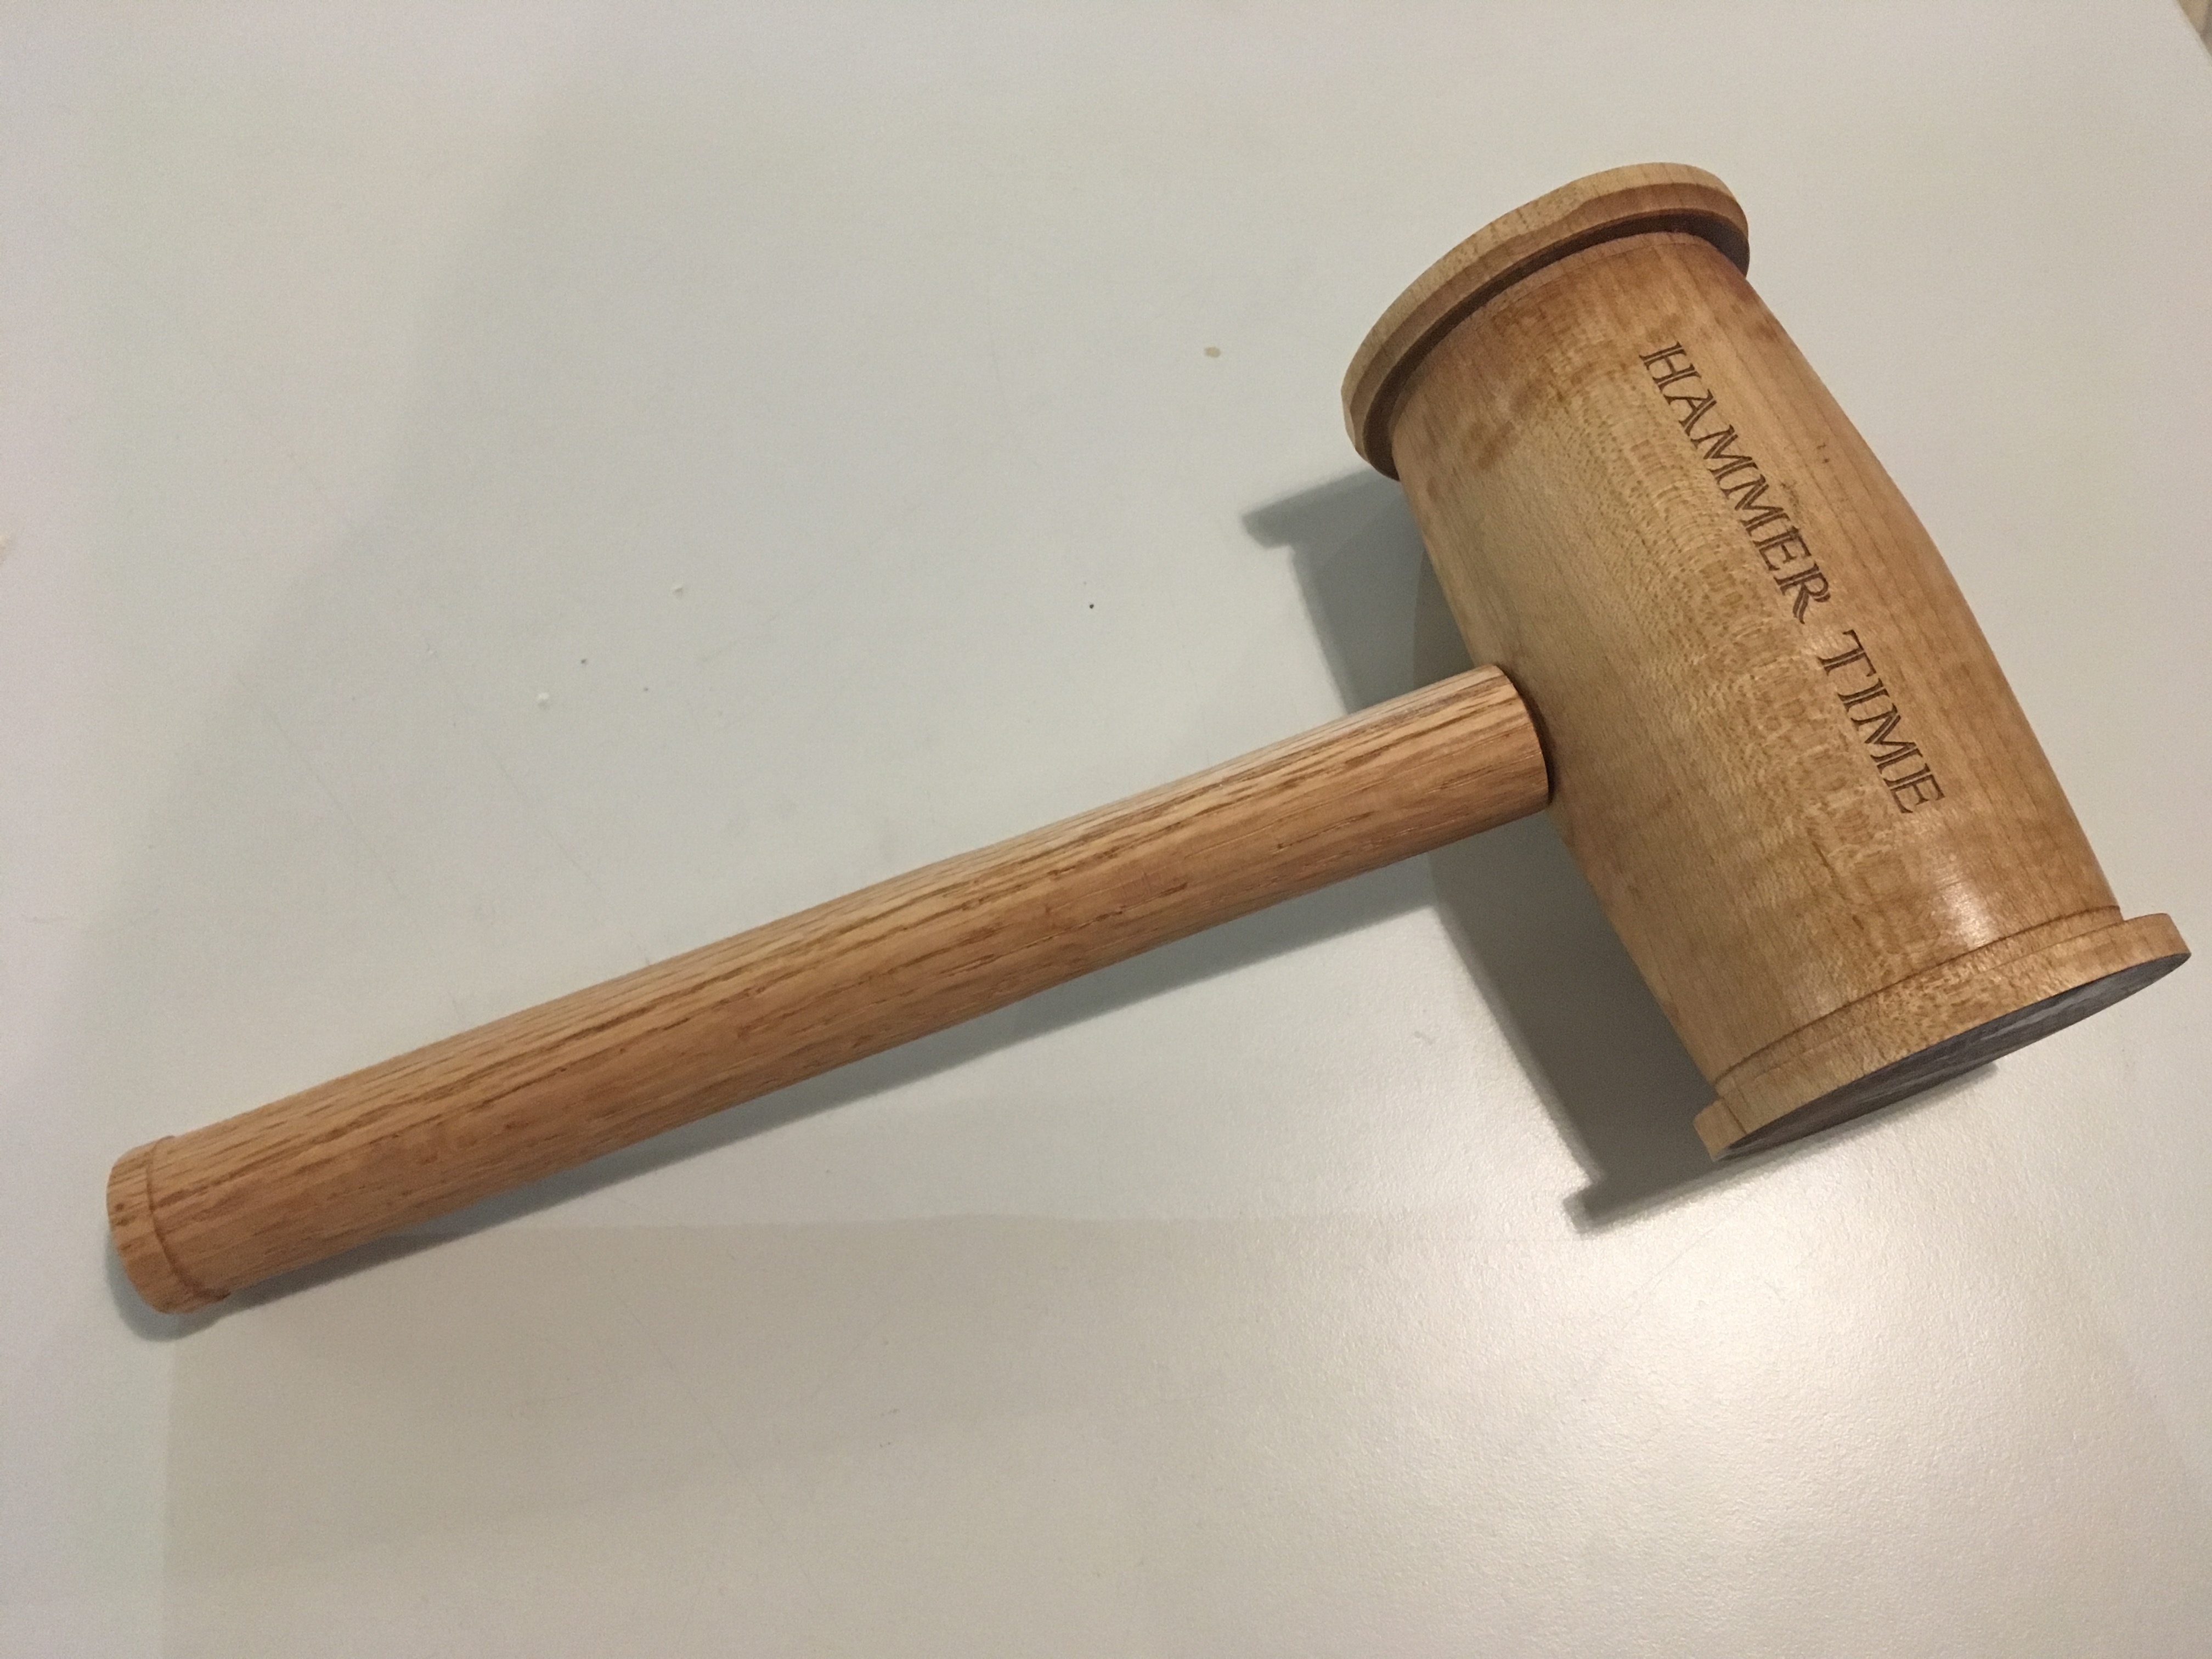
This week, I built a mallet to gift to my camp, conveniently named HAMMER TIME.
Testing with a Poplar Dowel
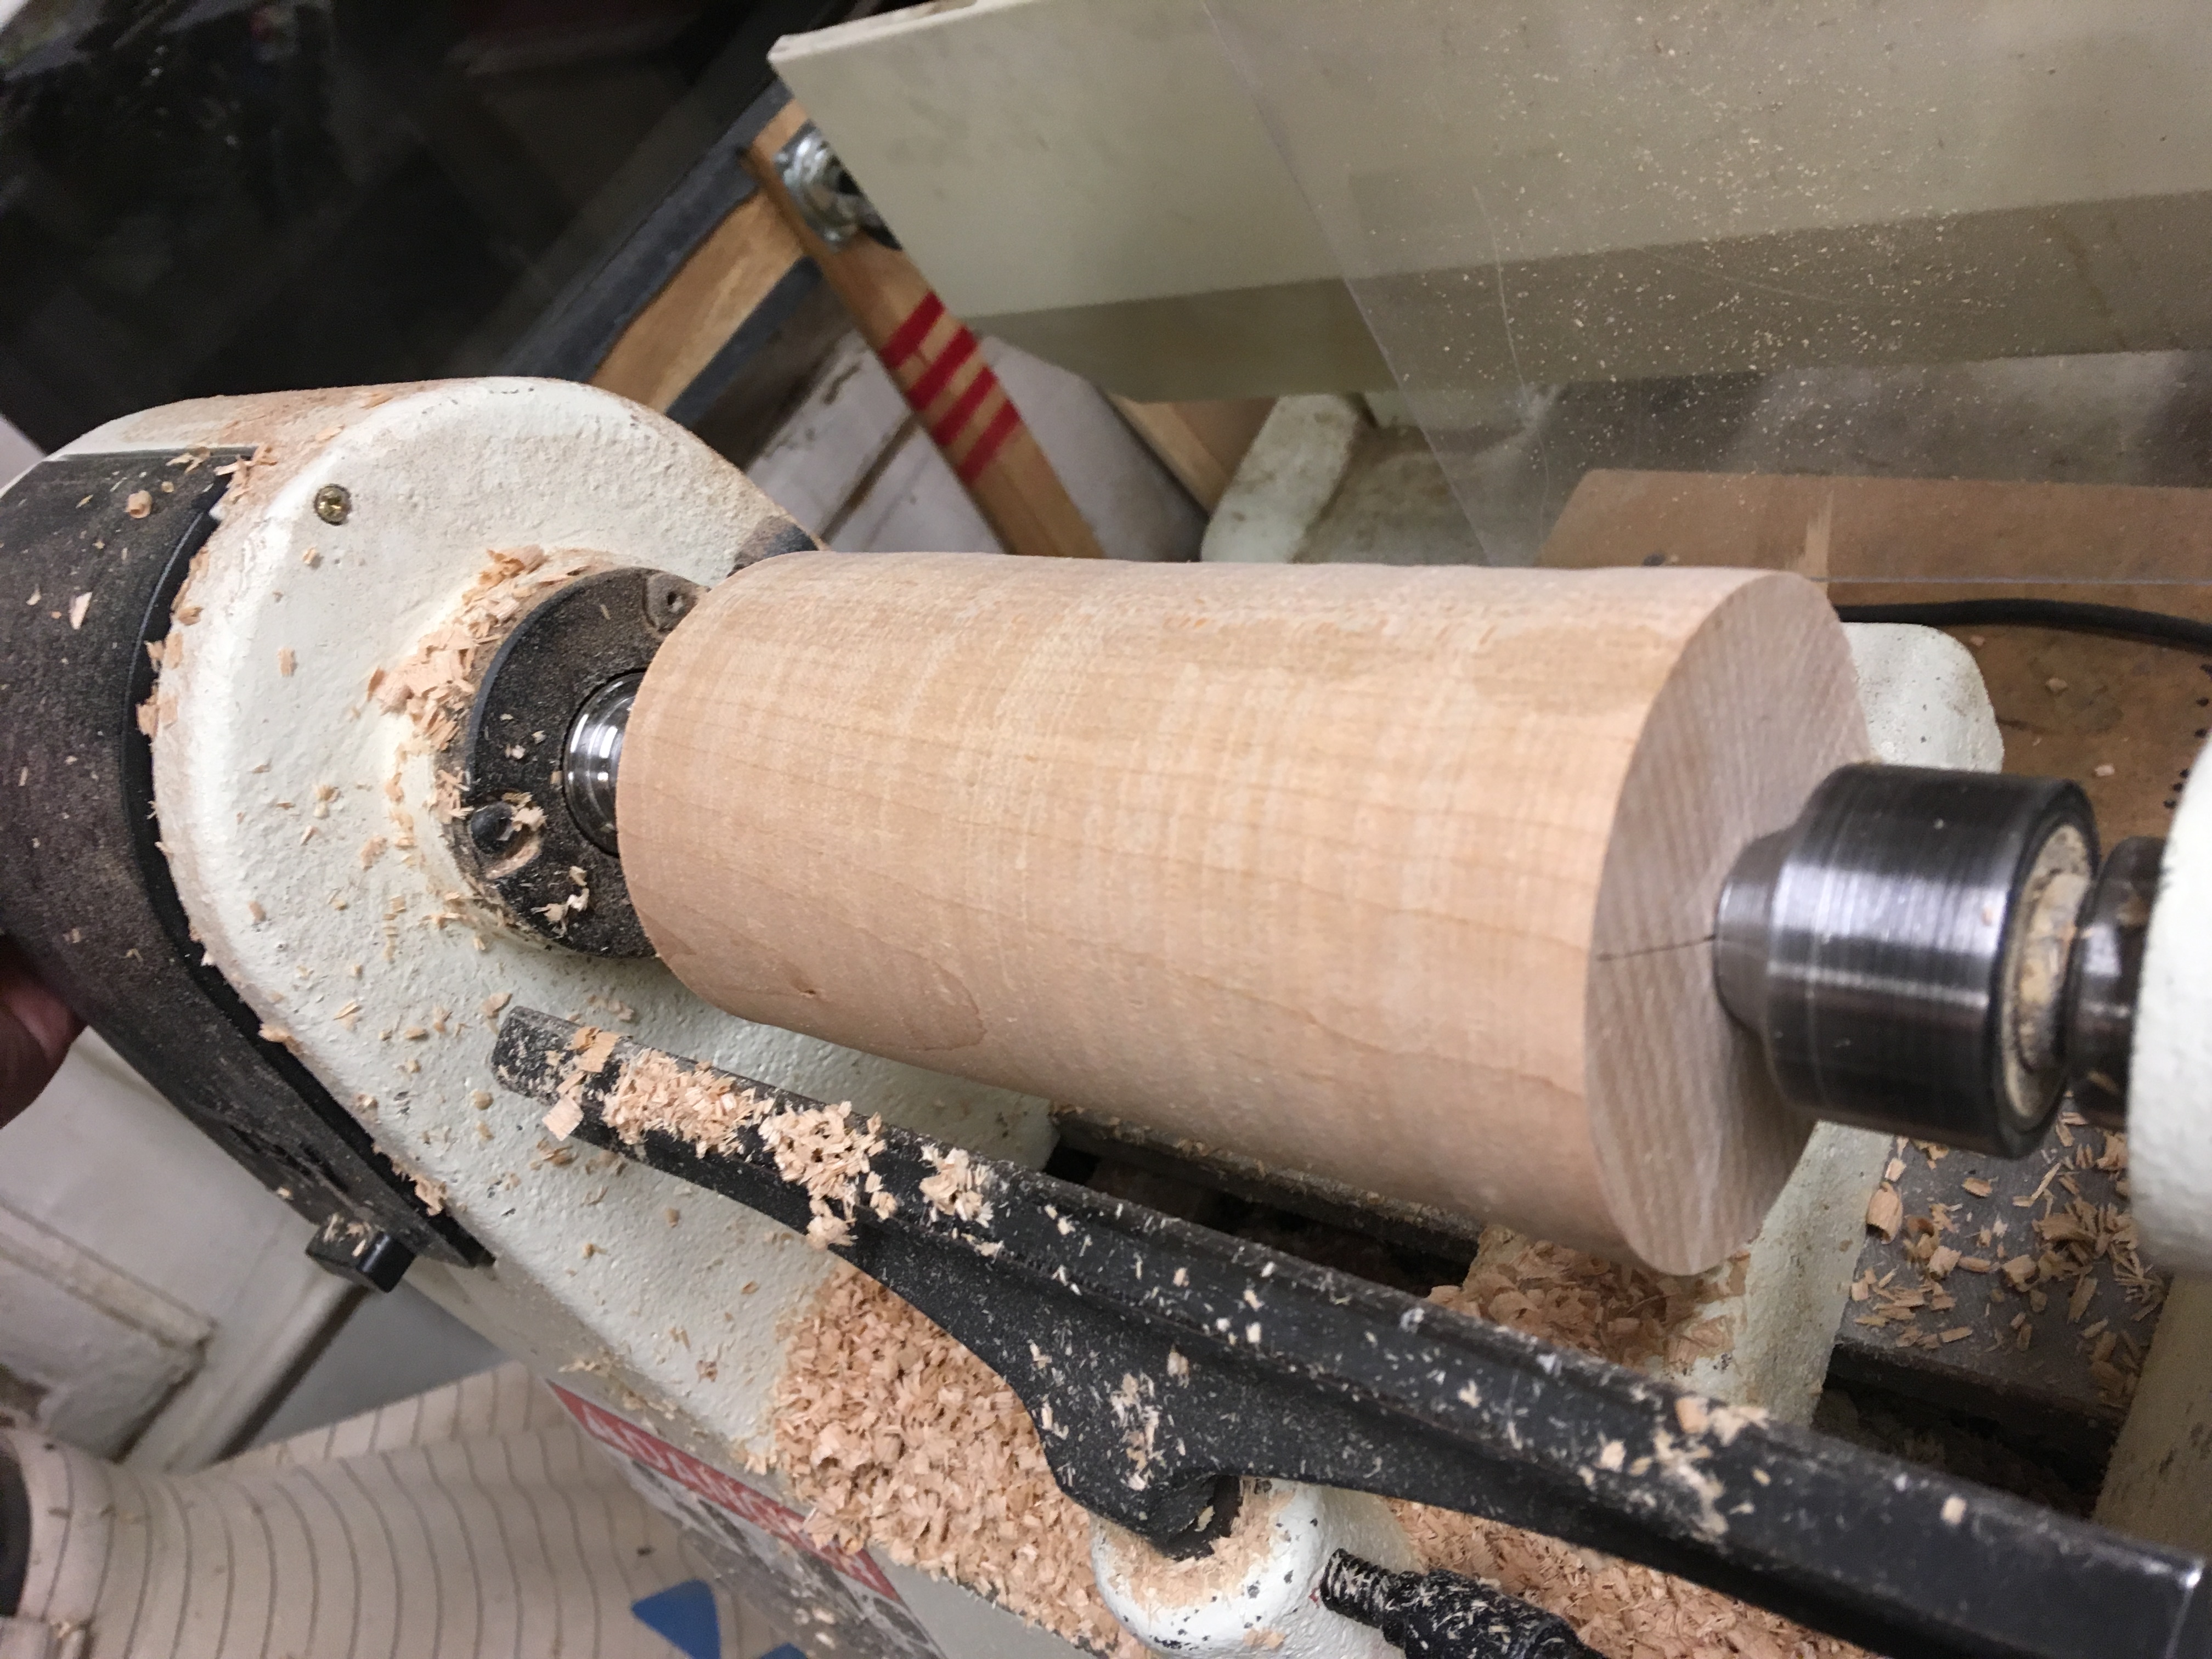
This was my first time doing interlocking parts on the lathe, so I wanted to test everything before messing up my precious block of beautiful maple. I had a large poplar dowel sitting around so I figured I’d mill it a bit and practice drilling the two main holes I would need to attach the handle: the hole for the handle and the hole to insert the dowel into the handle.
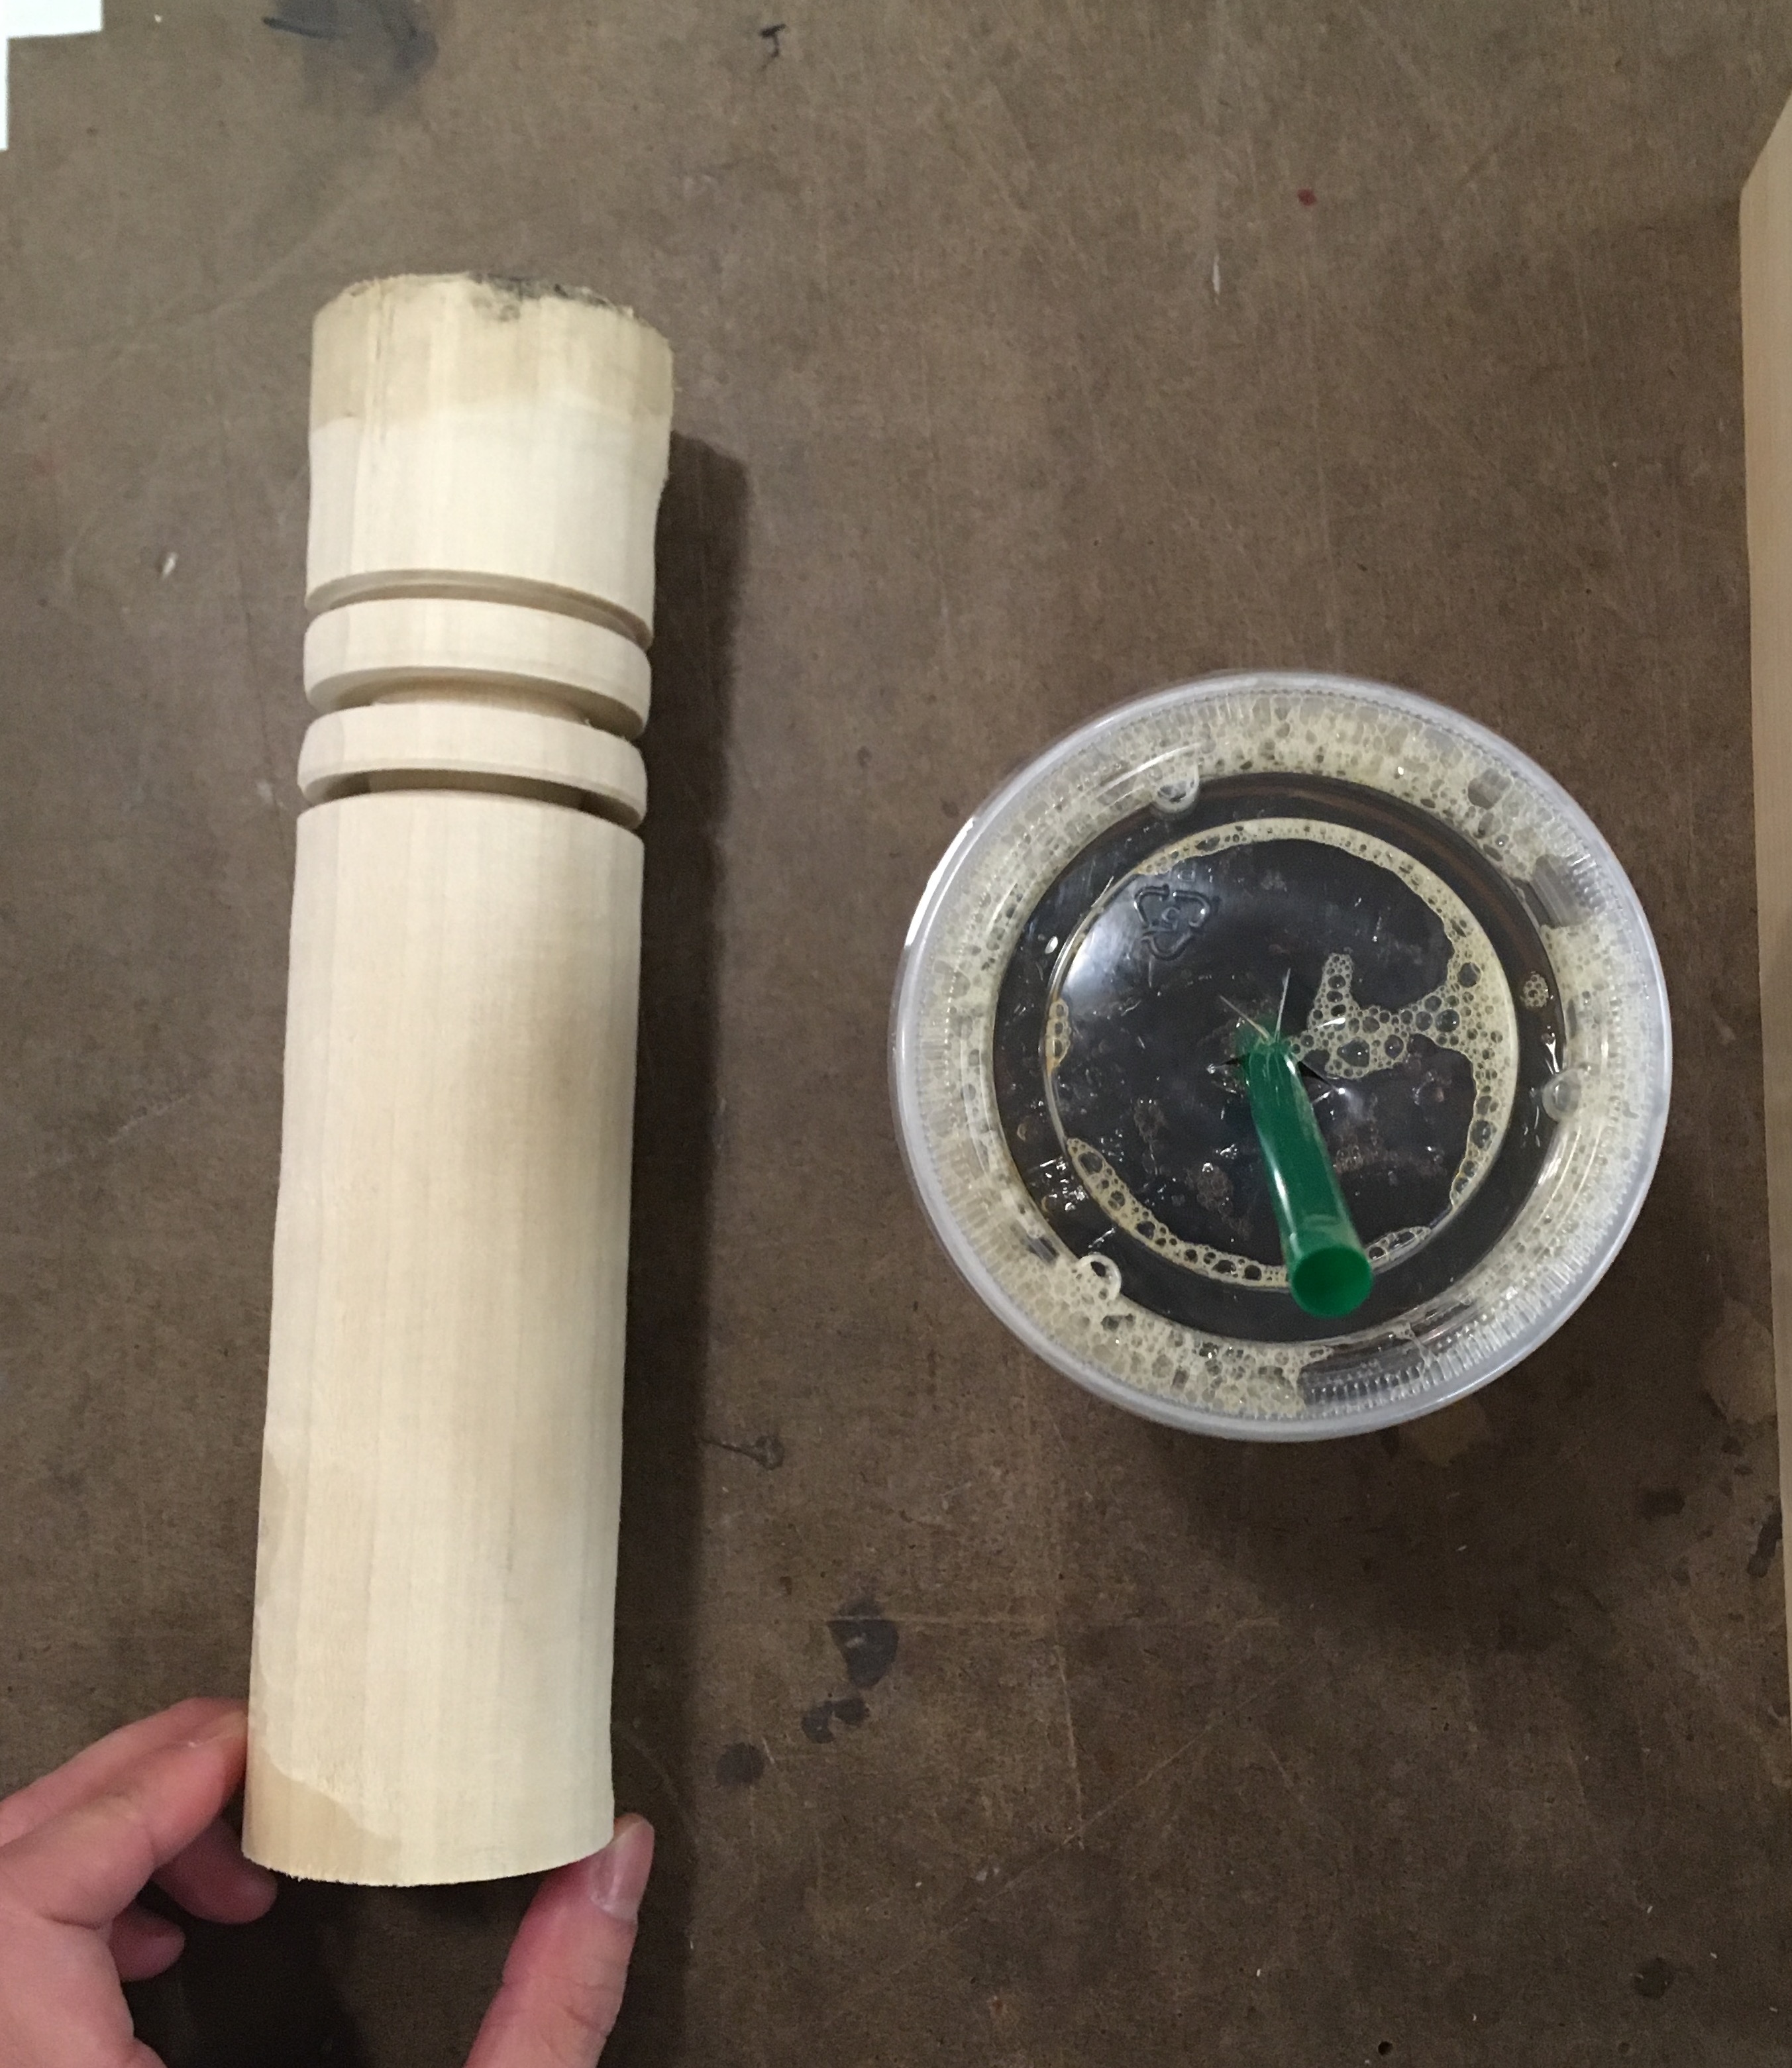 Scrap poplar dowel
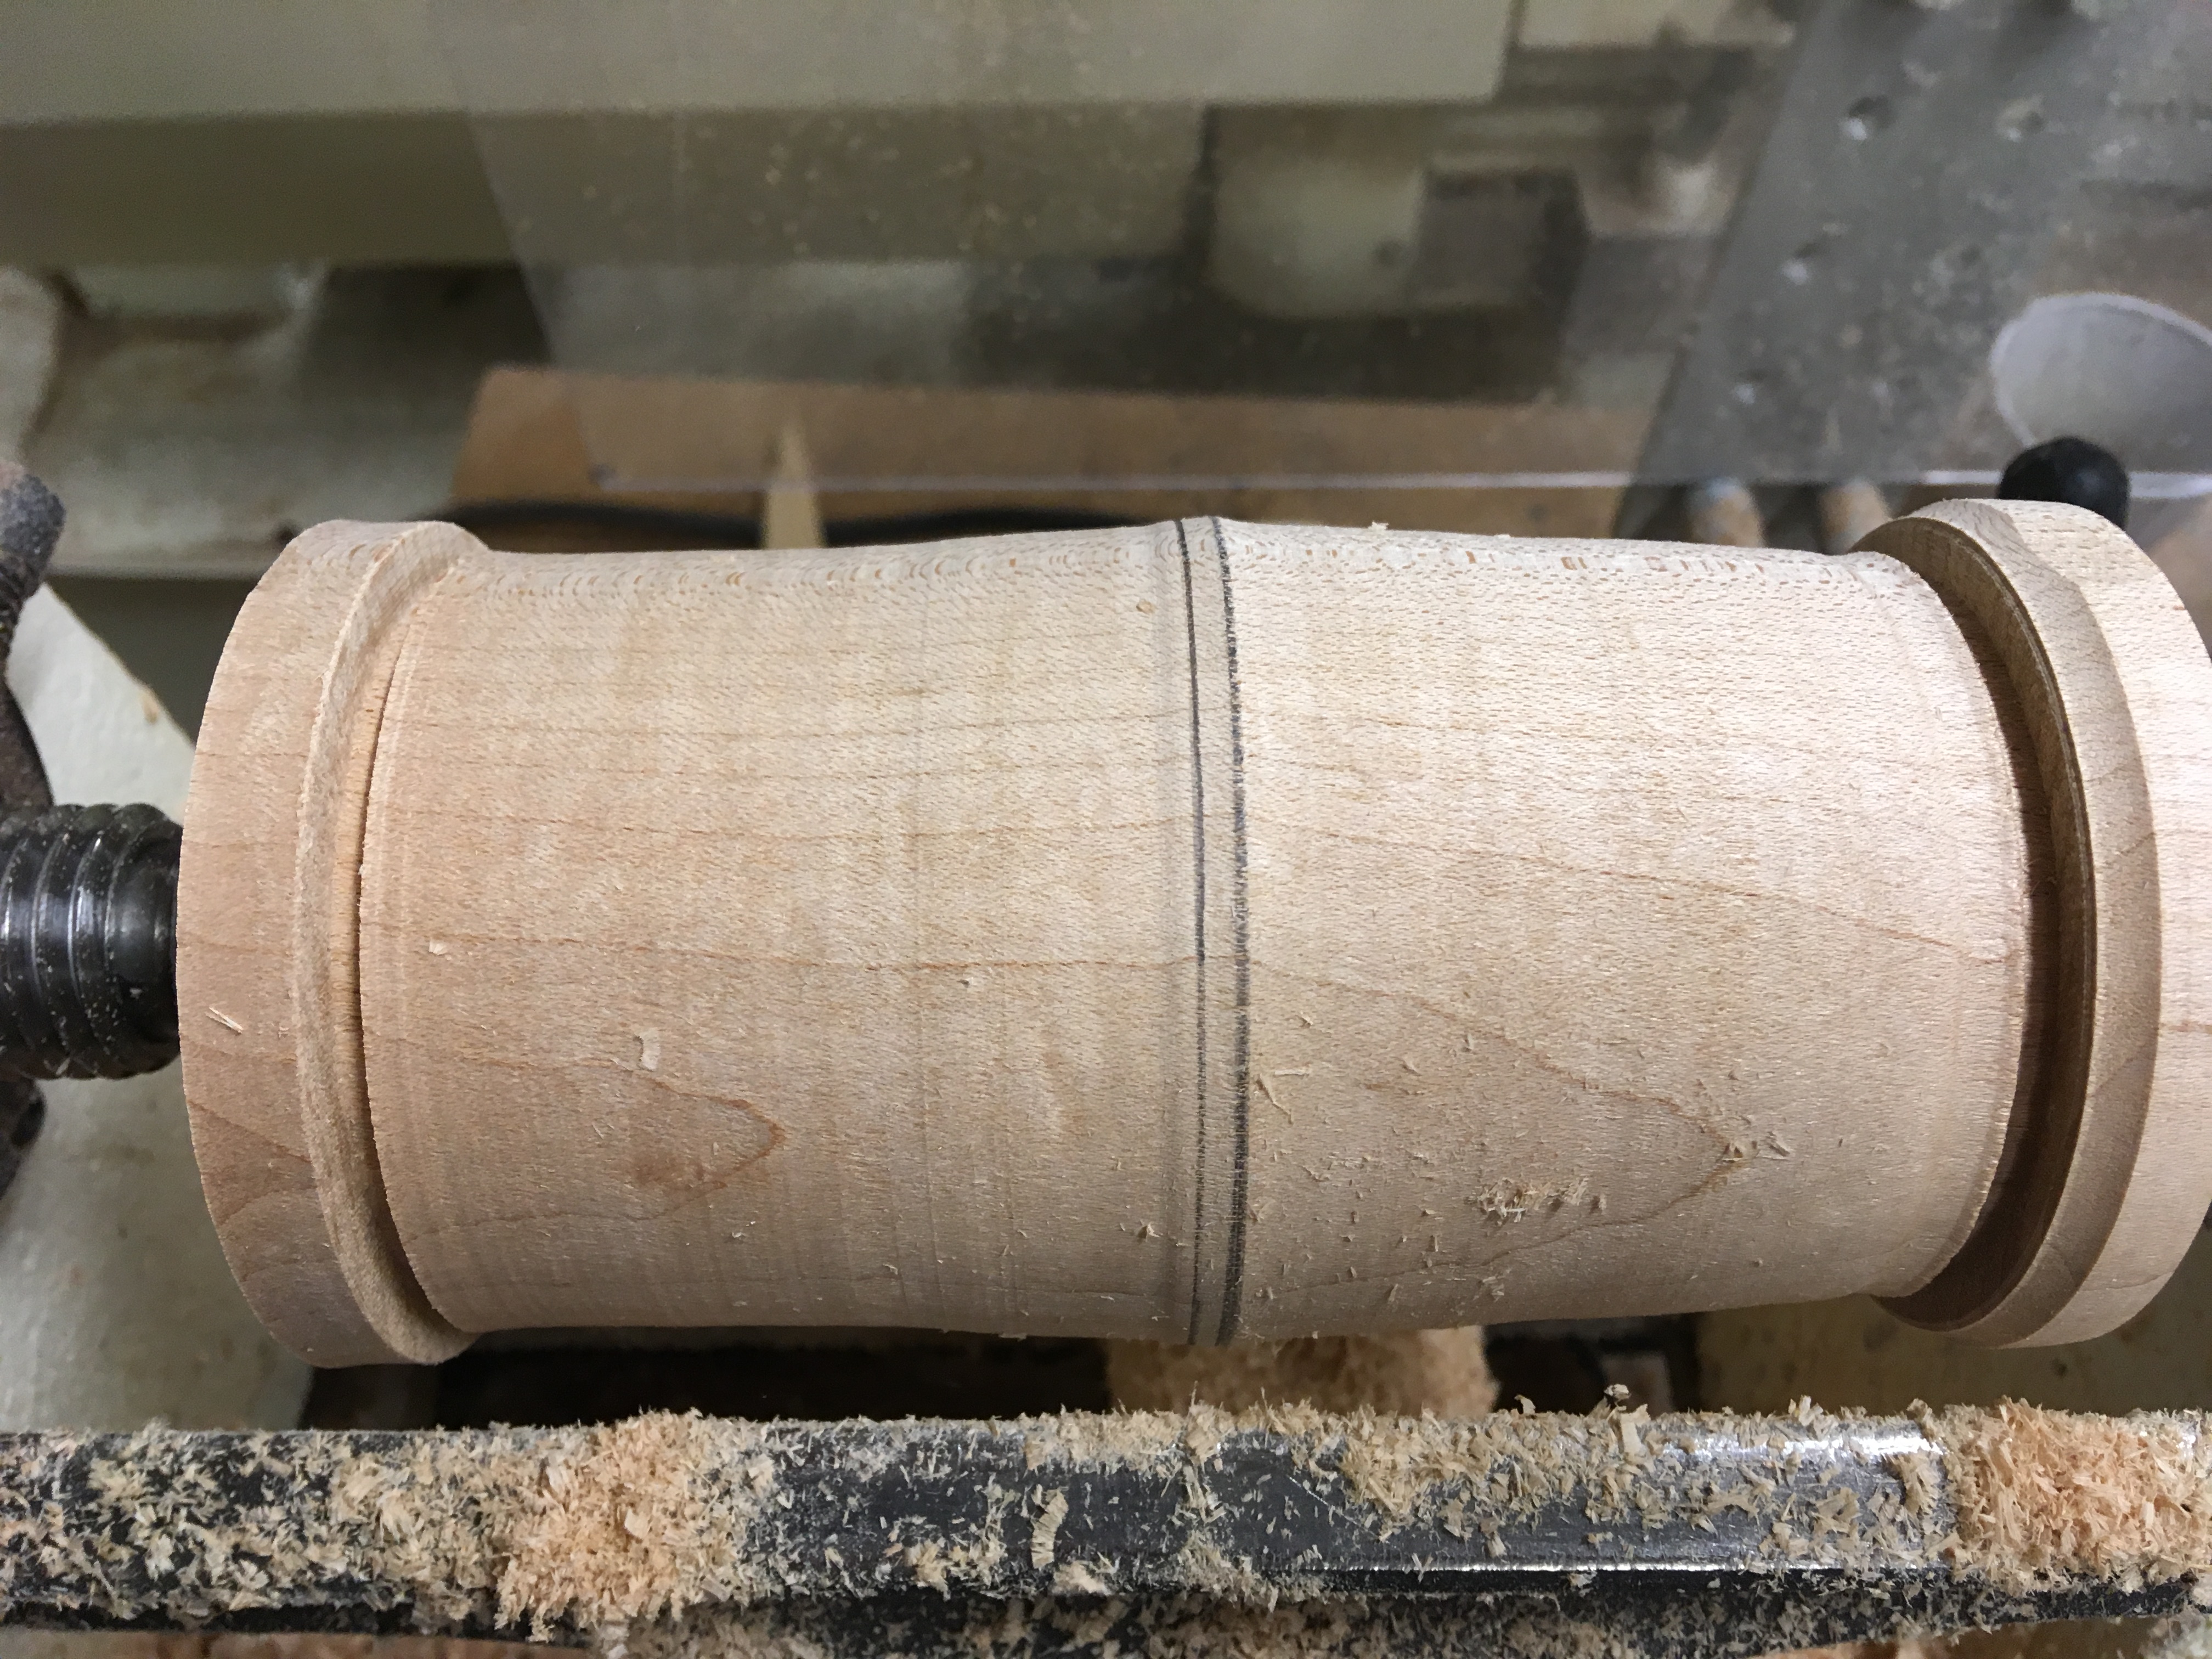
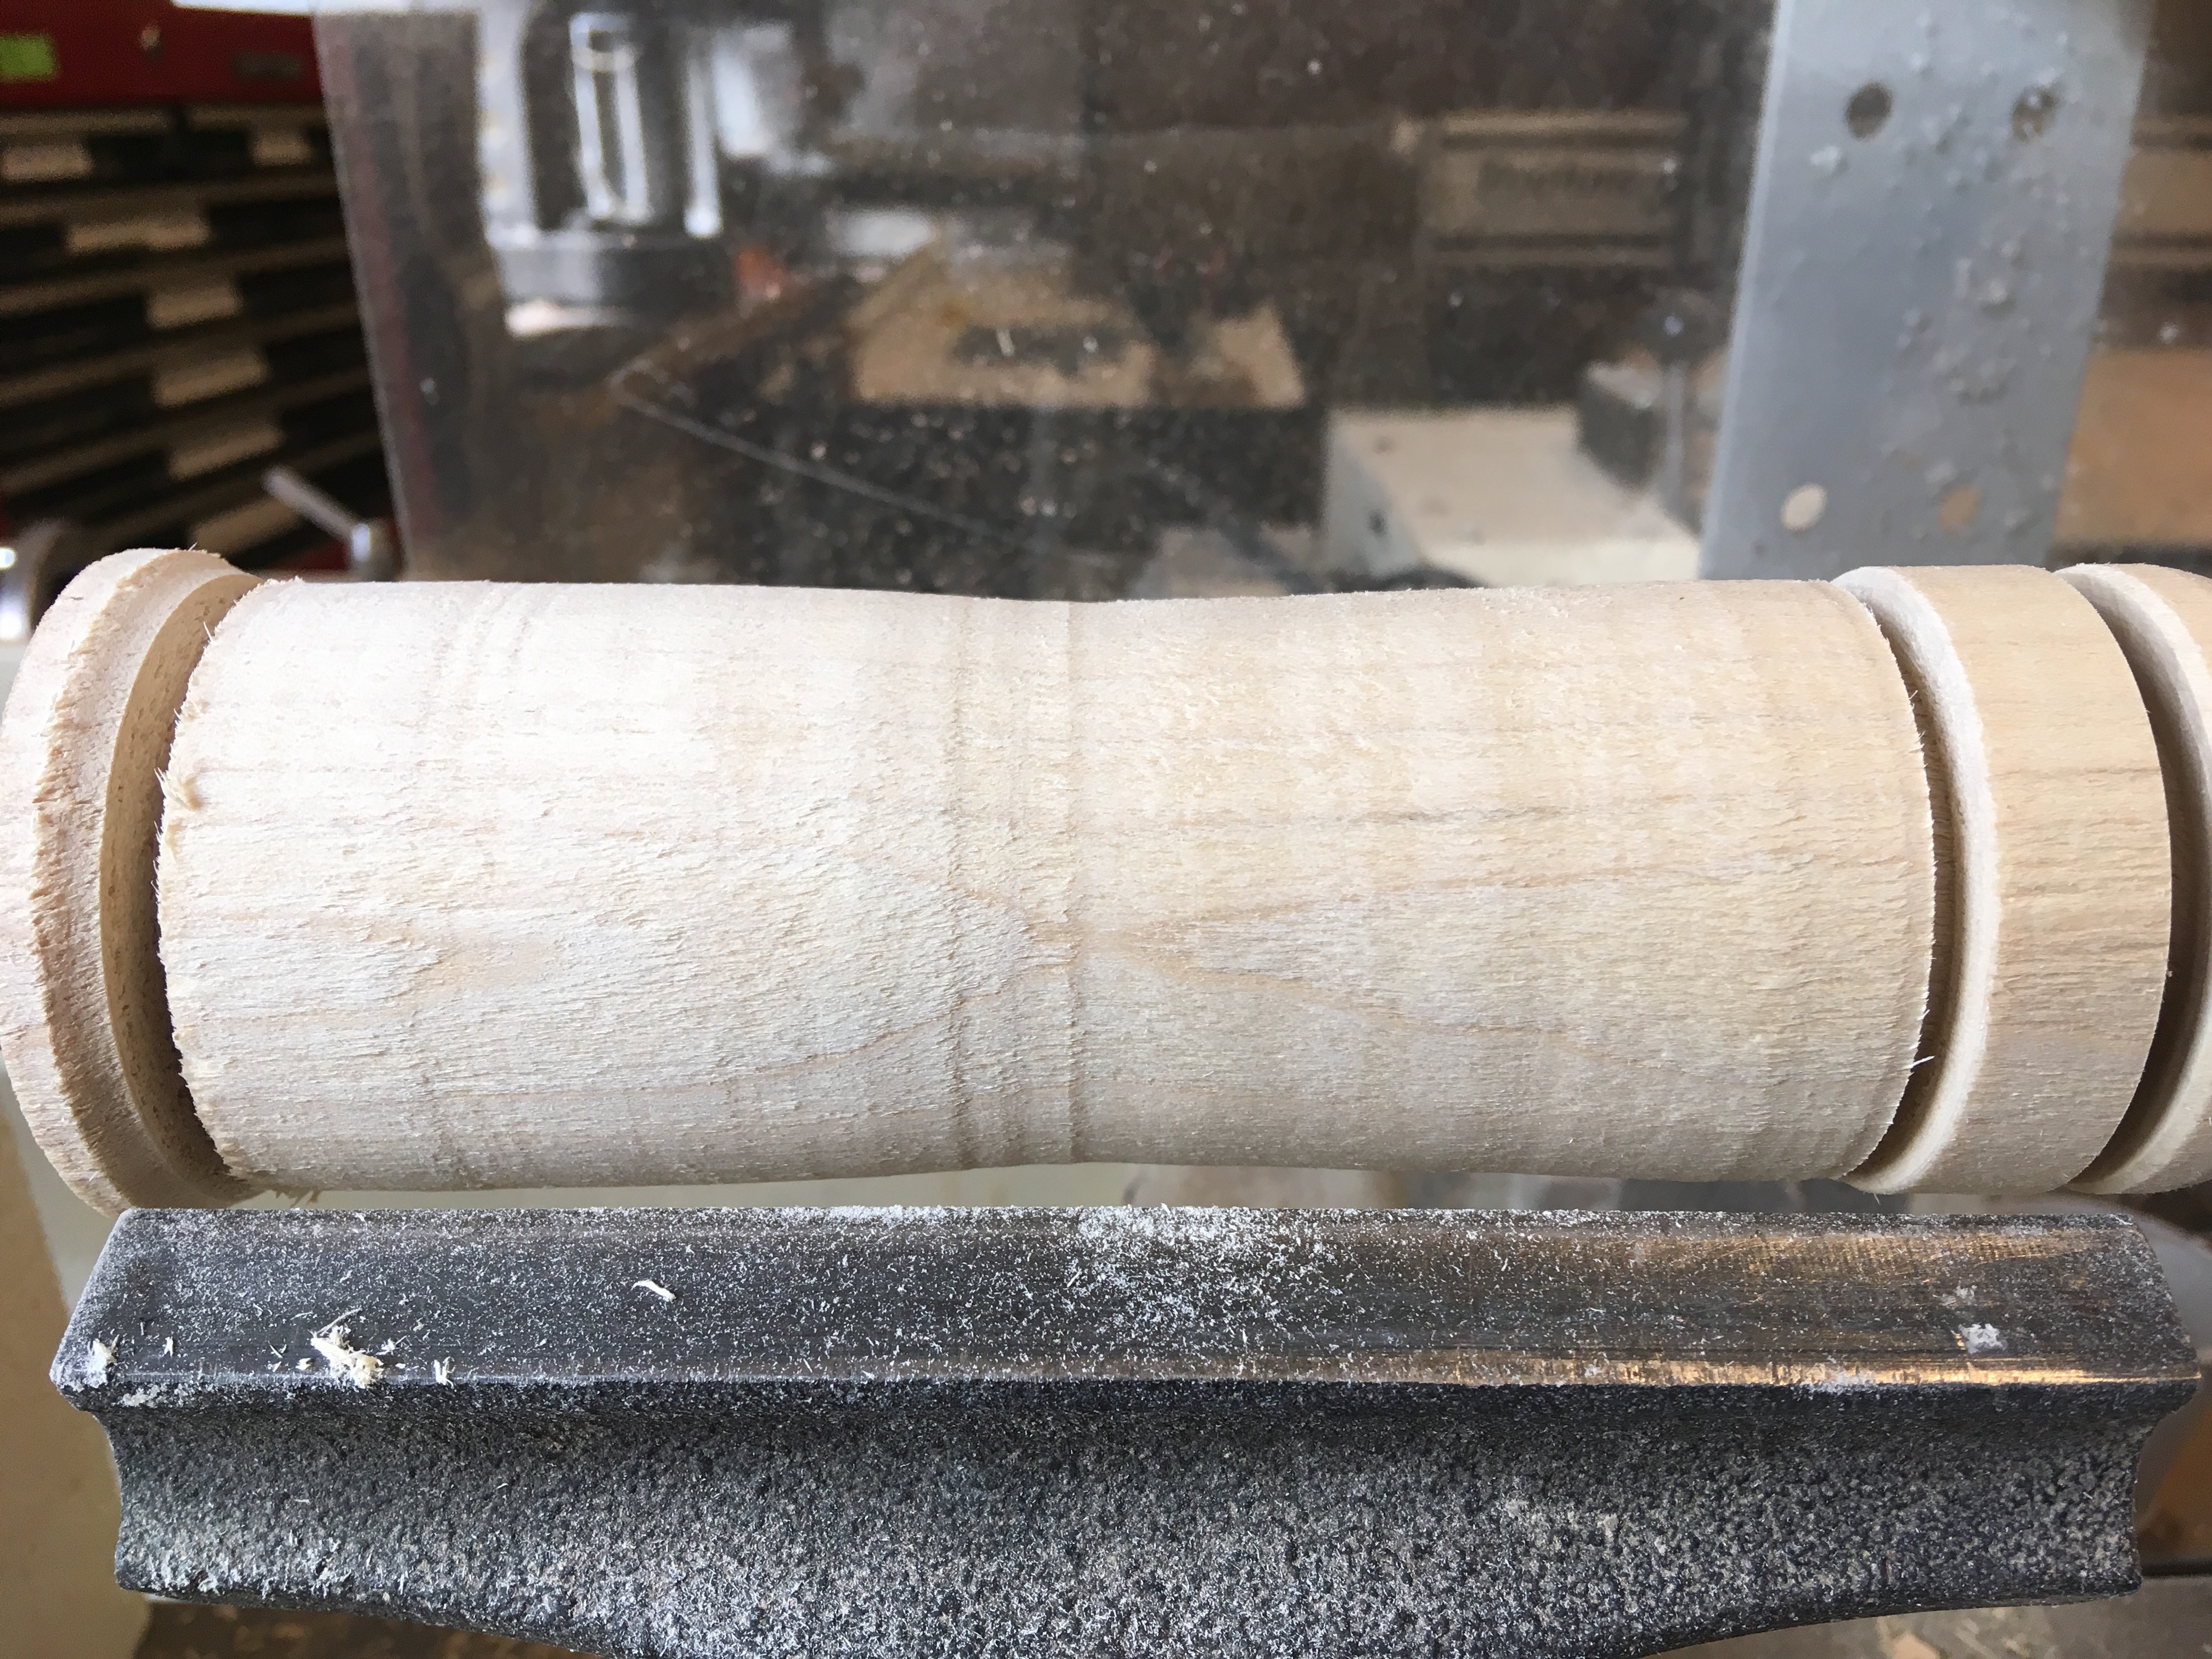 Getting a rough cut and practicing some curvature
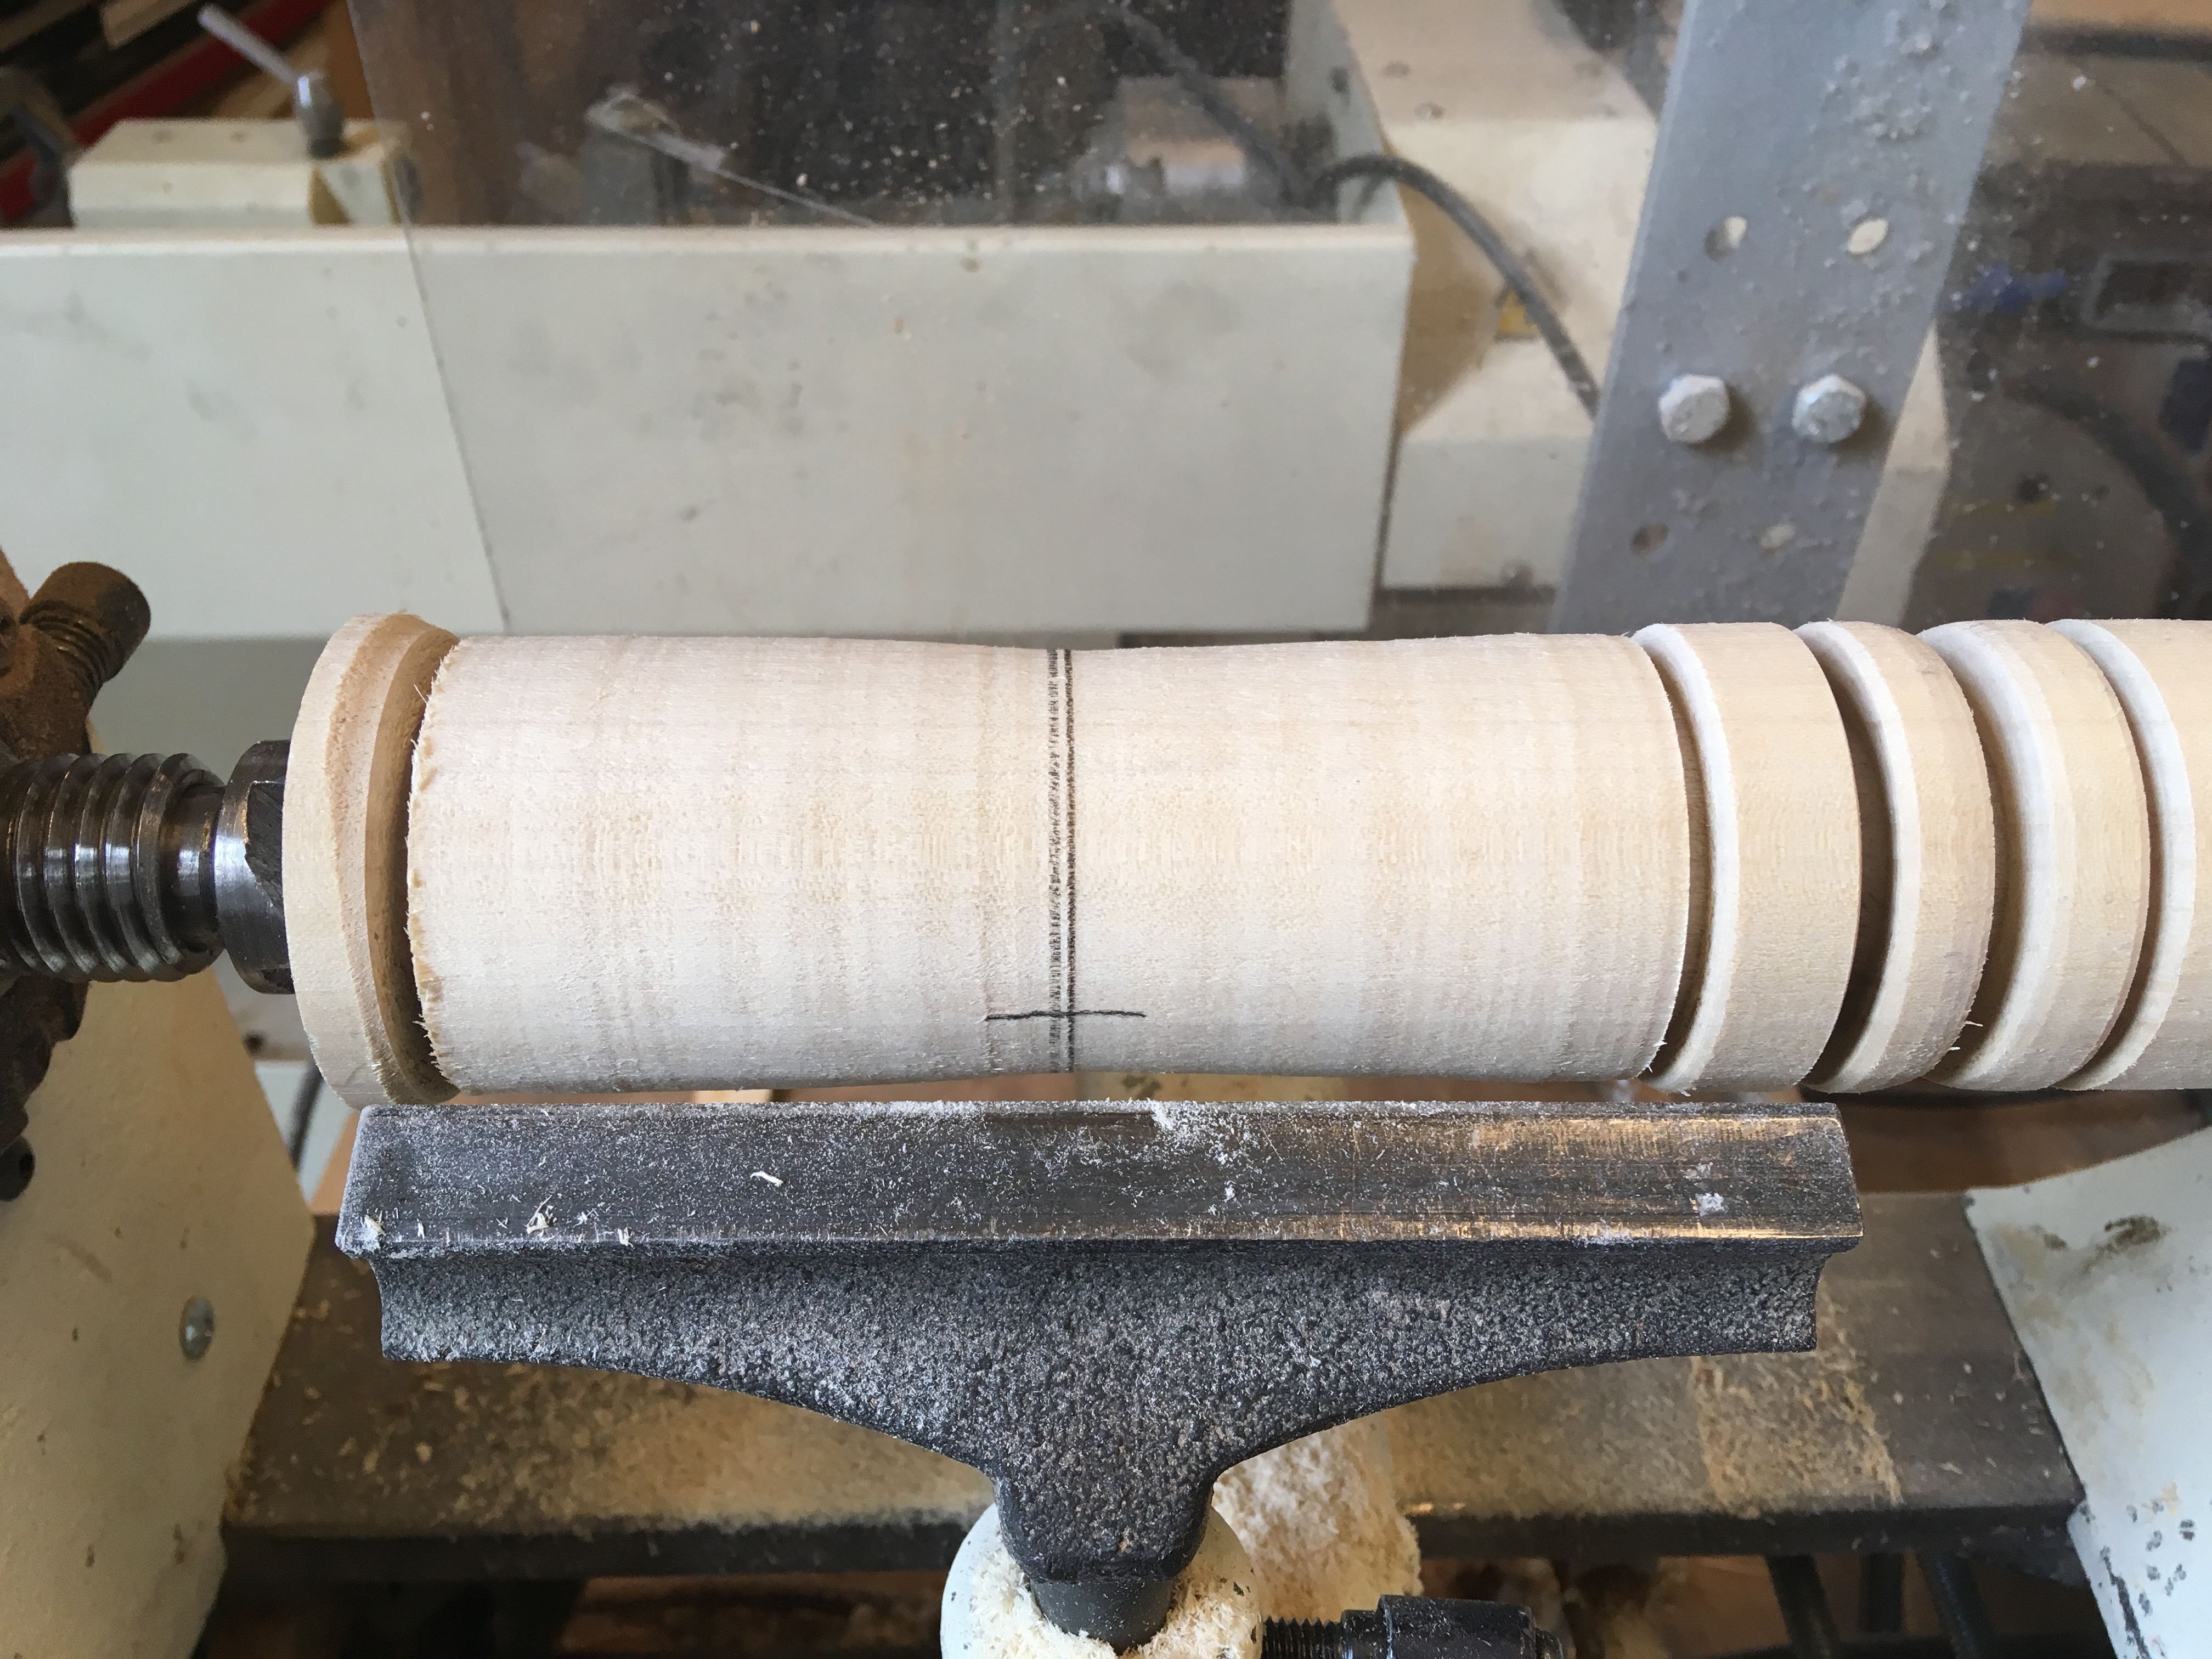 Drawing a centerline
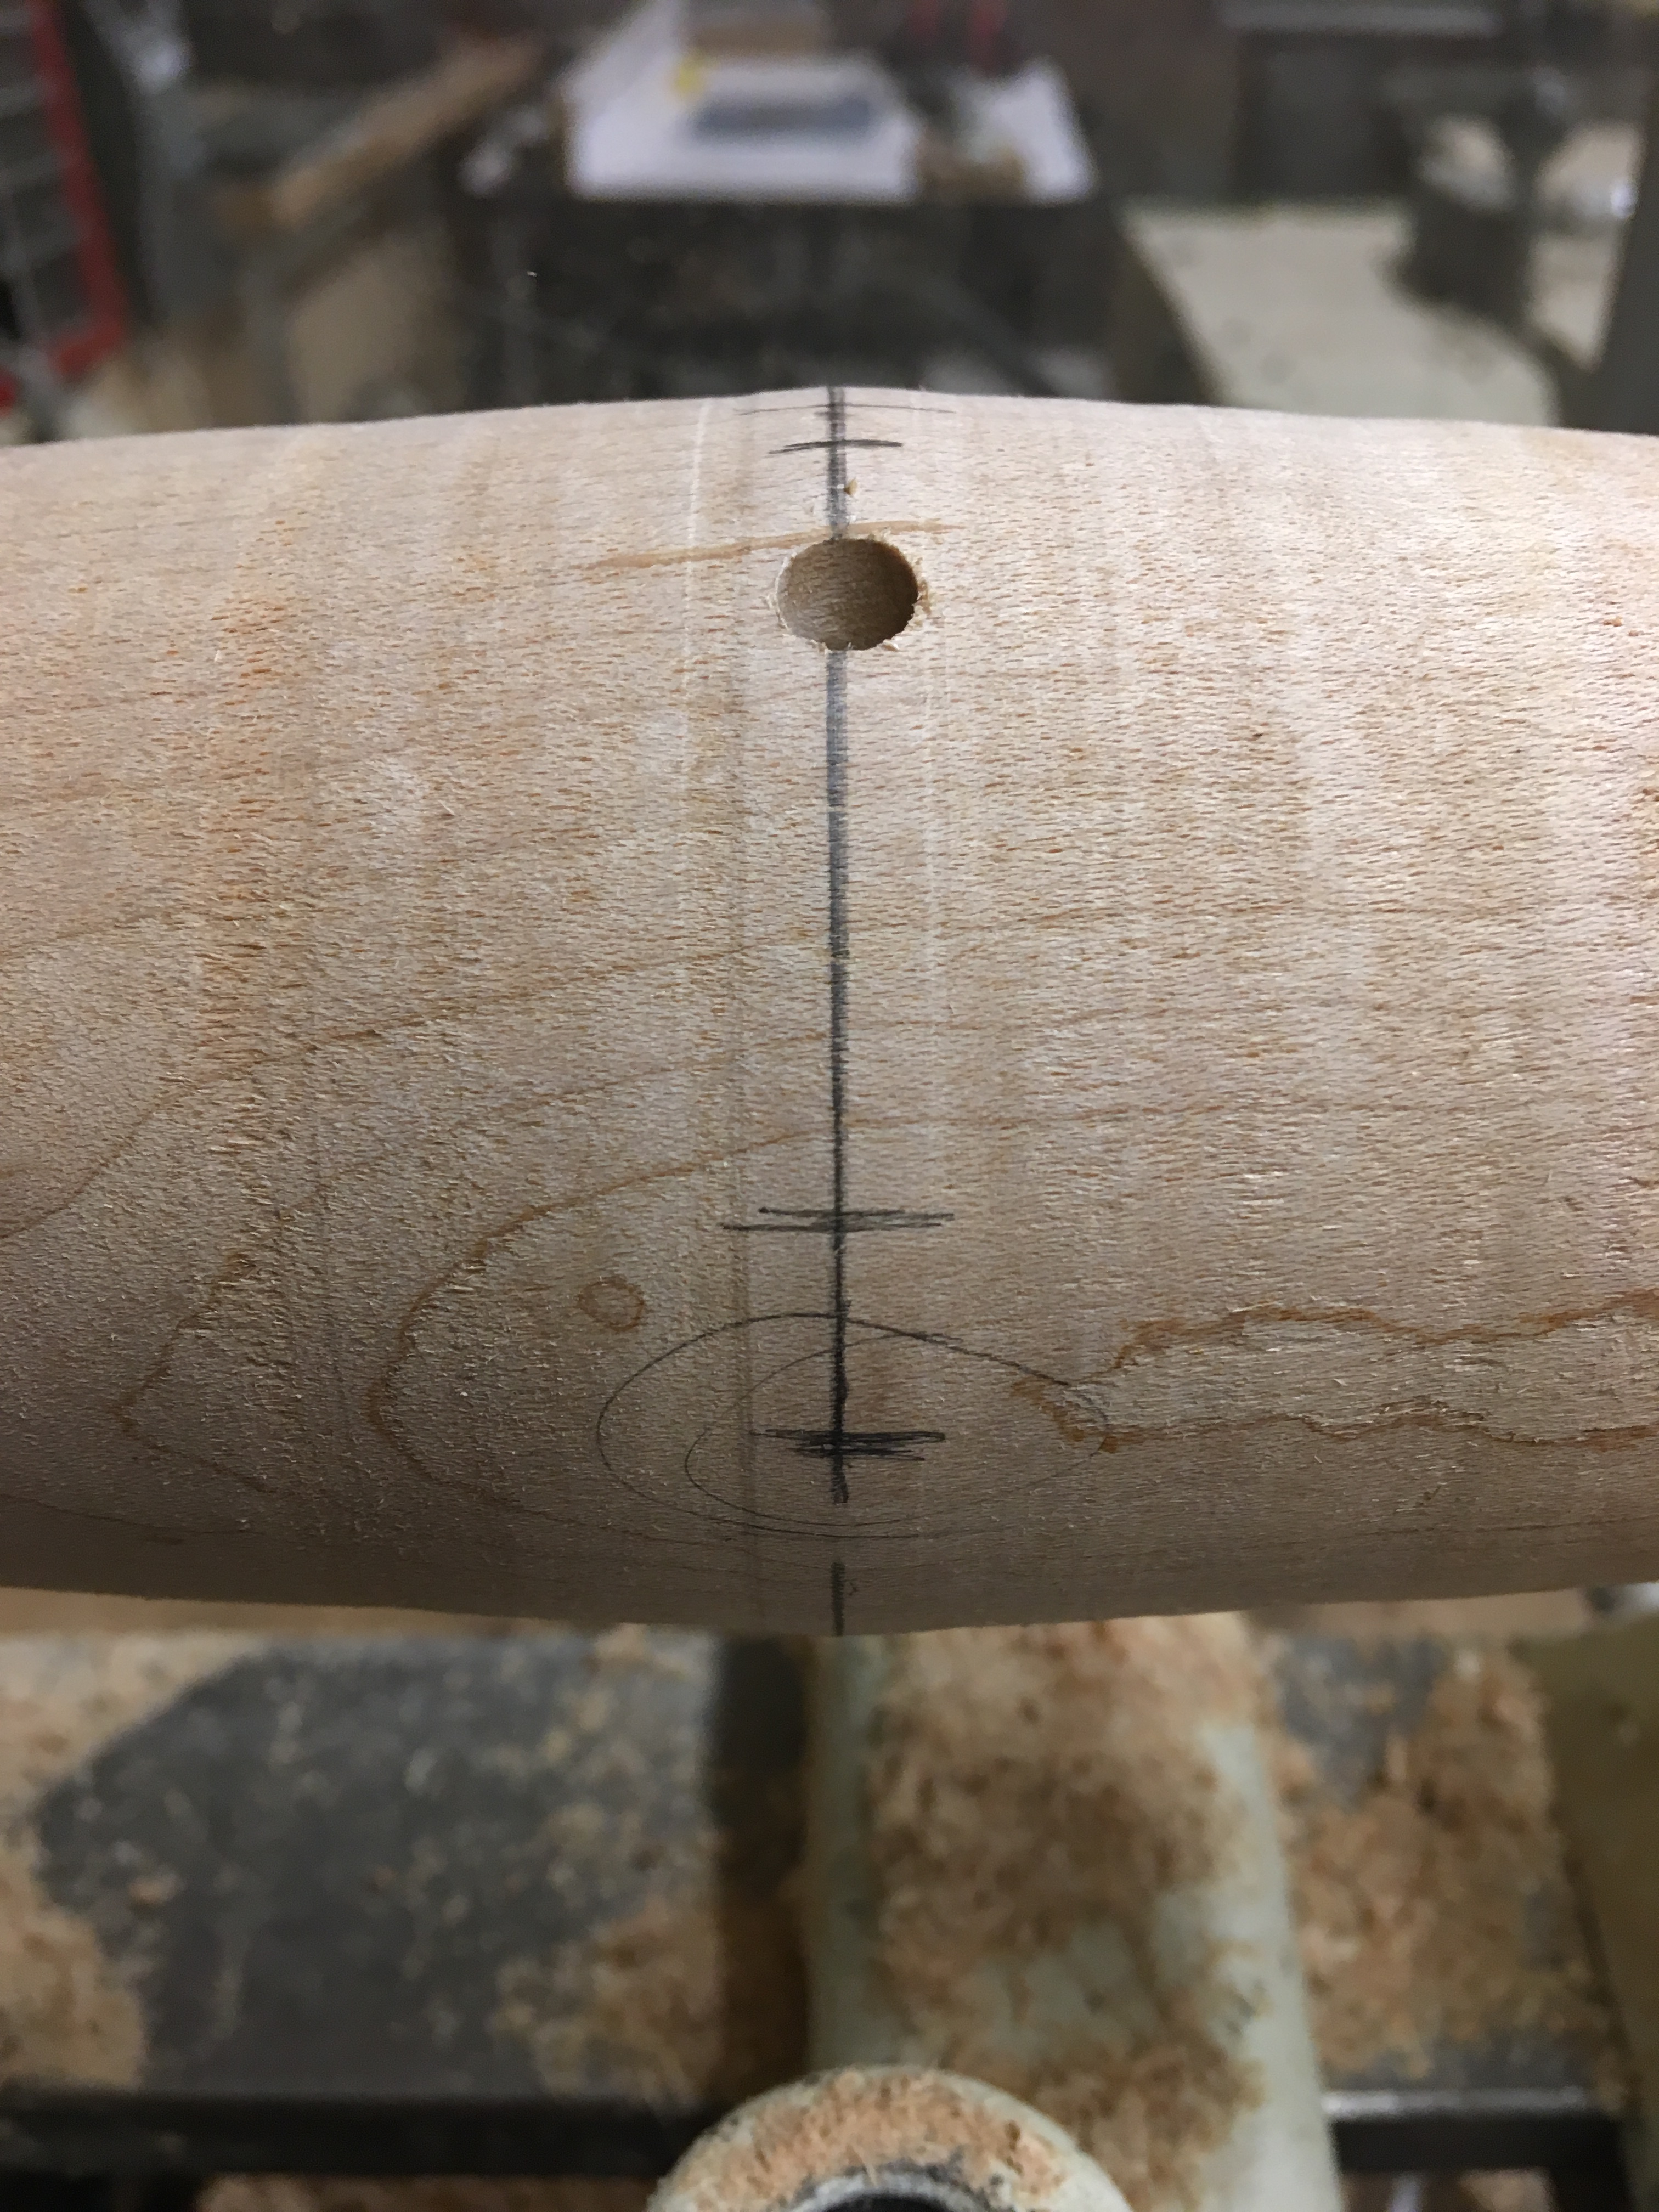
Here’s where things start to get tricky.
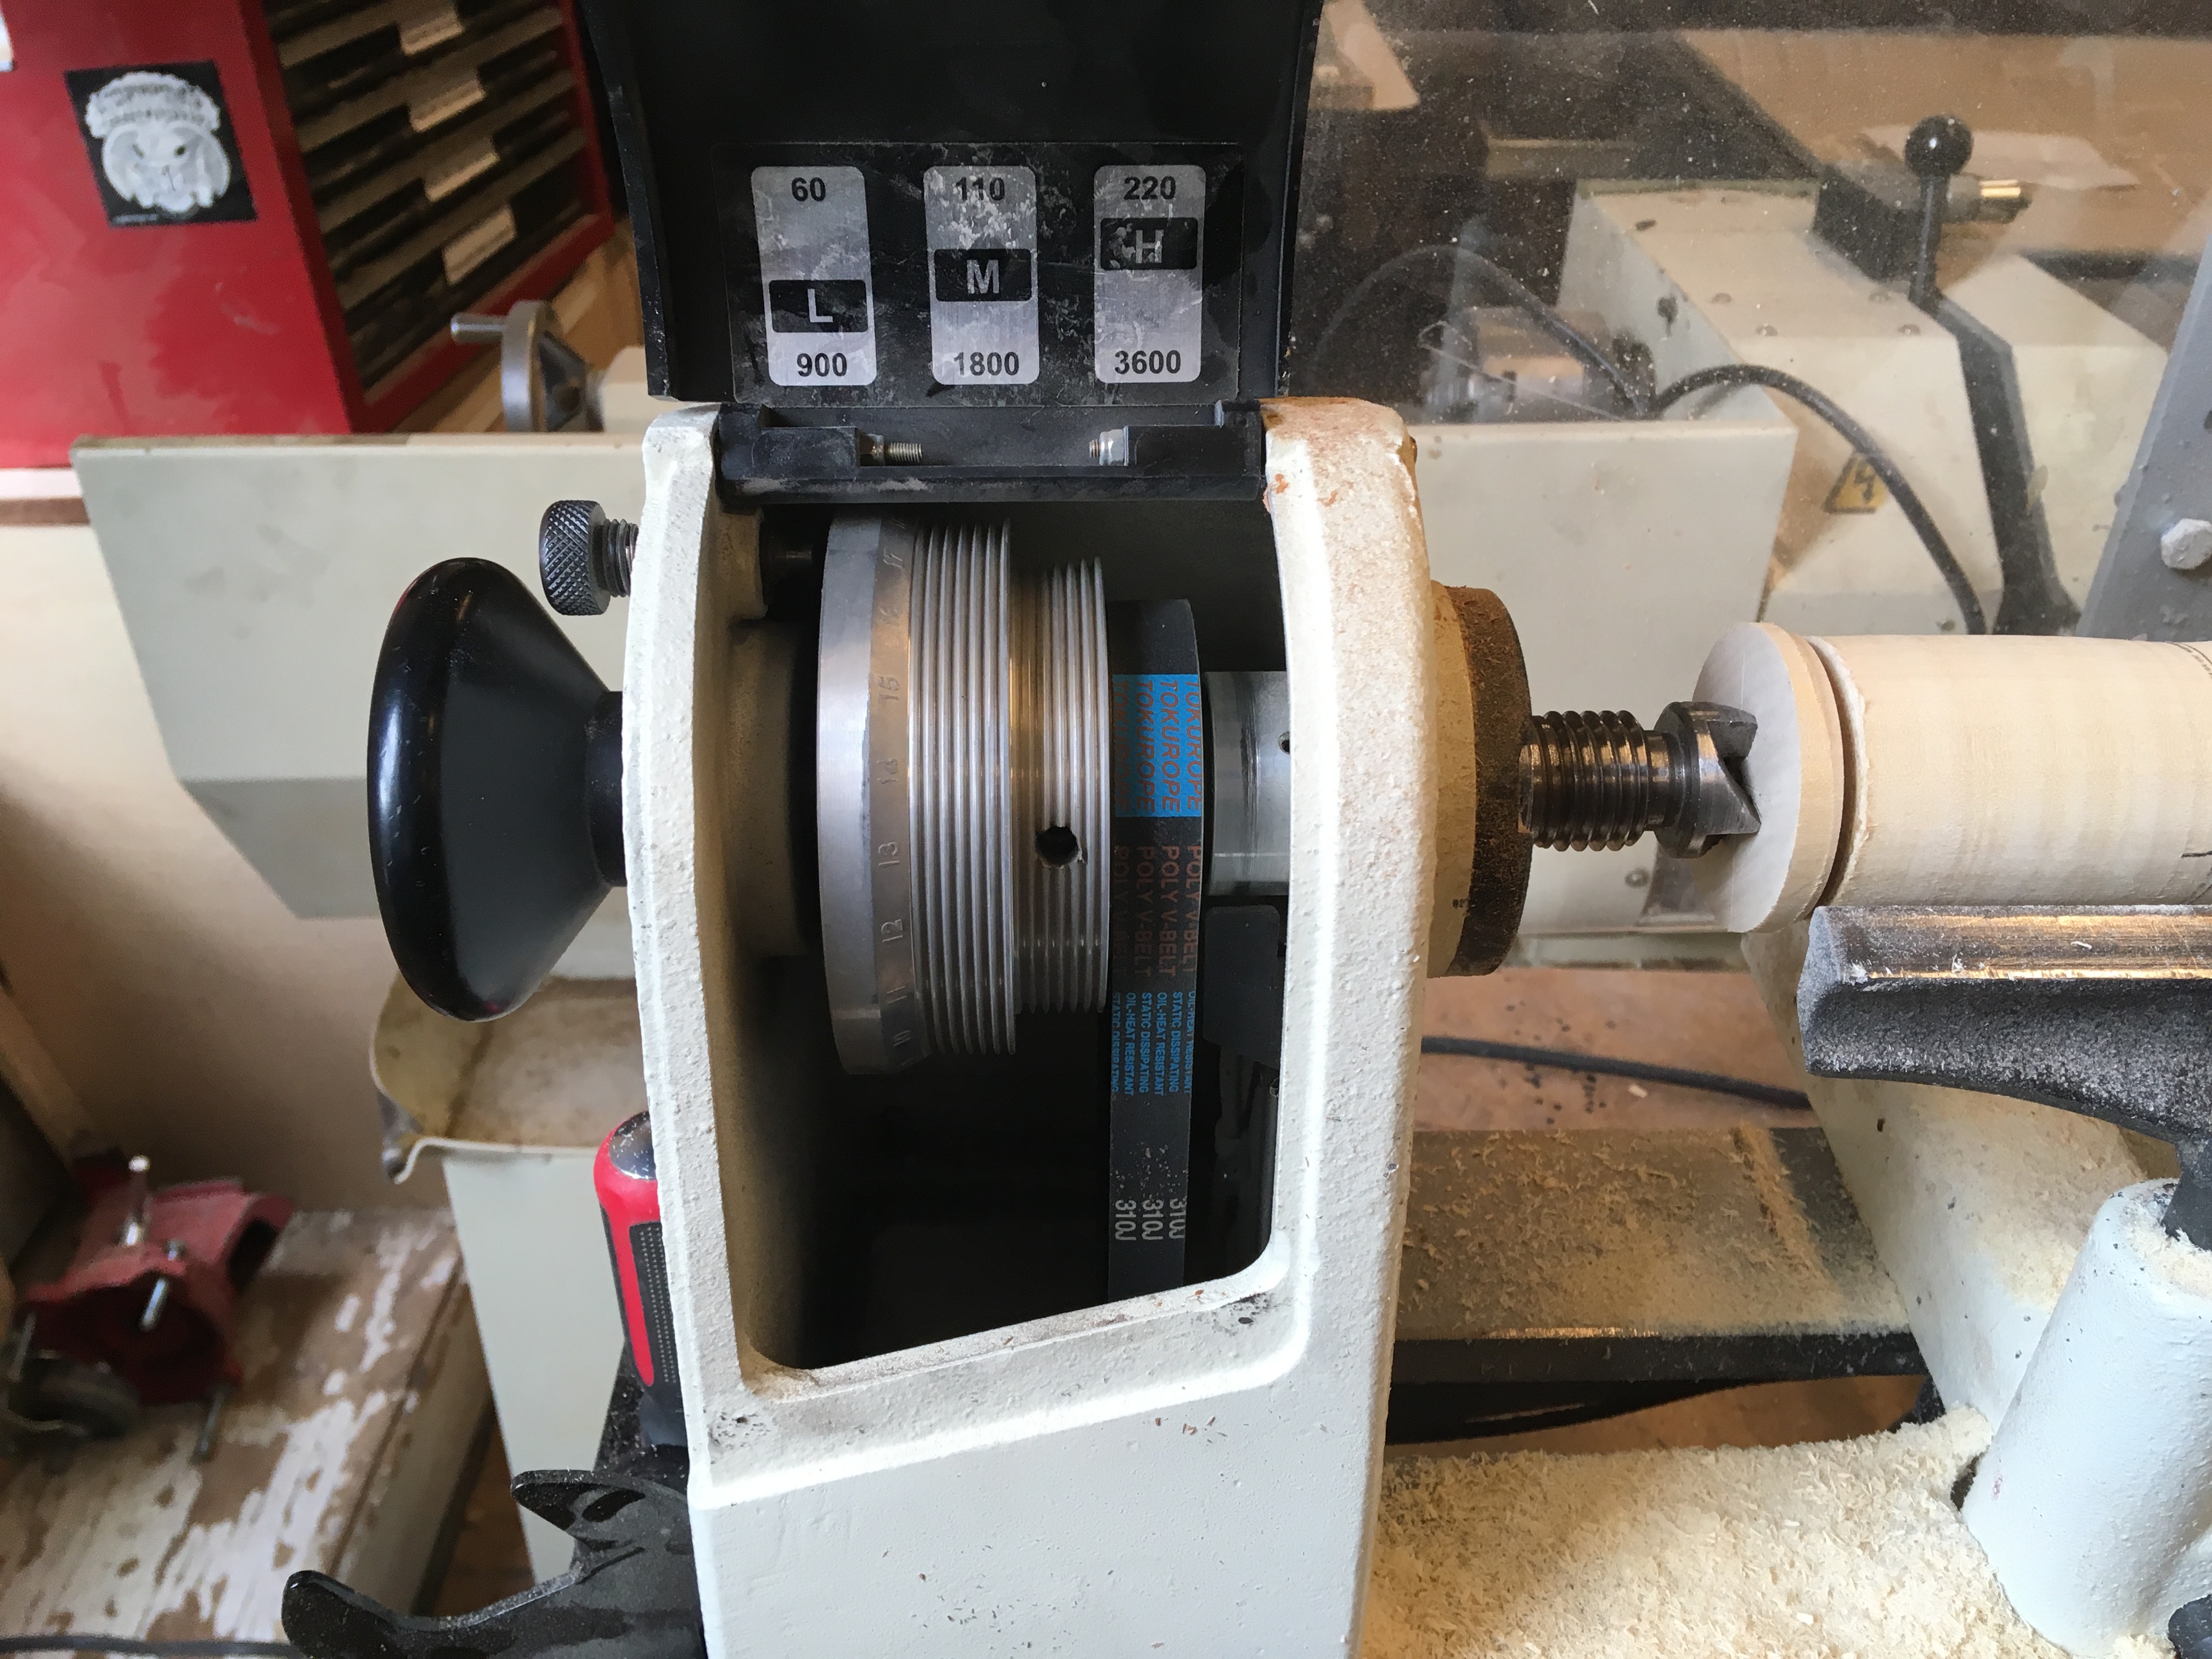 Using the lathe’s manual turning, I measured out an arbitrary center. And then from that marked center I measured out plus and minus 60 degrees. These would be my dowel holes. (I chose 60 degrees instead of 90 degrees because I really want my dowel rod below center.)
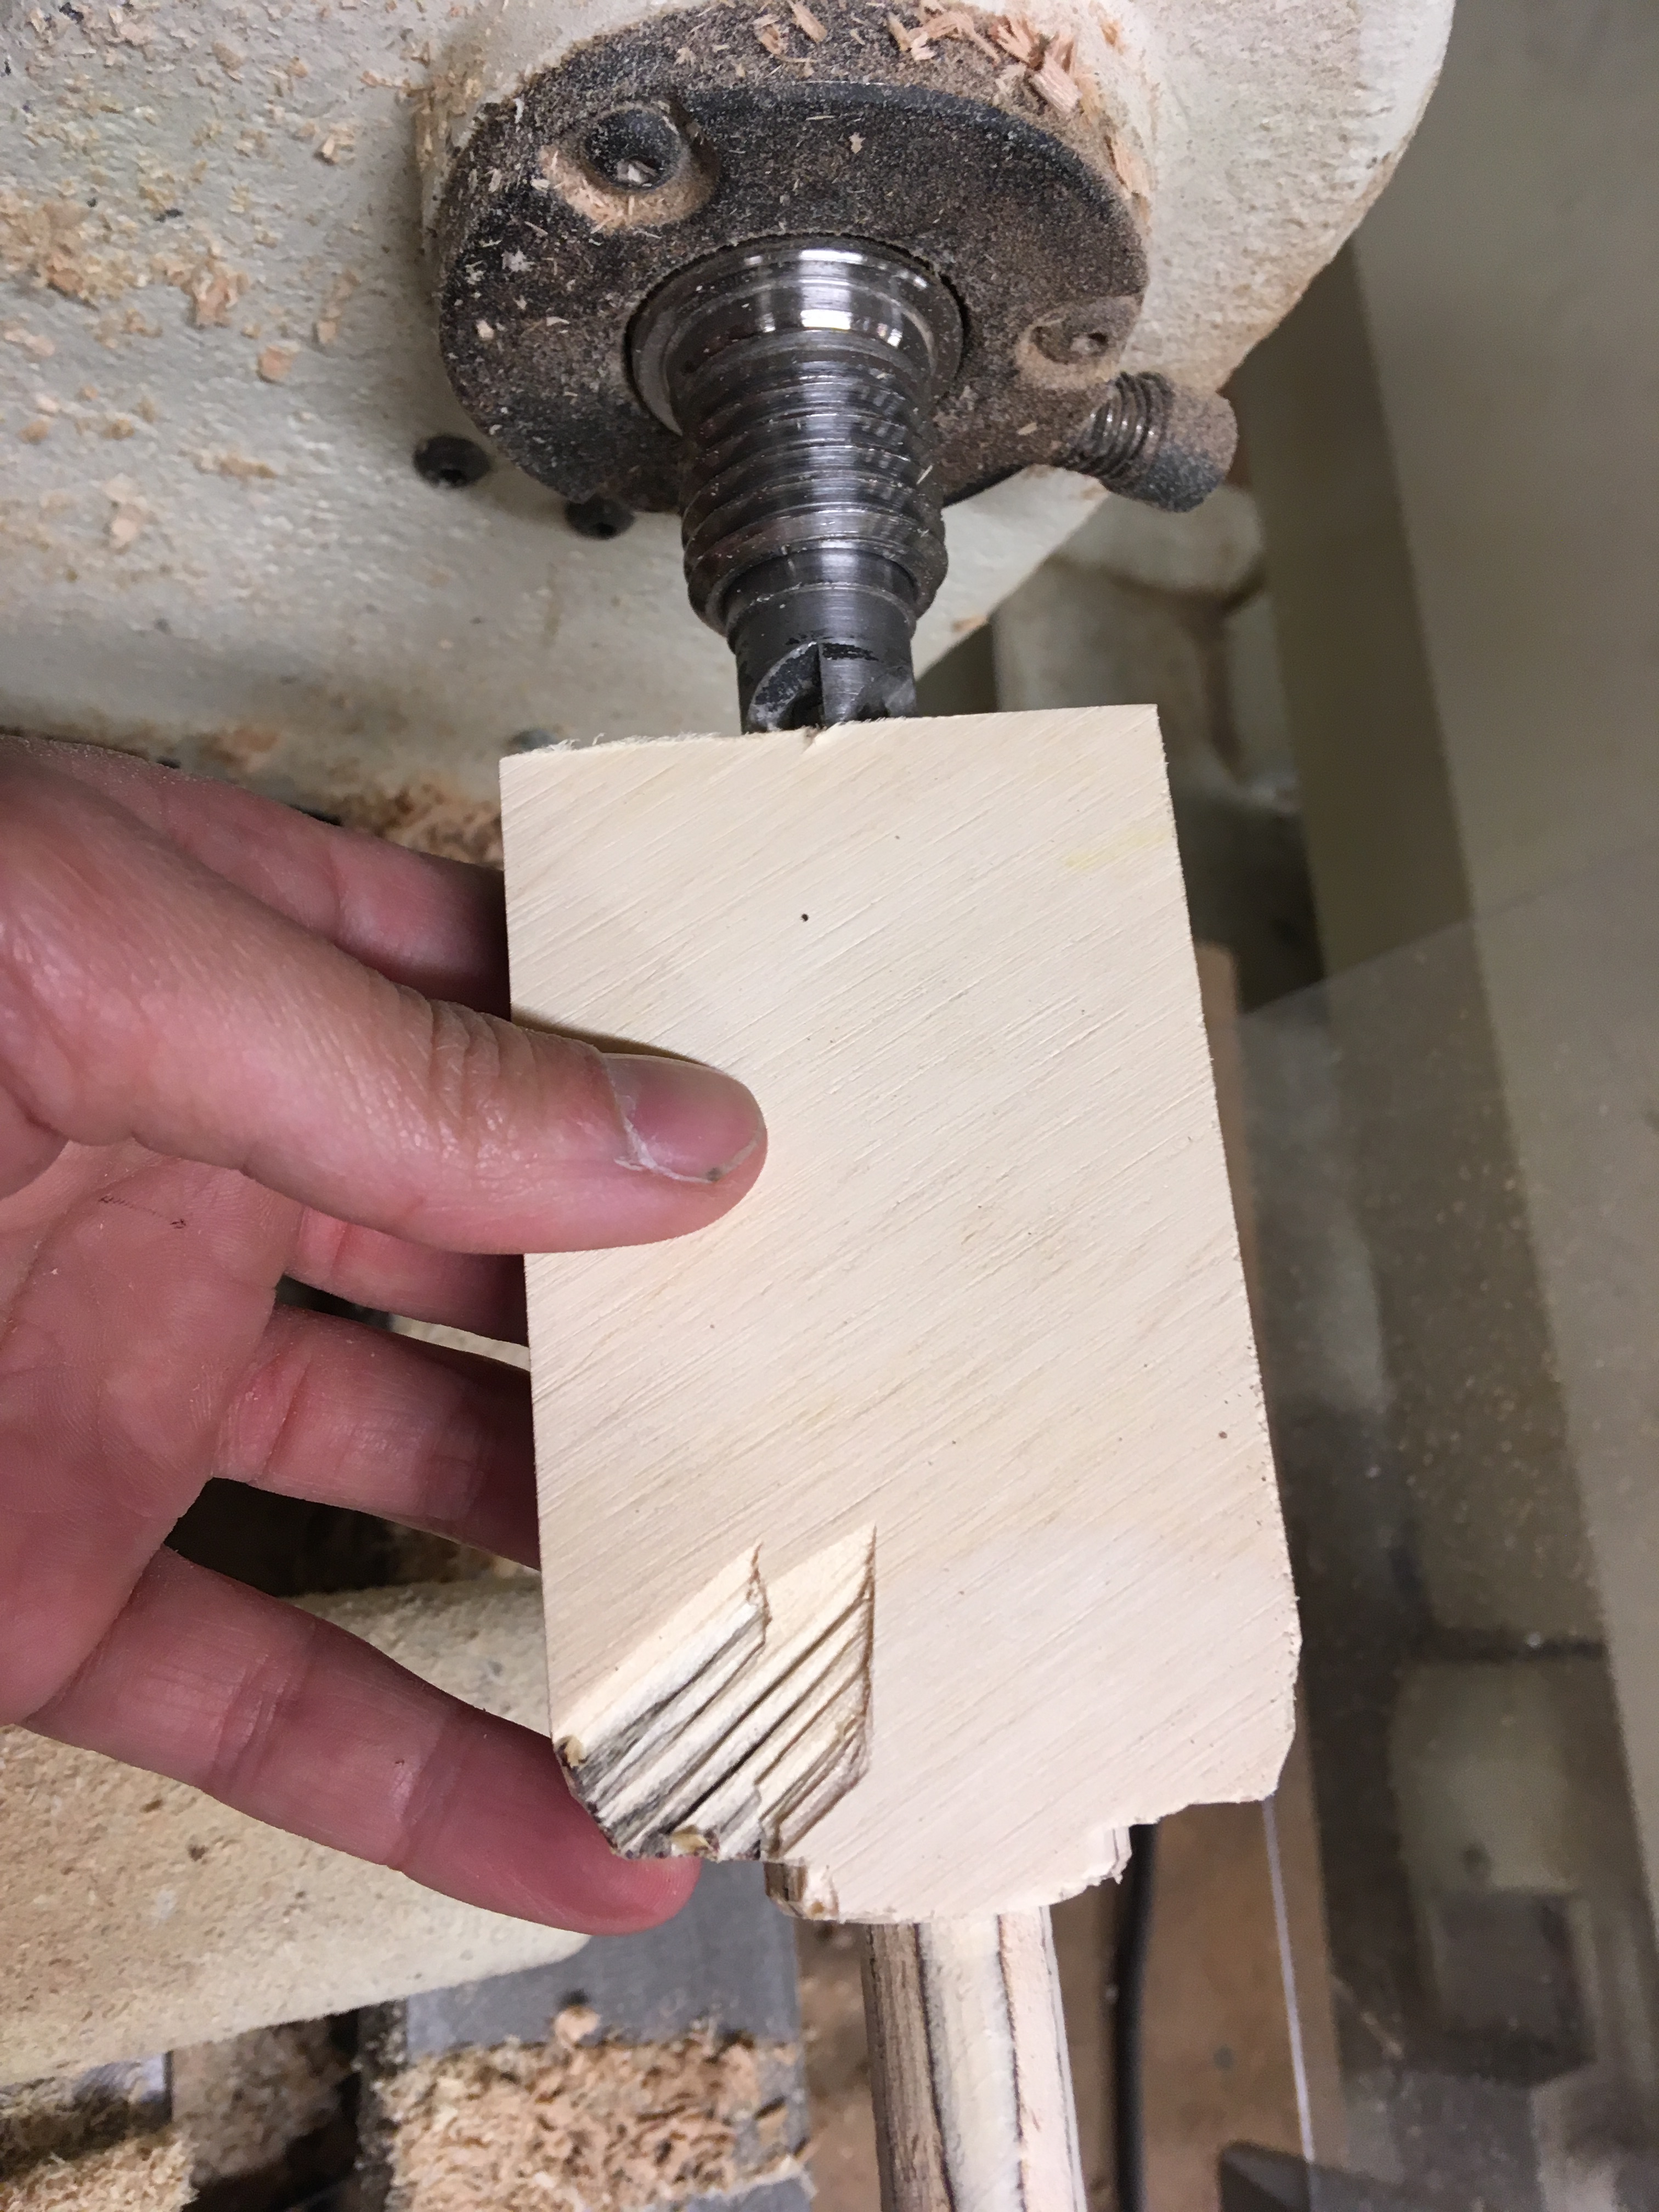
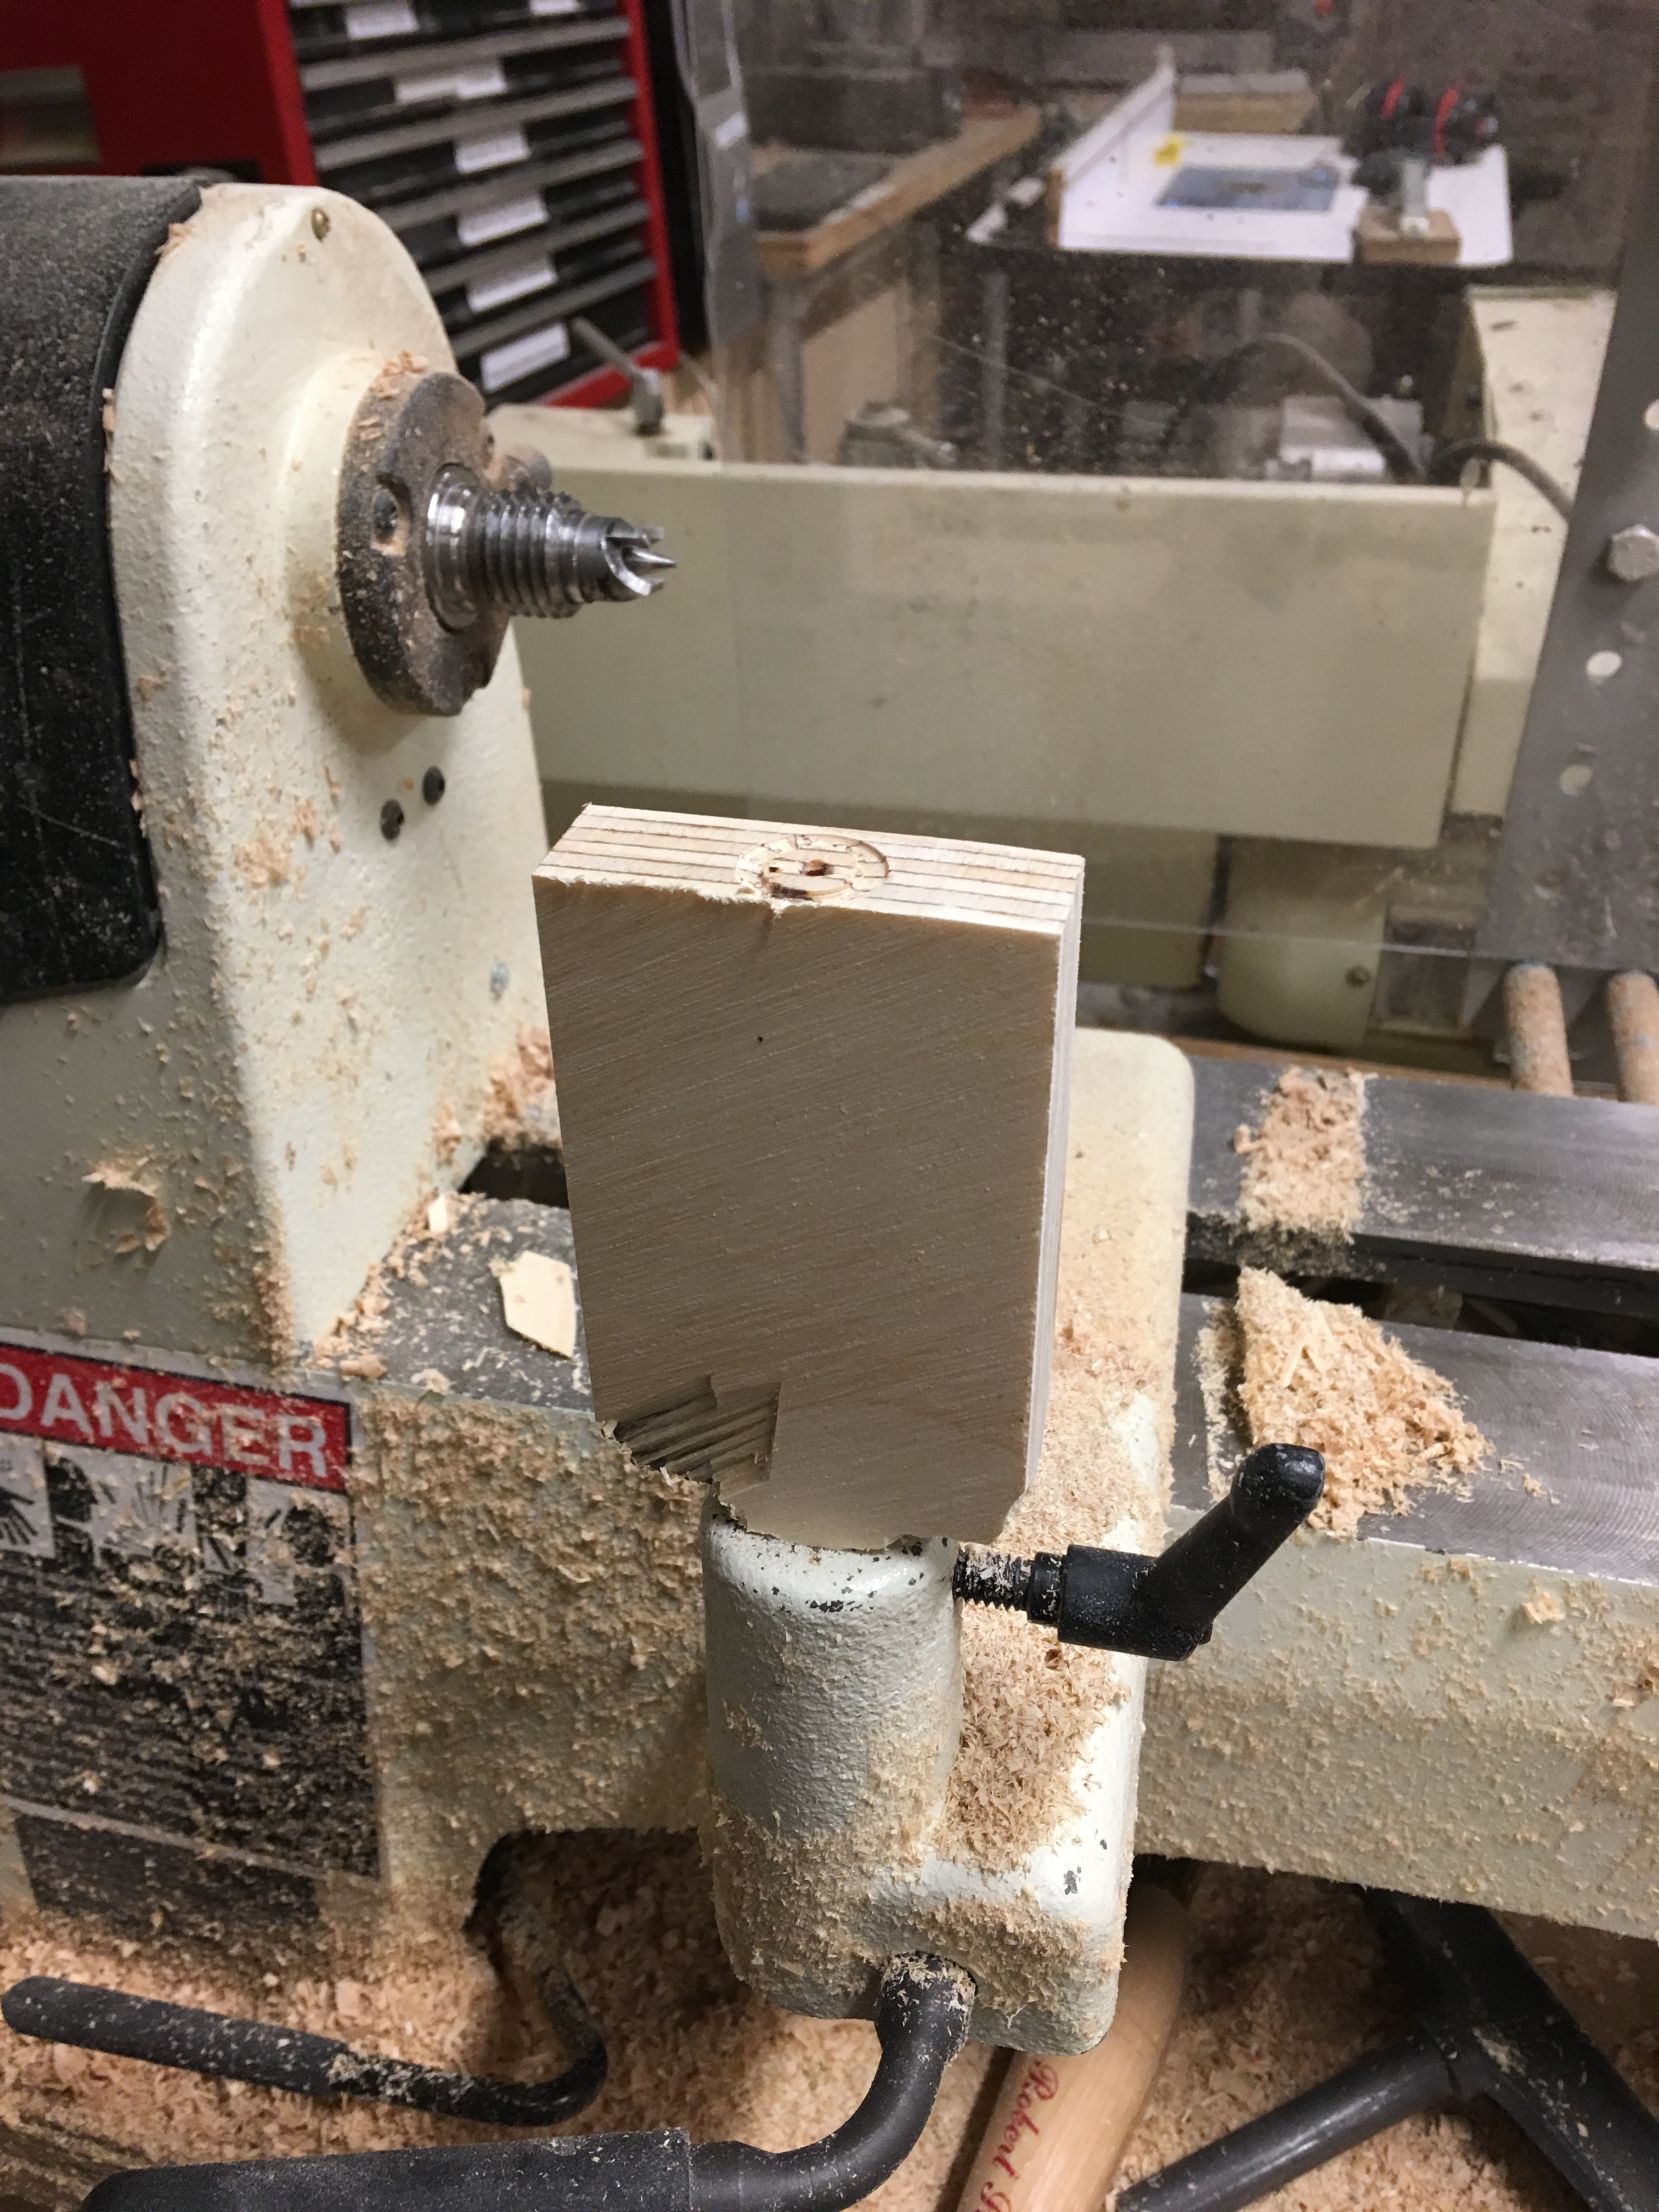
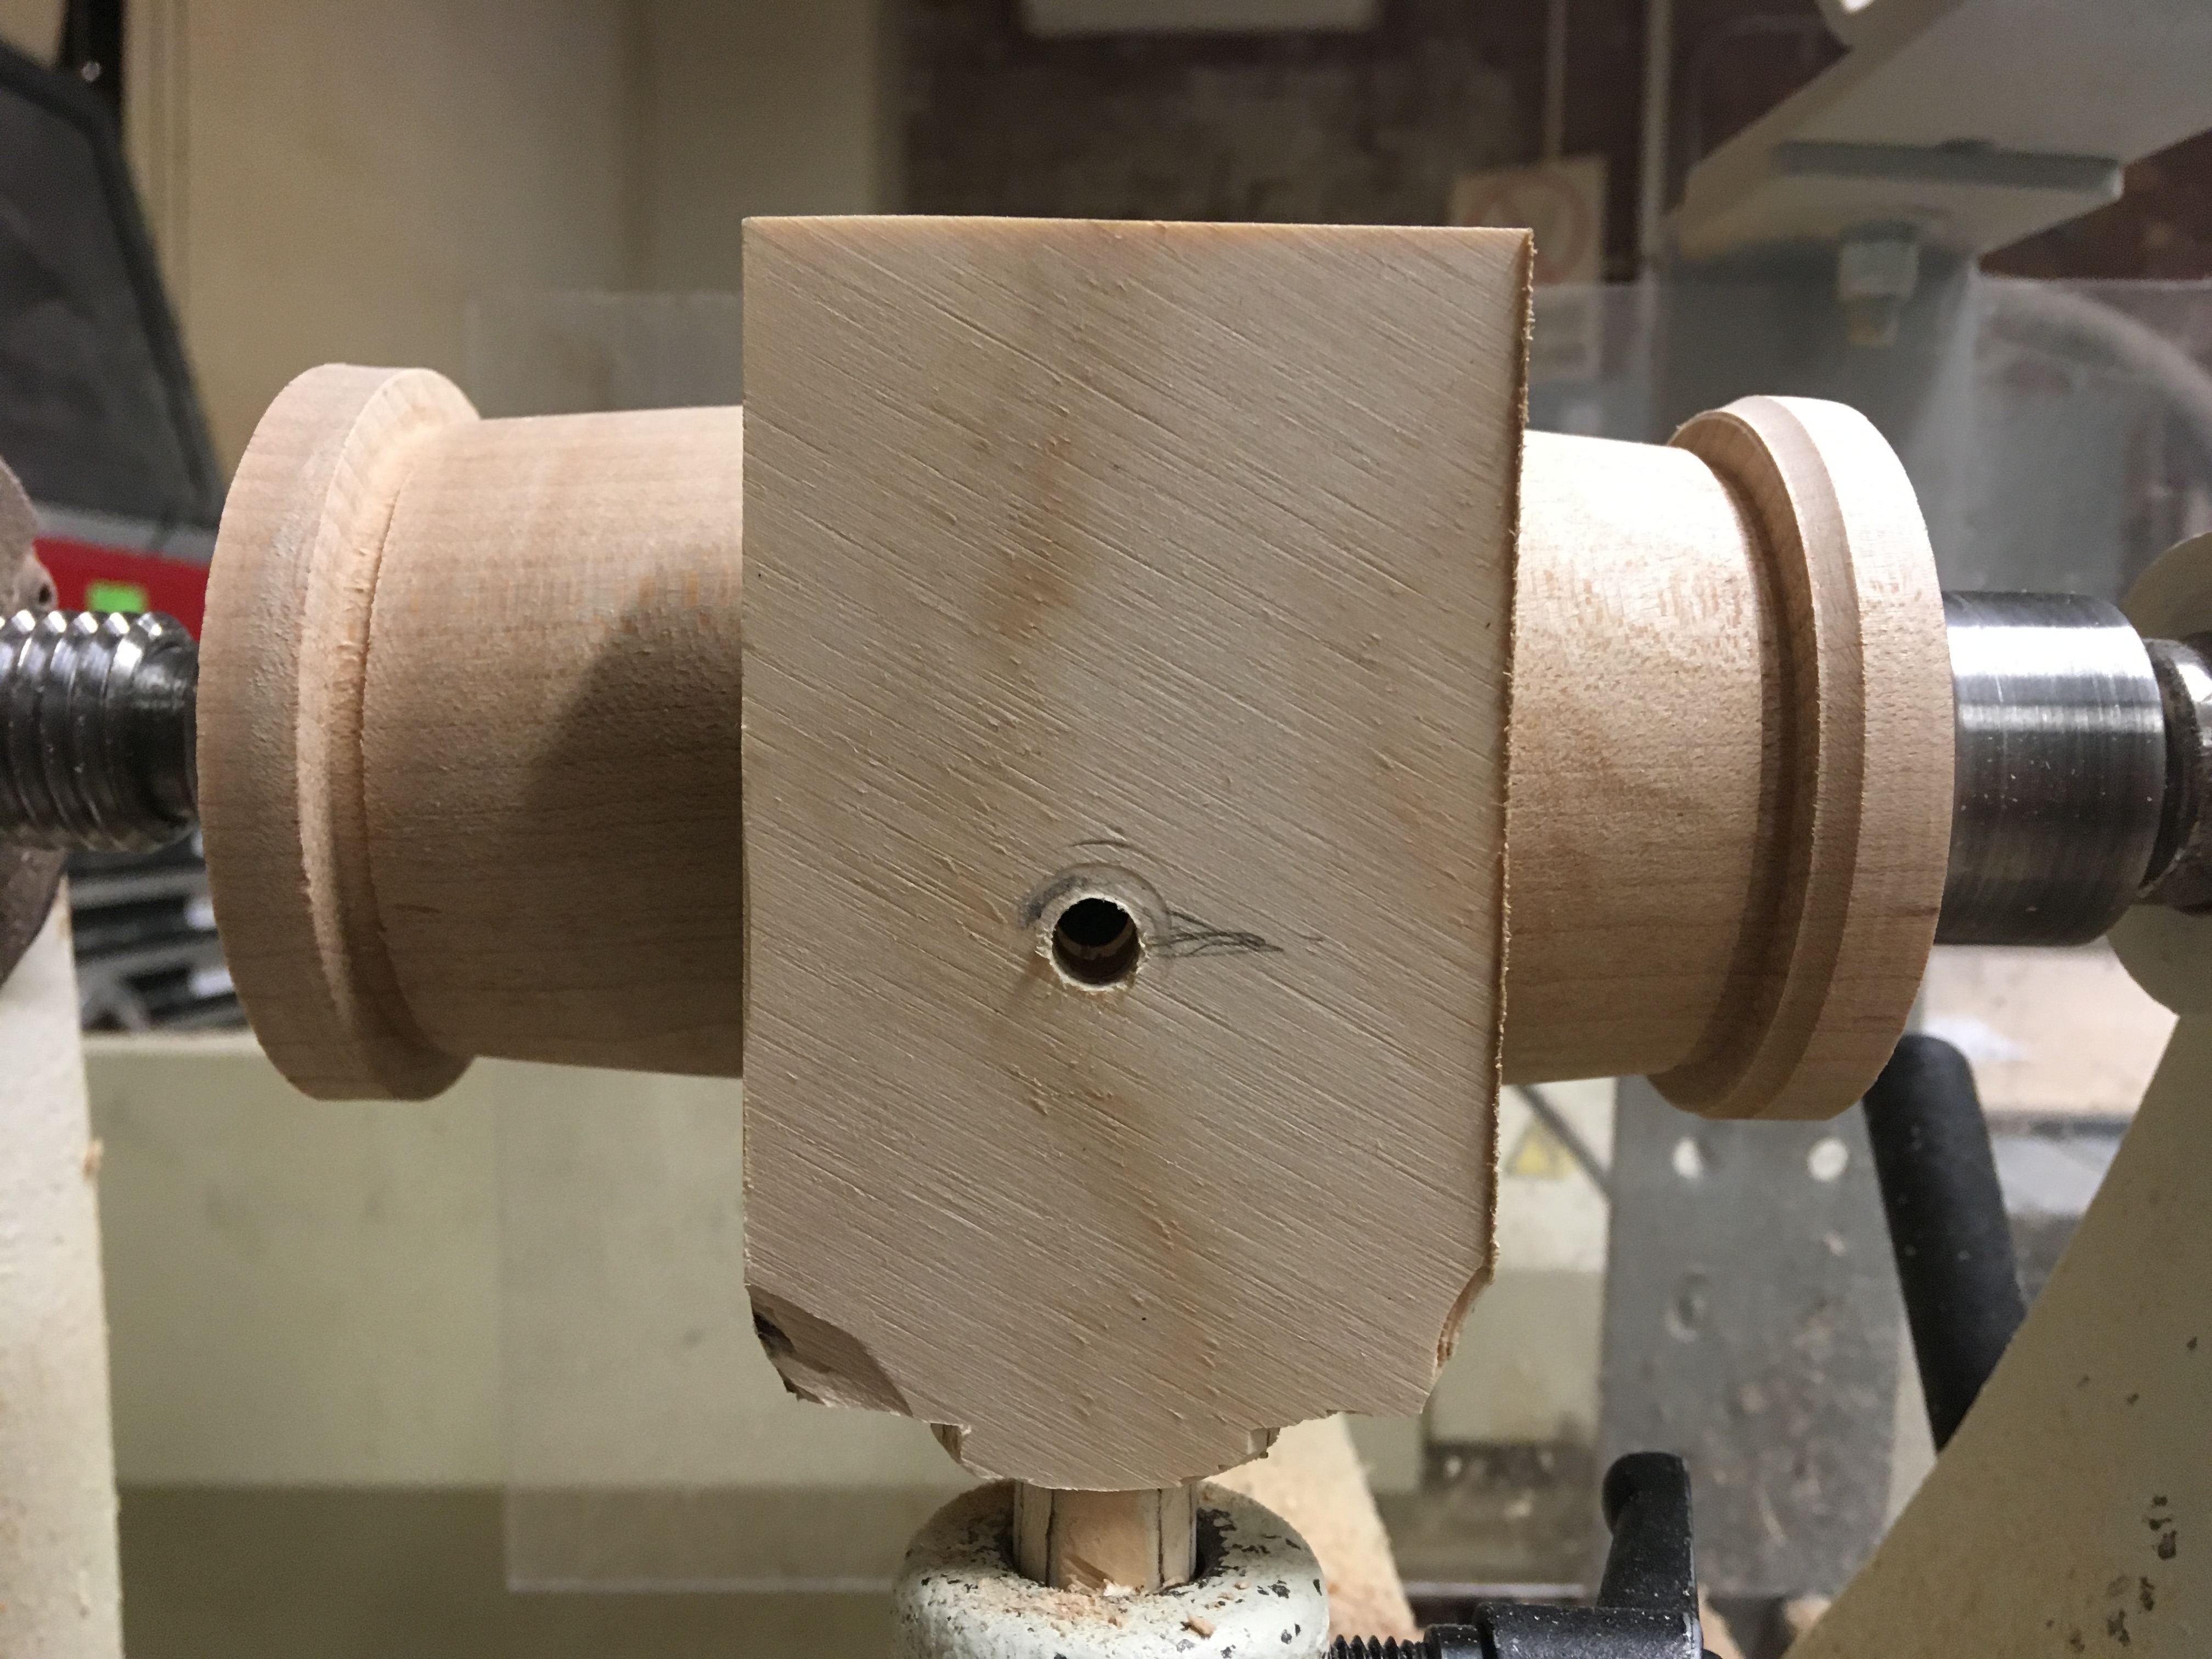
 Drill press a 3/4” hole to fit the rod
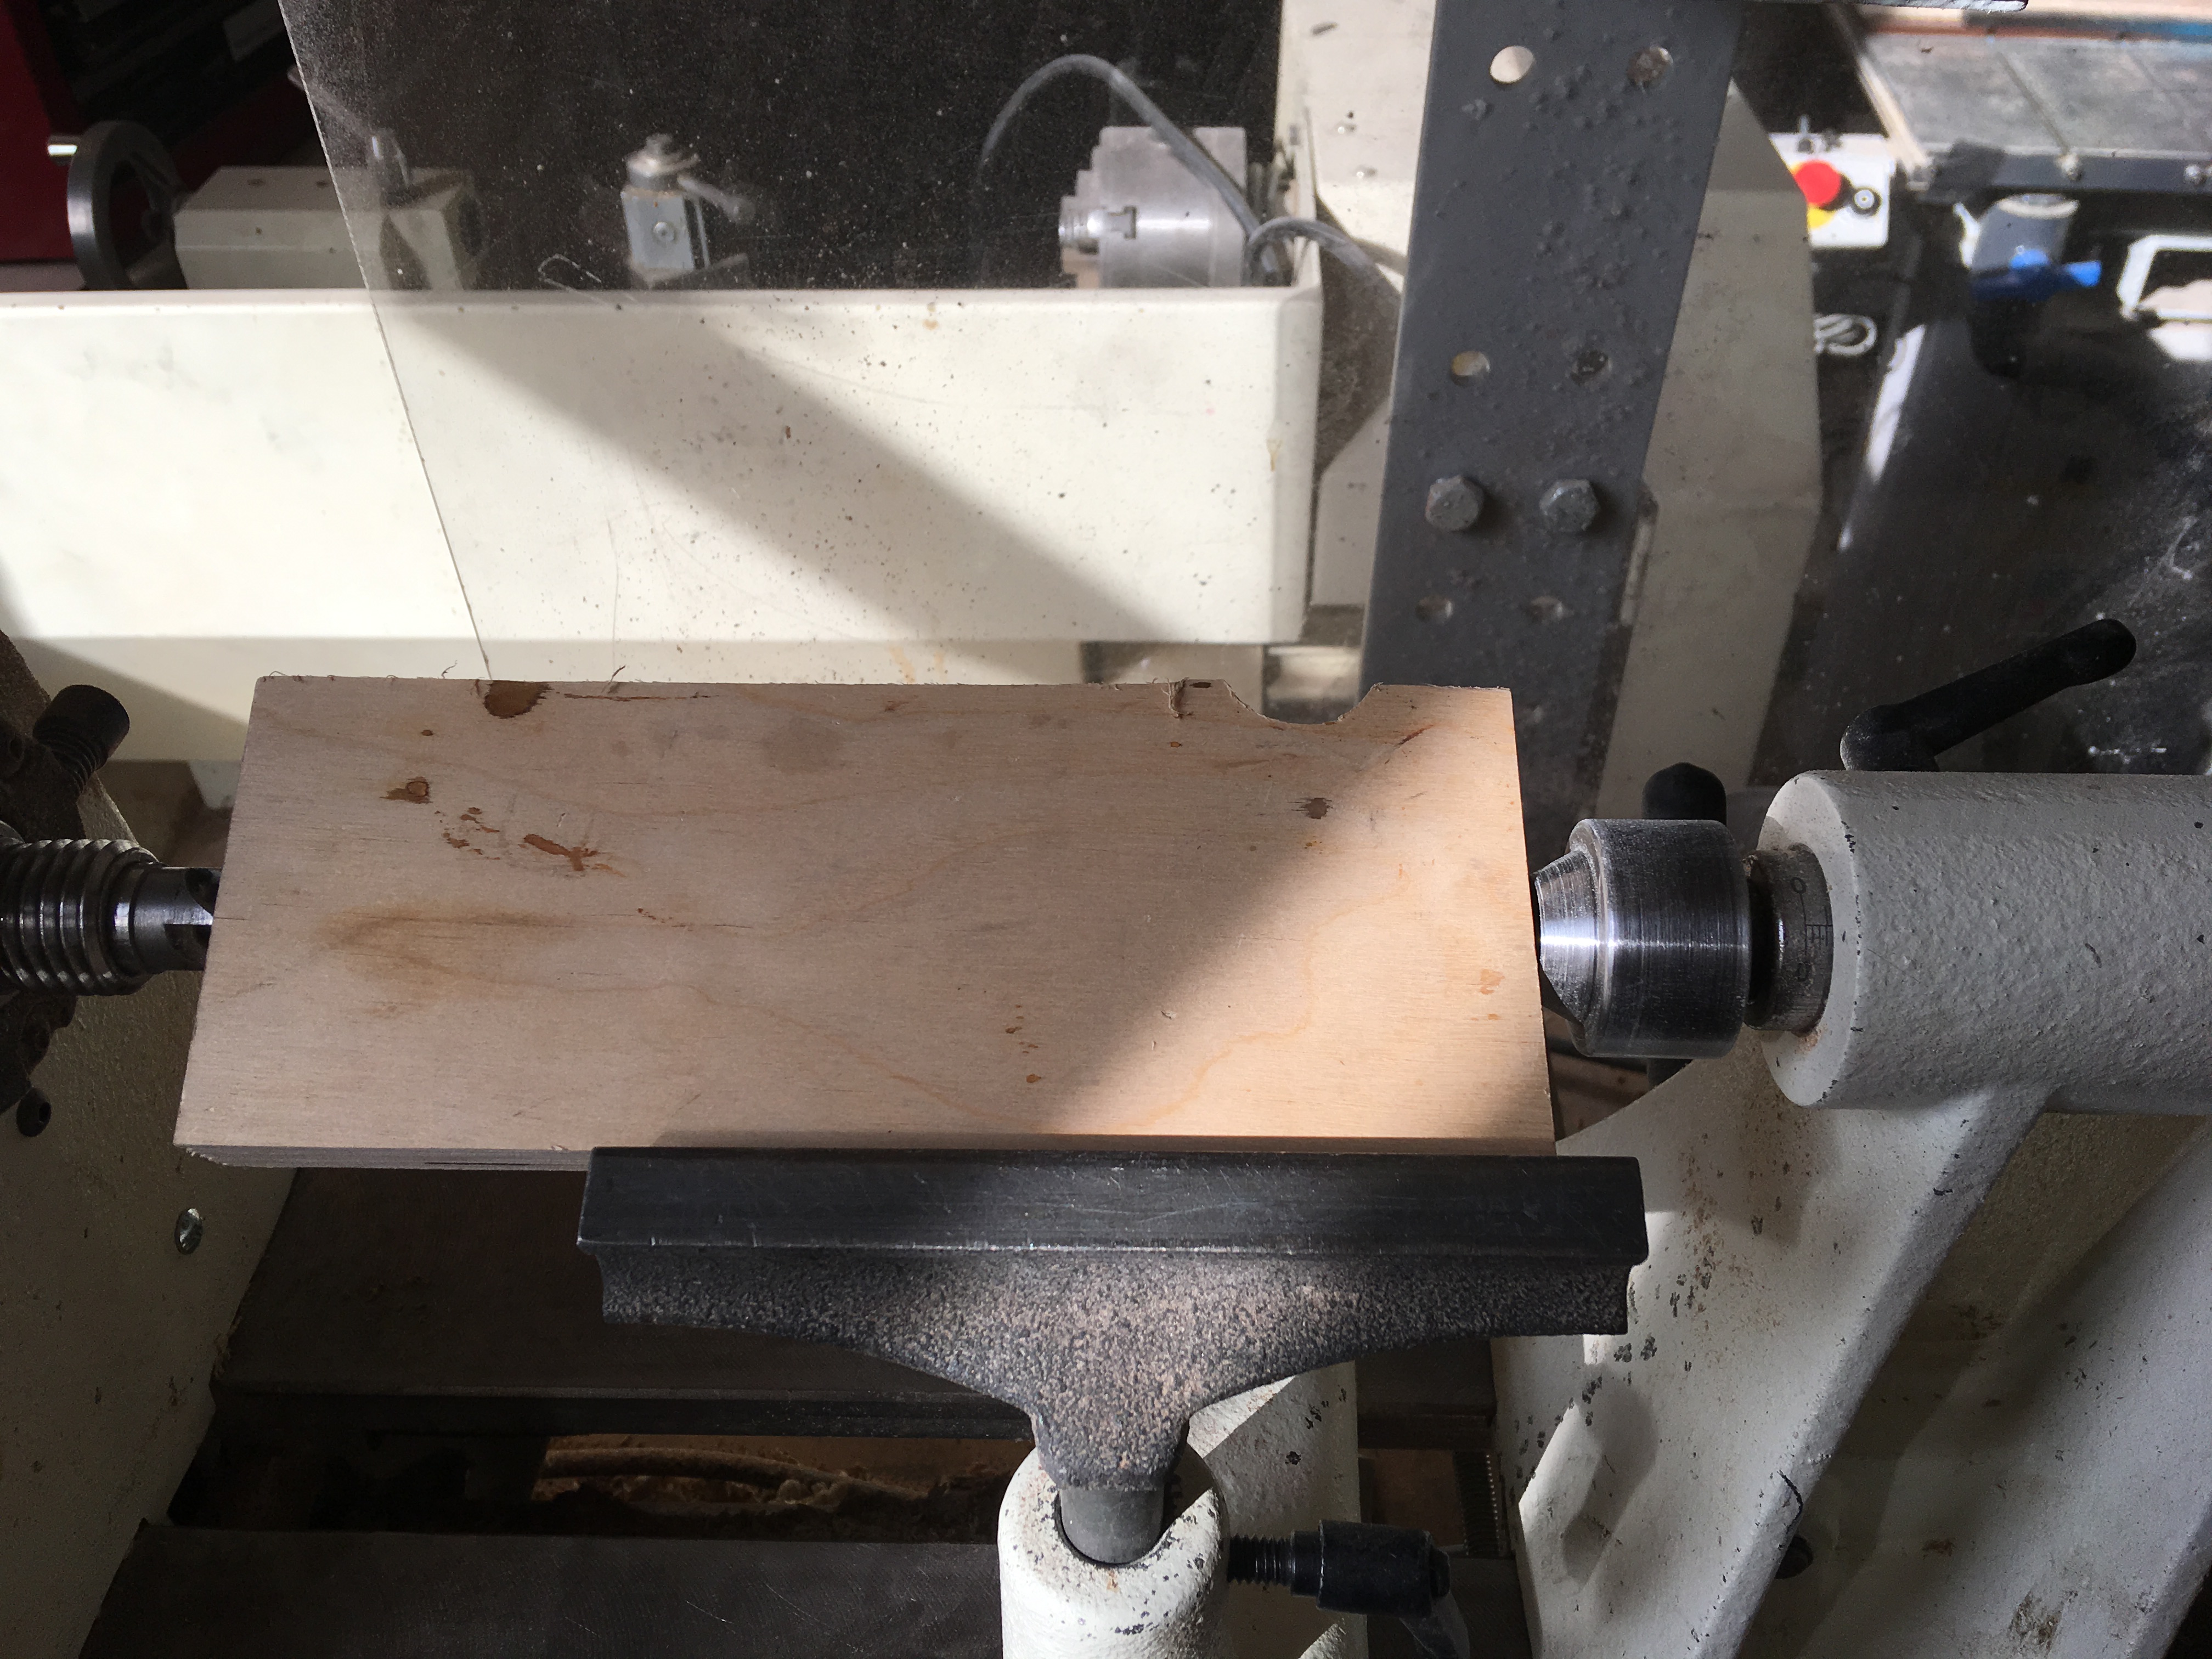
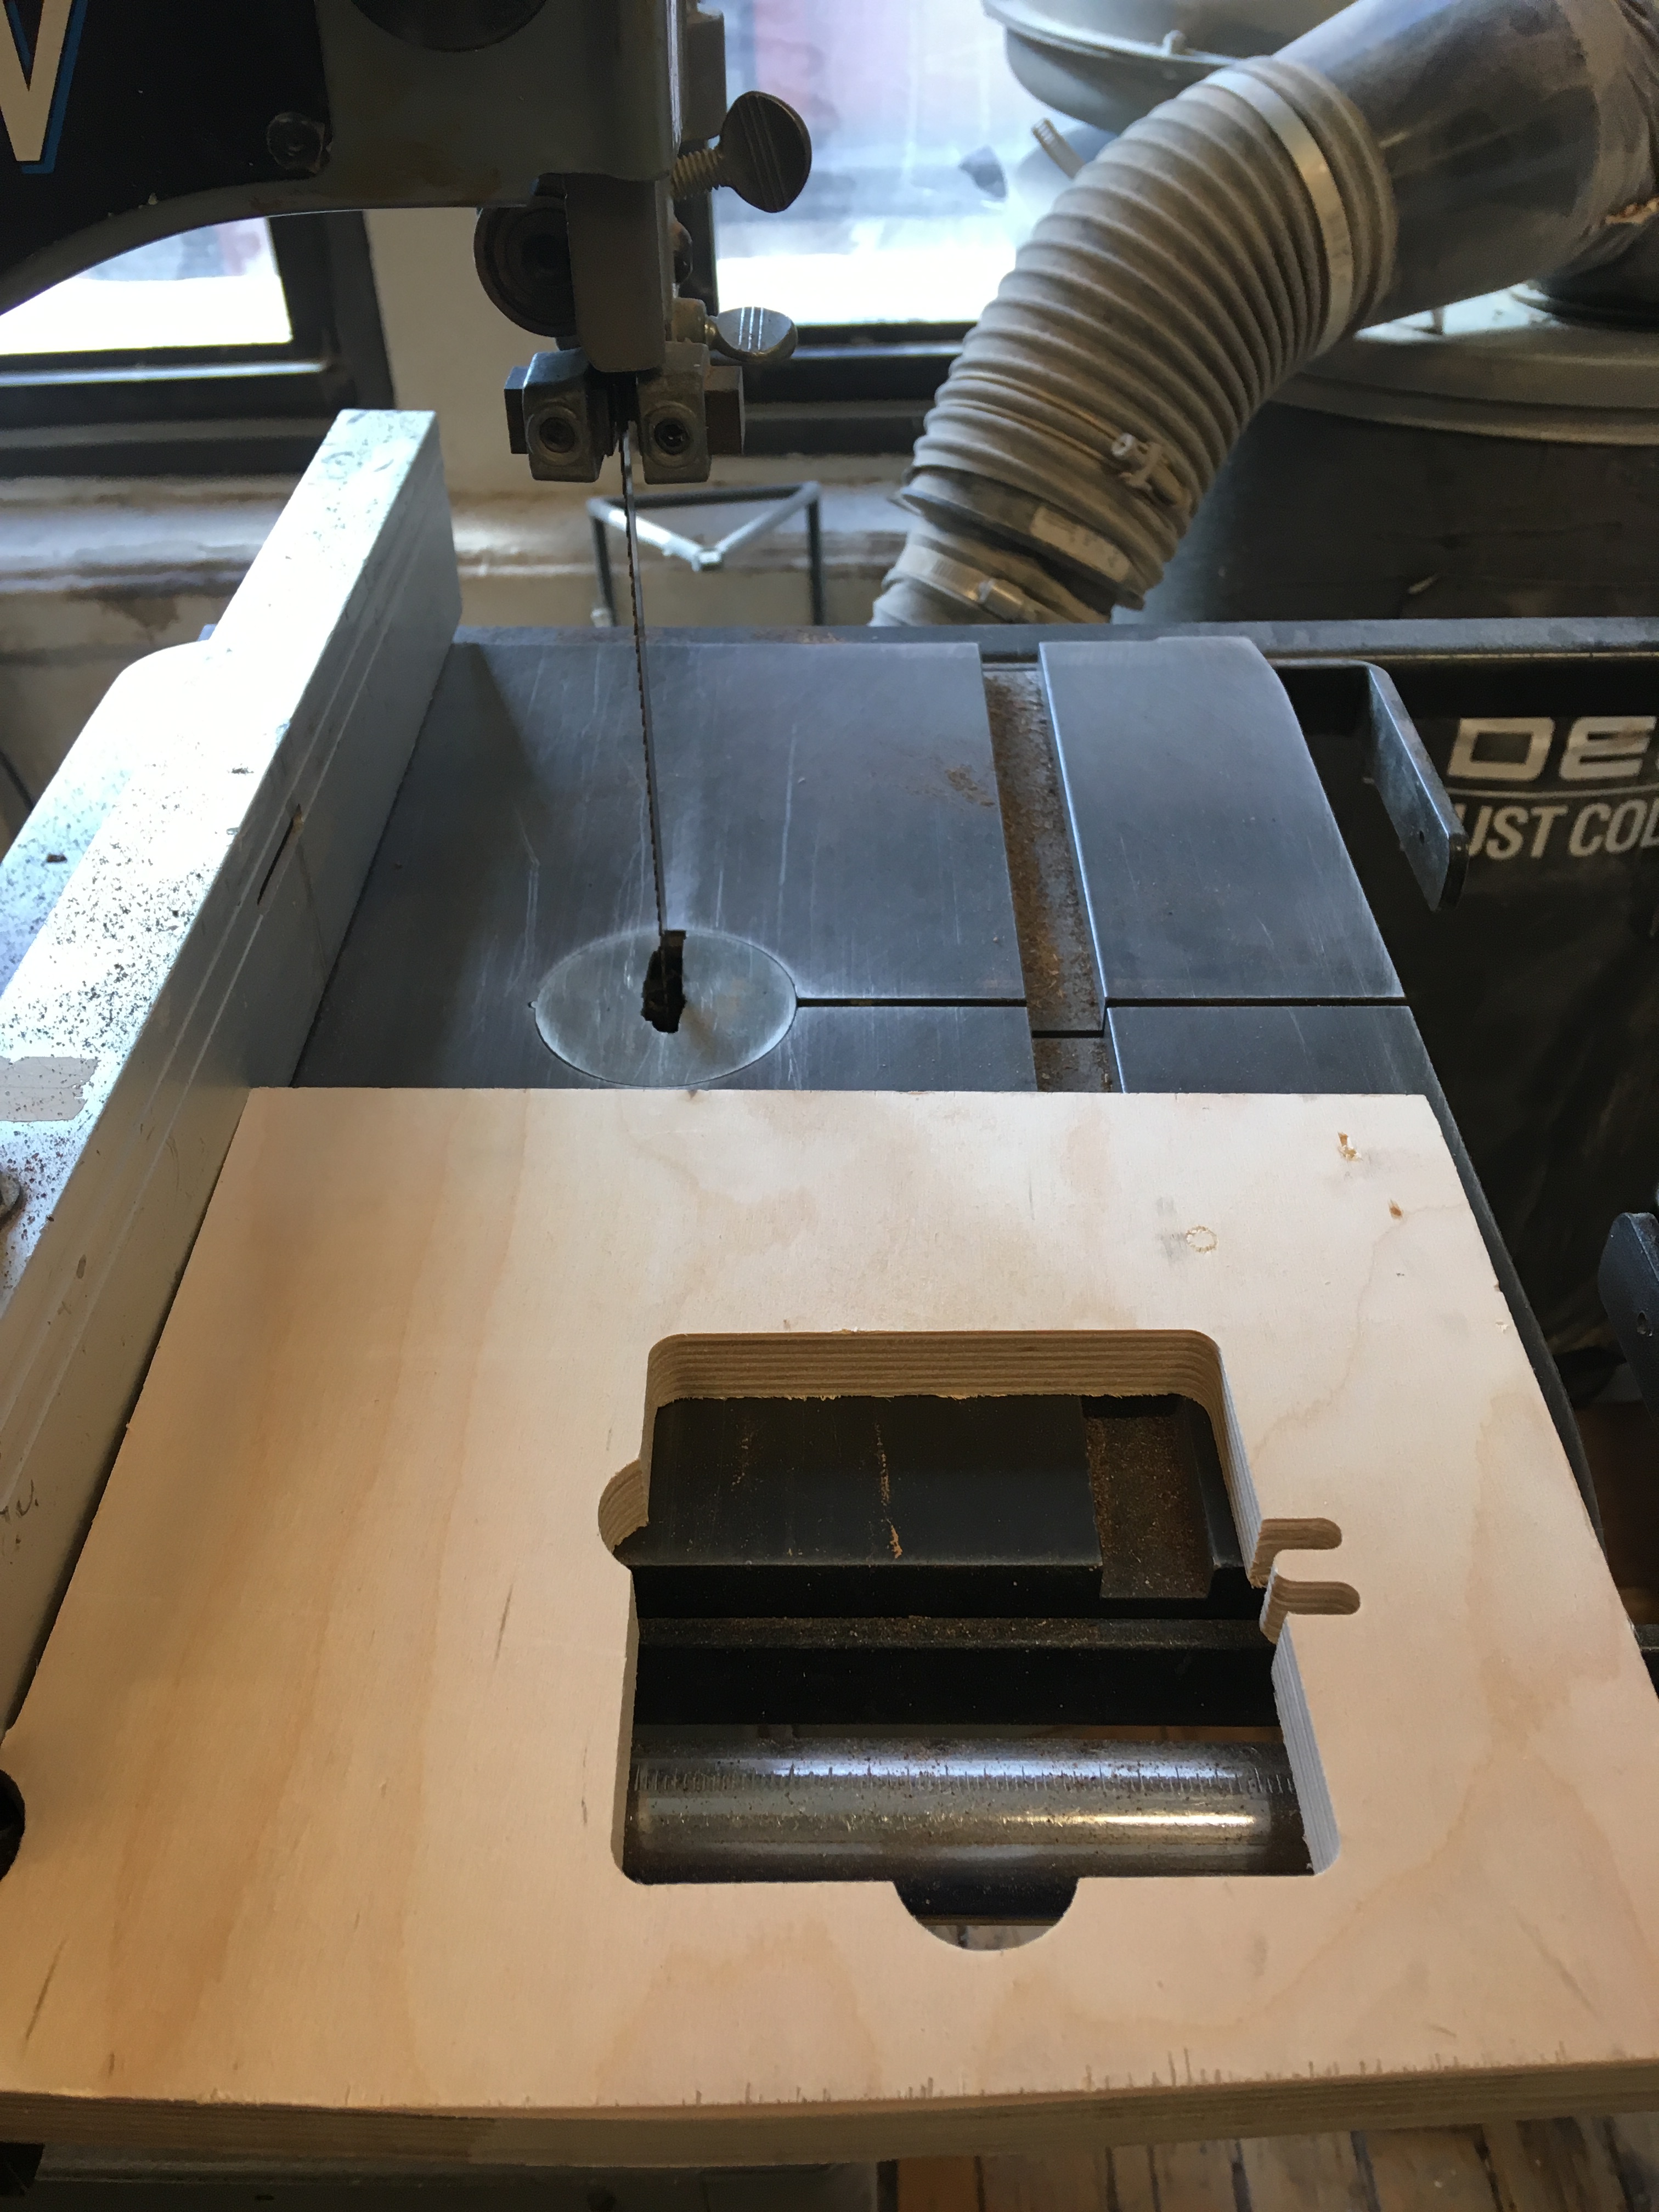 Using some playwood scrap I start to make a jig
 Lathing plywood in this direction proved incredibly difficult. This was the most time consuming part of the entire project. Eventually, I got it just right!
 The jig fits!
Turning the Maple Mallet Head
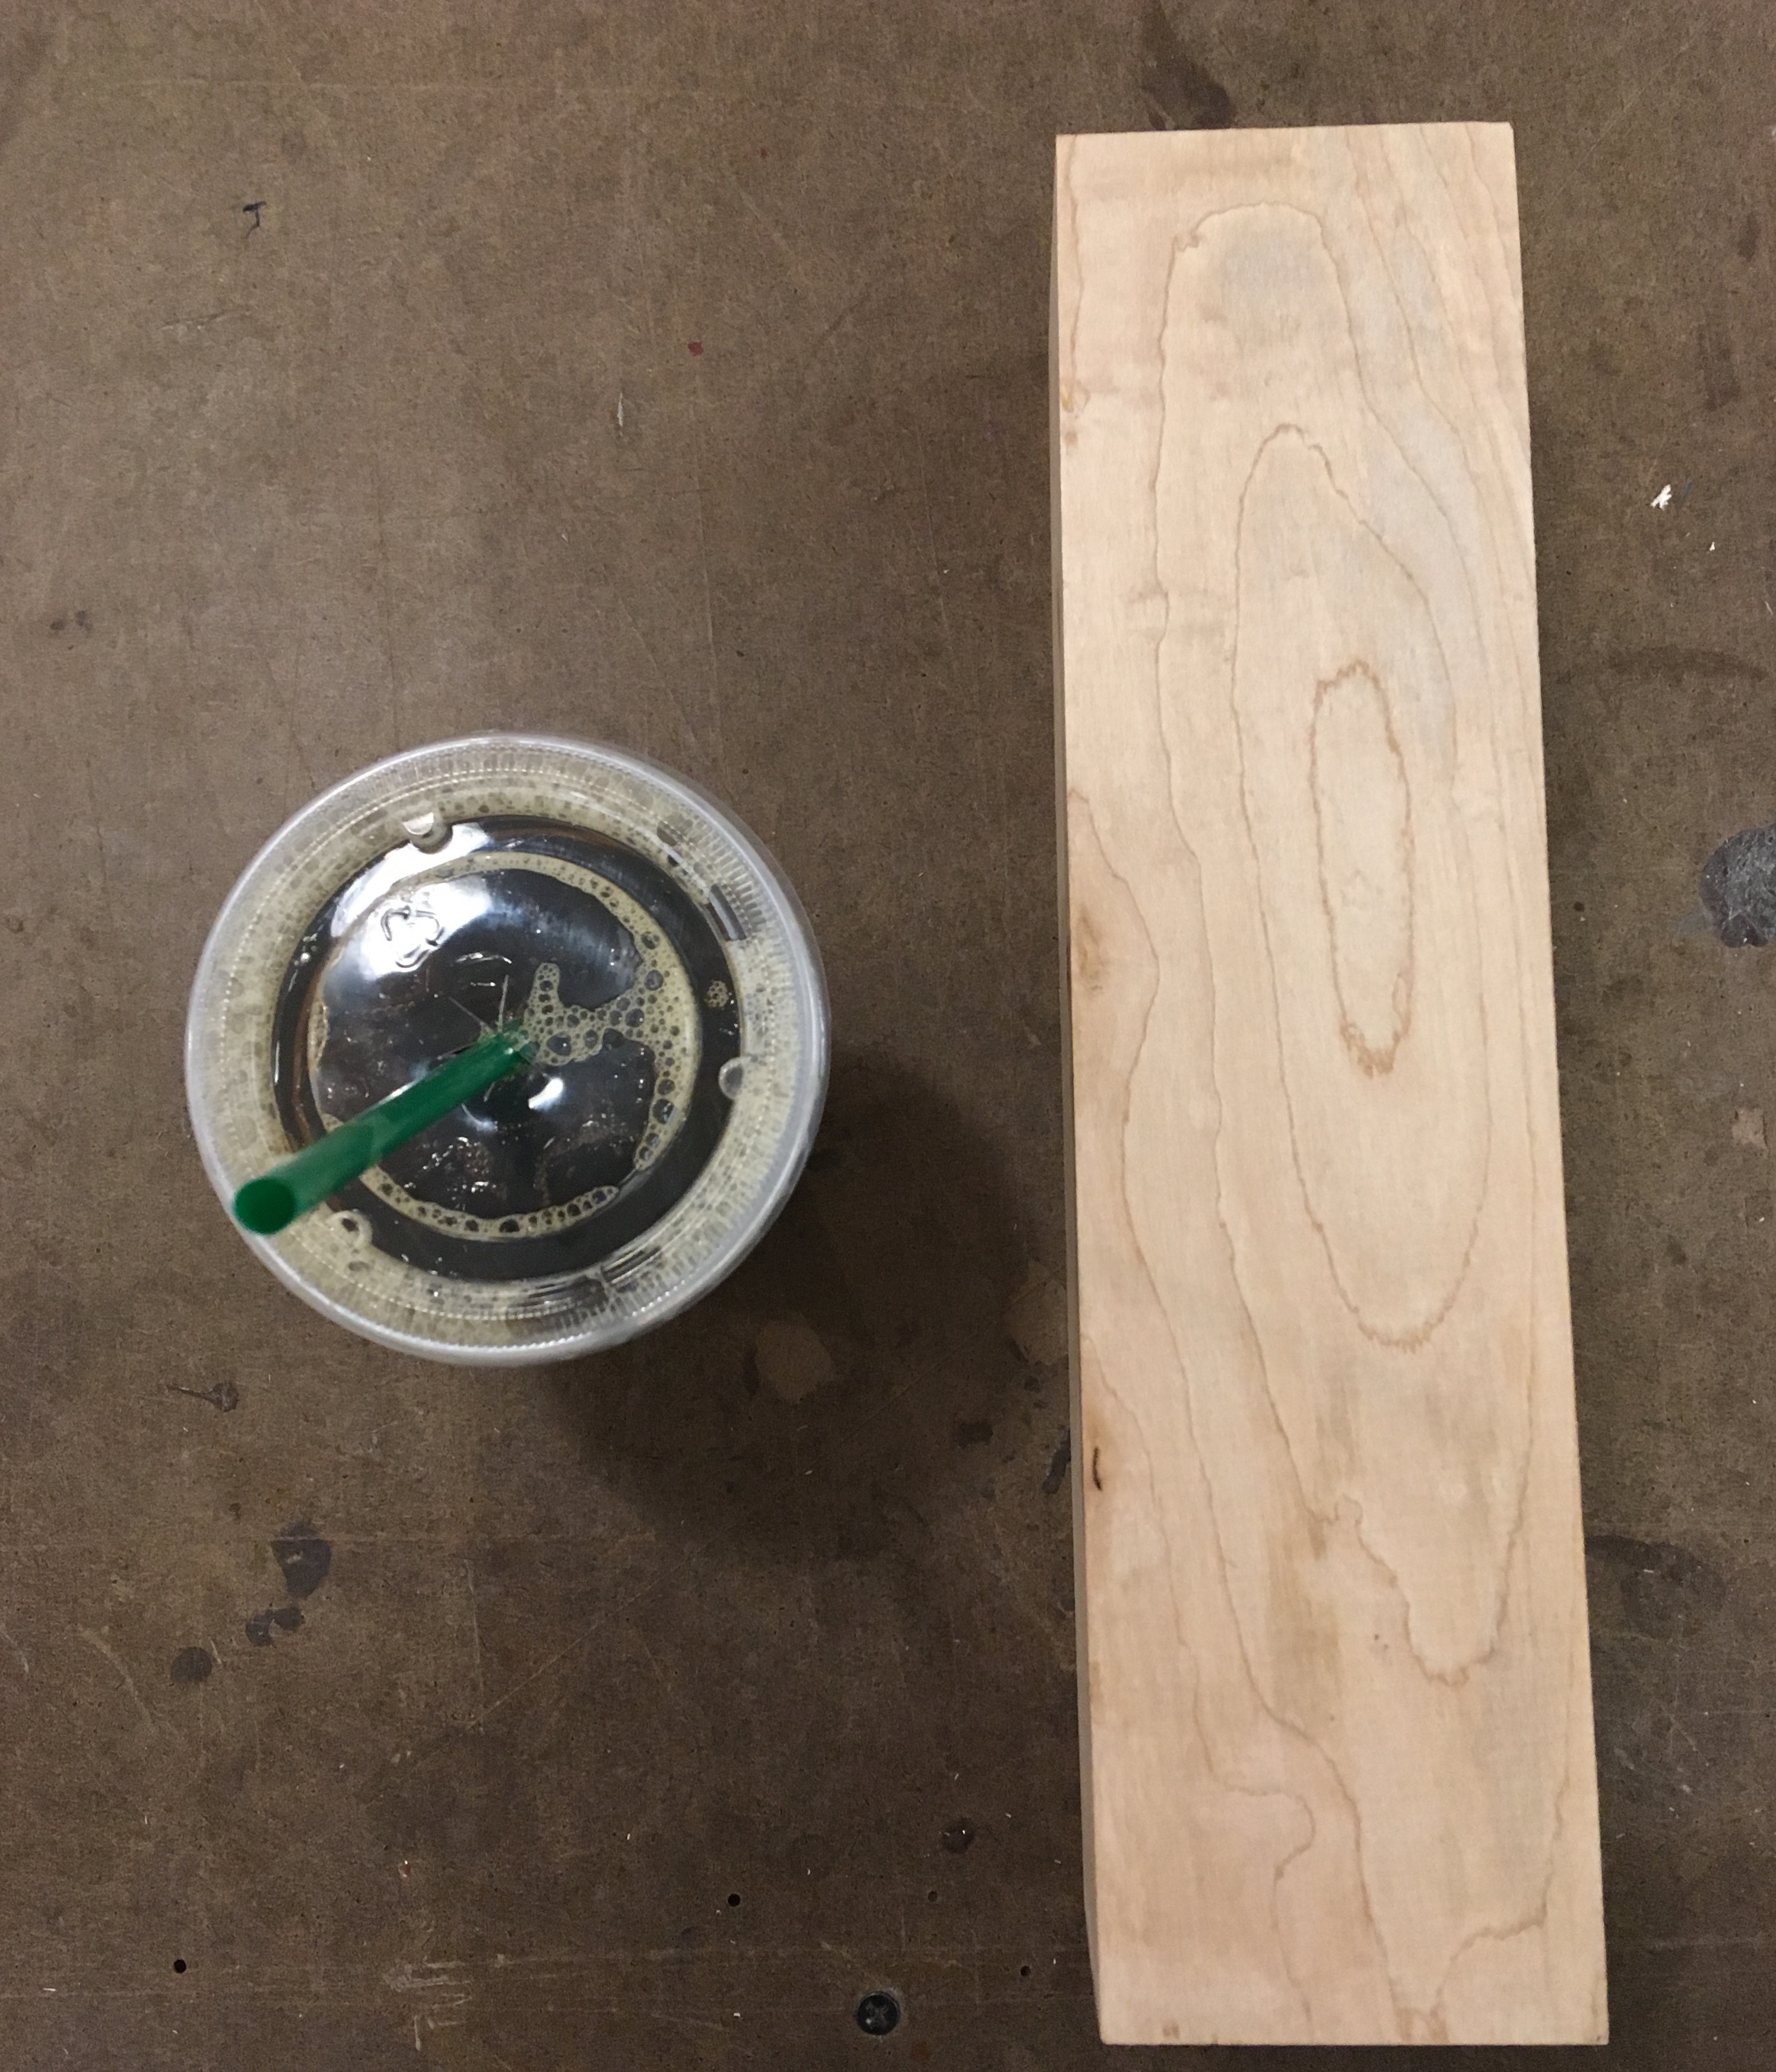 Beautiful piece of maple ordered from Woodcraft. Took a while to deliver so I really didn’t want to mess this part up.
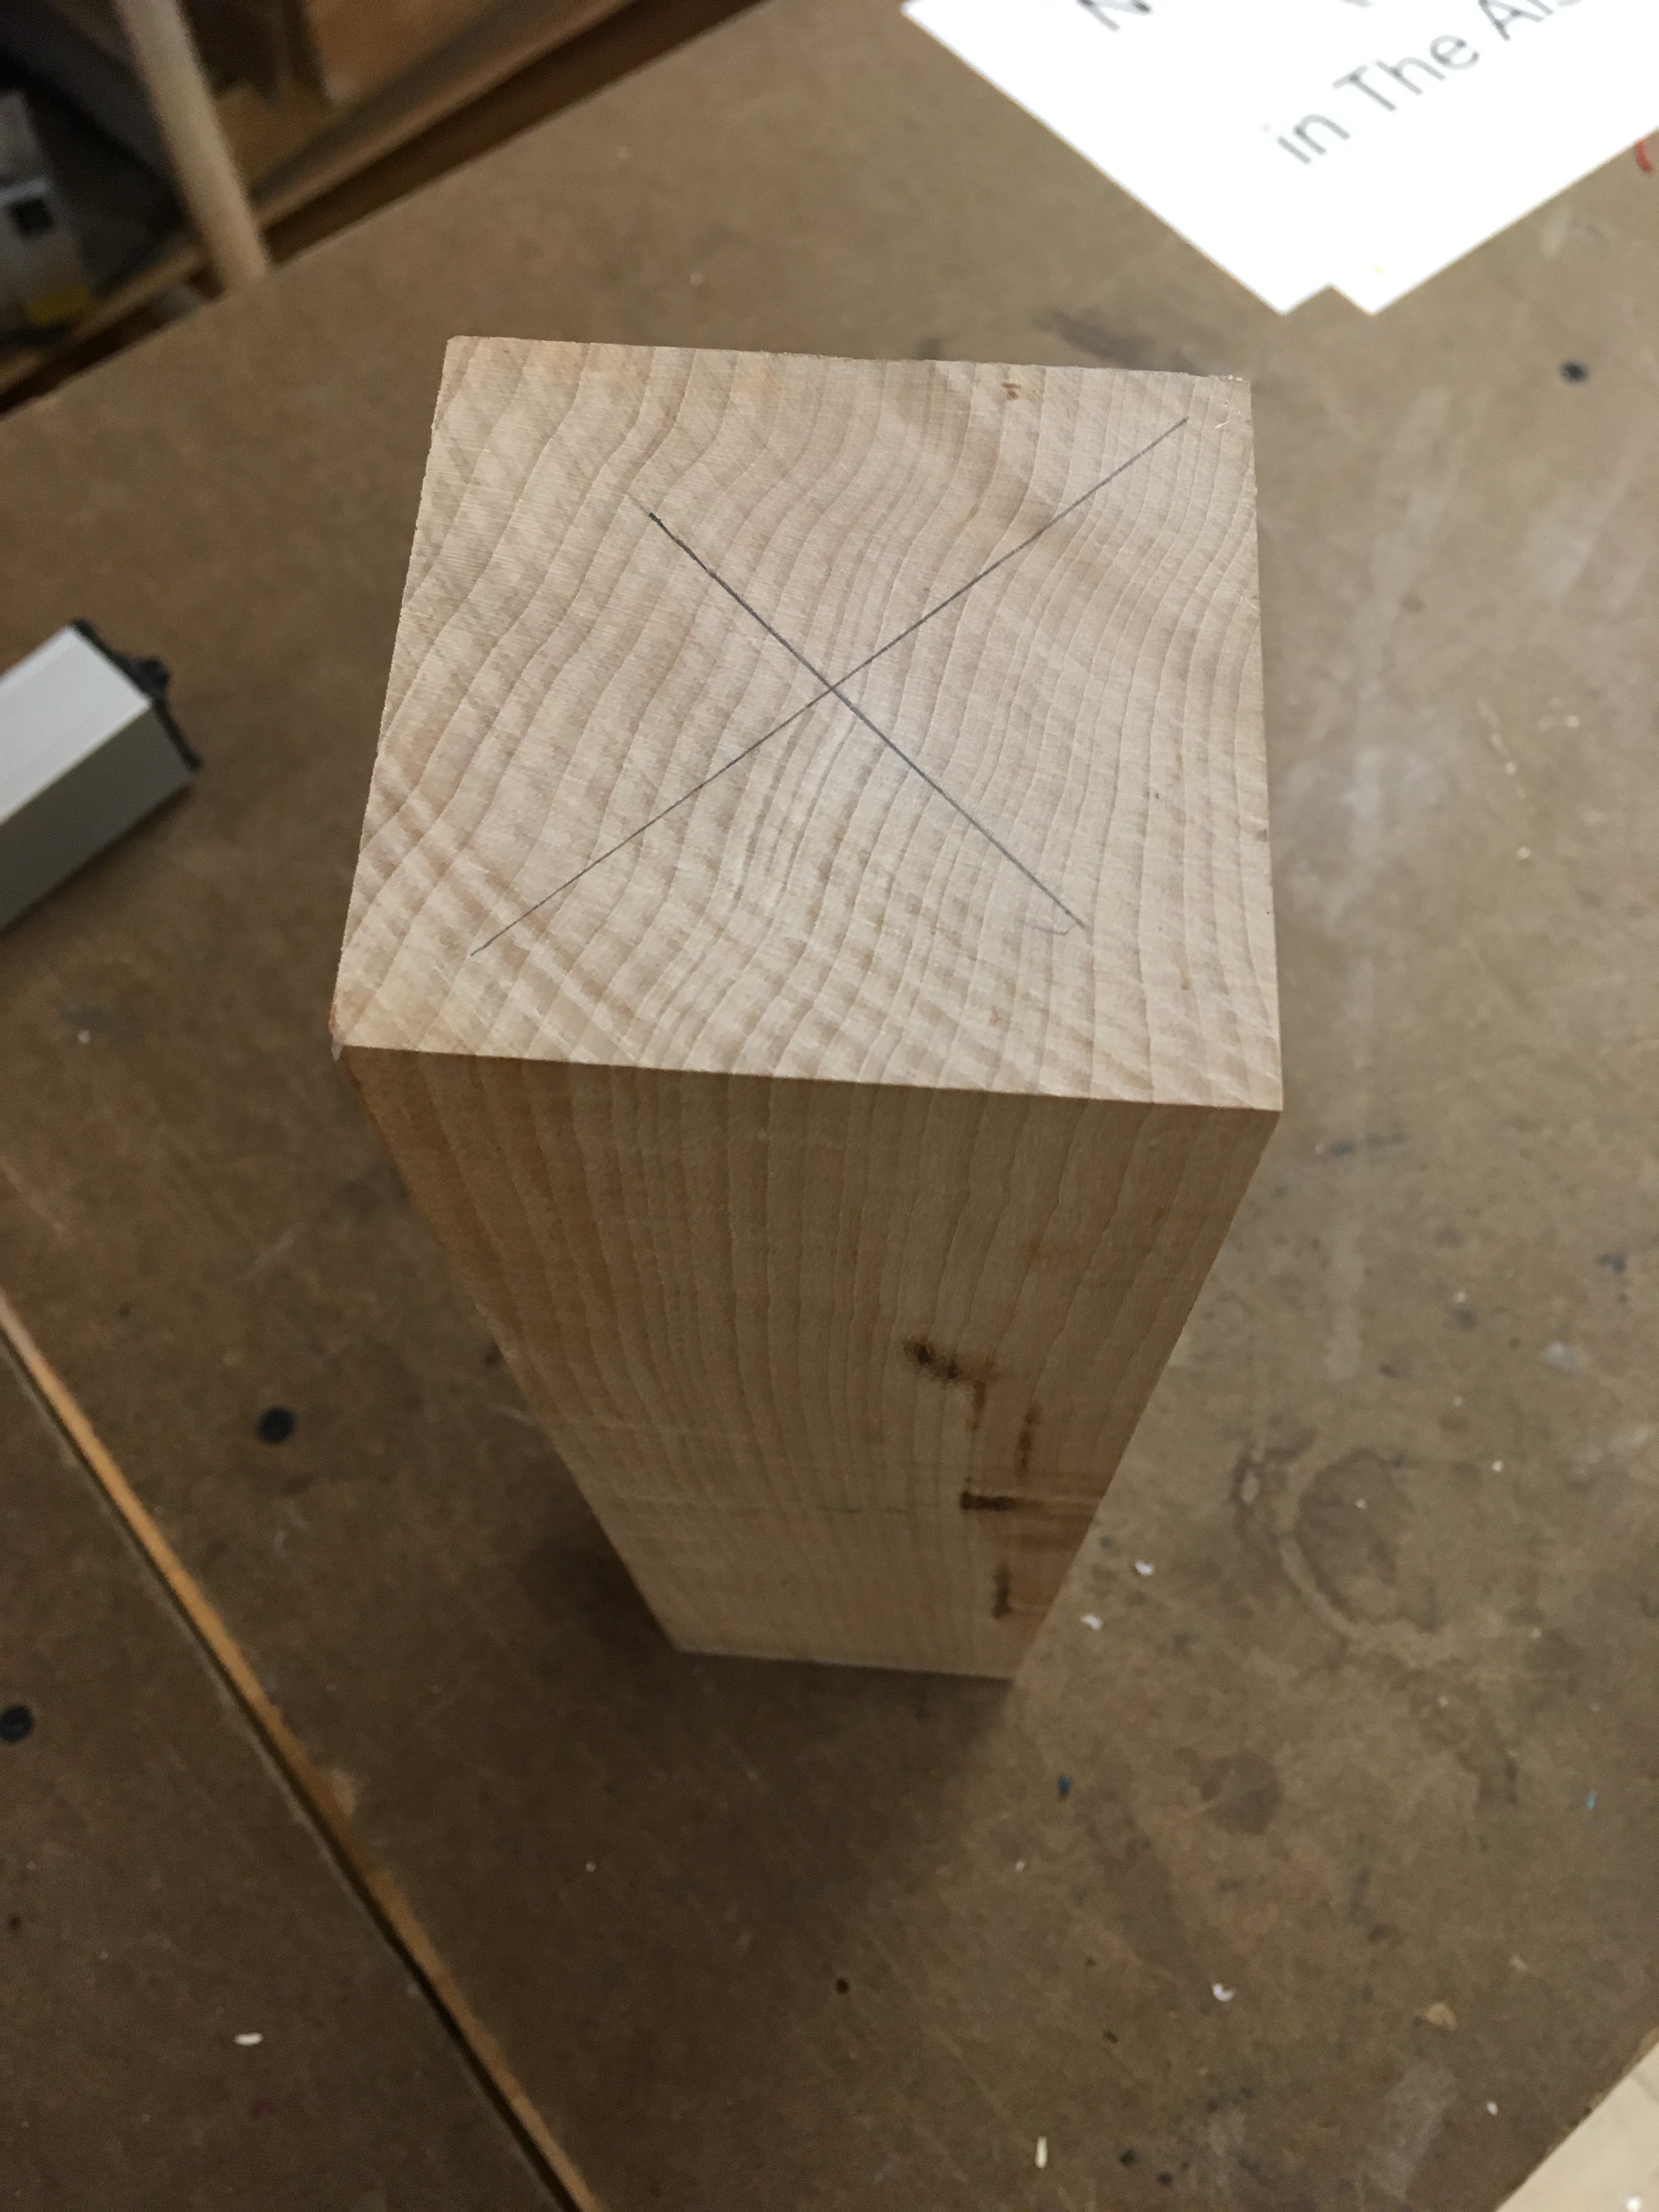 Finding the center.
 Roughing it was pretty scary.
 …but I finally got it round and the fun begins
 Shaping a gavel-style mallet with a fat center.
 Using the jig I created earlier to drill a hole for the dowel.
 Unfortunately, my drill bit wasn’t long enough so I only drilled a hole on one side. This was simpler, and I think more aesthetically pleasing this way.
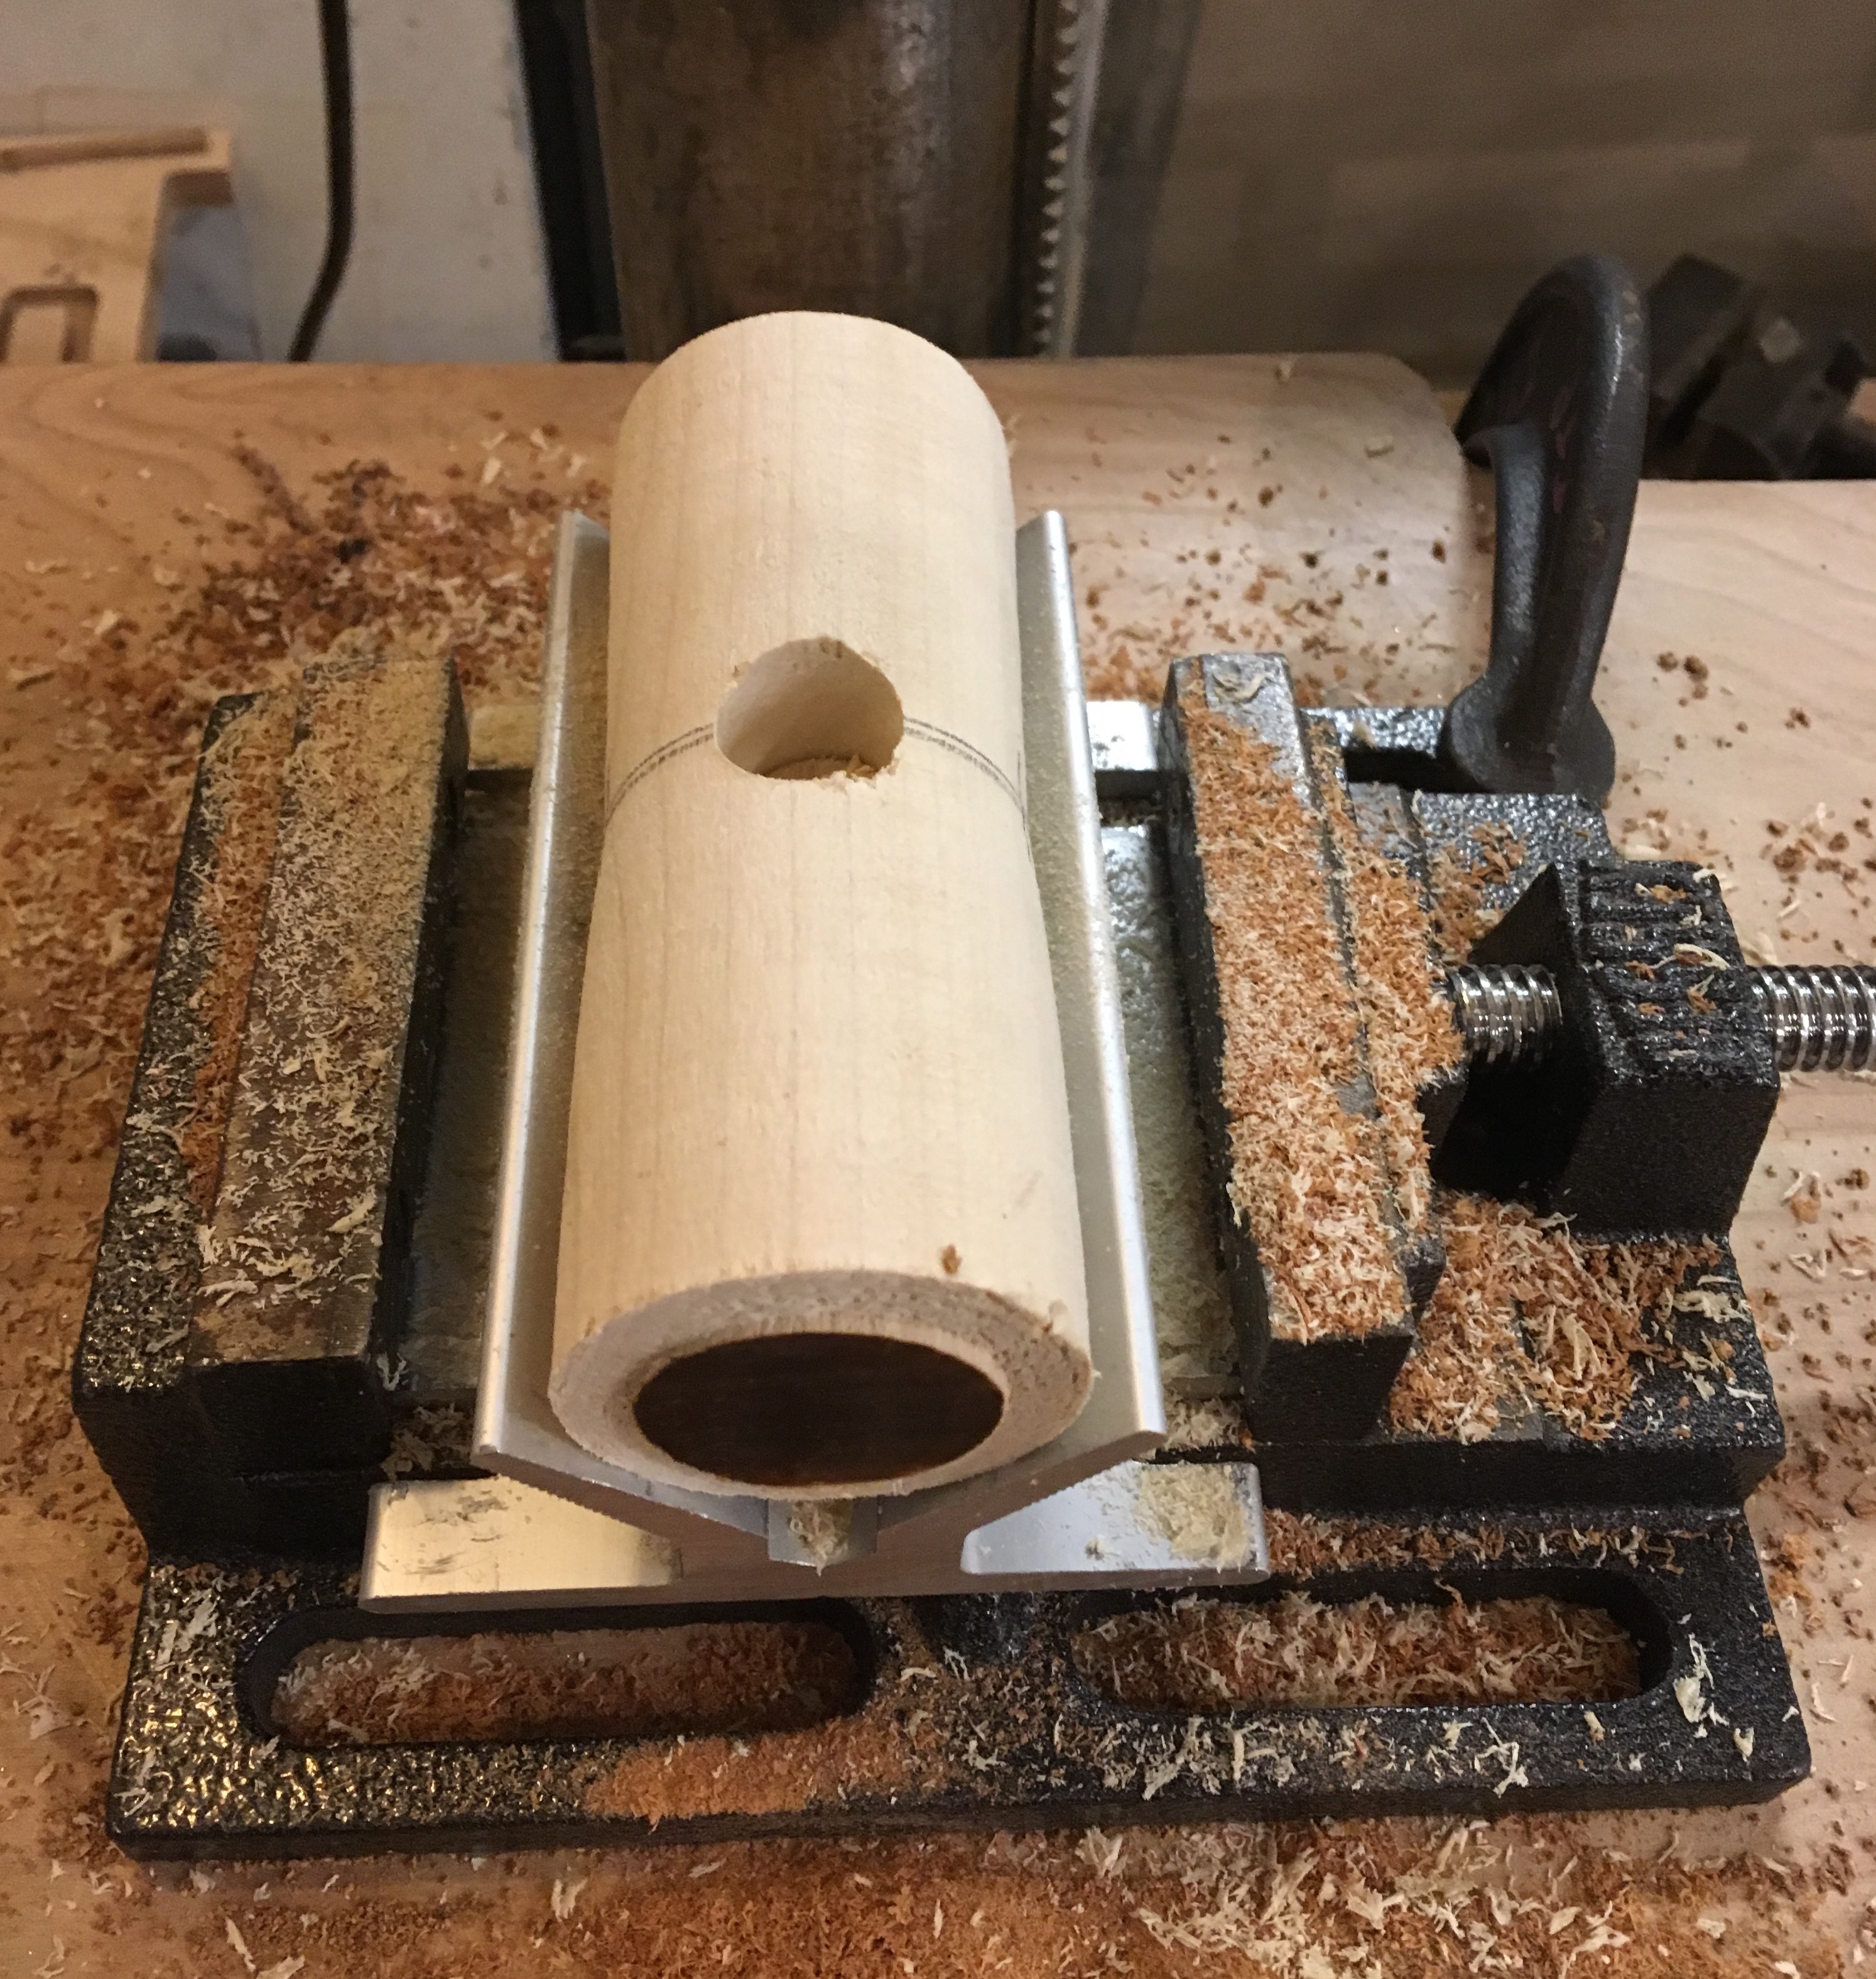
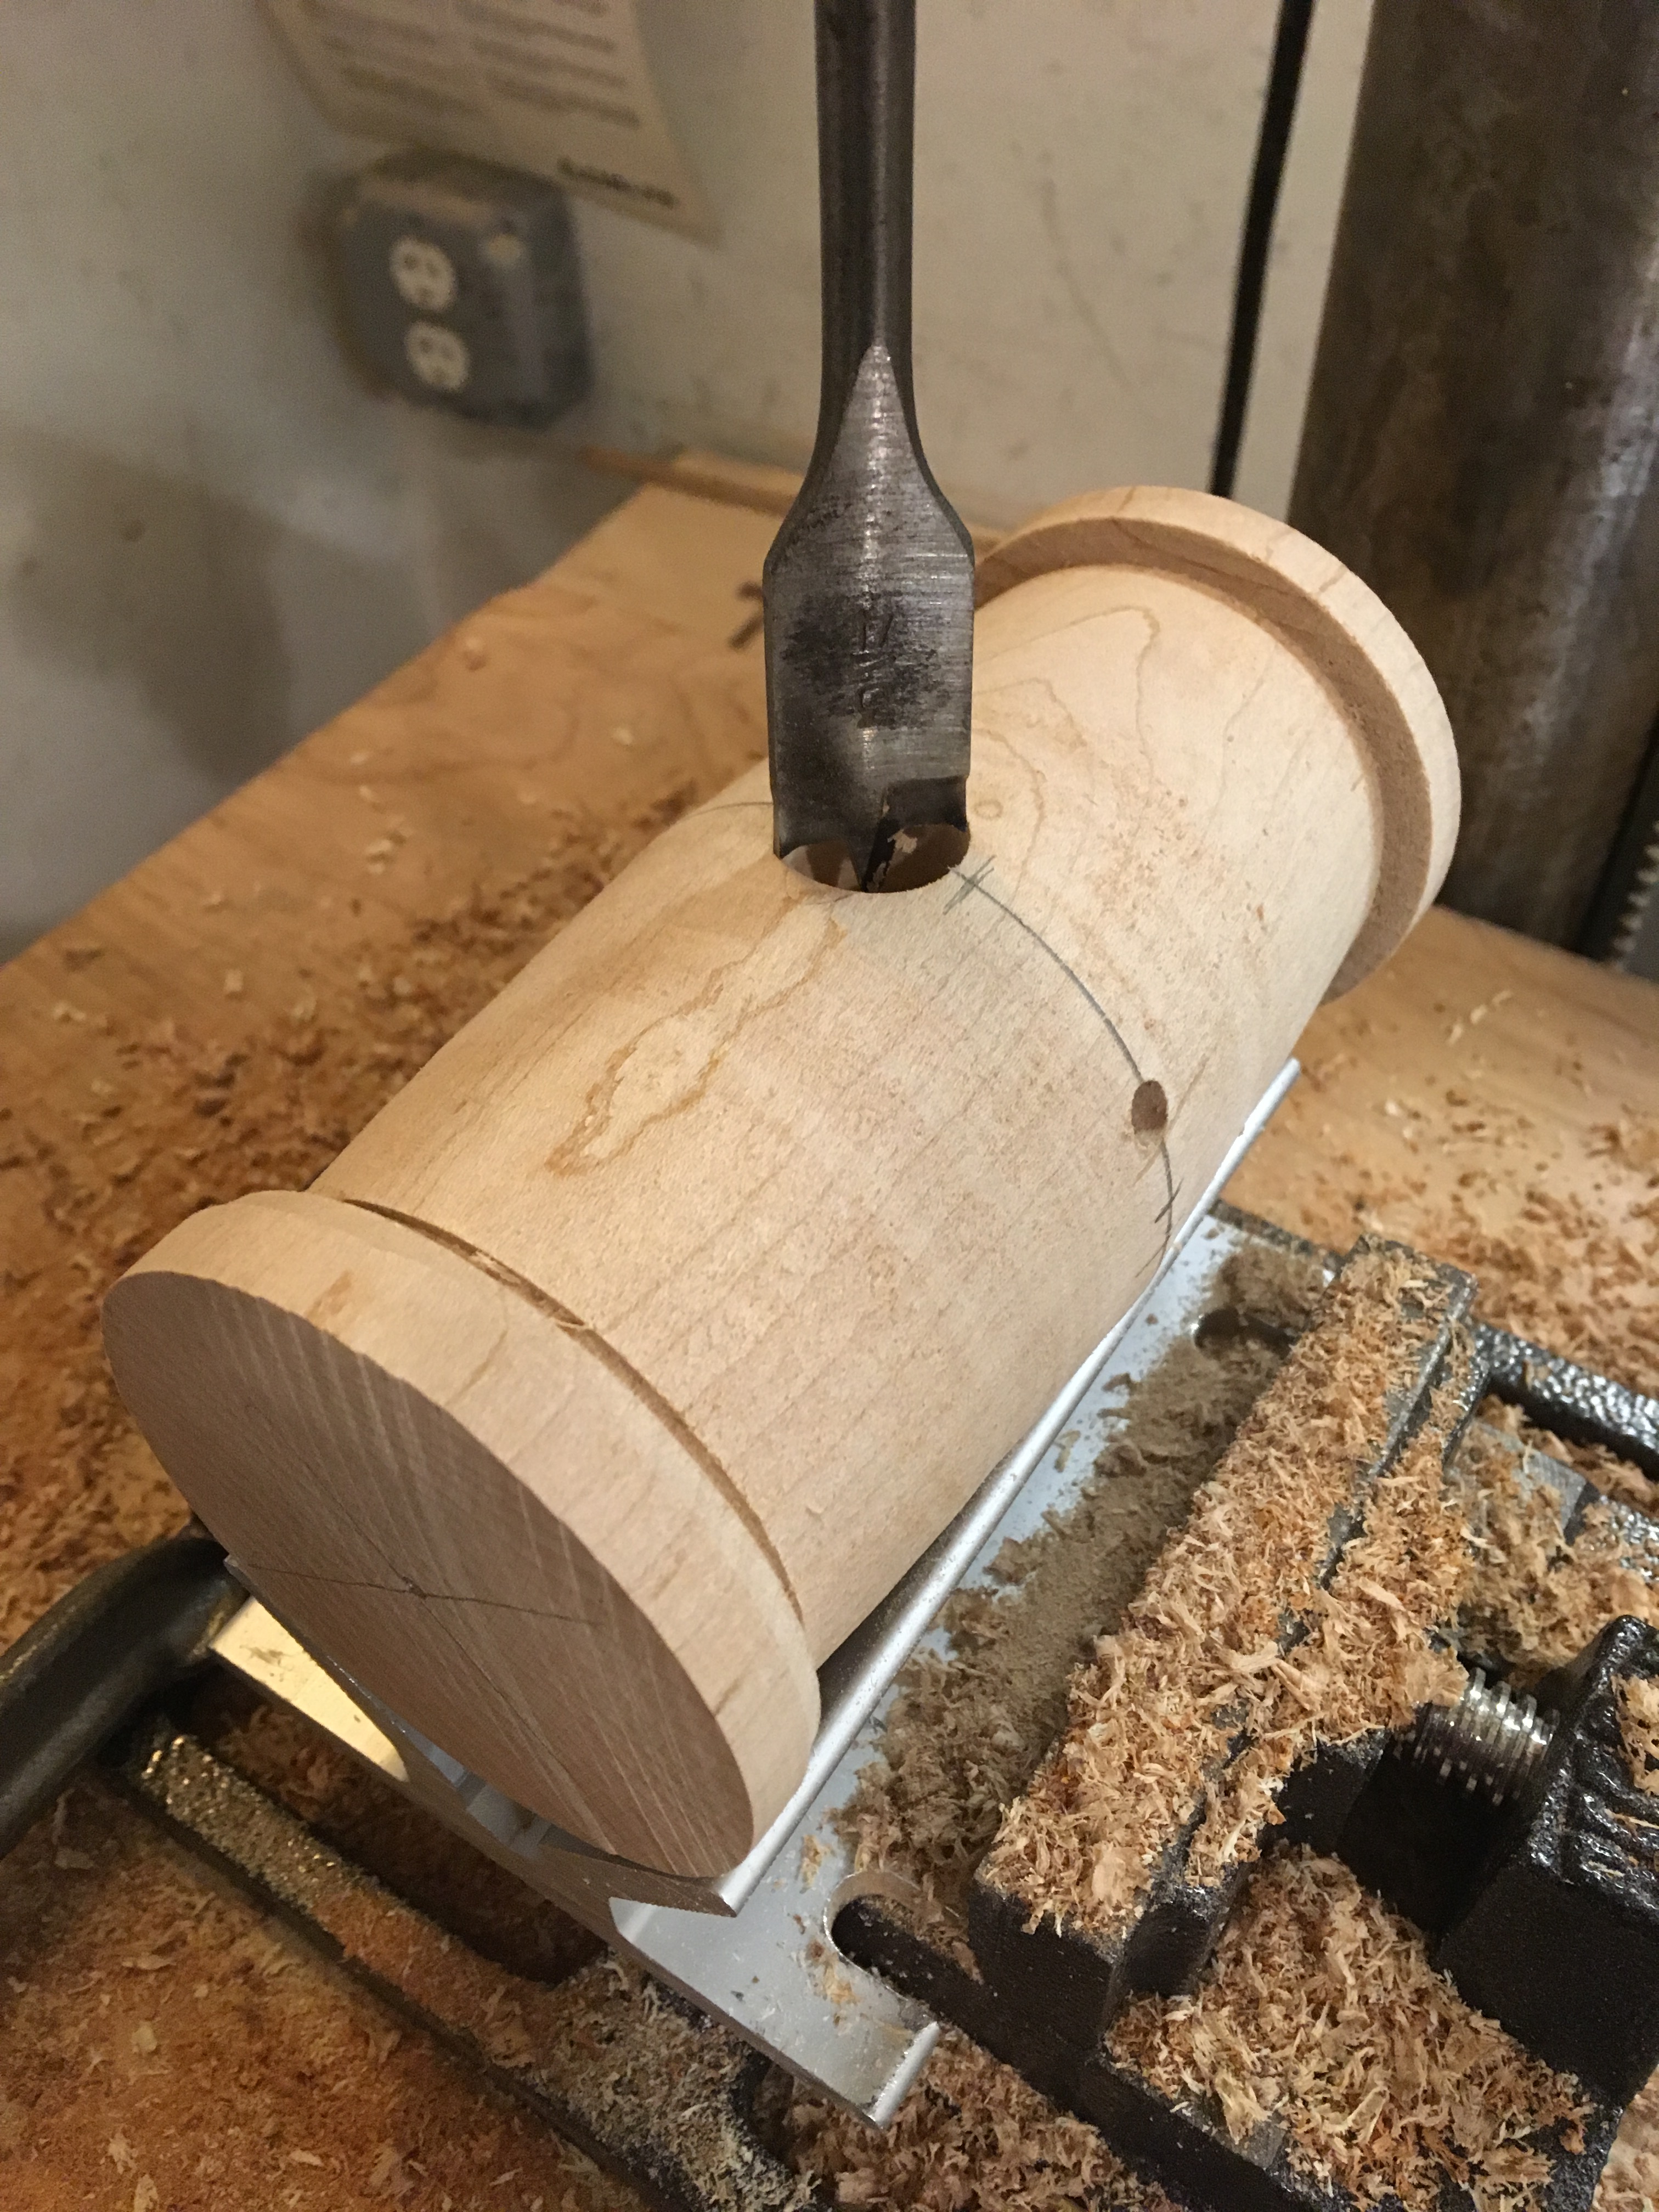 Using a V-block, I drill press a hole for the rod to fit.
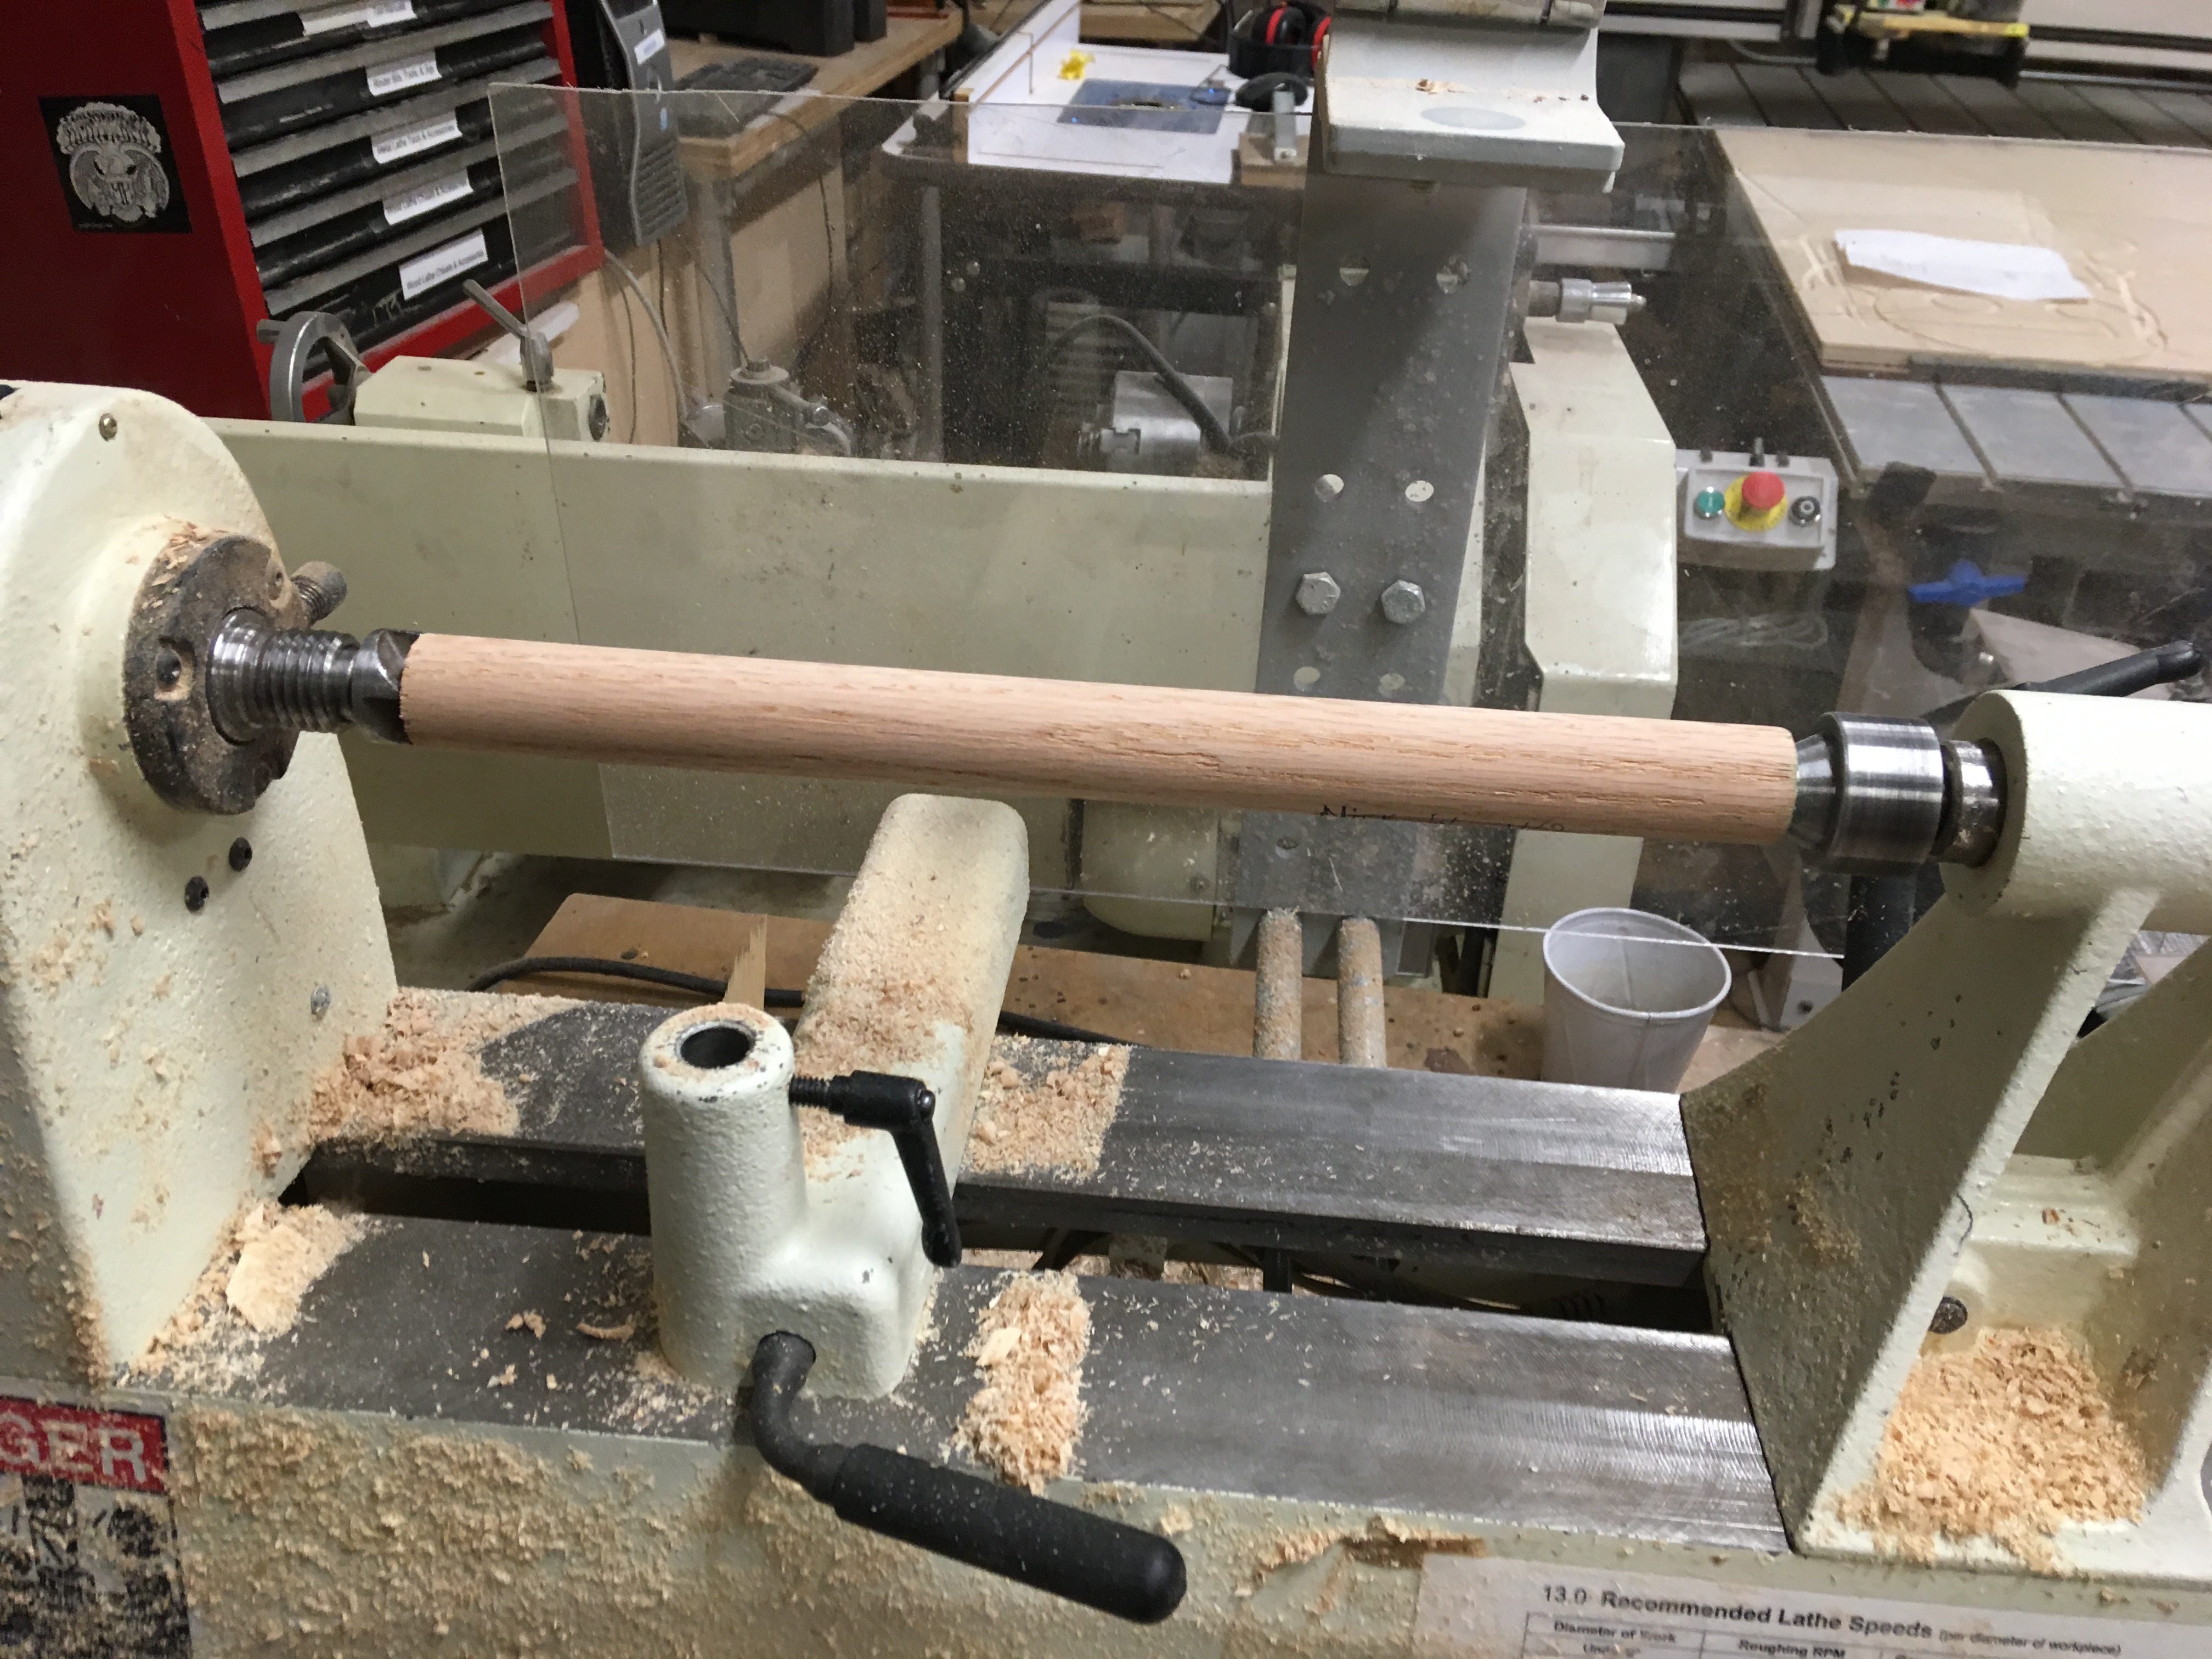
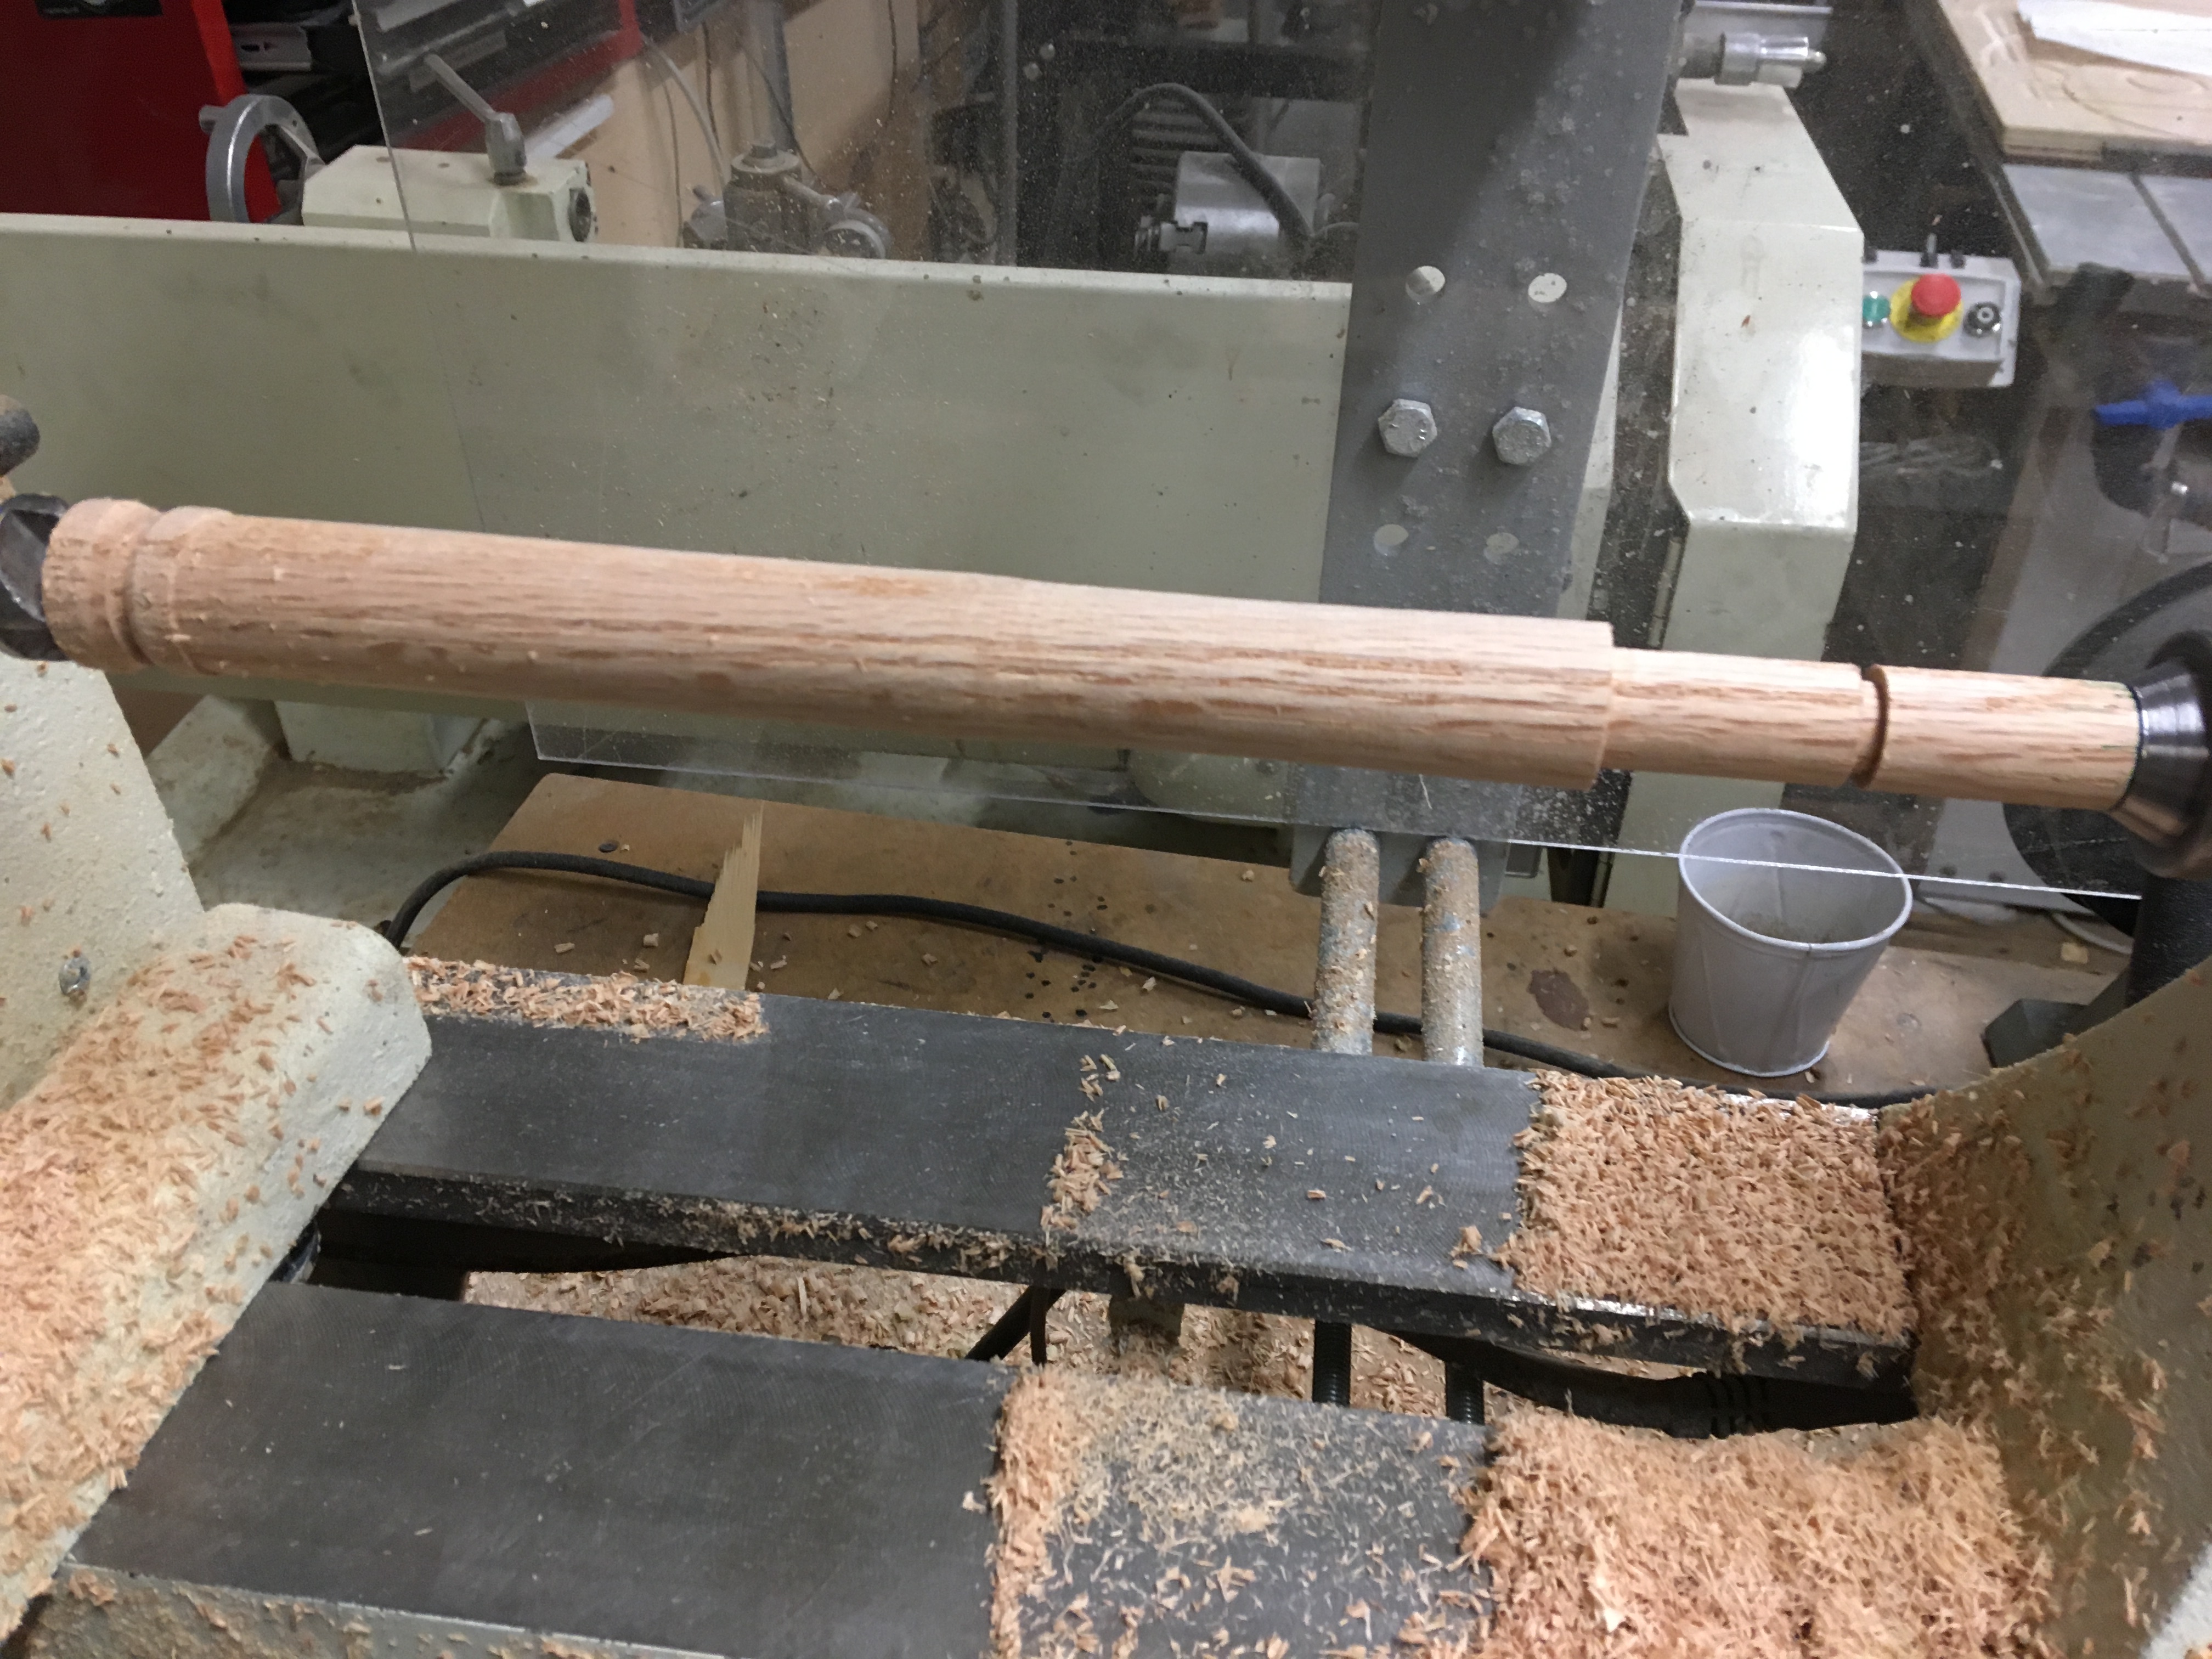
Turning the Oak Mallet Handle
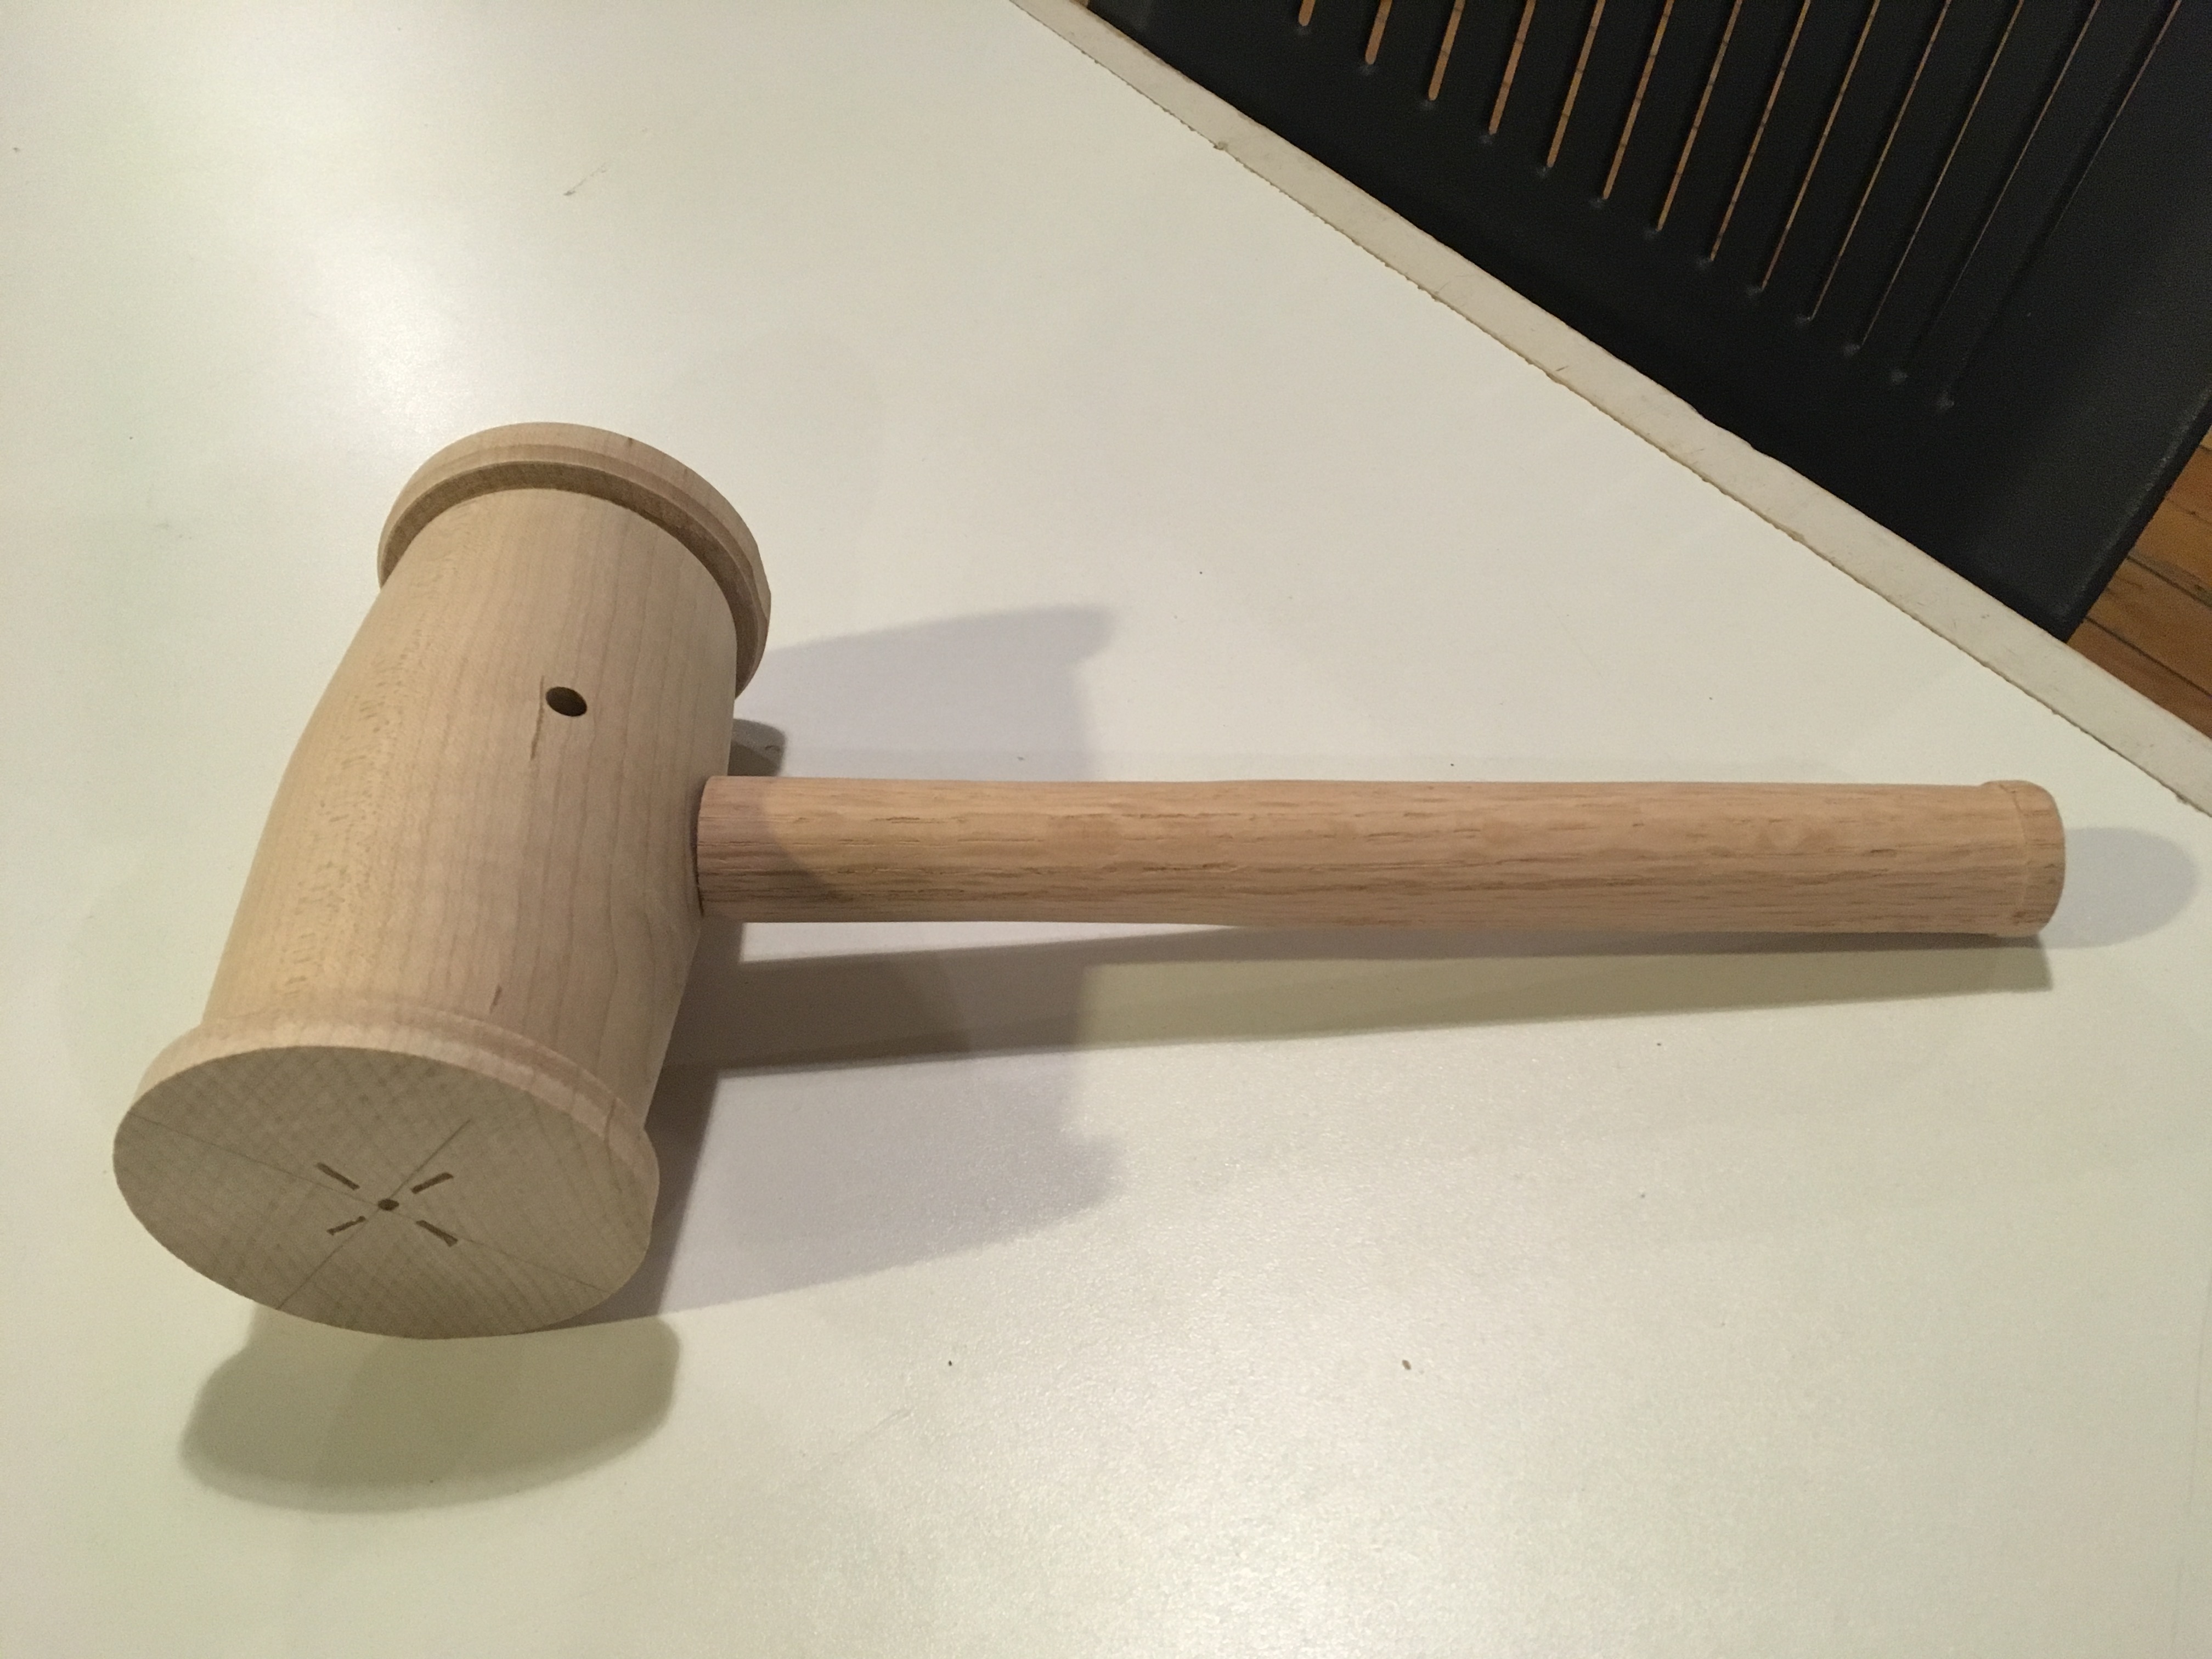
Putting it Together
Finishing Touches
 Because I had one clean side without a dowel hole, I decided to etch it.
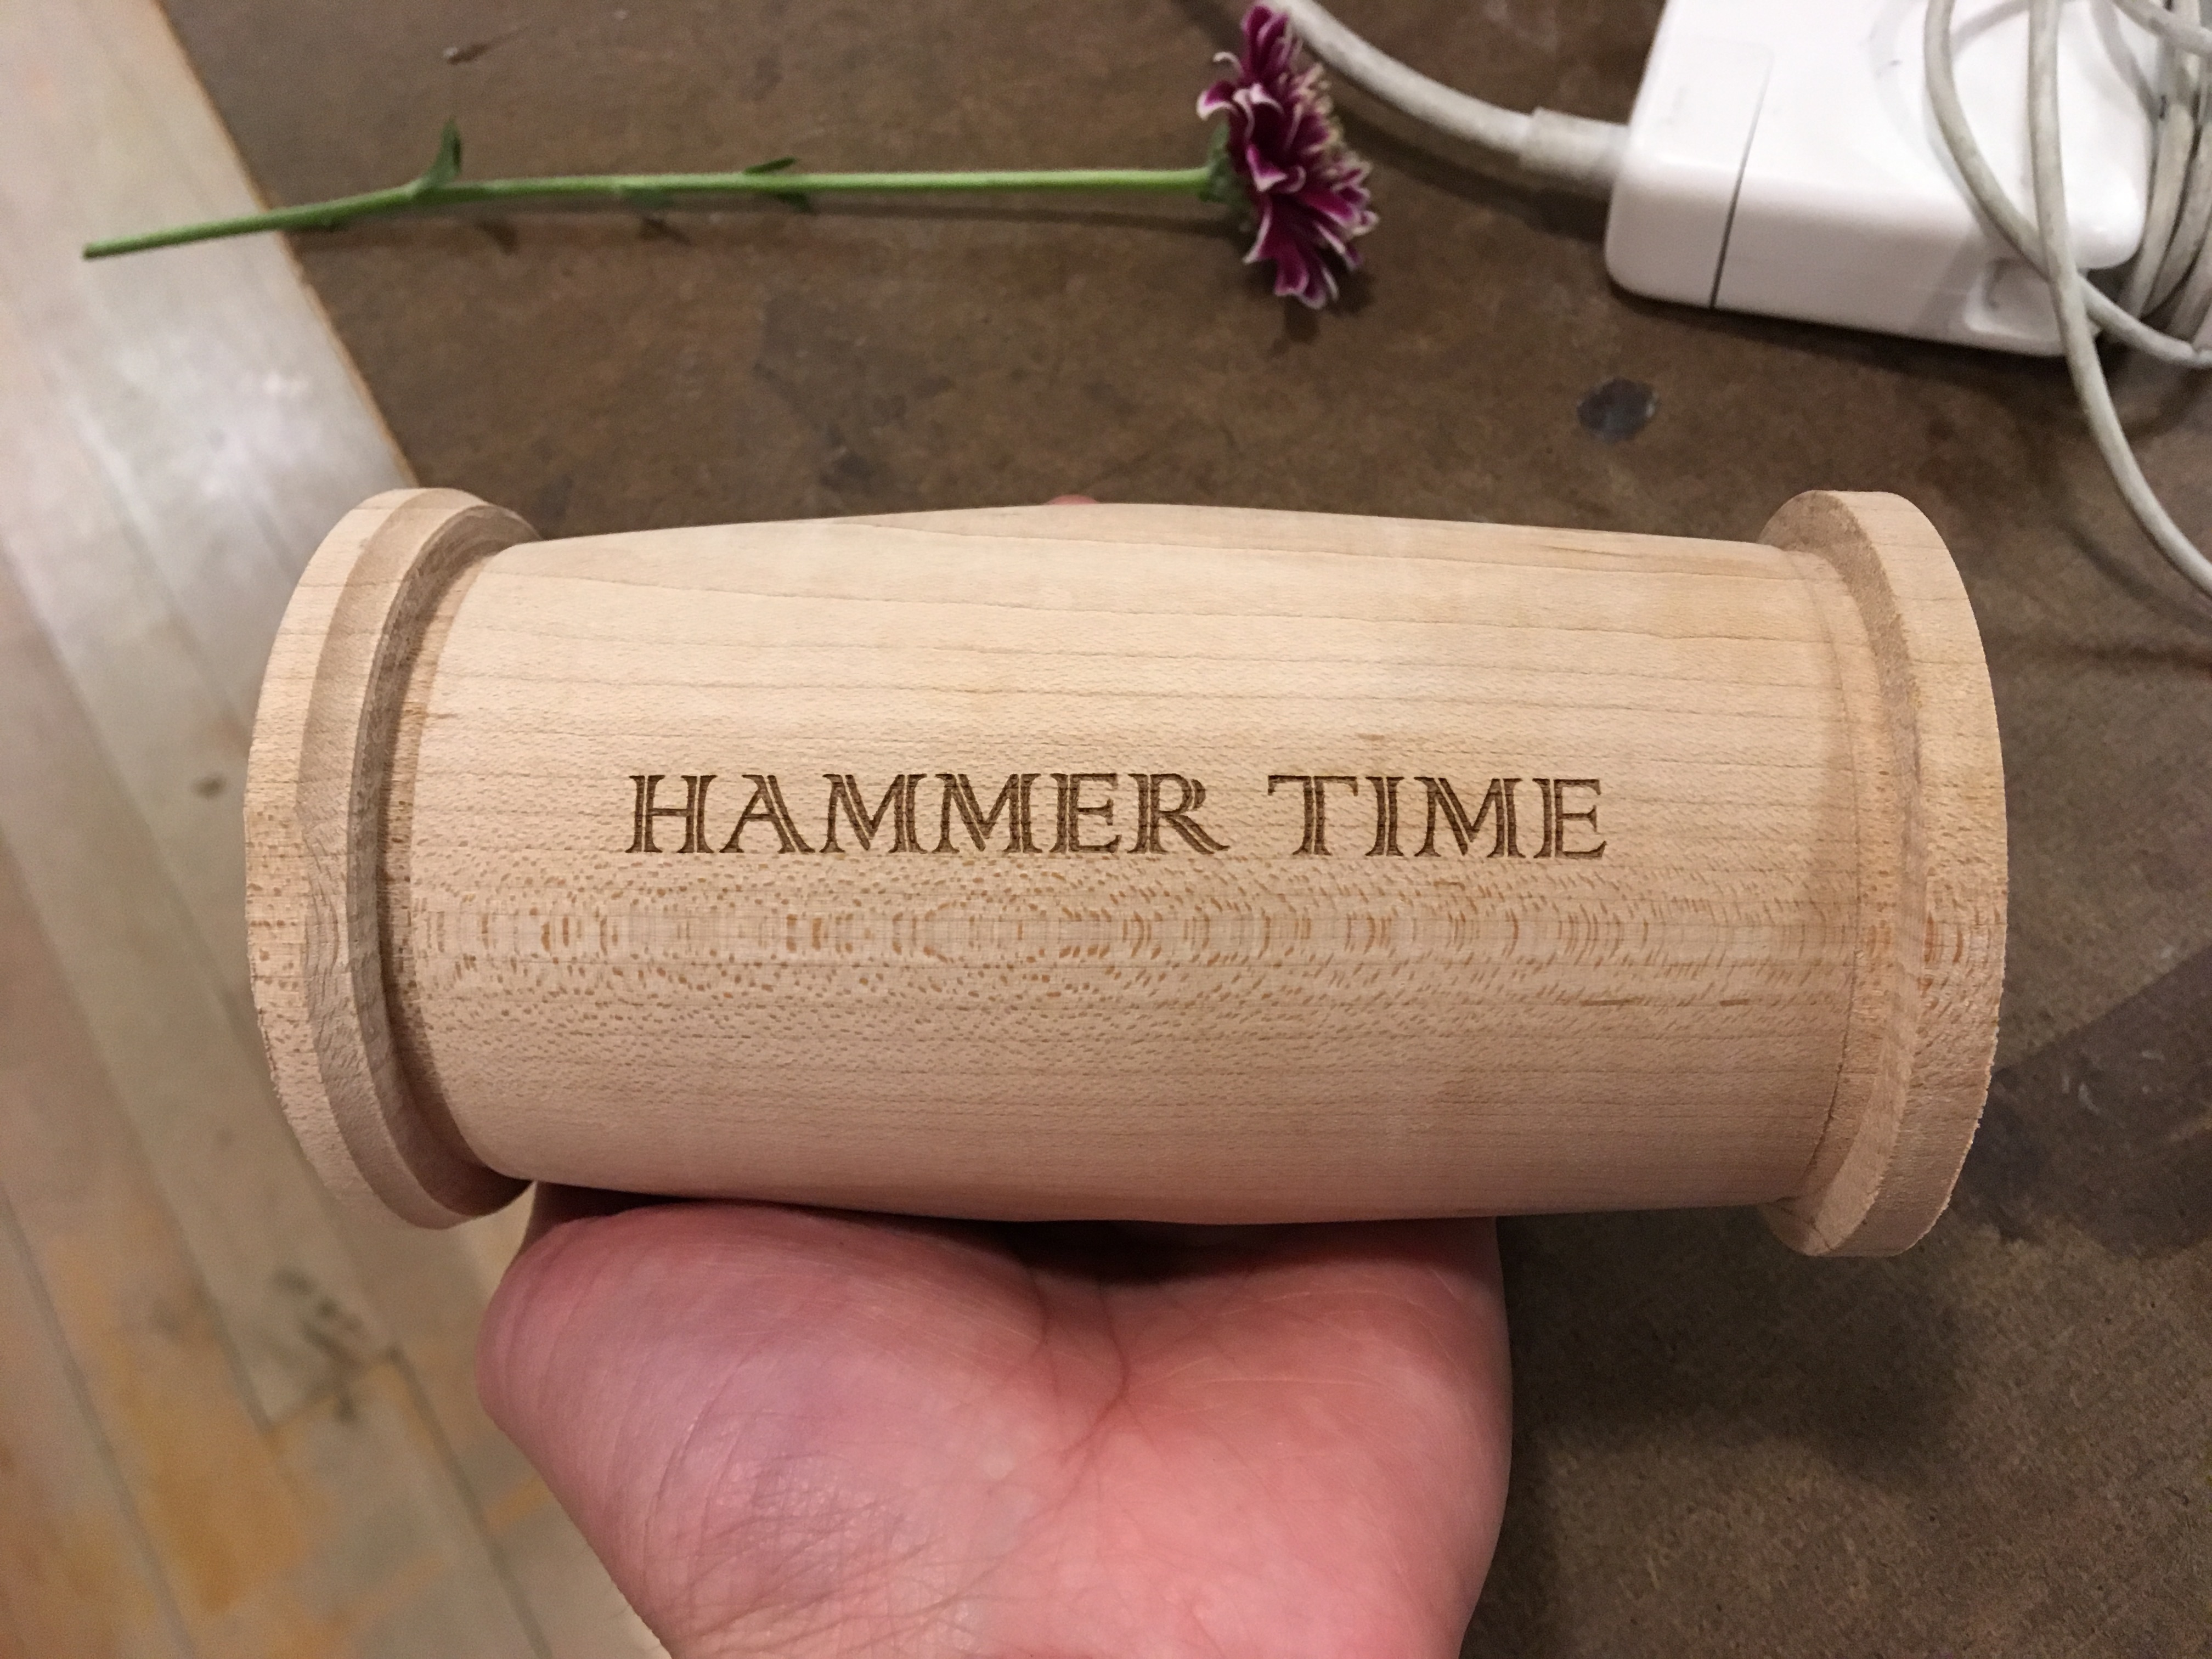 HAMMER TIME!
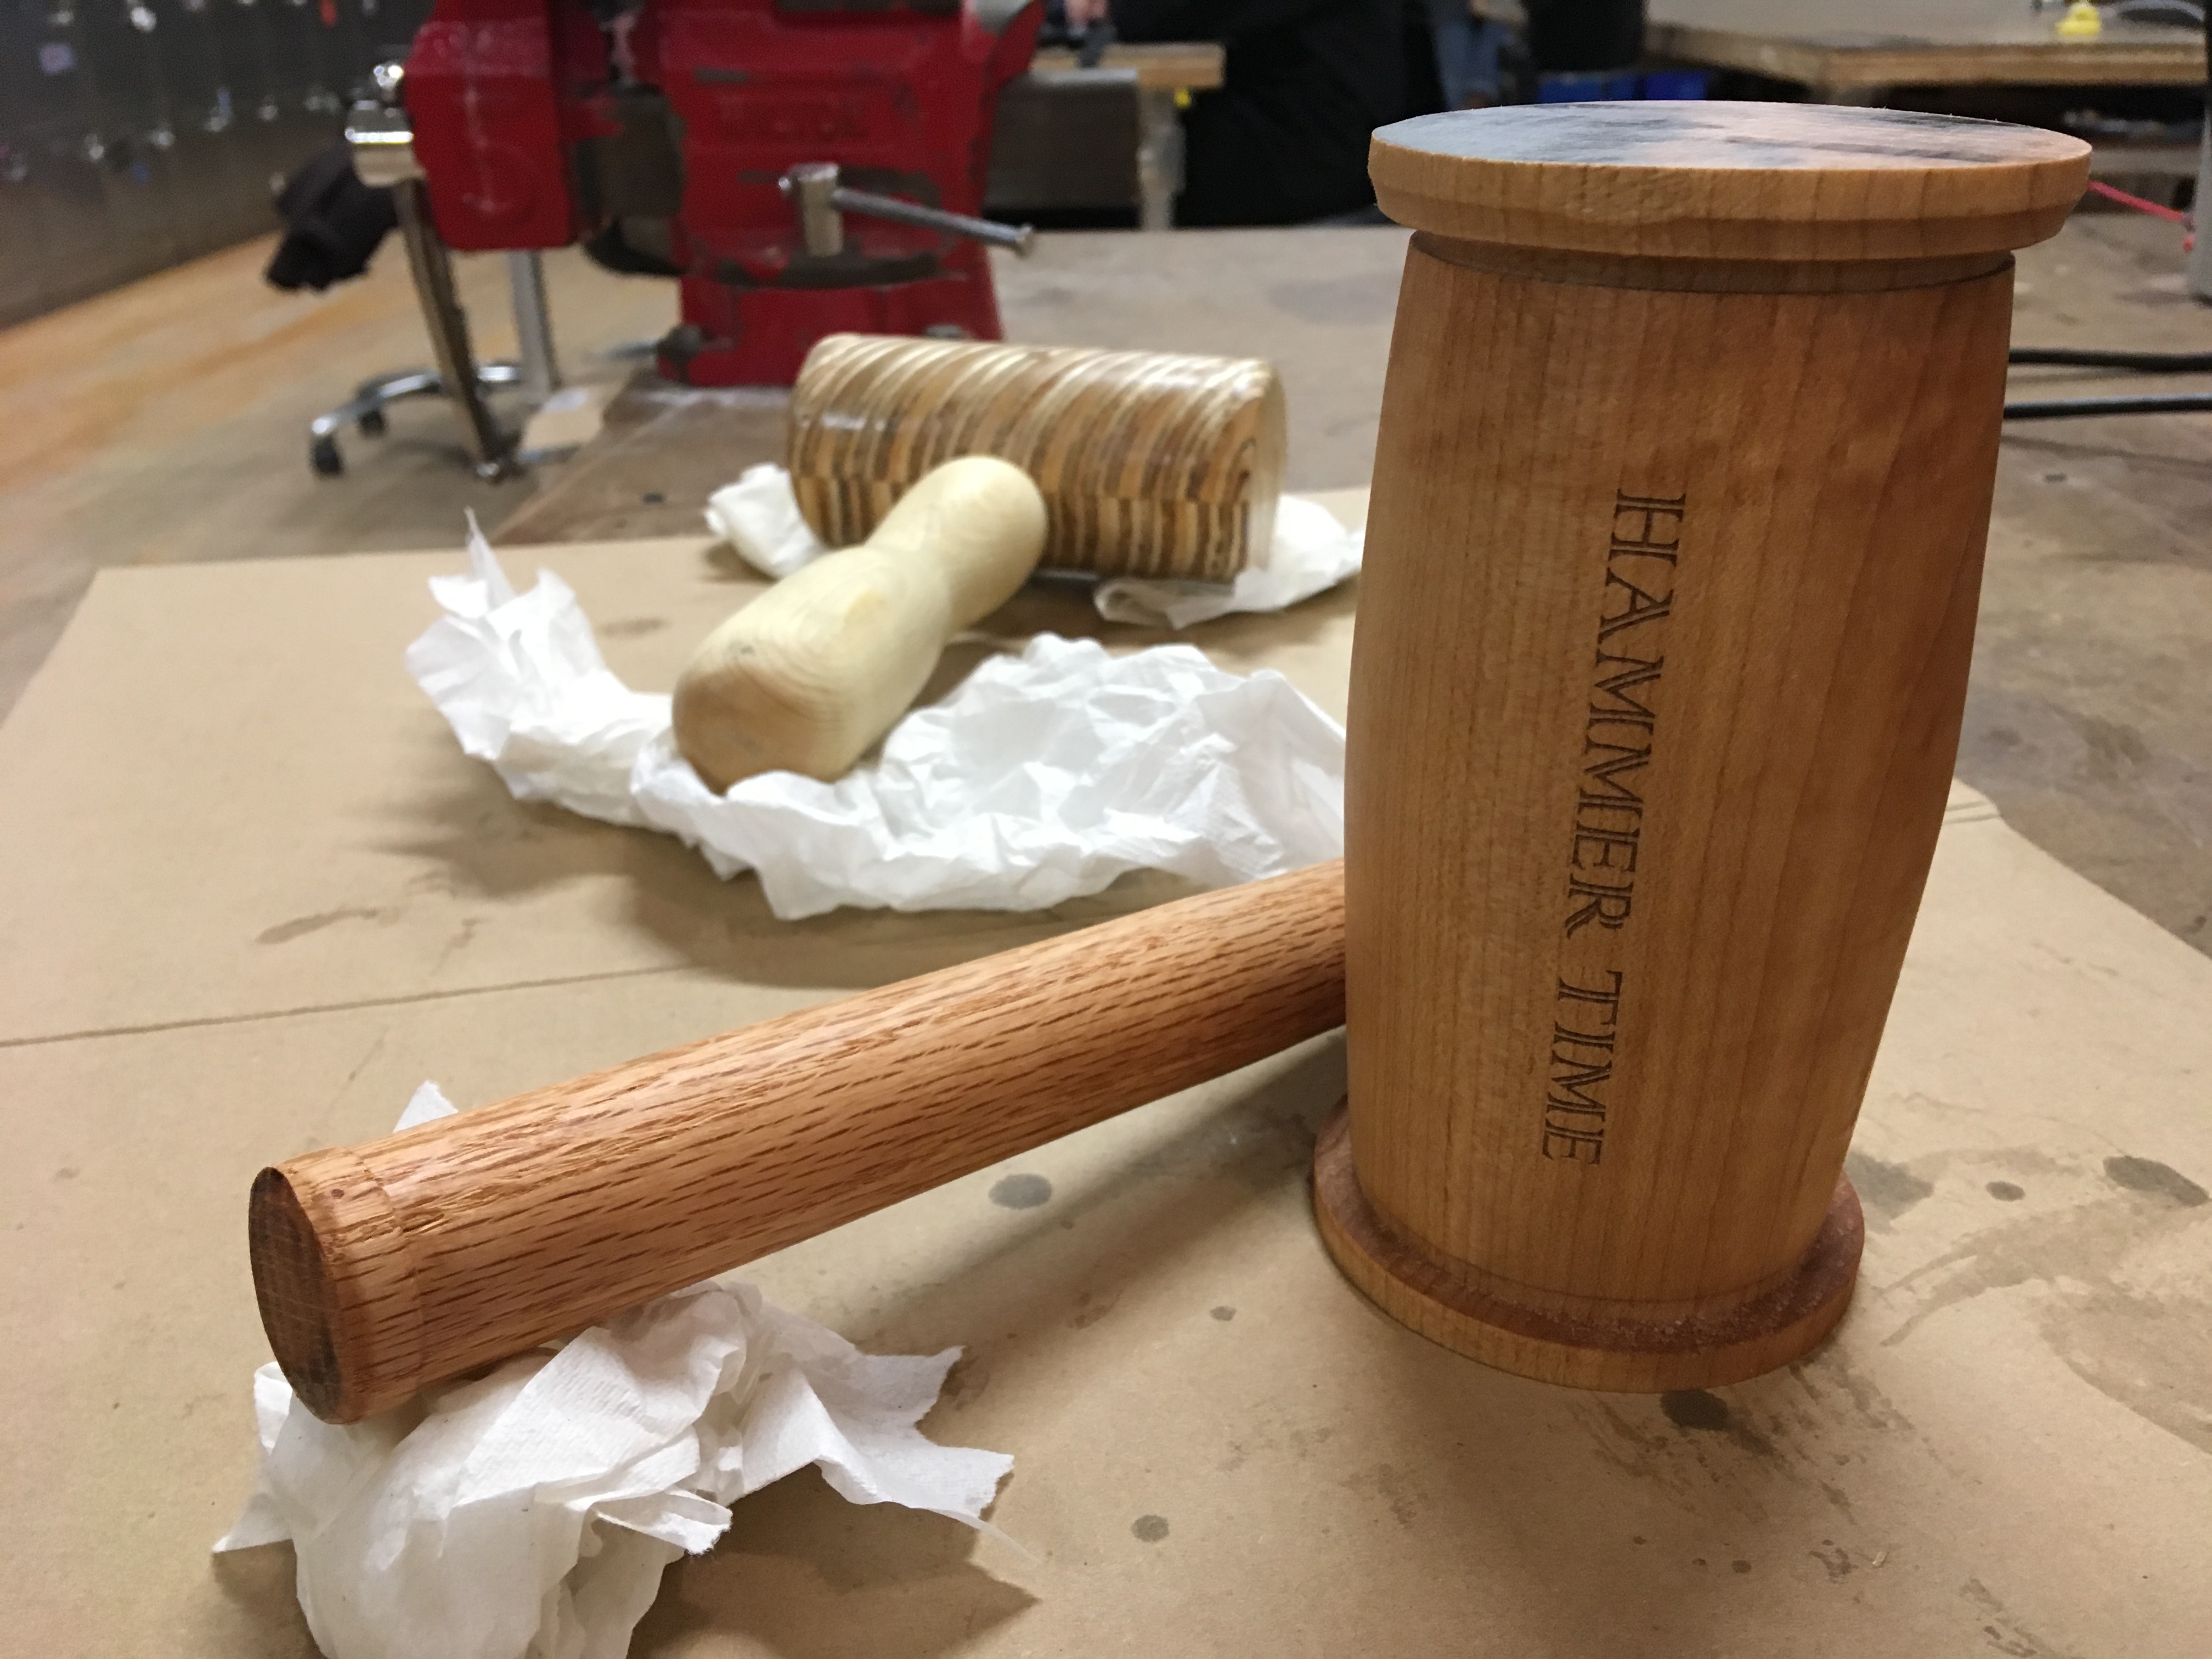 And lastly, two layers of tung oil to finish it all off
HAMMER TIME