Lunar Lander Controller
Lunar Lander
In this Week 1 assignment, we use an HID compatible Arduino and program it as an HID interface using the Keyboard and Mouse libraries. Essentially, we will build a new controller that maps to the existing controls (left-mouse click and arrow keys) for Lunar Lander.
The Lunar Lander version that I am using is: Lunar Lander
Planning the Interface
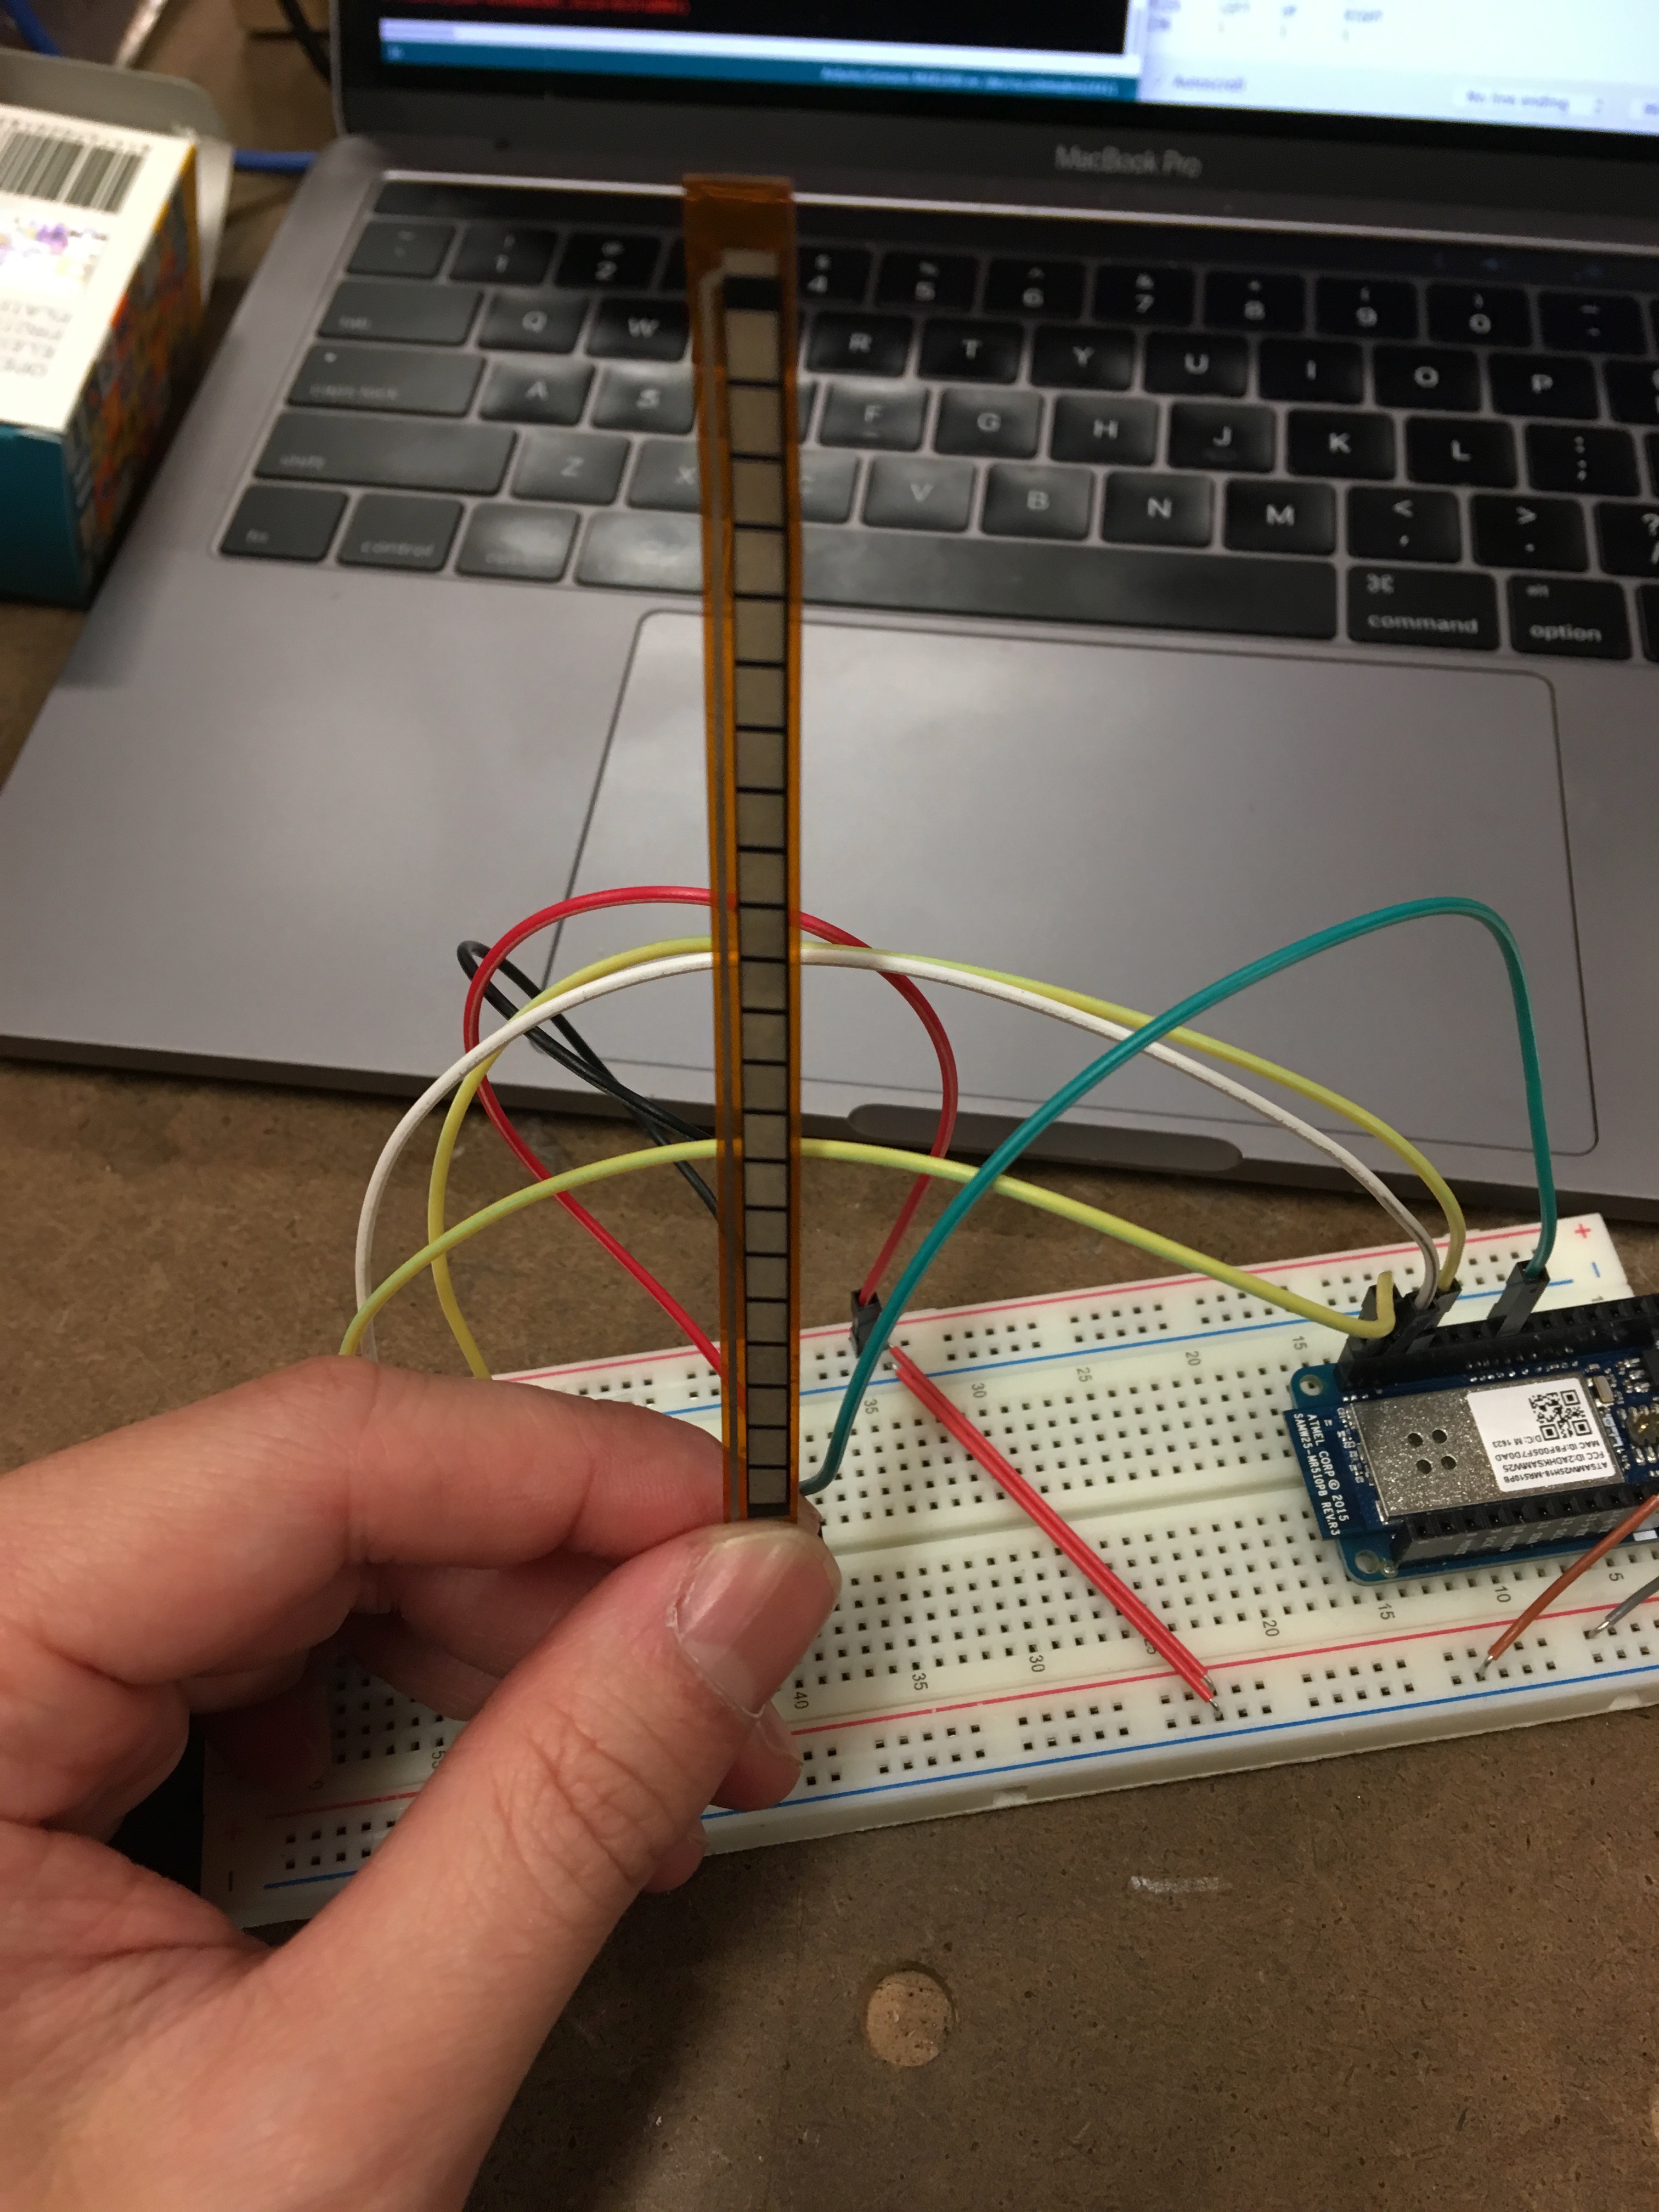
I started this project by exploring a couple of analog sensors I’ve never tried before, a flex sensor and touch capacitor. I had some initial ideas about using these as controller inputs to map to thrust in an analog way, but gave up because I wasn’t happy with the accuracy of the sensors. The flex sensor wasn’t accurate, and the touch capacitor was too sensitive for what I had in mind.

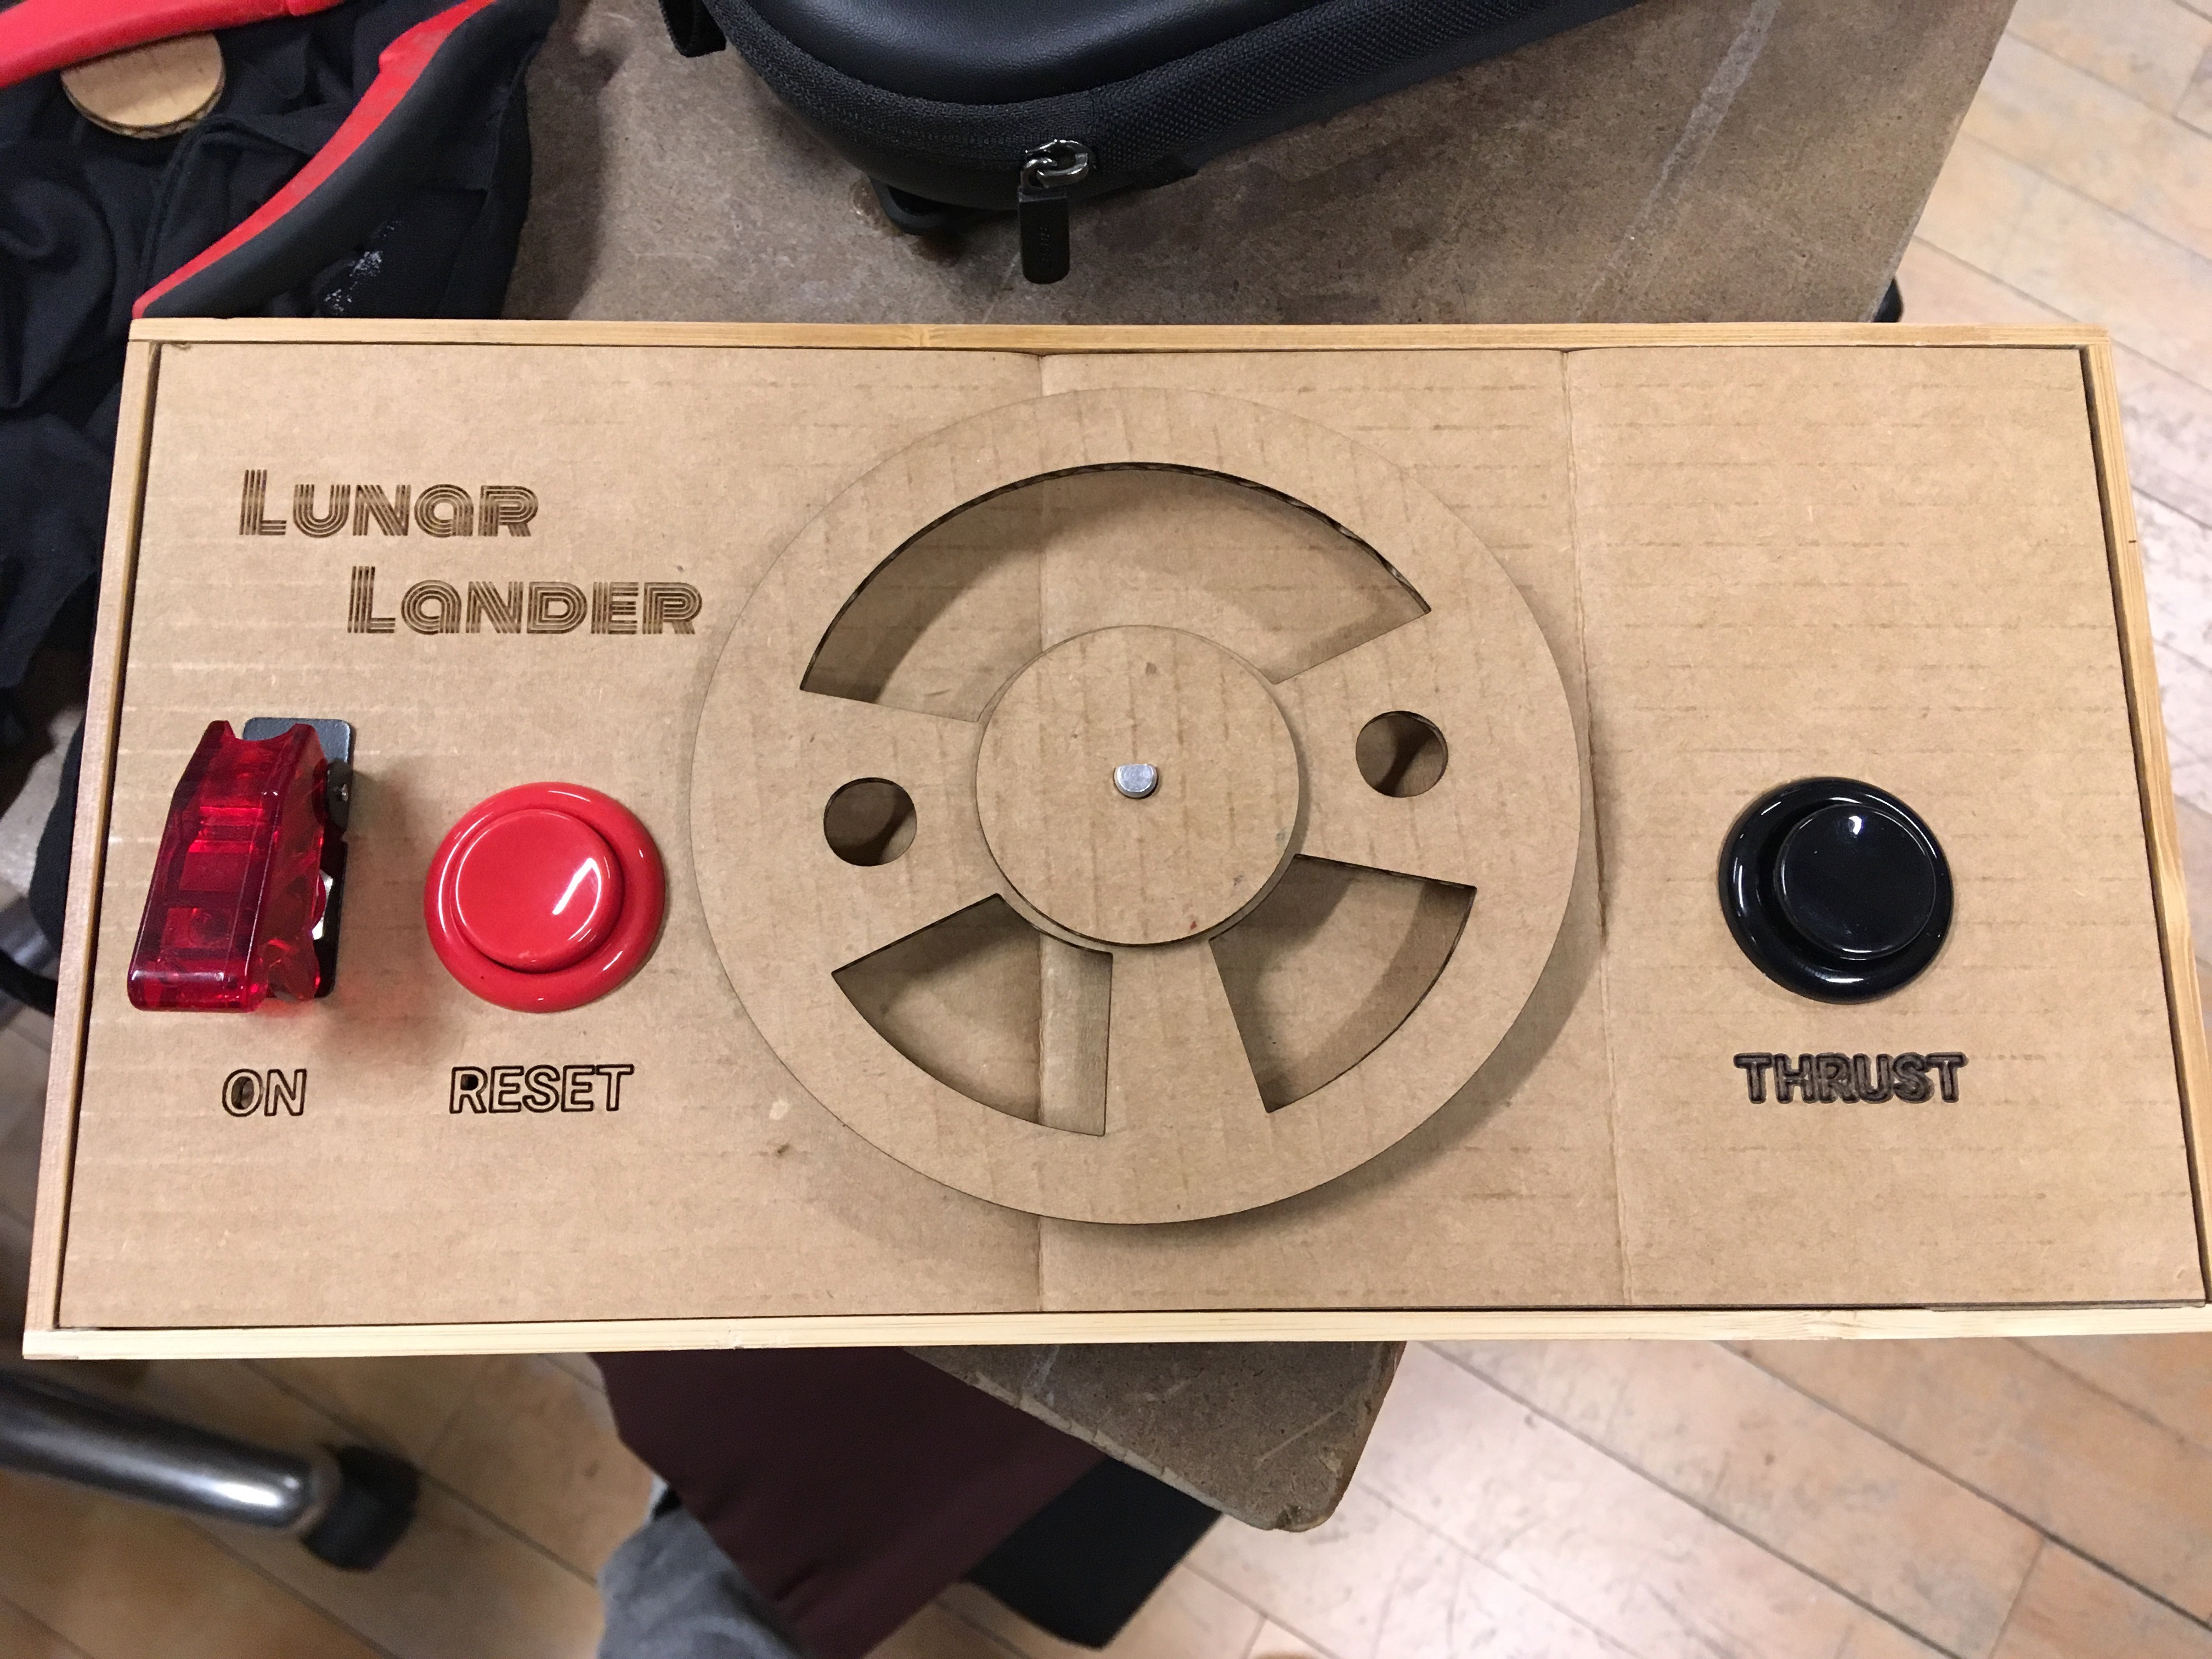
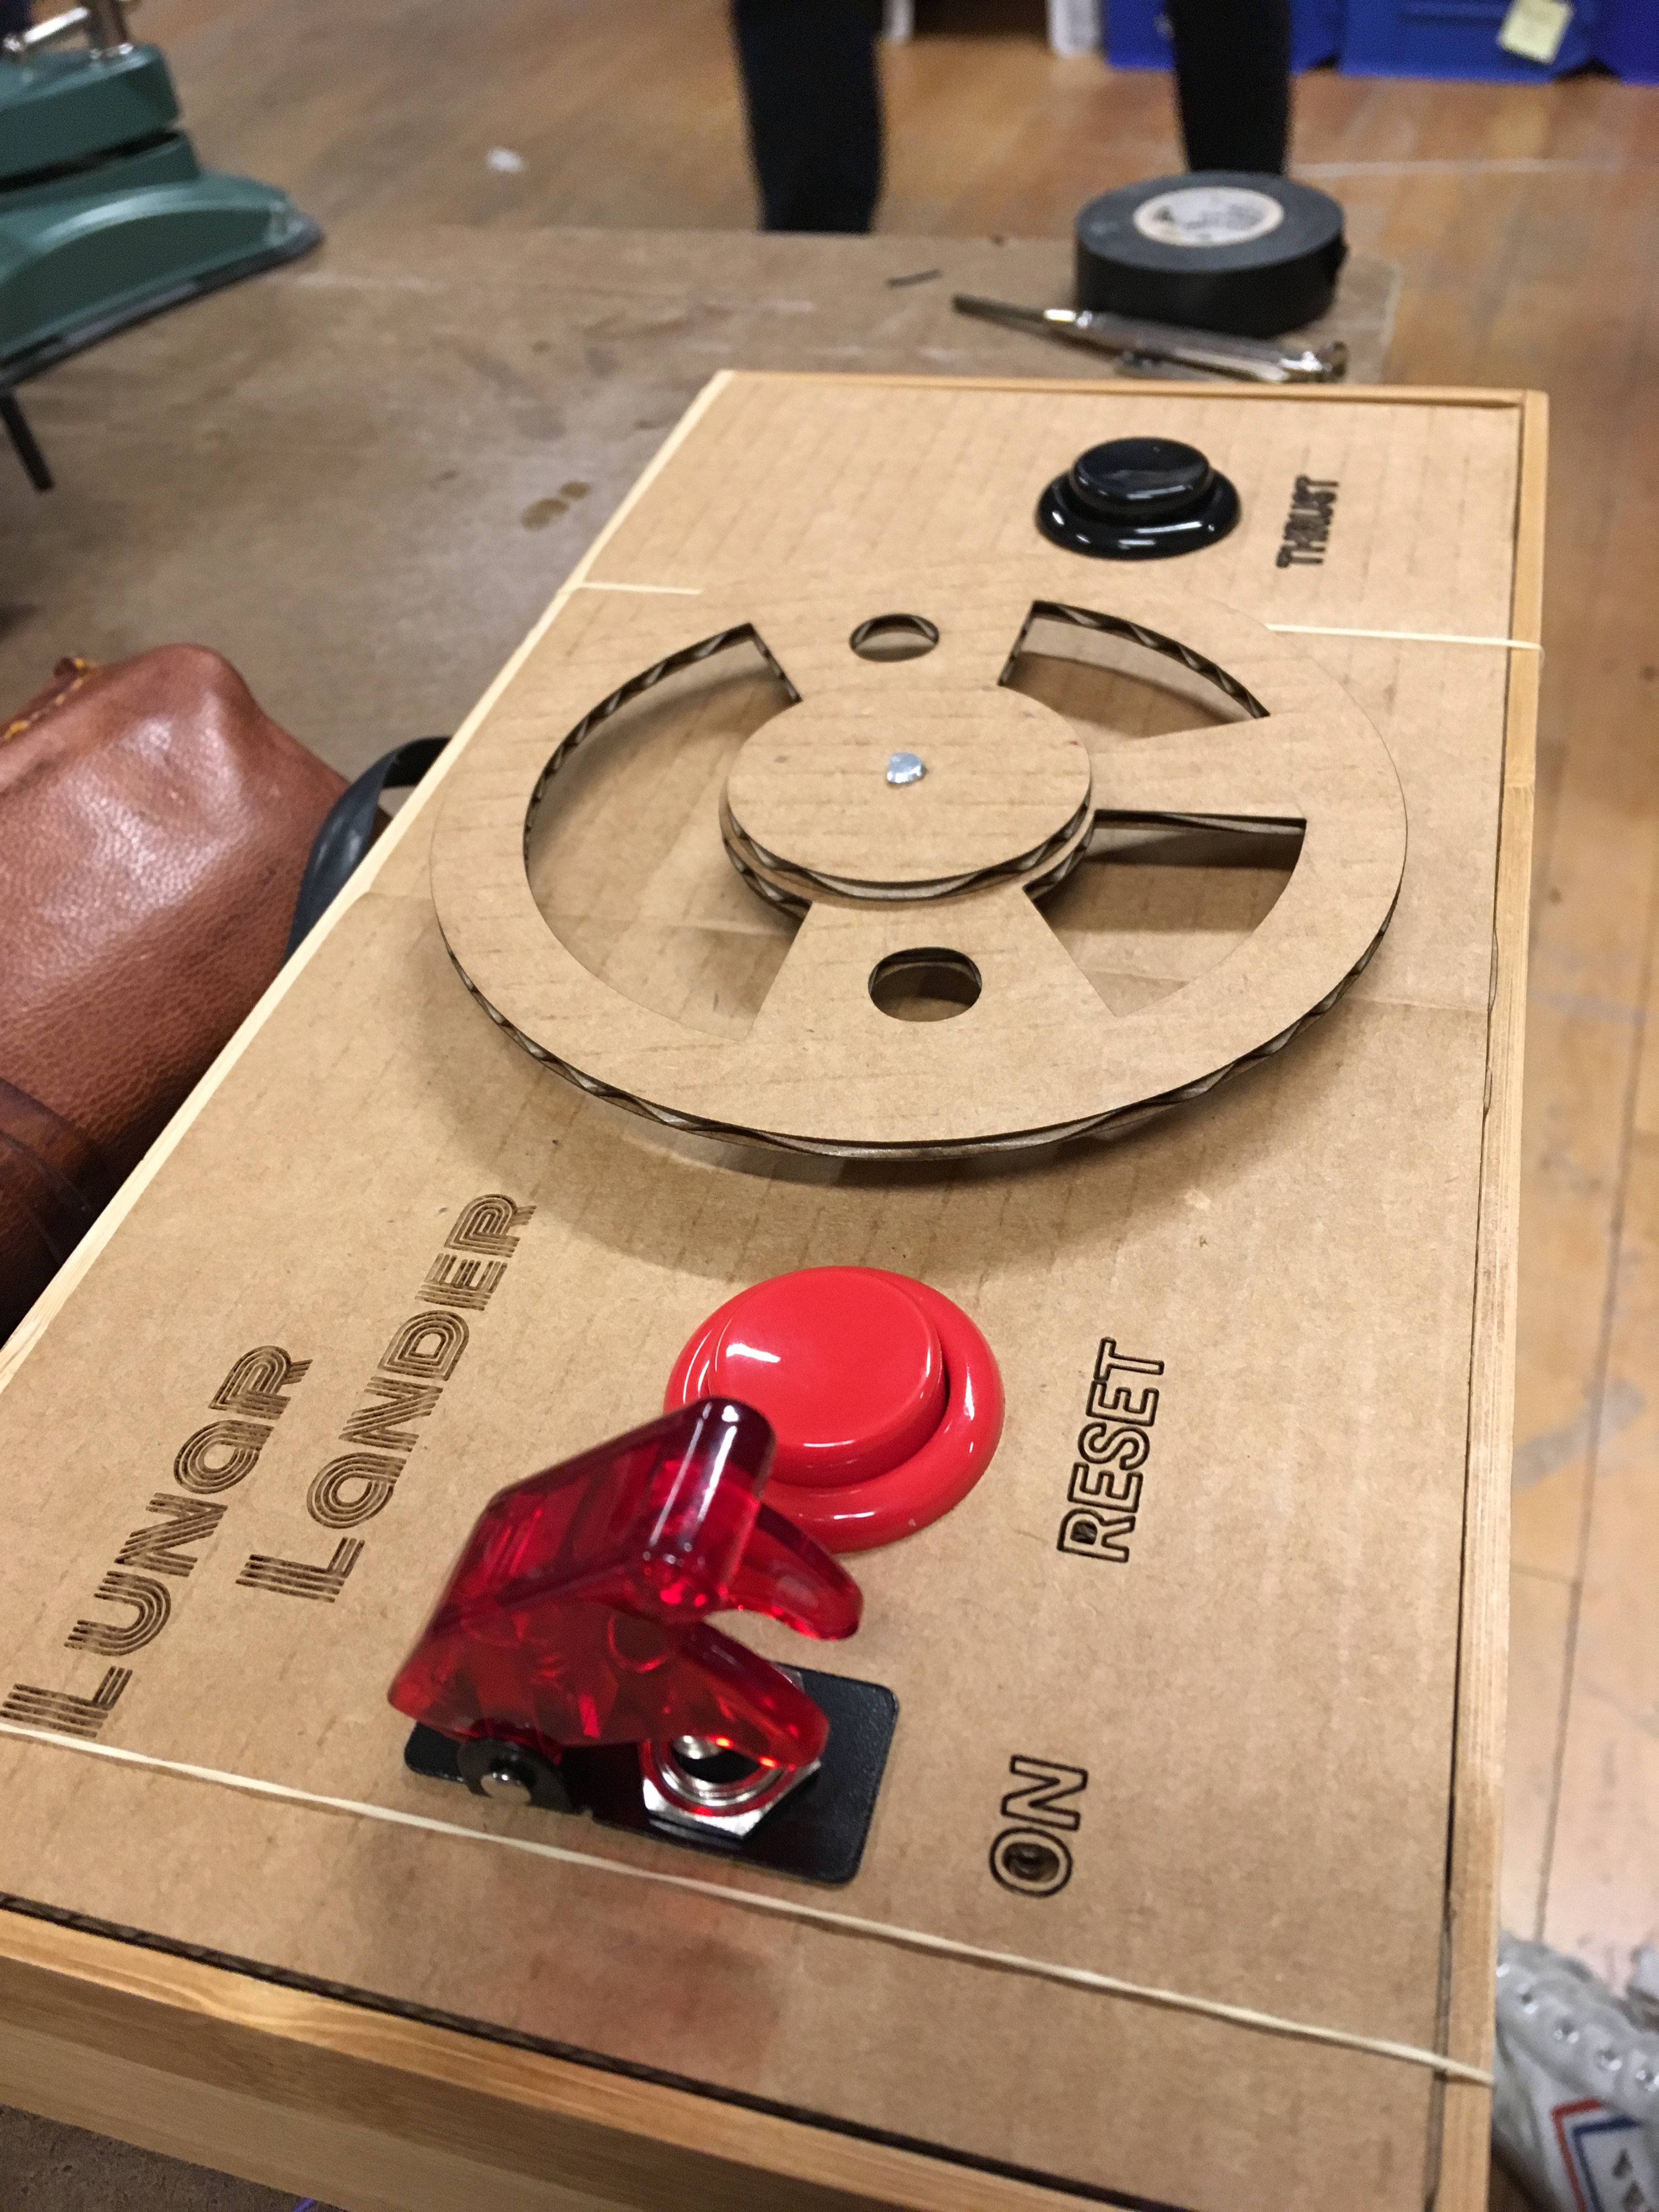
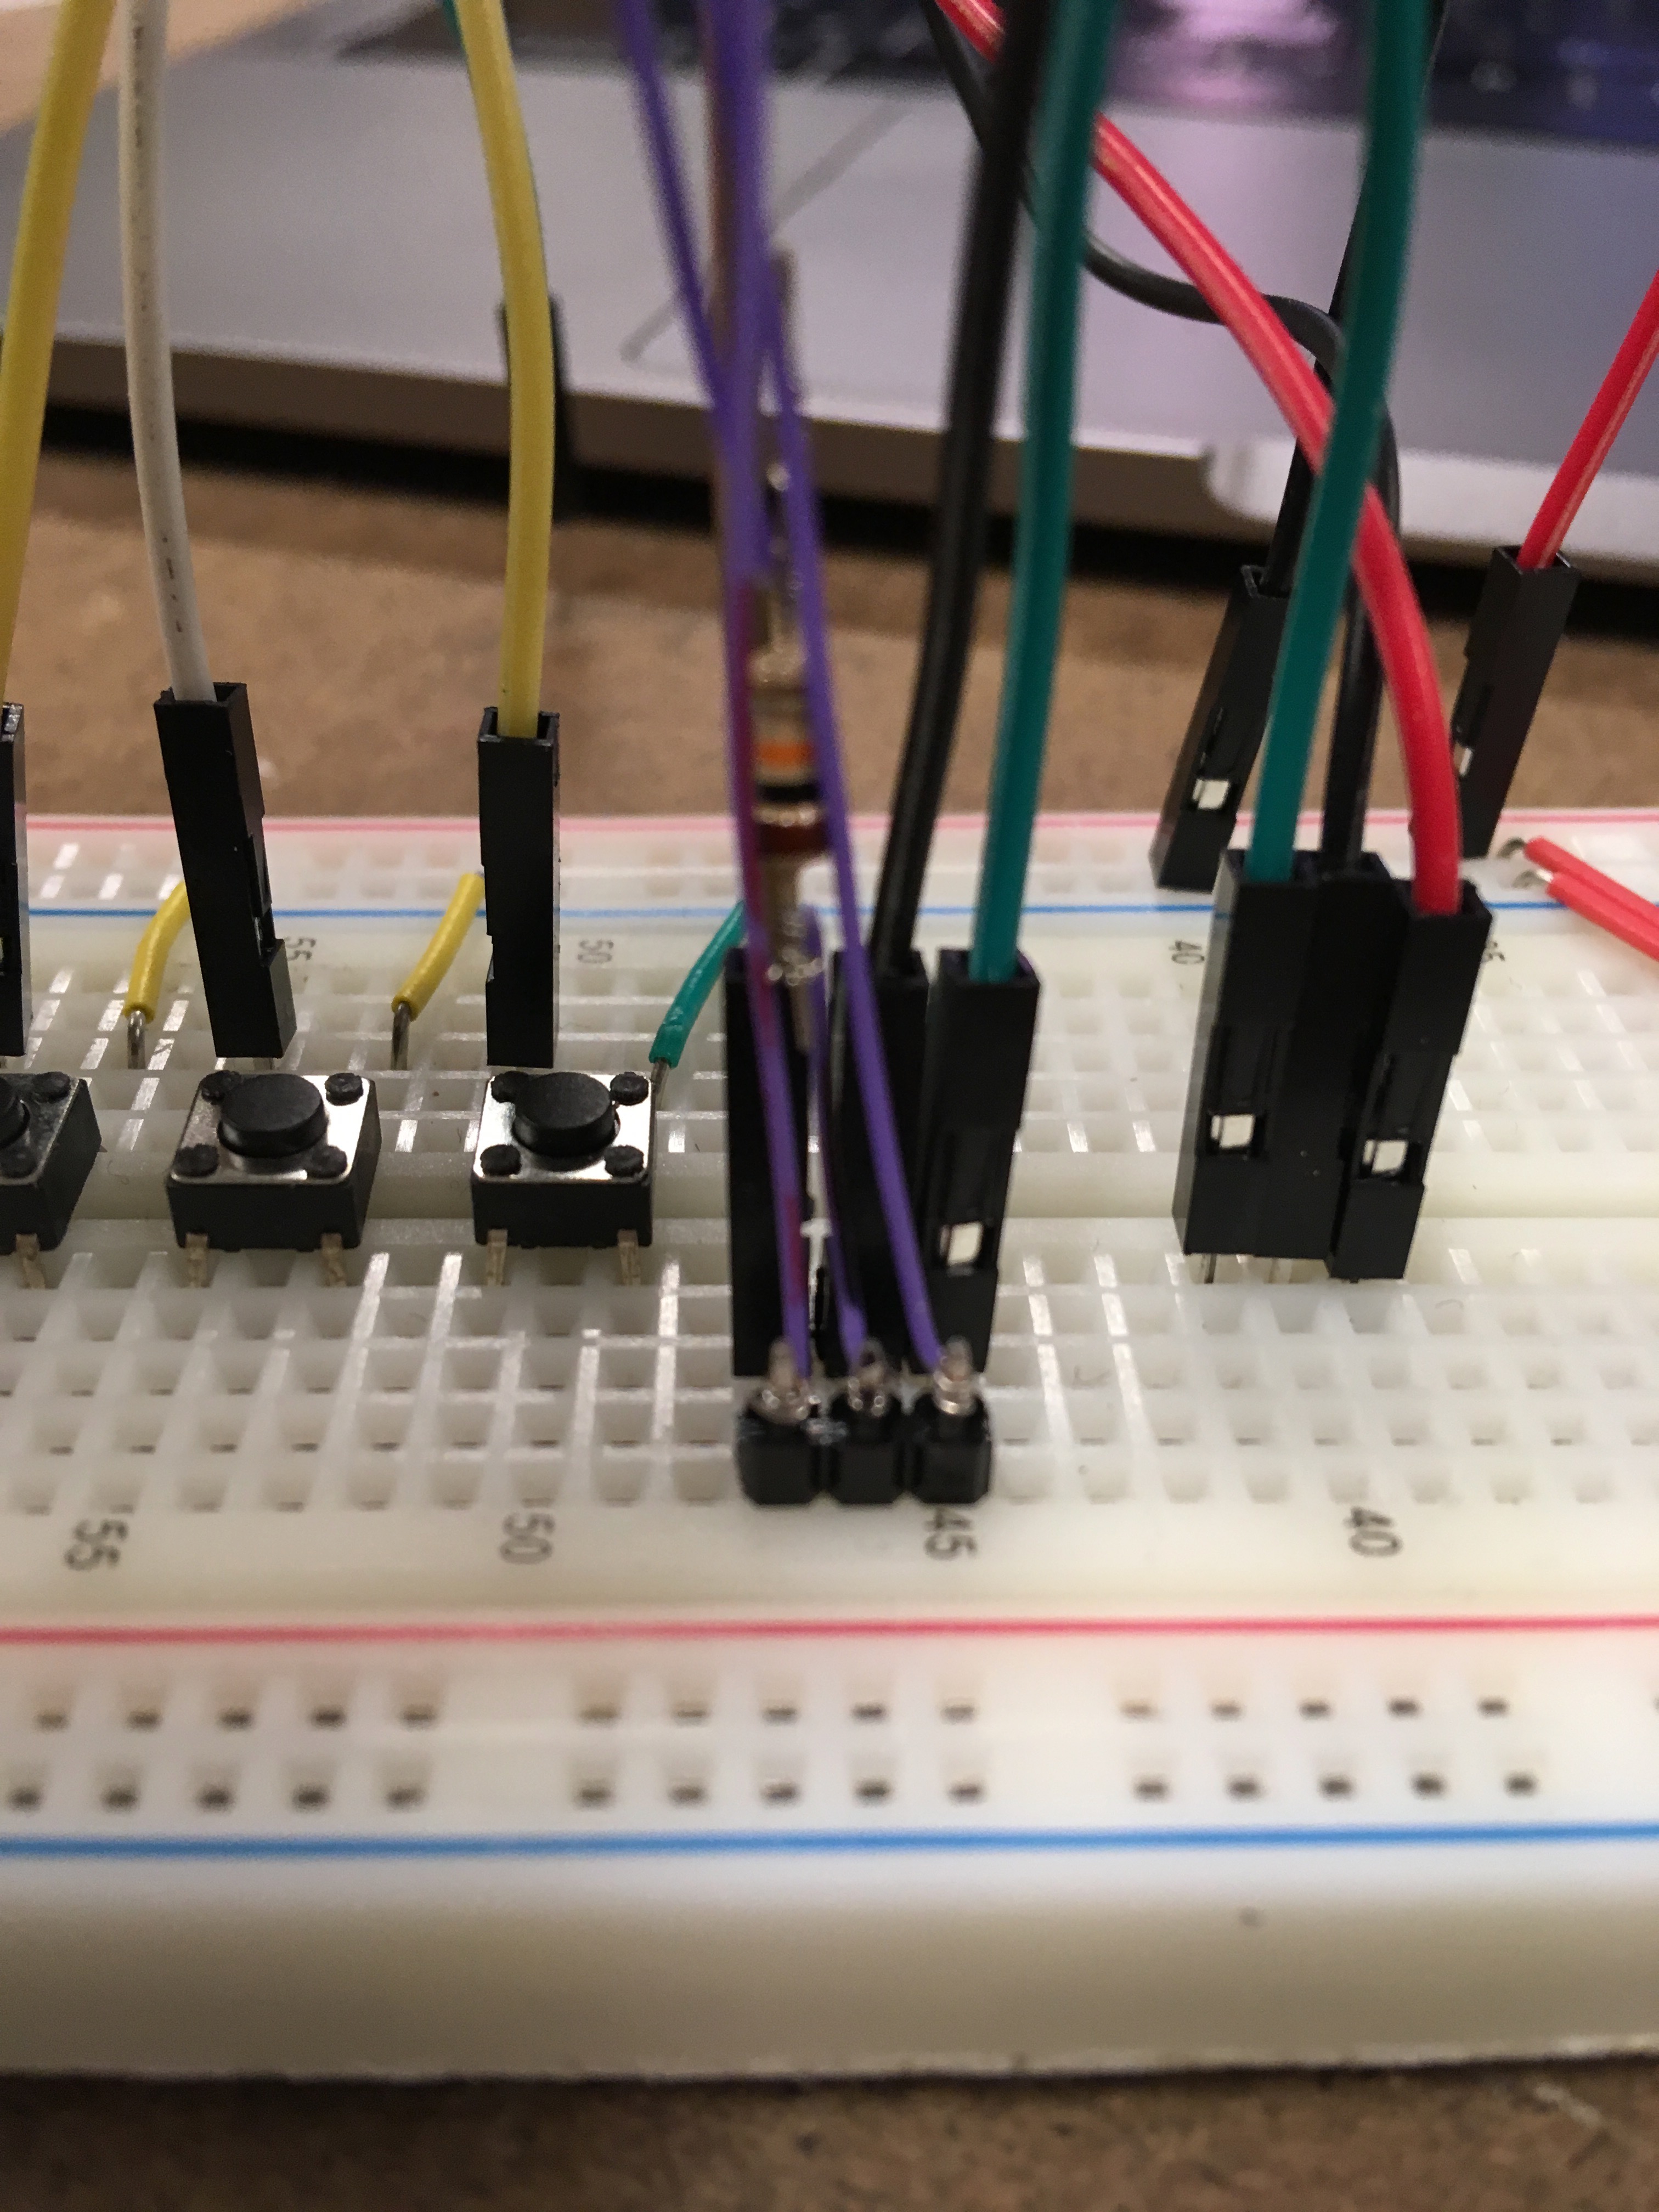
In the end, I chose to use a rotary encoder, a toggle switch, and a couple of arcade buttons.
For the main back and forth motion of the lander – controlled by the left and right arrows – I chose to use a rotary encoder. I chose it because intuitively it seemed to mimic the rotation on the lander. I could have used a potentiometer, but I did not want to track absolute position. I wanted to use relative positioning because the lander has maximum left and right rotations – where pressing left and right arrows repeatedly no longer rotate the lander, but you can still hit the left and right arrow keys. Thus, the rotary encoder is used to detect whether we are rotating left or right, and if we go beyond either maximum we can still turn the rotary encoder but we won’t go beyond the game maximum. This feels right to me because I want the steering wheel mounted to the rotary encoder to be able to turn continuously.
For the thruster control, I chose to use an arcade button because it’s cheap, durable, and we intuitively think it can be pressed repeatedly.
Programming the Arduino MKR 1000
Not all Arduinos are HID-compatible. For this project I chose to use the MKR 1000, which I had never used before, since the Uno and 101s are not HID-compatible.
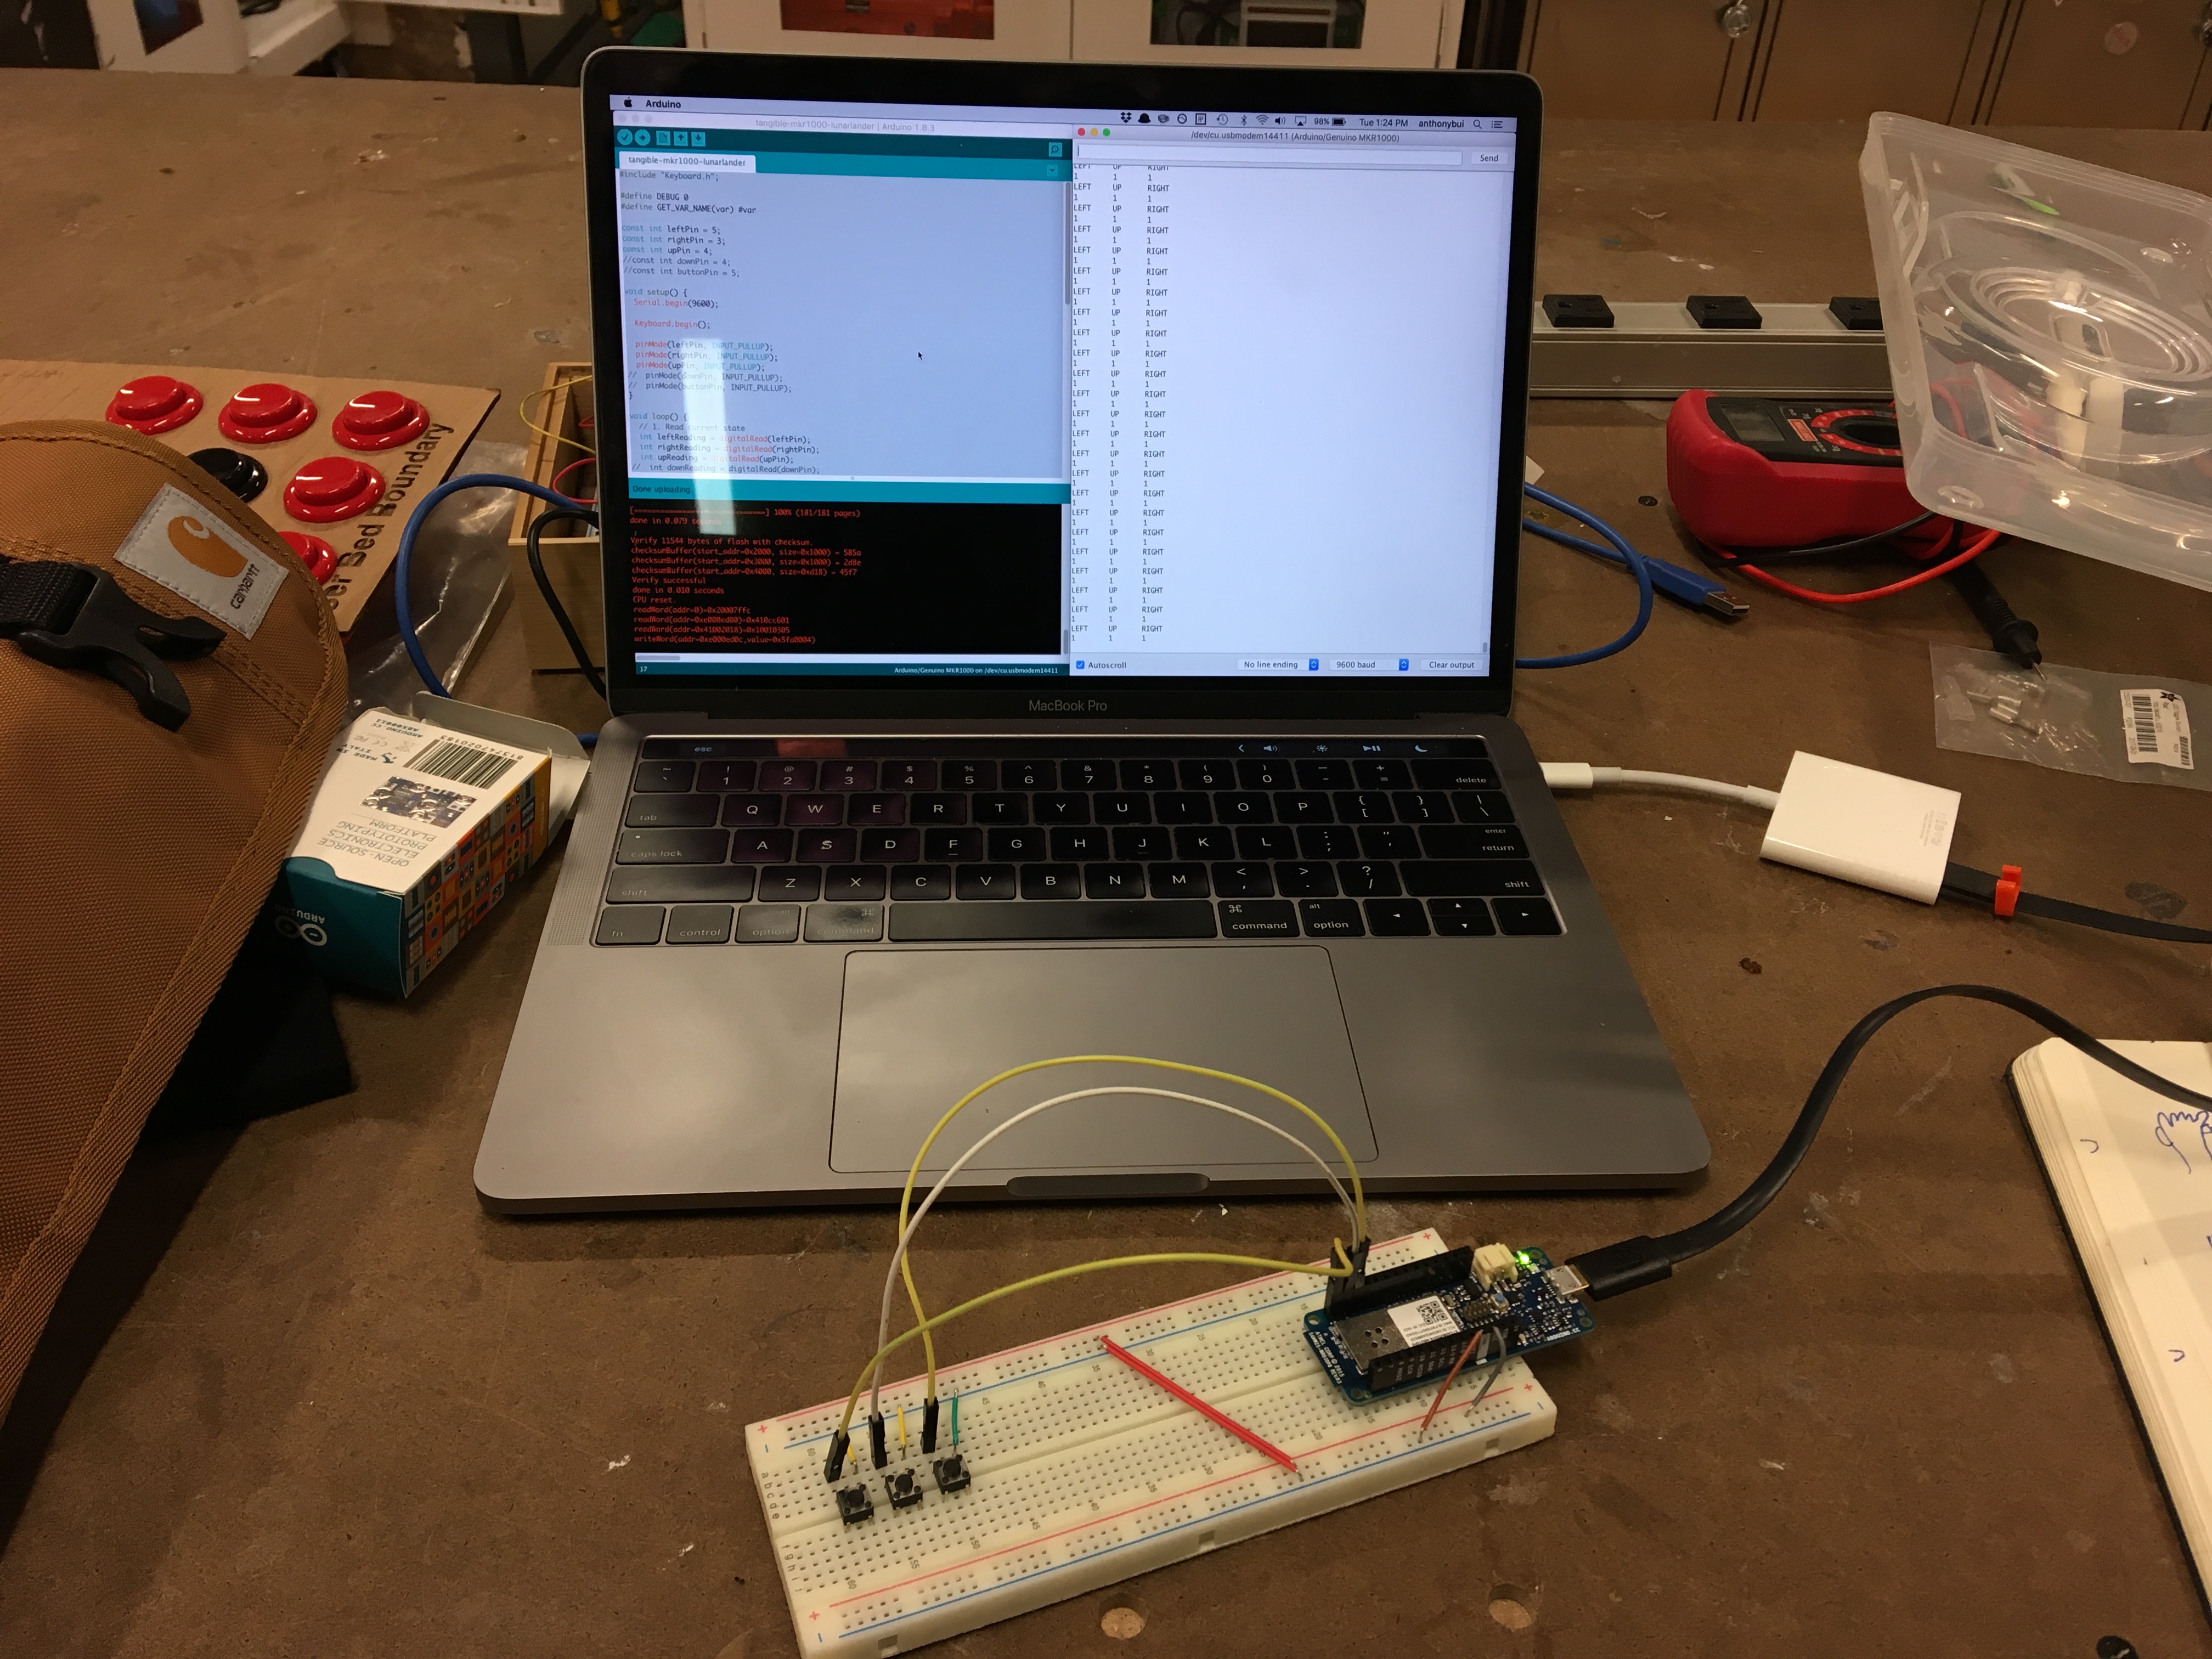
The full code is below, and can be viewed on GitHub.
A couple of the more interesting coding challenges
1. Encoder.h and ENCODER_DO_NOT_USE_INTERRUPTS
I hadn’t used this library before. It is amazing and I plan on using it exclusively. One config flag that I found useful is ENCODER_DO_NOT_USE_INTERRUPTS. Because I didn’t wire the rotary encoder to use interrupts (which I actually don’t know how to do anyway), setting this flag made encoder readings a lot more fluid.
2. Pushbuttons map to keyboard interactions well. Rotary encoders not so much.
That’s because a pushbutton switch mimics a keyboard’s press and release functionality. The rotary encoder, on the other hand, doesn’t really press and release – I have to add that logic! At first I tried to make each click of the rotary encoder map to clicking the left and right arrows once, but the lander did not respond well. In the end, I made the rotary encoder press the left and right arrow keys when a new rotation started, a debounced 30ms after the rotation ended. I chose 30ms as the key release debounce time based on trial and error.
#include "Keyboard.h";
#include "Mouse.h";

#define ENCODER_DO_NOT_USE_INTERRUPTS
#include <Encoder.h>;

#define DEBUG 1

const int thrustPin = 4;
const int startPin = 6;
const int resetPin = 1;
int oldResetState = HIGH;

Encoder wheel(5, 3);
long oldPosition = -999;
unsigned long lastRotation;


void setup() {
  Serial.begin(9600);

  Keyboard.begin();

  pinMode(startPin, INPUT_PULLUP);
  pinMode(resetPin, INPUT_PULLUP);
  pinMode(thrustPin, INPUT_PULLUP);

  lastRotation = millis();
}

void loop() {
  // 1. Read current state
  int startReading = digitalRead(startPin);
  int resetReading = digitalRead(resetPin);
  int thrustReading = digitalRead(thrustPin);
  long wheelPosition = wheel.read();

  // 2. Map sensor readings to keyboard inputs
  if (startReading == LOW) {
    // TBD ON
  } else {
    // TBD OFF
  }

  // Reset, but only when transitoning from HIGH -> LOW
  if (oldResetState == HIGH && resetReading == LOW) {
    Mouse.click(MOUSE_LEFT);
  }
  oldResetState = resetReading;

  // Thrust button
  if (thrustReading == LOW) {
    Keyboard.press(KEY_UP_ARROW);
  } else {
    Keyboard.release(KEY_UP_ARROW);
  }

  // Determine LEFT or RIGHT for rotary encoder
  if (wheelPosition != oldPosition) {
    if (wheelPosition > oldPosition) {
      Keyboard.press(KEY_RIGHT_ARROW);
    } else {
      Keyboard.press(KEY_LEFT_ARROW);
    }

    oldPosition = wheelPosition;
  }

  // NOTE: Wait a little before we release from the rotary encoder!
  if (wheelPosition == oldPosition) {
    unsigned long newRotation = millis();

    if (newRotation - lastRotation > 30) {
      Keyboard.release(KEY_LEFT_ARROW);
      Keyboard.release(KEY_RIGHT_ARROW);
      lastRotation = newRotation;
    }
  }

  #ifdef DEBUG
    Serial.println("WHEEL \t THRUST \t RESET \t START");
    Serial.print(wheelPosition);
    Serial.print(" \t ");
    Serial.print(thrustReading);
    Serial.print(" \t ");
    Serial.print(resetReading);
    Serial.print(" \t ");
    Serial.println(startReading);
  #endif
}
Putting it Together
Putting it together, I chose to use our favorite Container Store box with a lasercut button descriptions. I also lasercut a steering wheel to mount onto the rotary encoder.
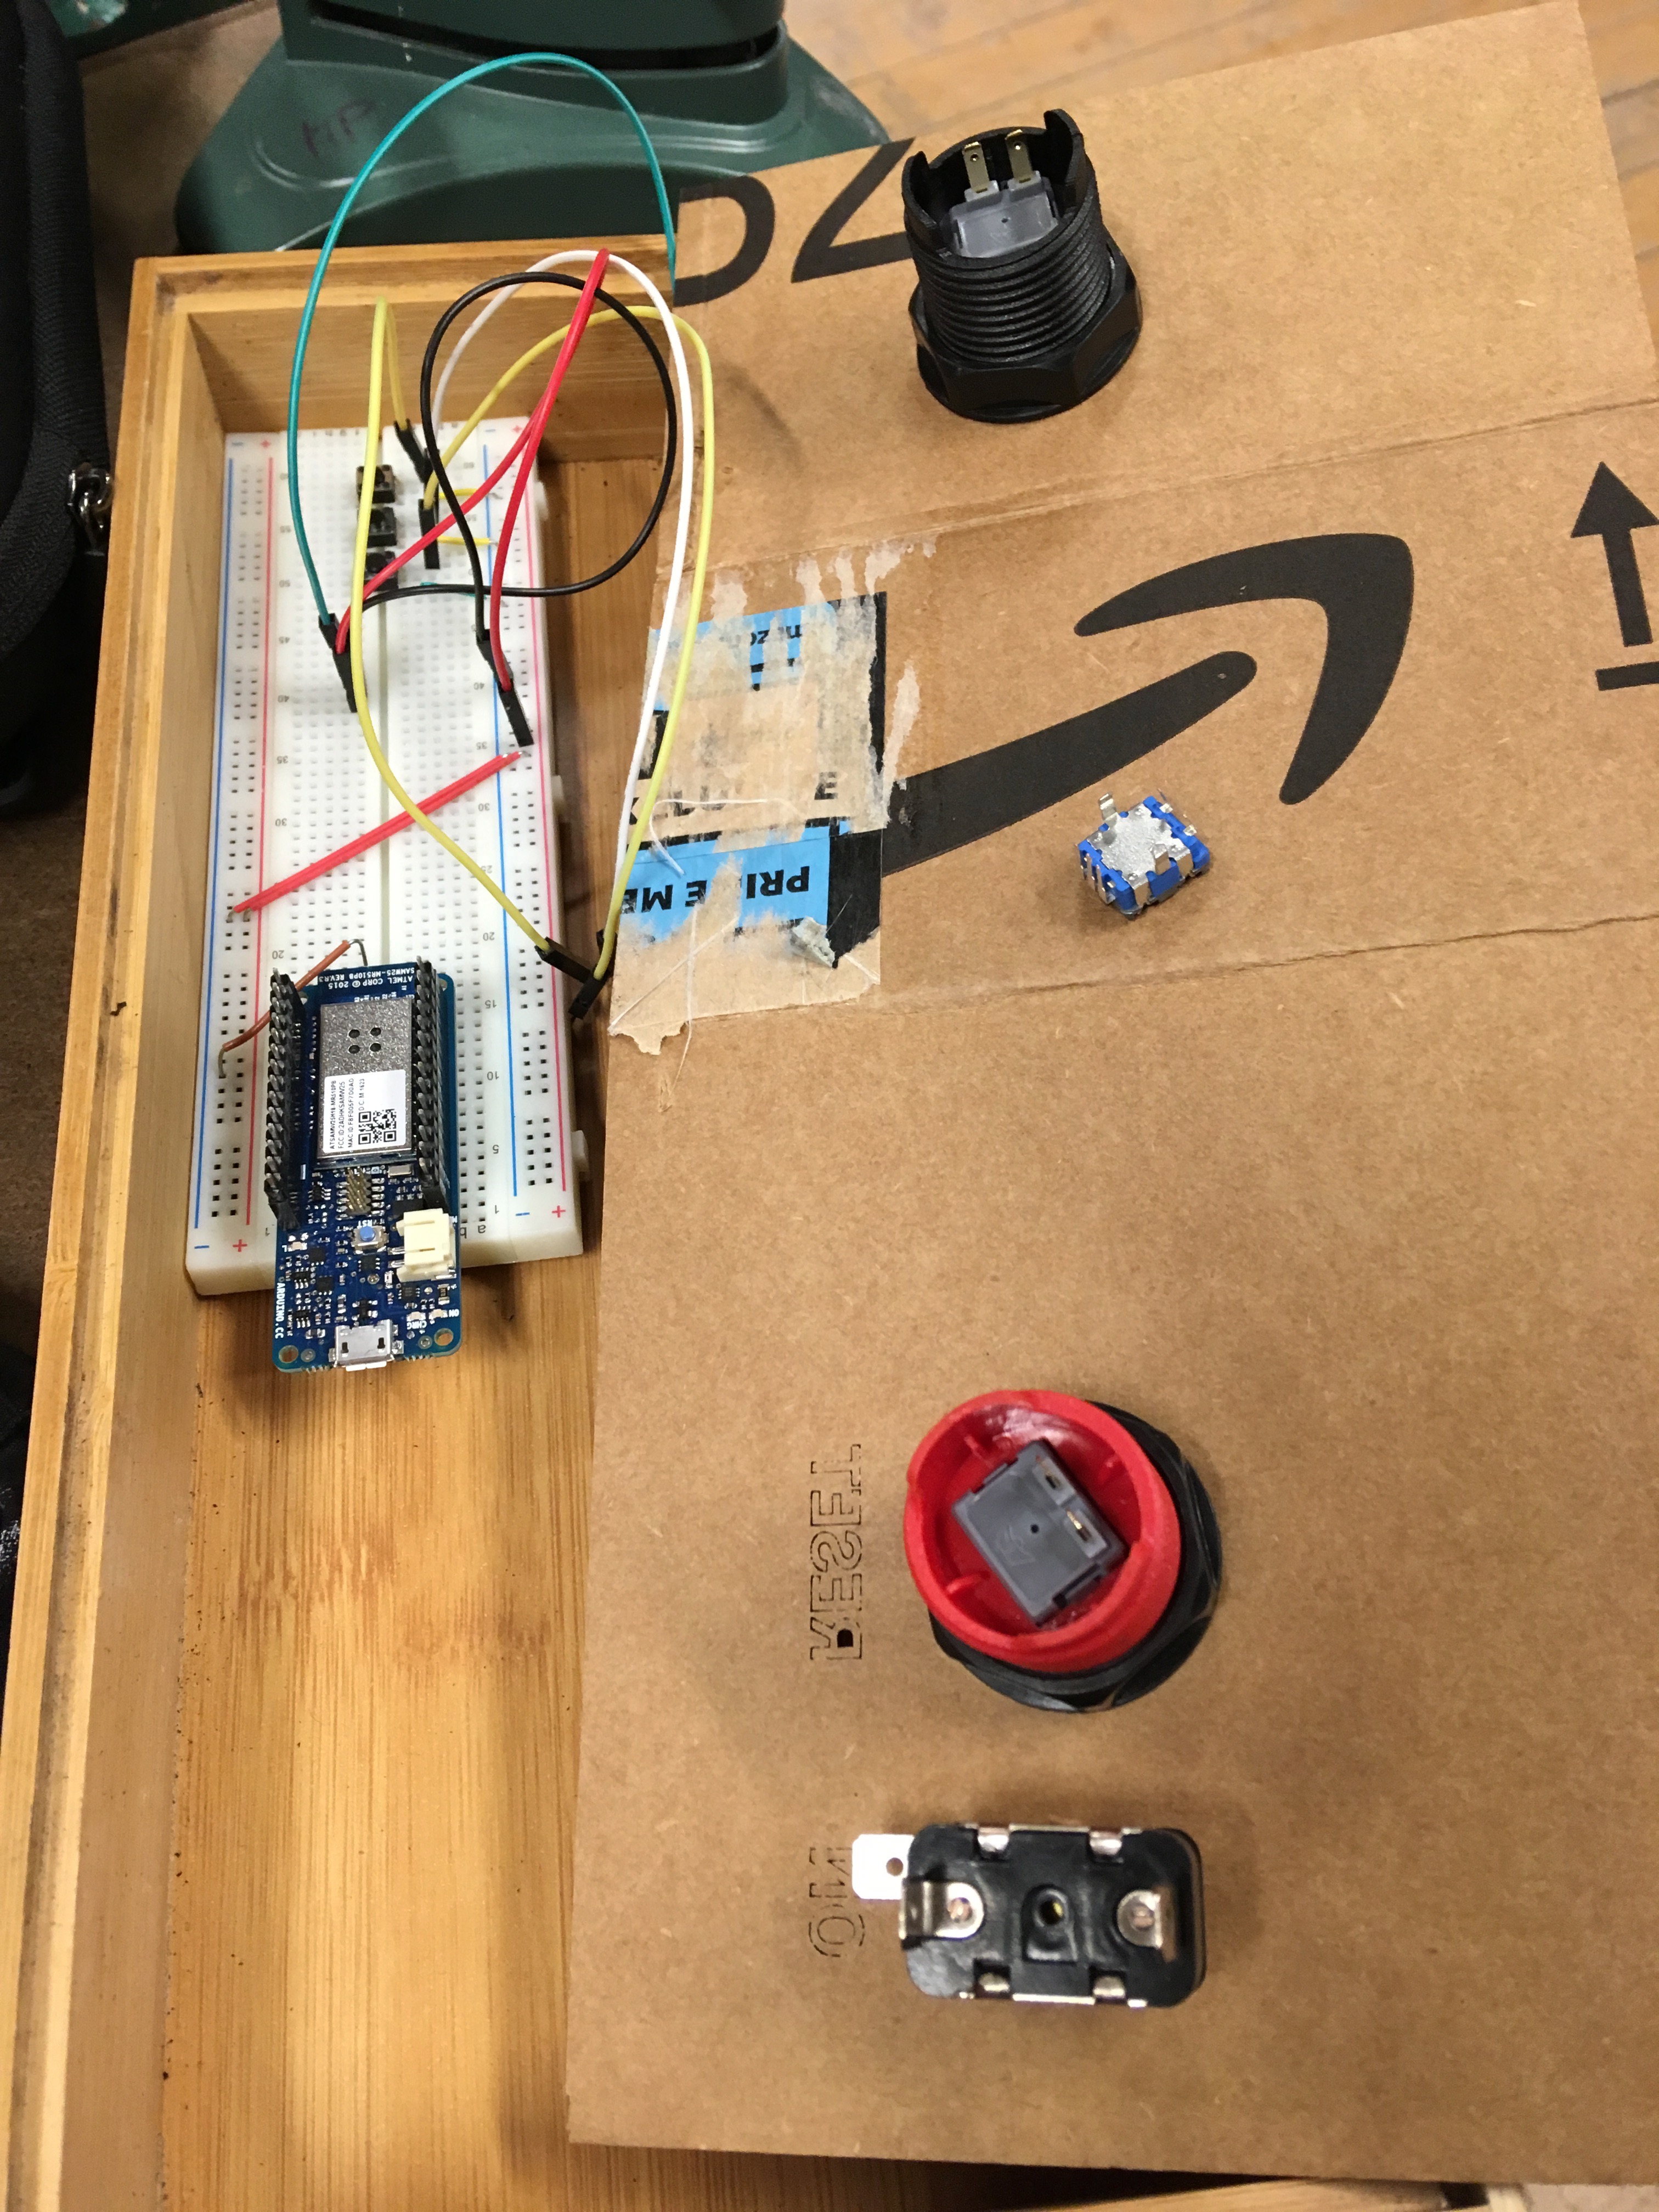
Because I don’t love soldering (but still don’t trust the breadboard), I wire wrapped everything and connected all the common grounds via a wire nut.