Skill Builder: CNC Joinery
For our CNC joinery project I decided to try to master CNC “dogbones”. They seemed like the ideal joint for what I’m looking to do with the CNC:
- Quick and easy to design, setup, cutout!
- They don’t rely on depth, but rather the original thickness of your material
- This is important because i trust material thickness more than depth, which is difficult to control for on the CNC given all the variations – zeroing, crooked floors, warped material, etc.
- They can be cut to slot and brake, in that the male connector does not slide all the way through. Makes for quick, dumb-proof assembly.
- One can also vary the slot widths, so it’s clear which end fits into another!
The biggest negative of dogbones, AFAIK, is that they don’t work well for joining edges. That can be solved with dowels / screws / glue.
Preparation and Setup
 Re-using some weird scrap plywood that somewhat matches the thickness of my production plywood.
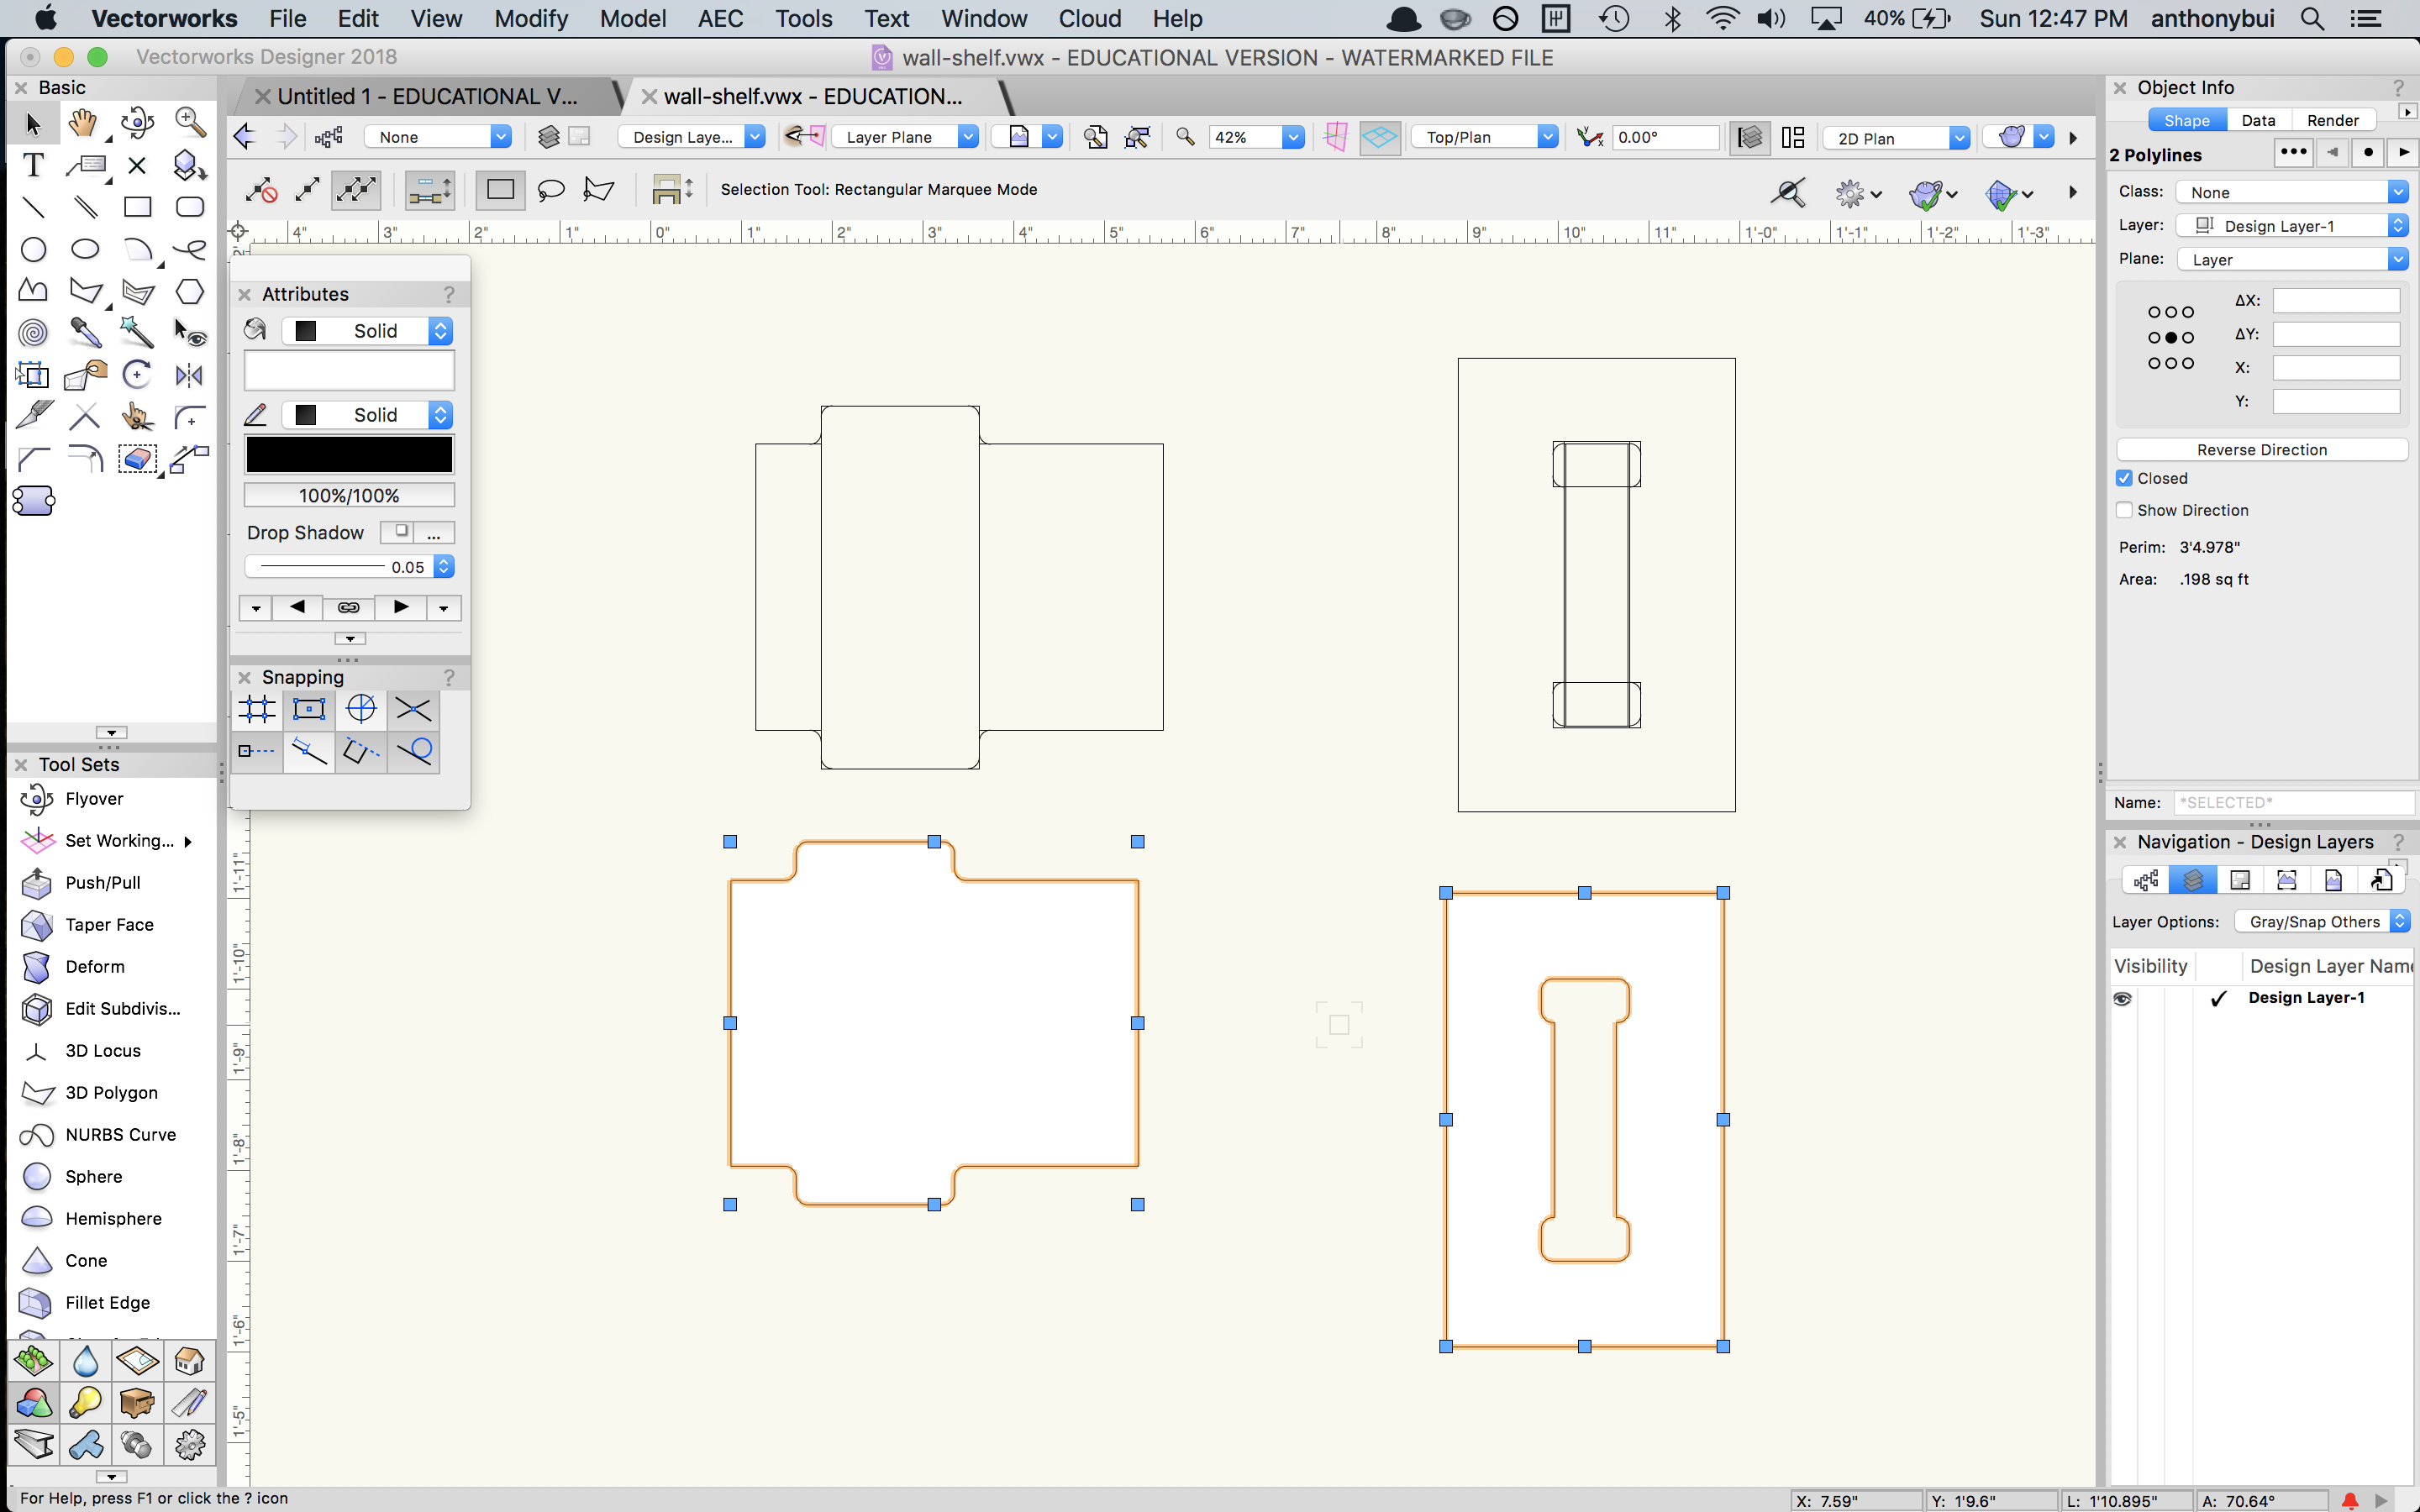 Quickly setting up male and female parts in VectorWorks
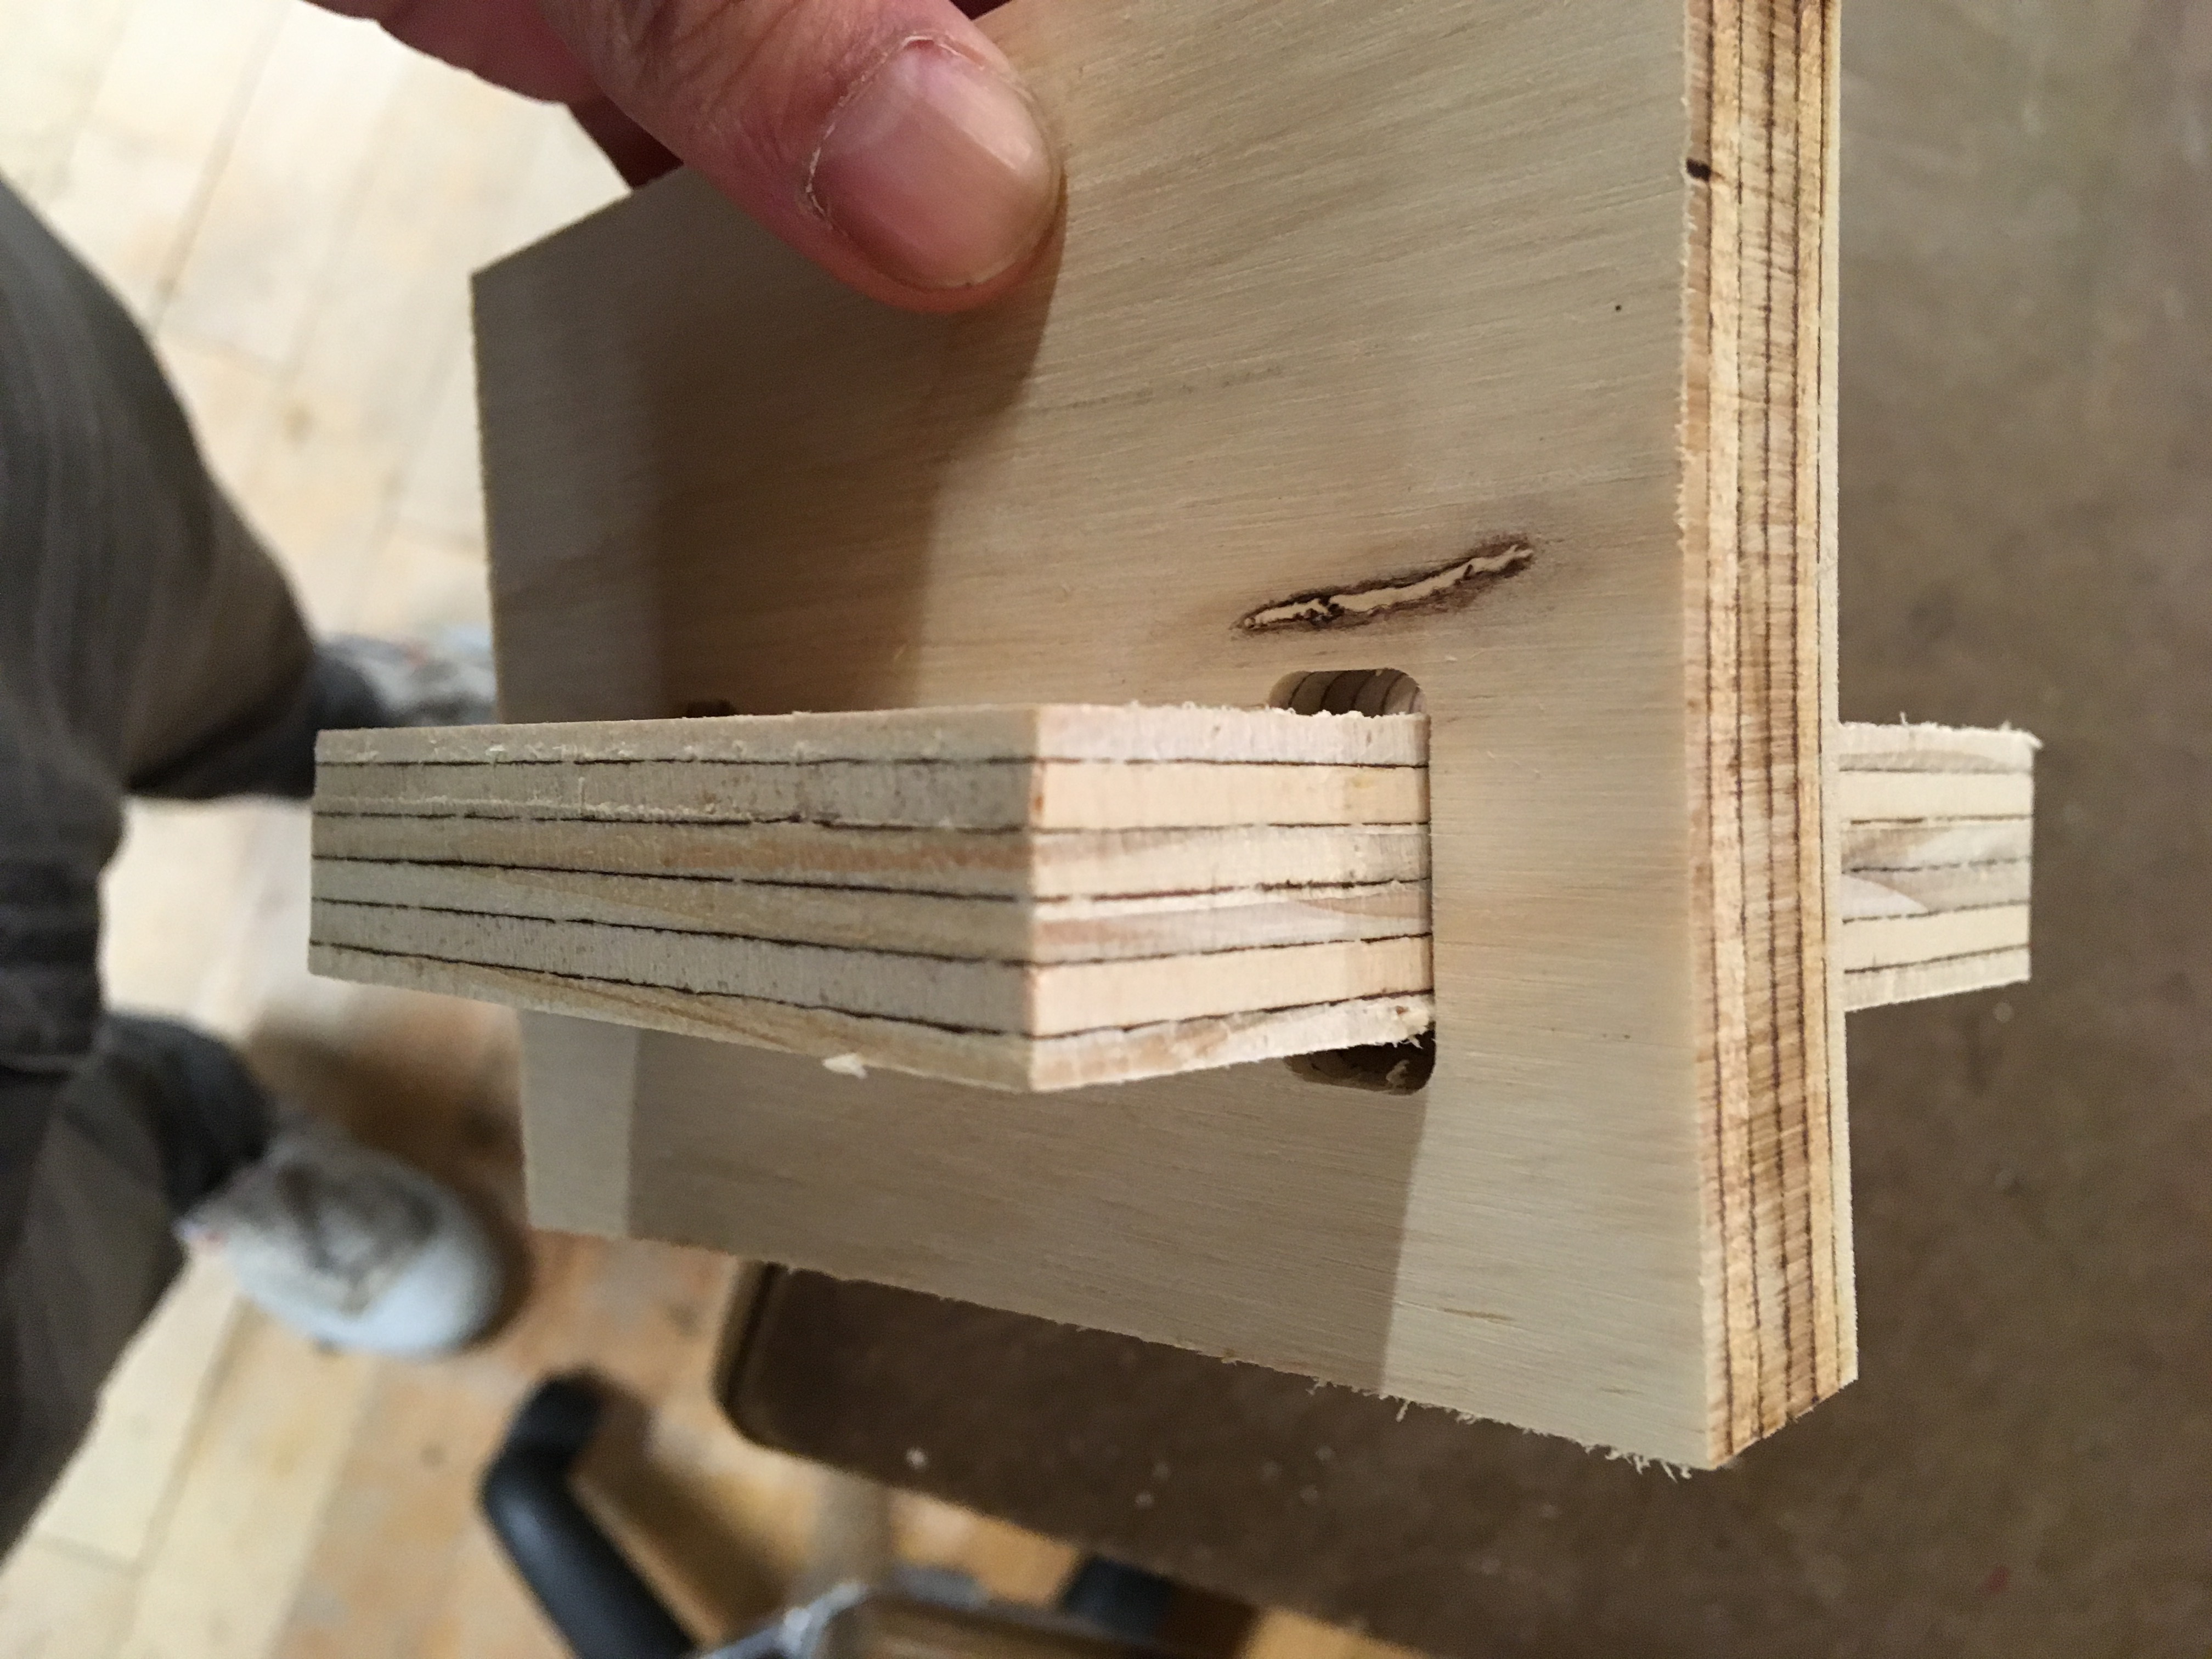
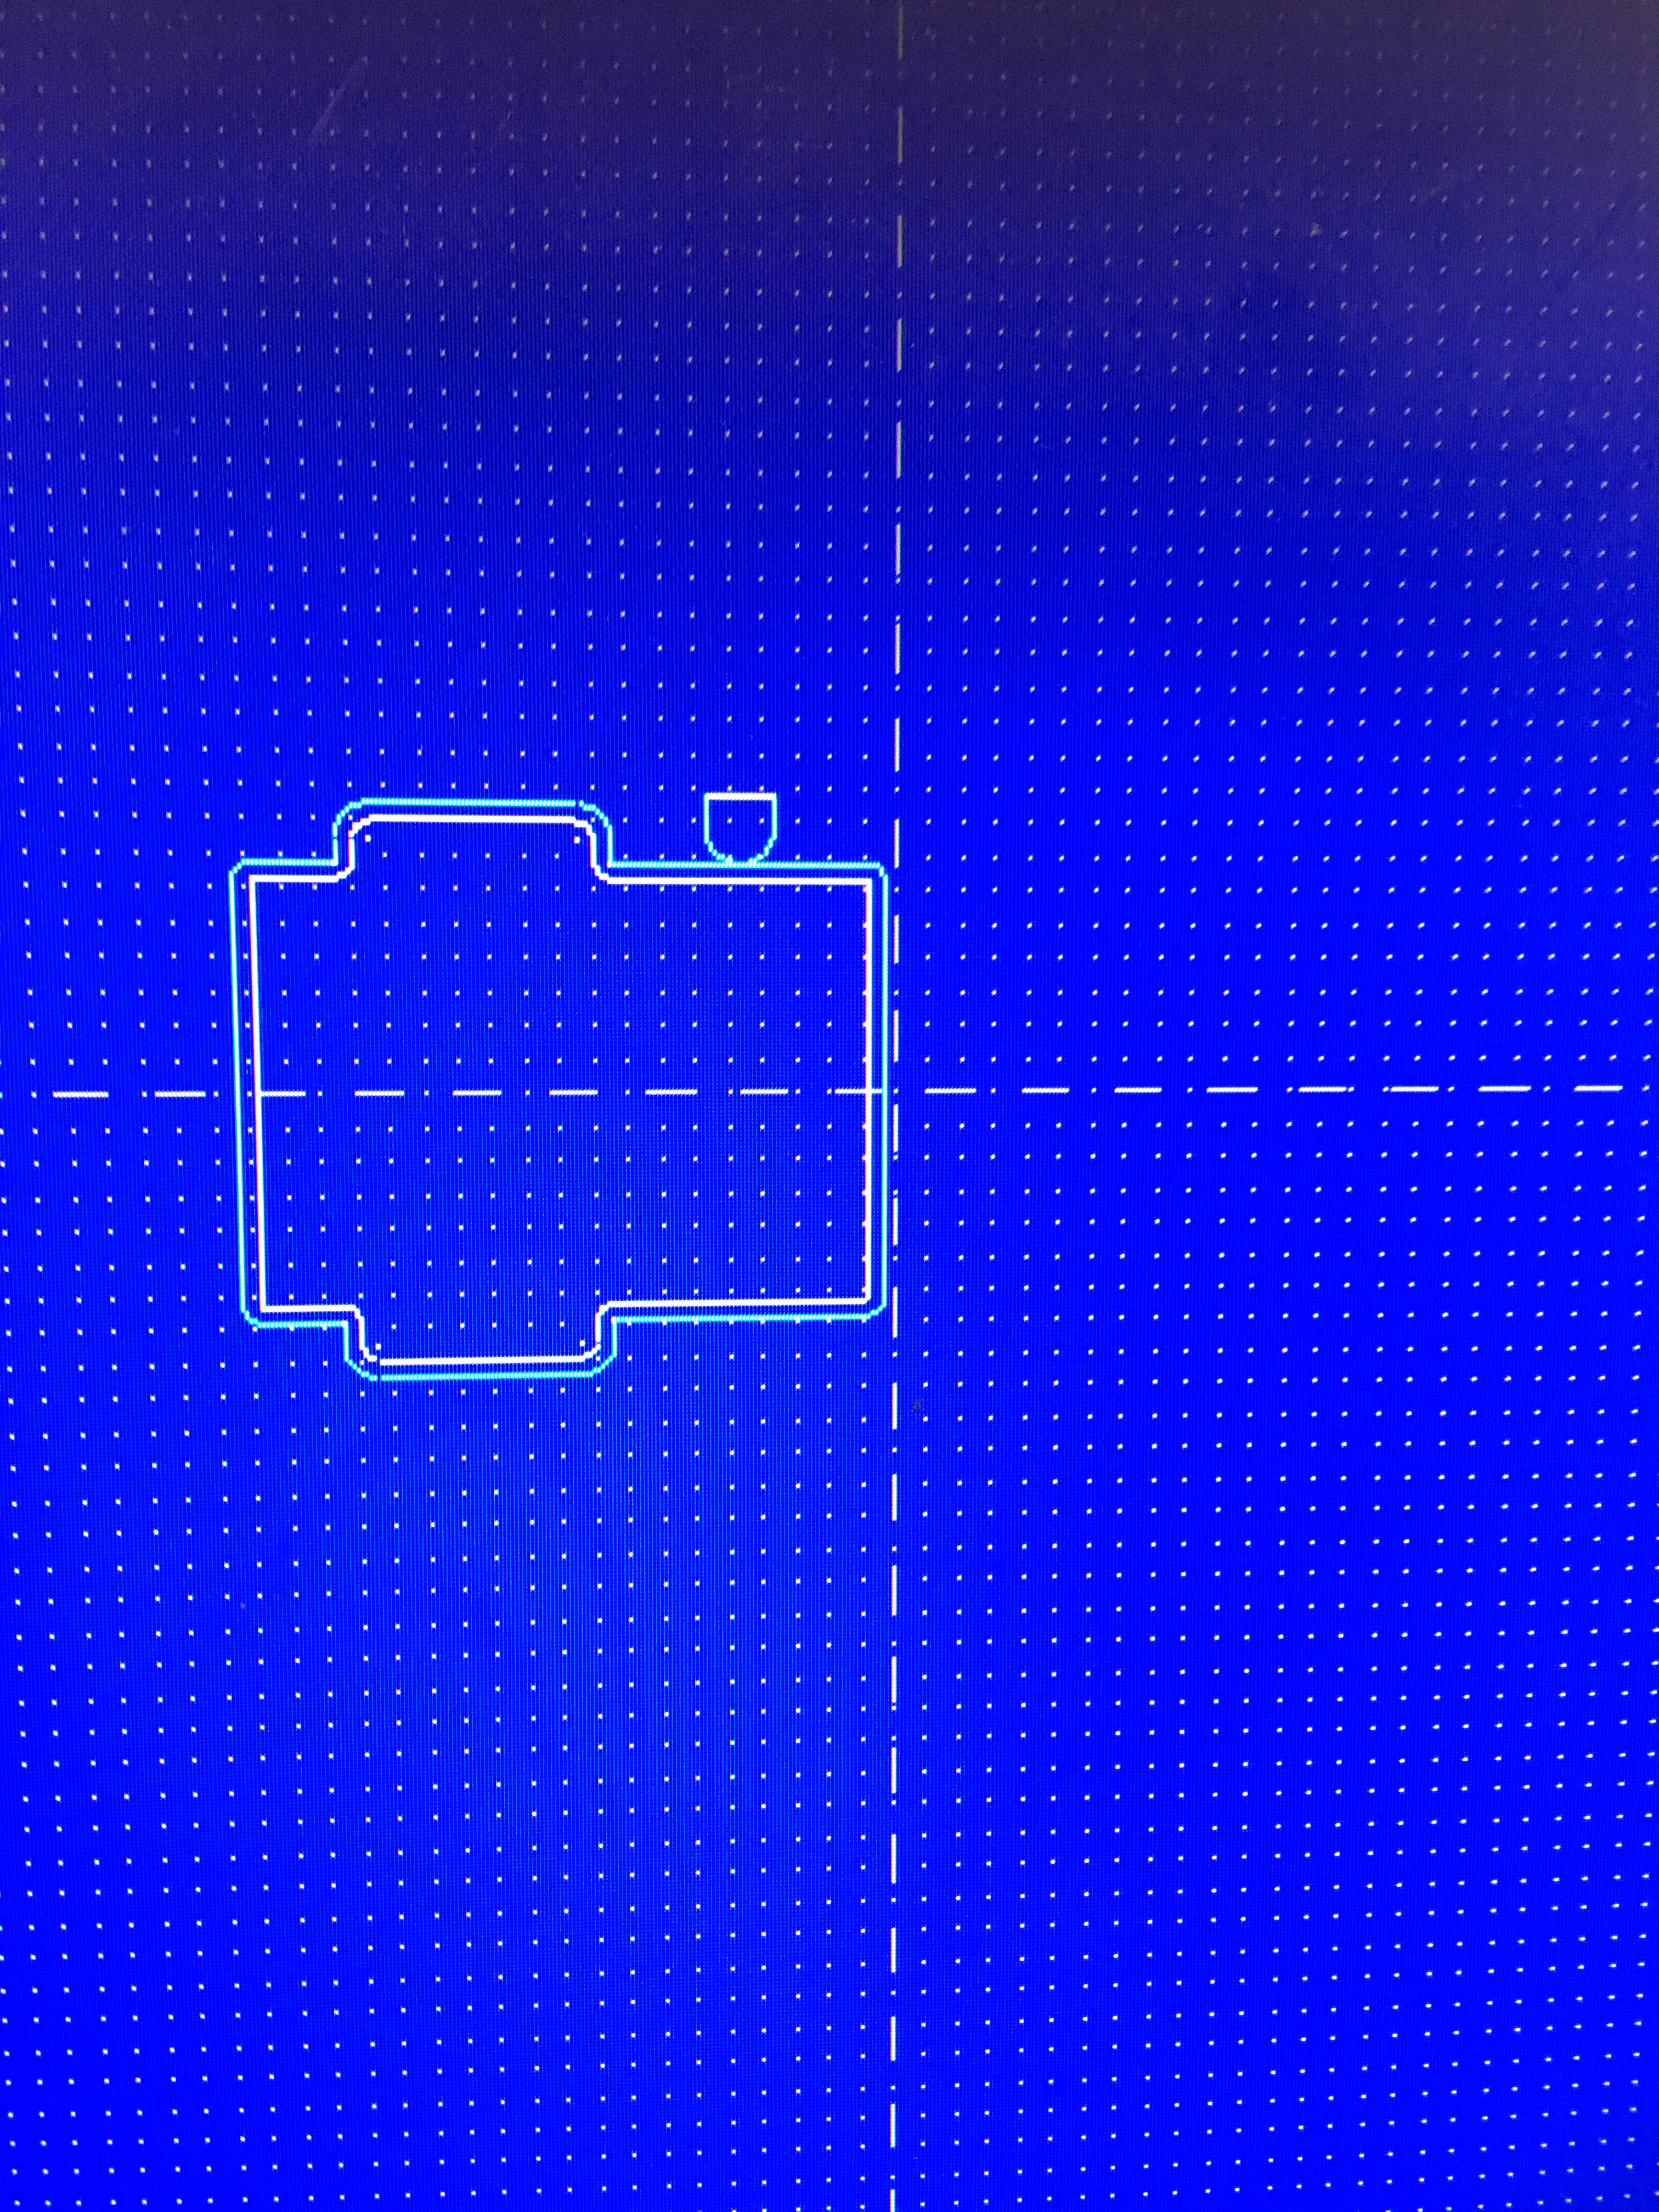 Setting up the male dogbone. I opted to have a long-side (greater than width of material) and a short-side (equal to length of material) so that I could test how sliding through the slot works in addition to the exact fit. (I figured I might want to add a middle layer for support for my wall shelf project.)
CNC Time
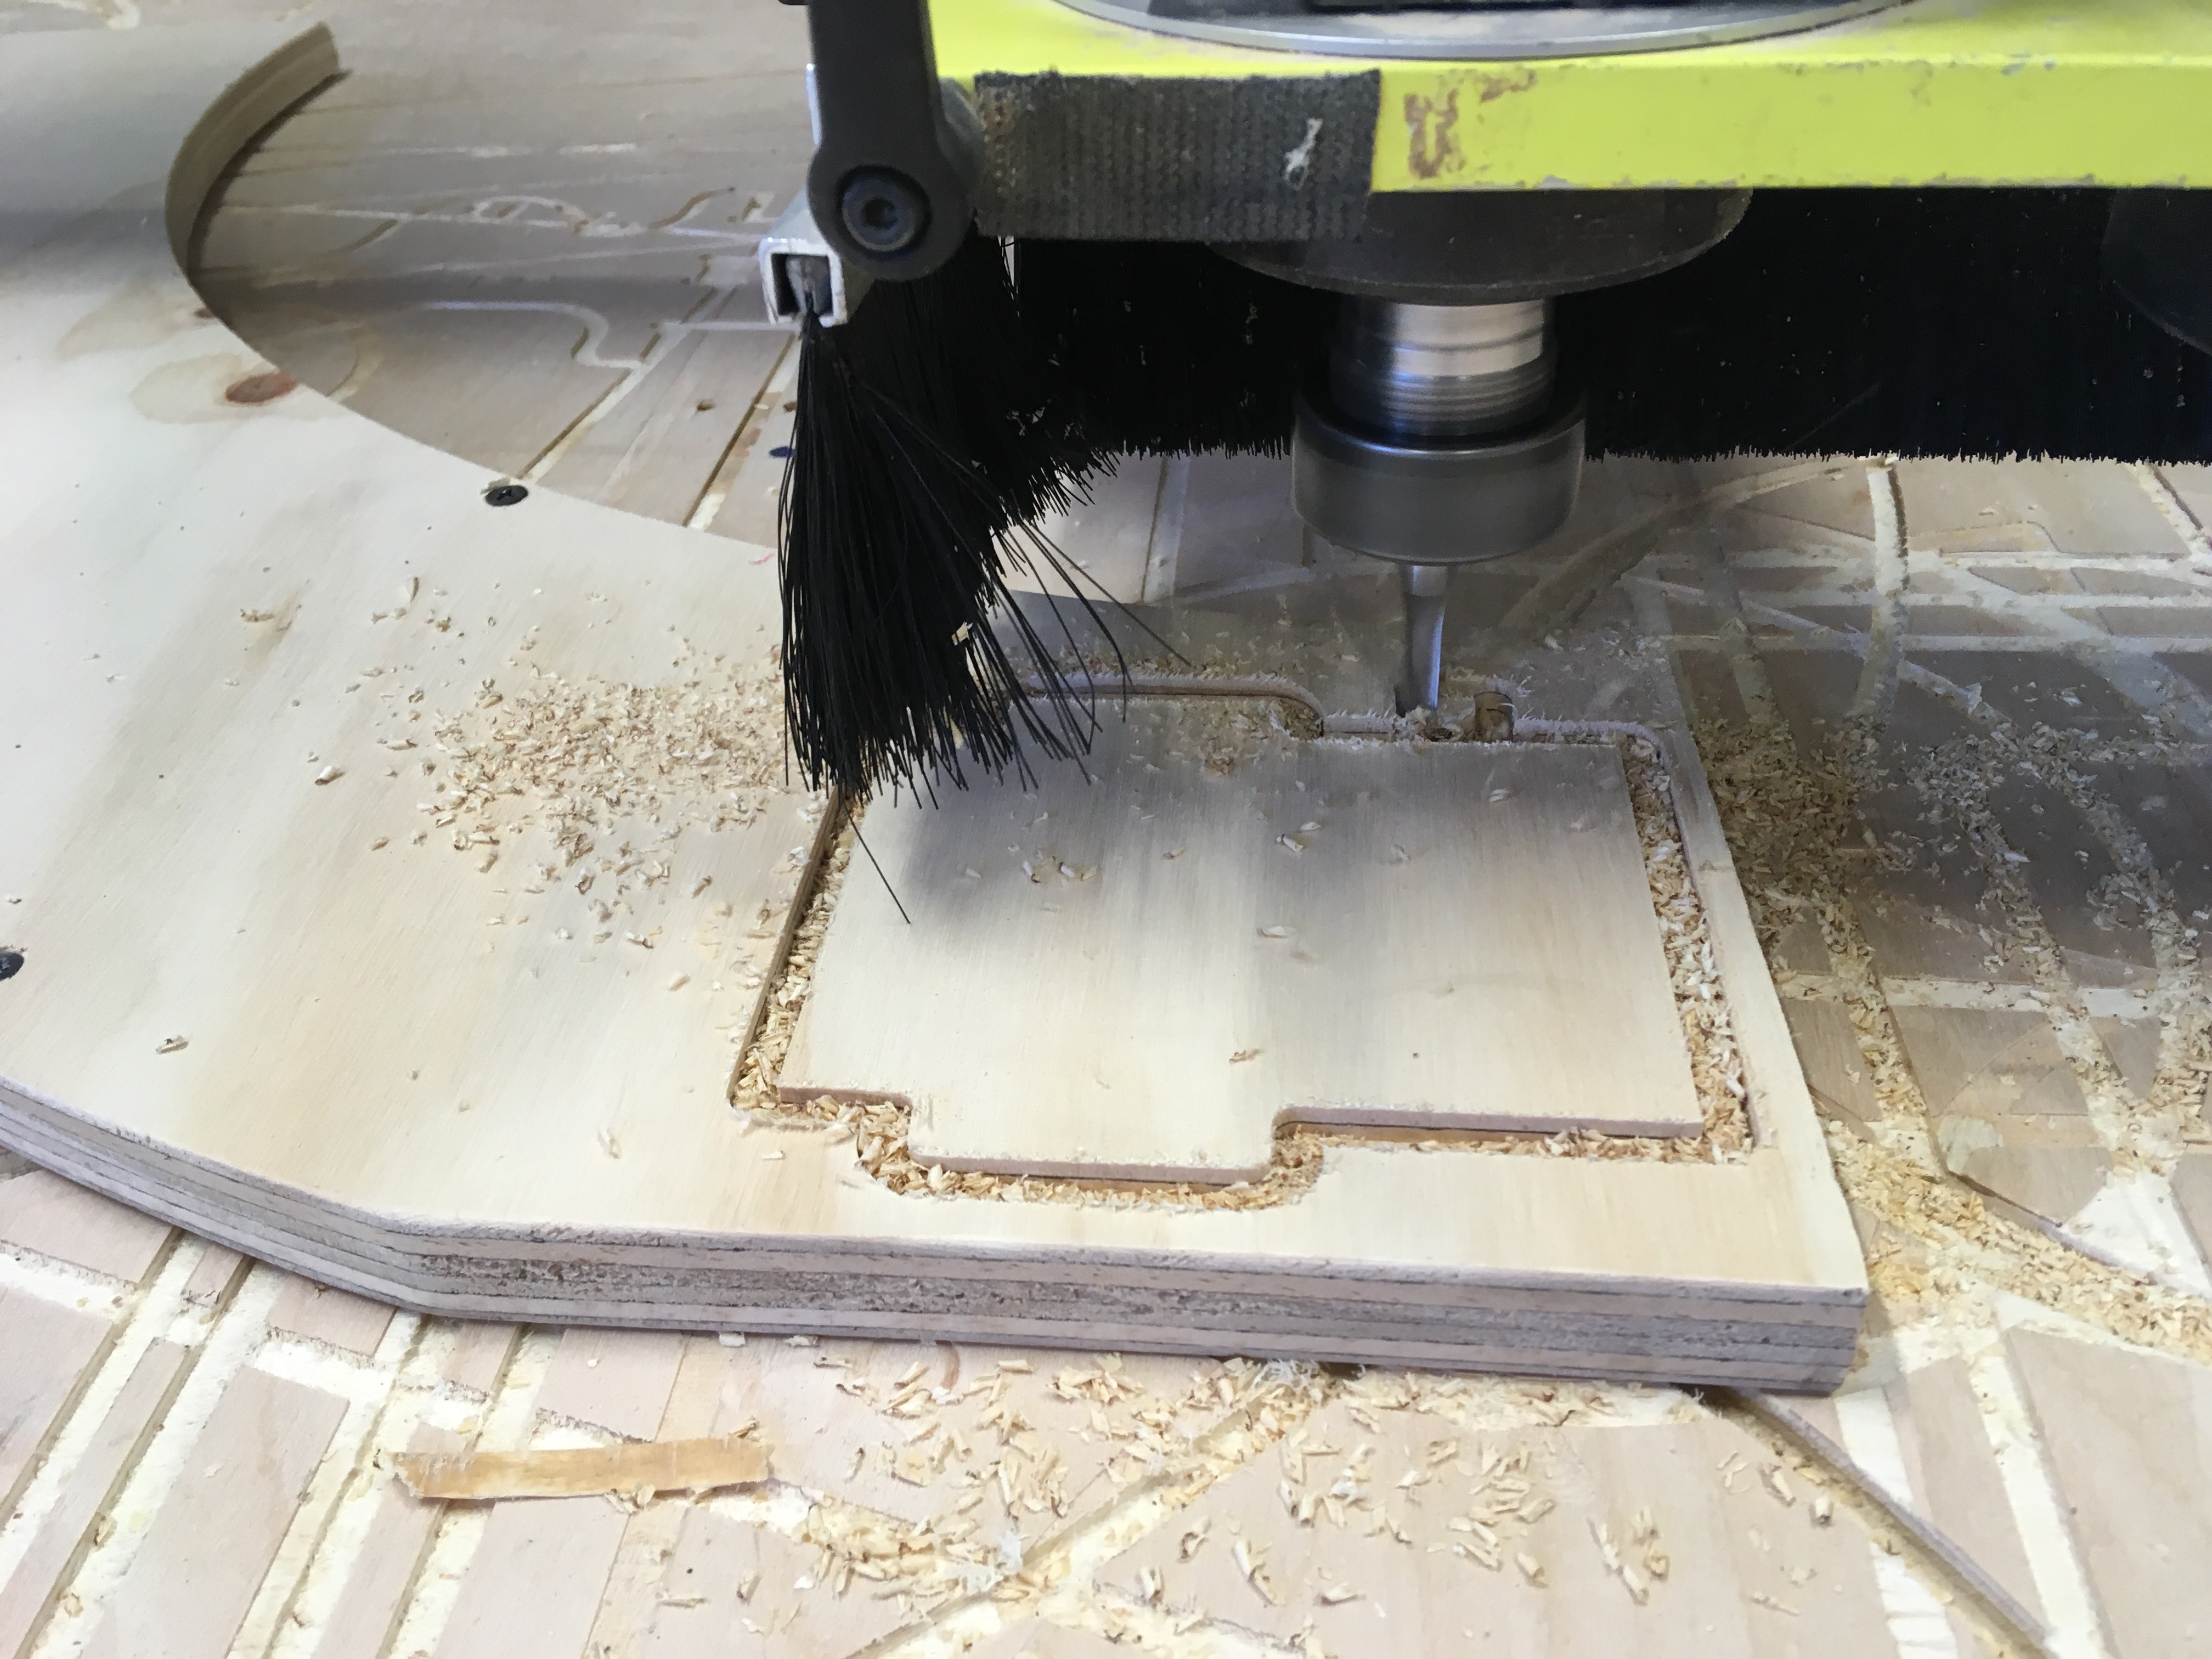 The male part is easy. I cut it first.
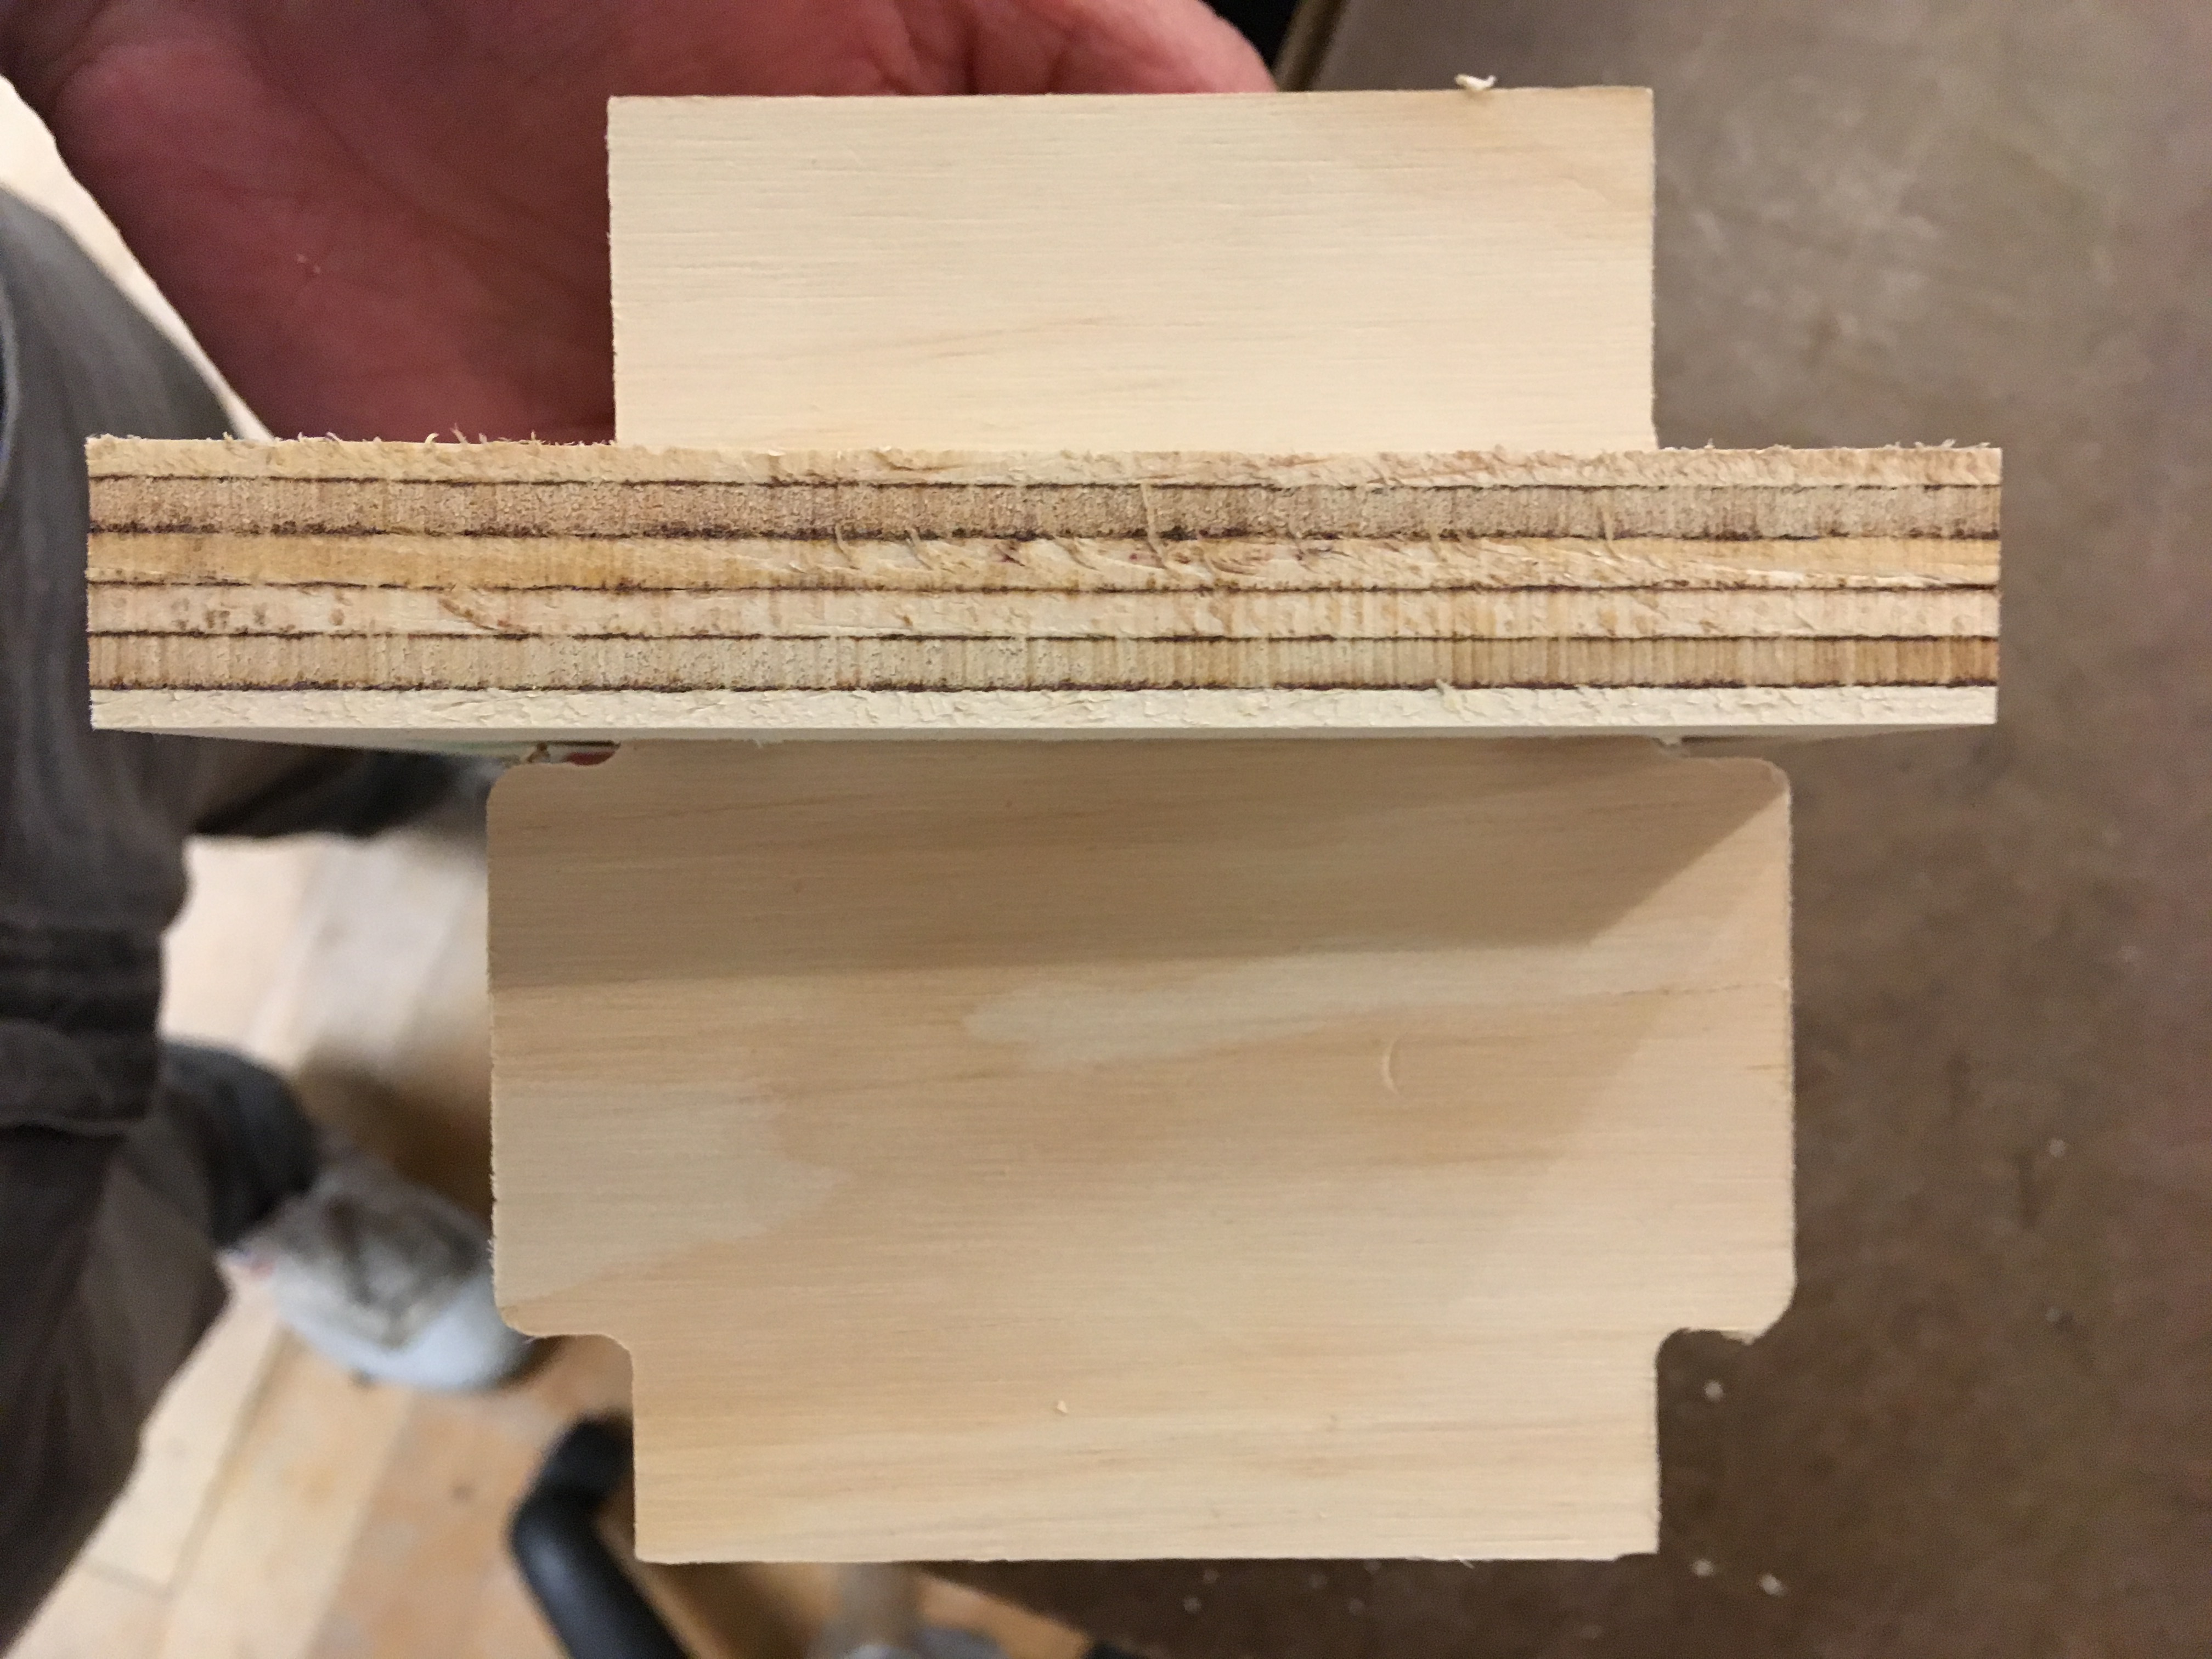
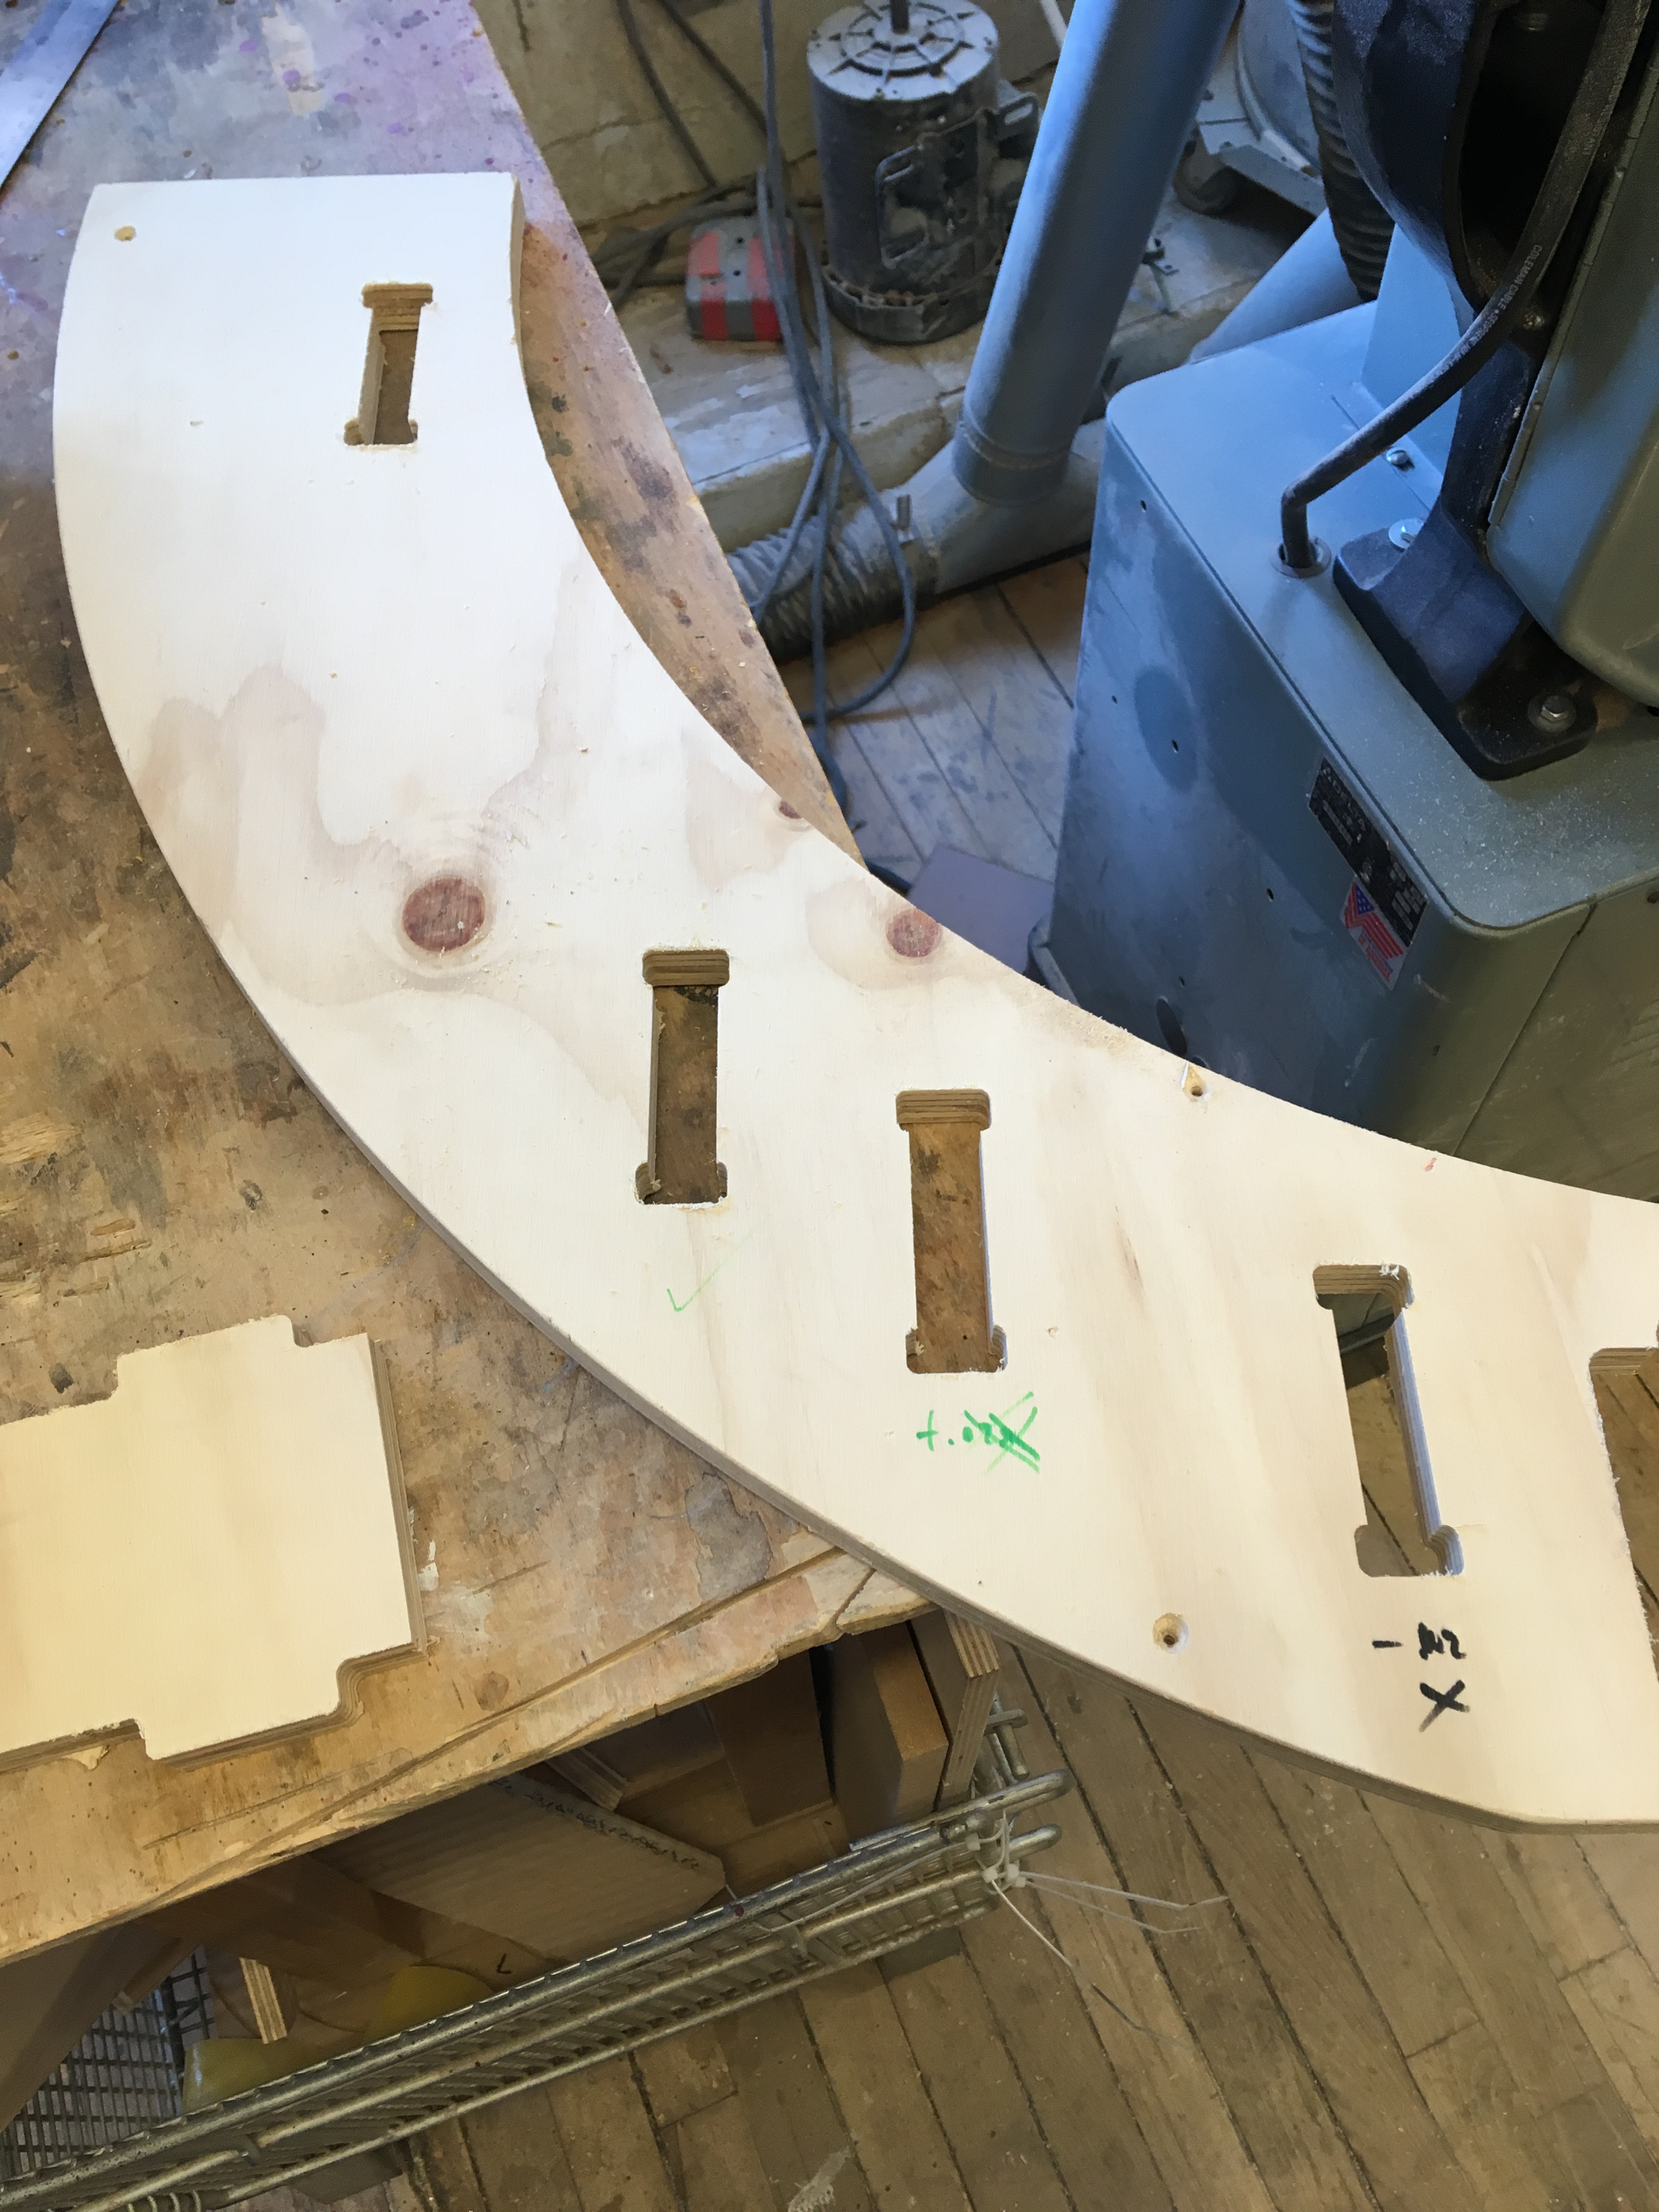
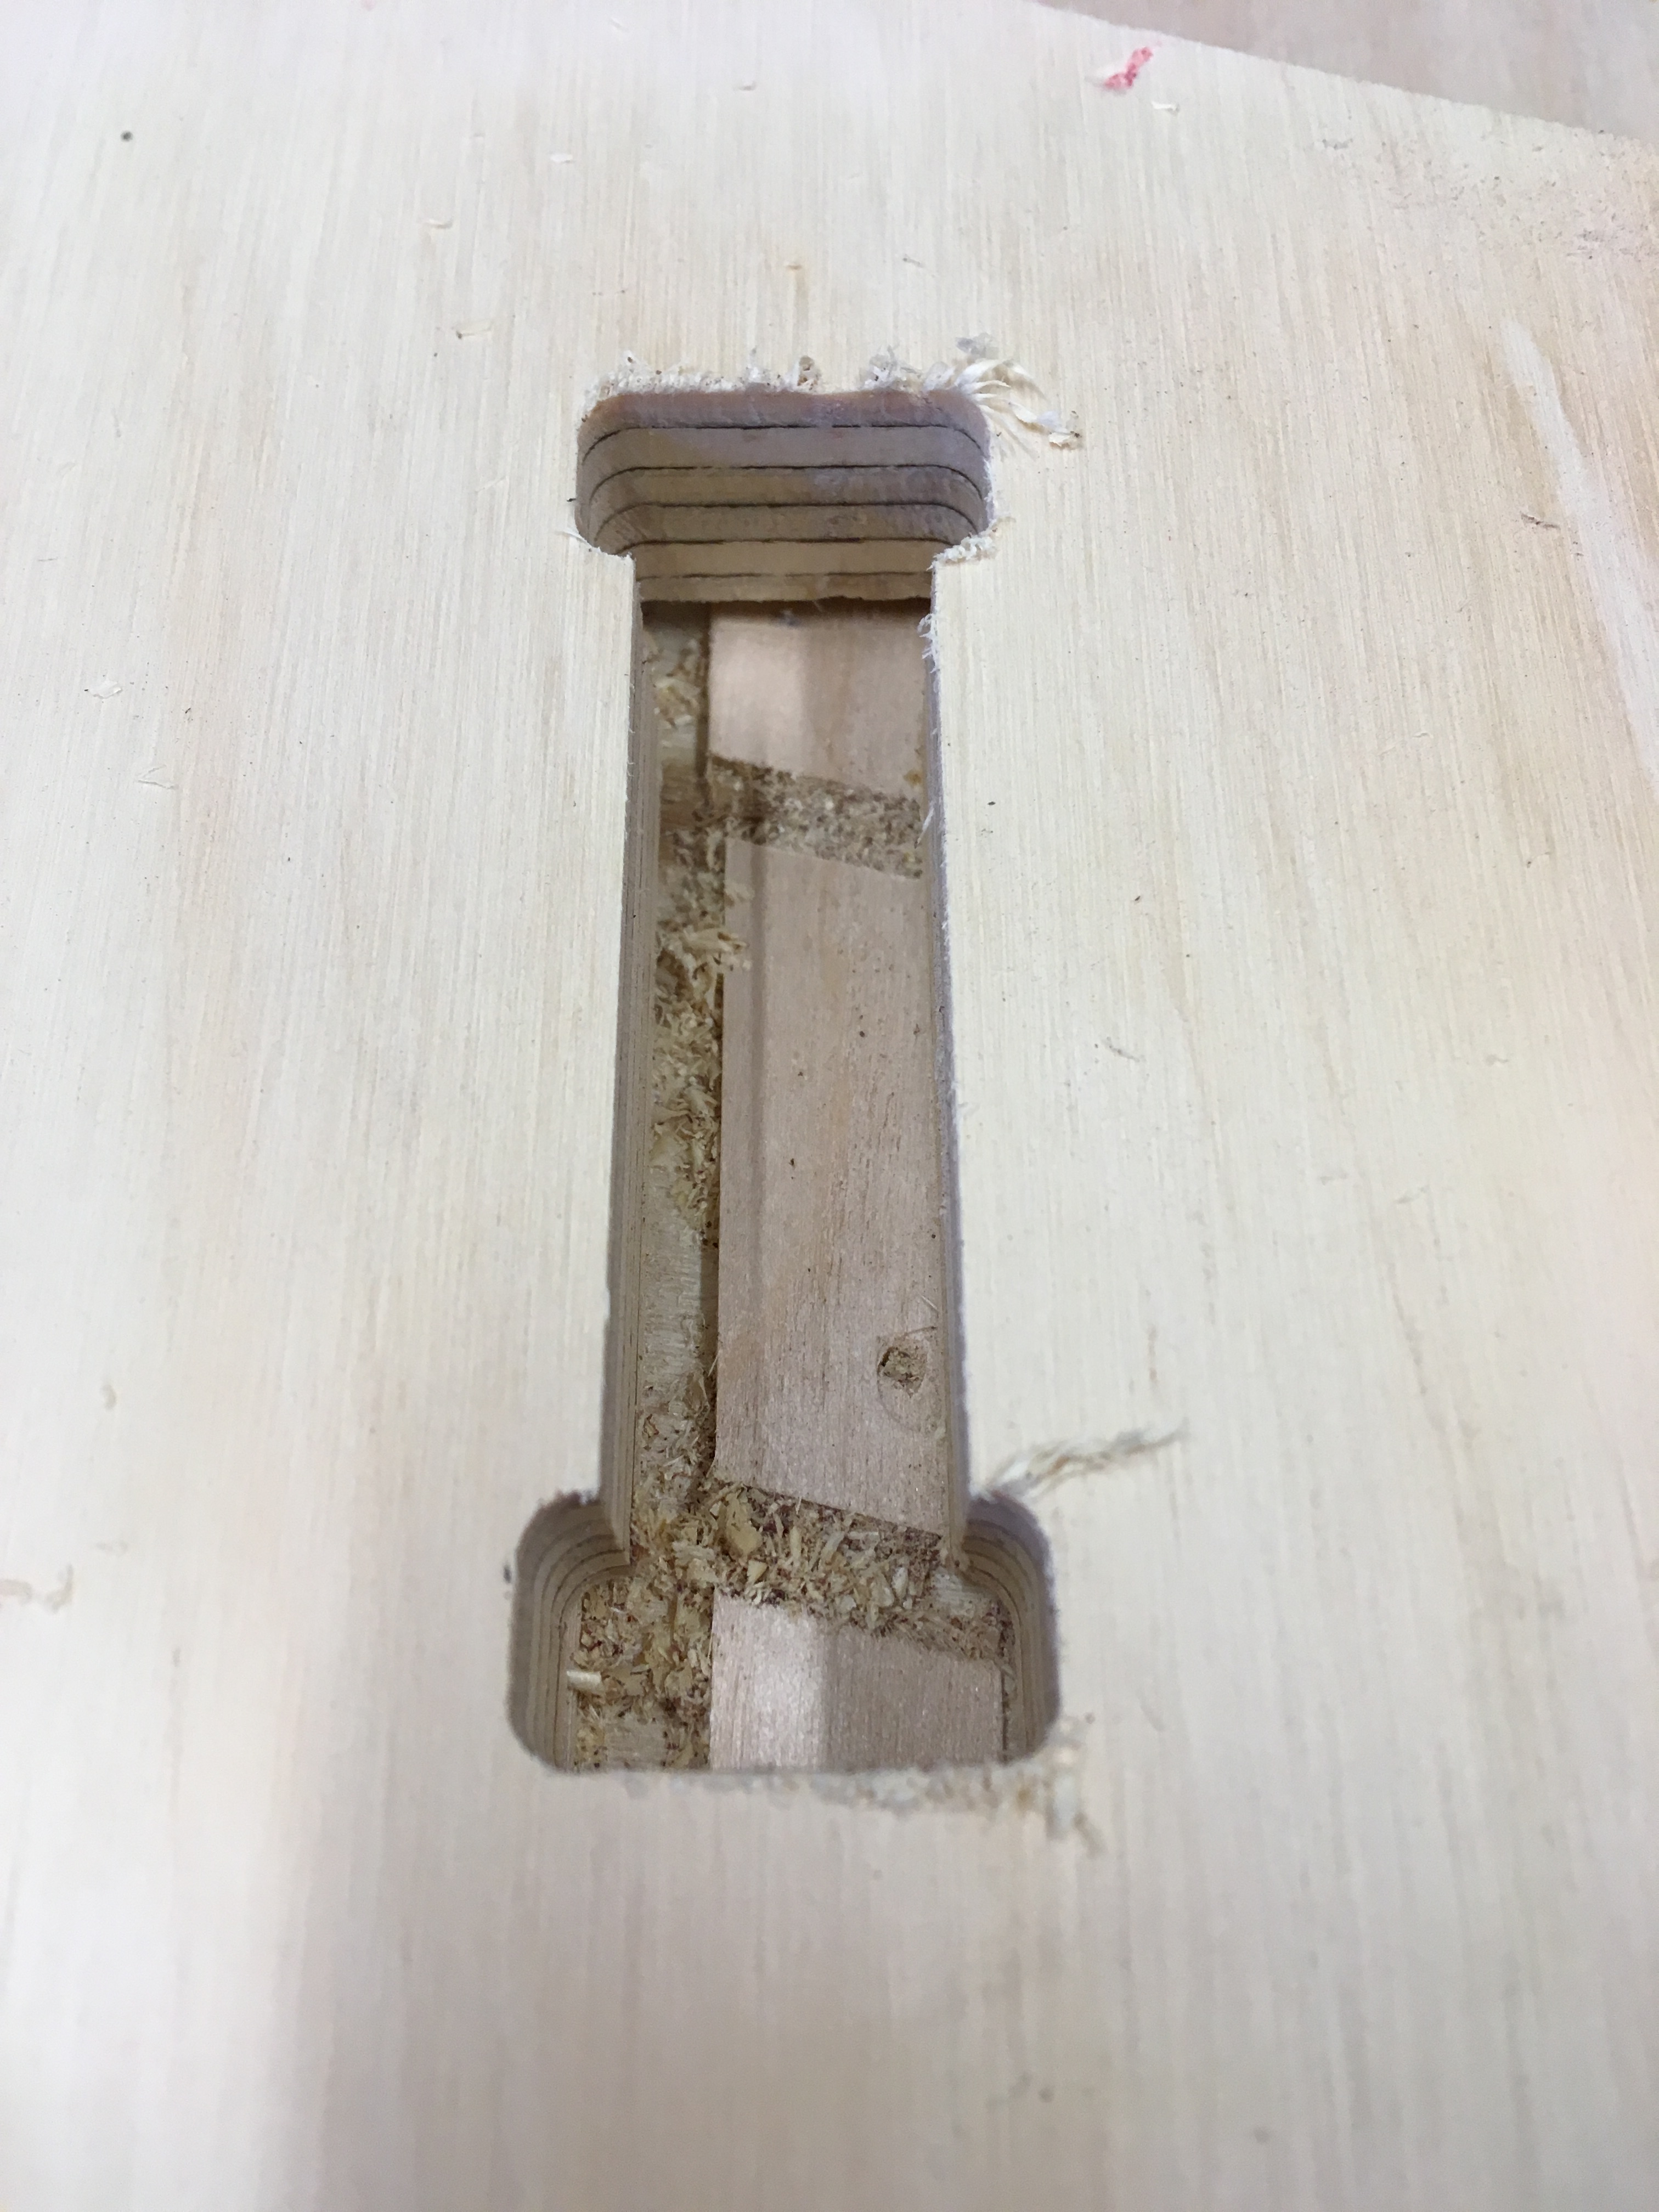 I also quickly cut female-01. I started with a tolerance of -0.02” thinking I’ll get a really snug friction fit. I quickly realize this is dumb because the tolerance should be GREATER than the original.
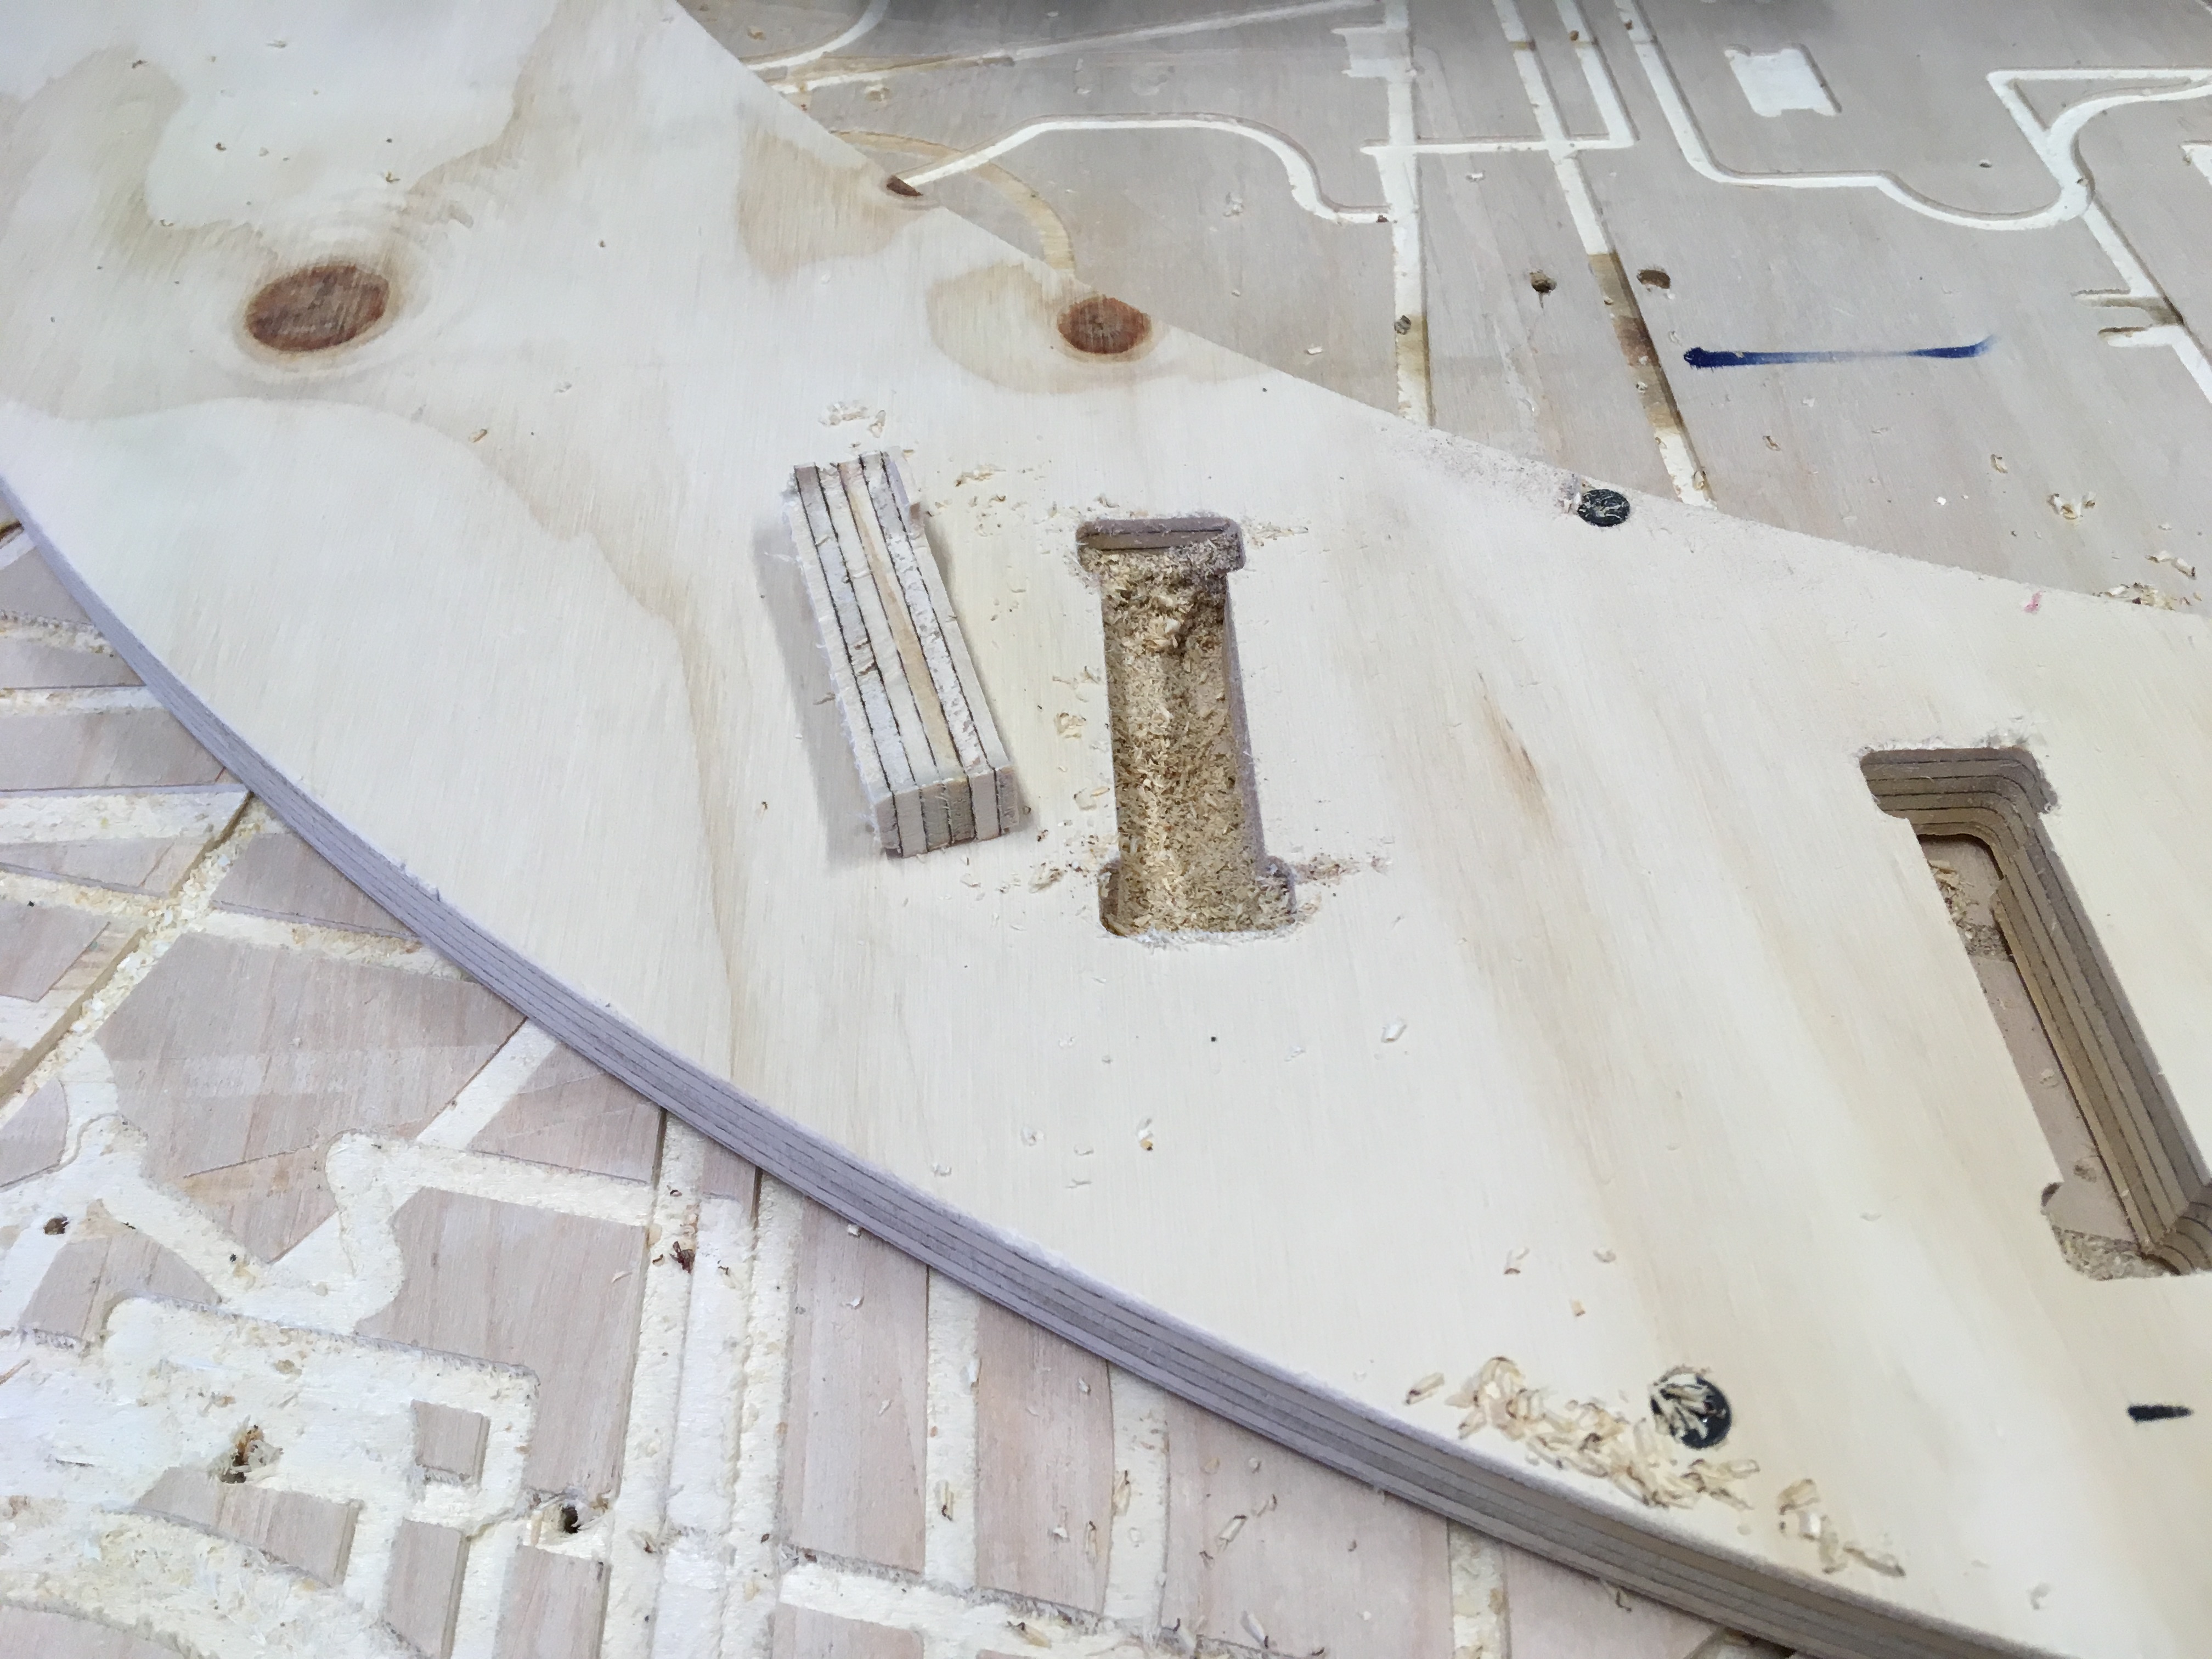 MORE ATTEMPTS T.T
 MORE ATTEMPTS T.T
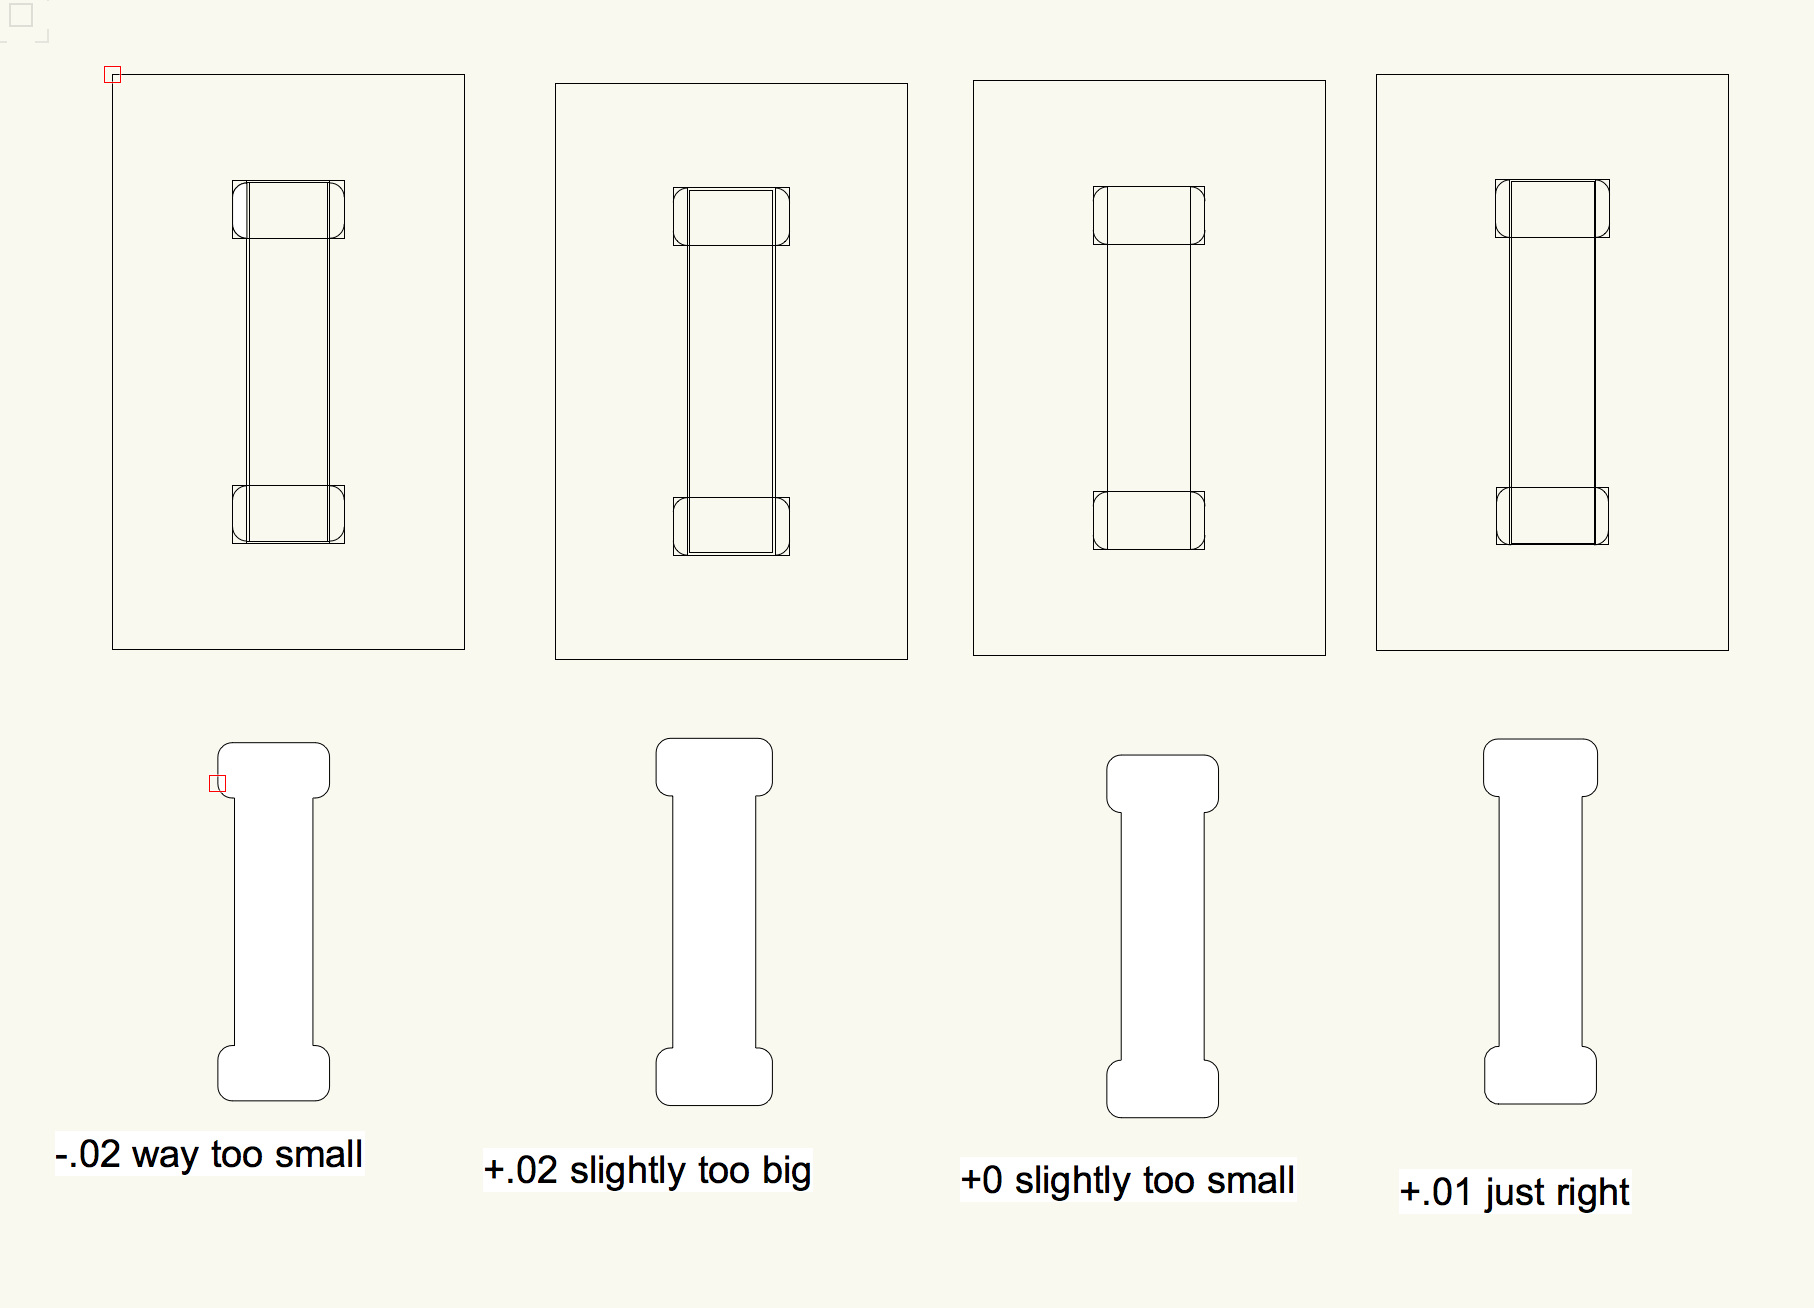 Guessing game… Ben was right about this being fairly difficult to get just right. I’m rethinking my high-level joinery goals.
CNC Reflections
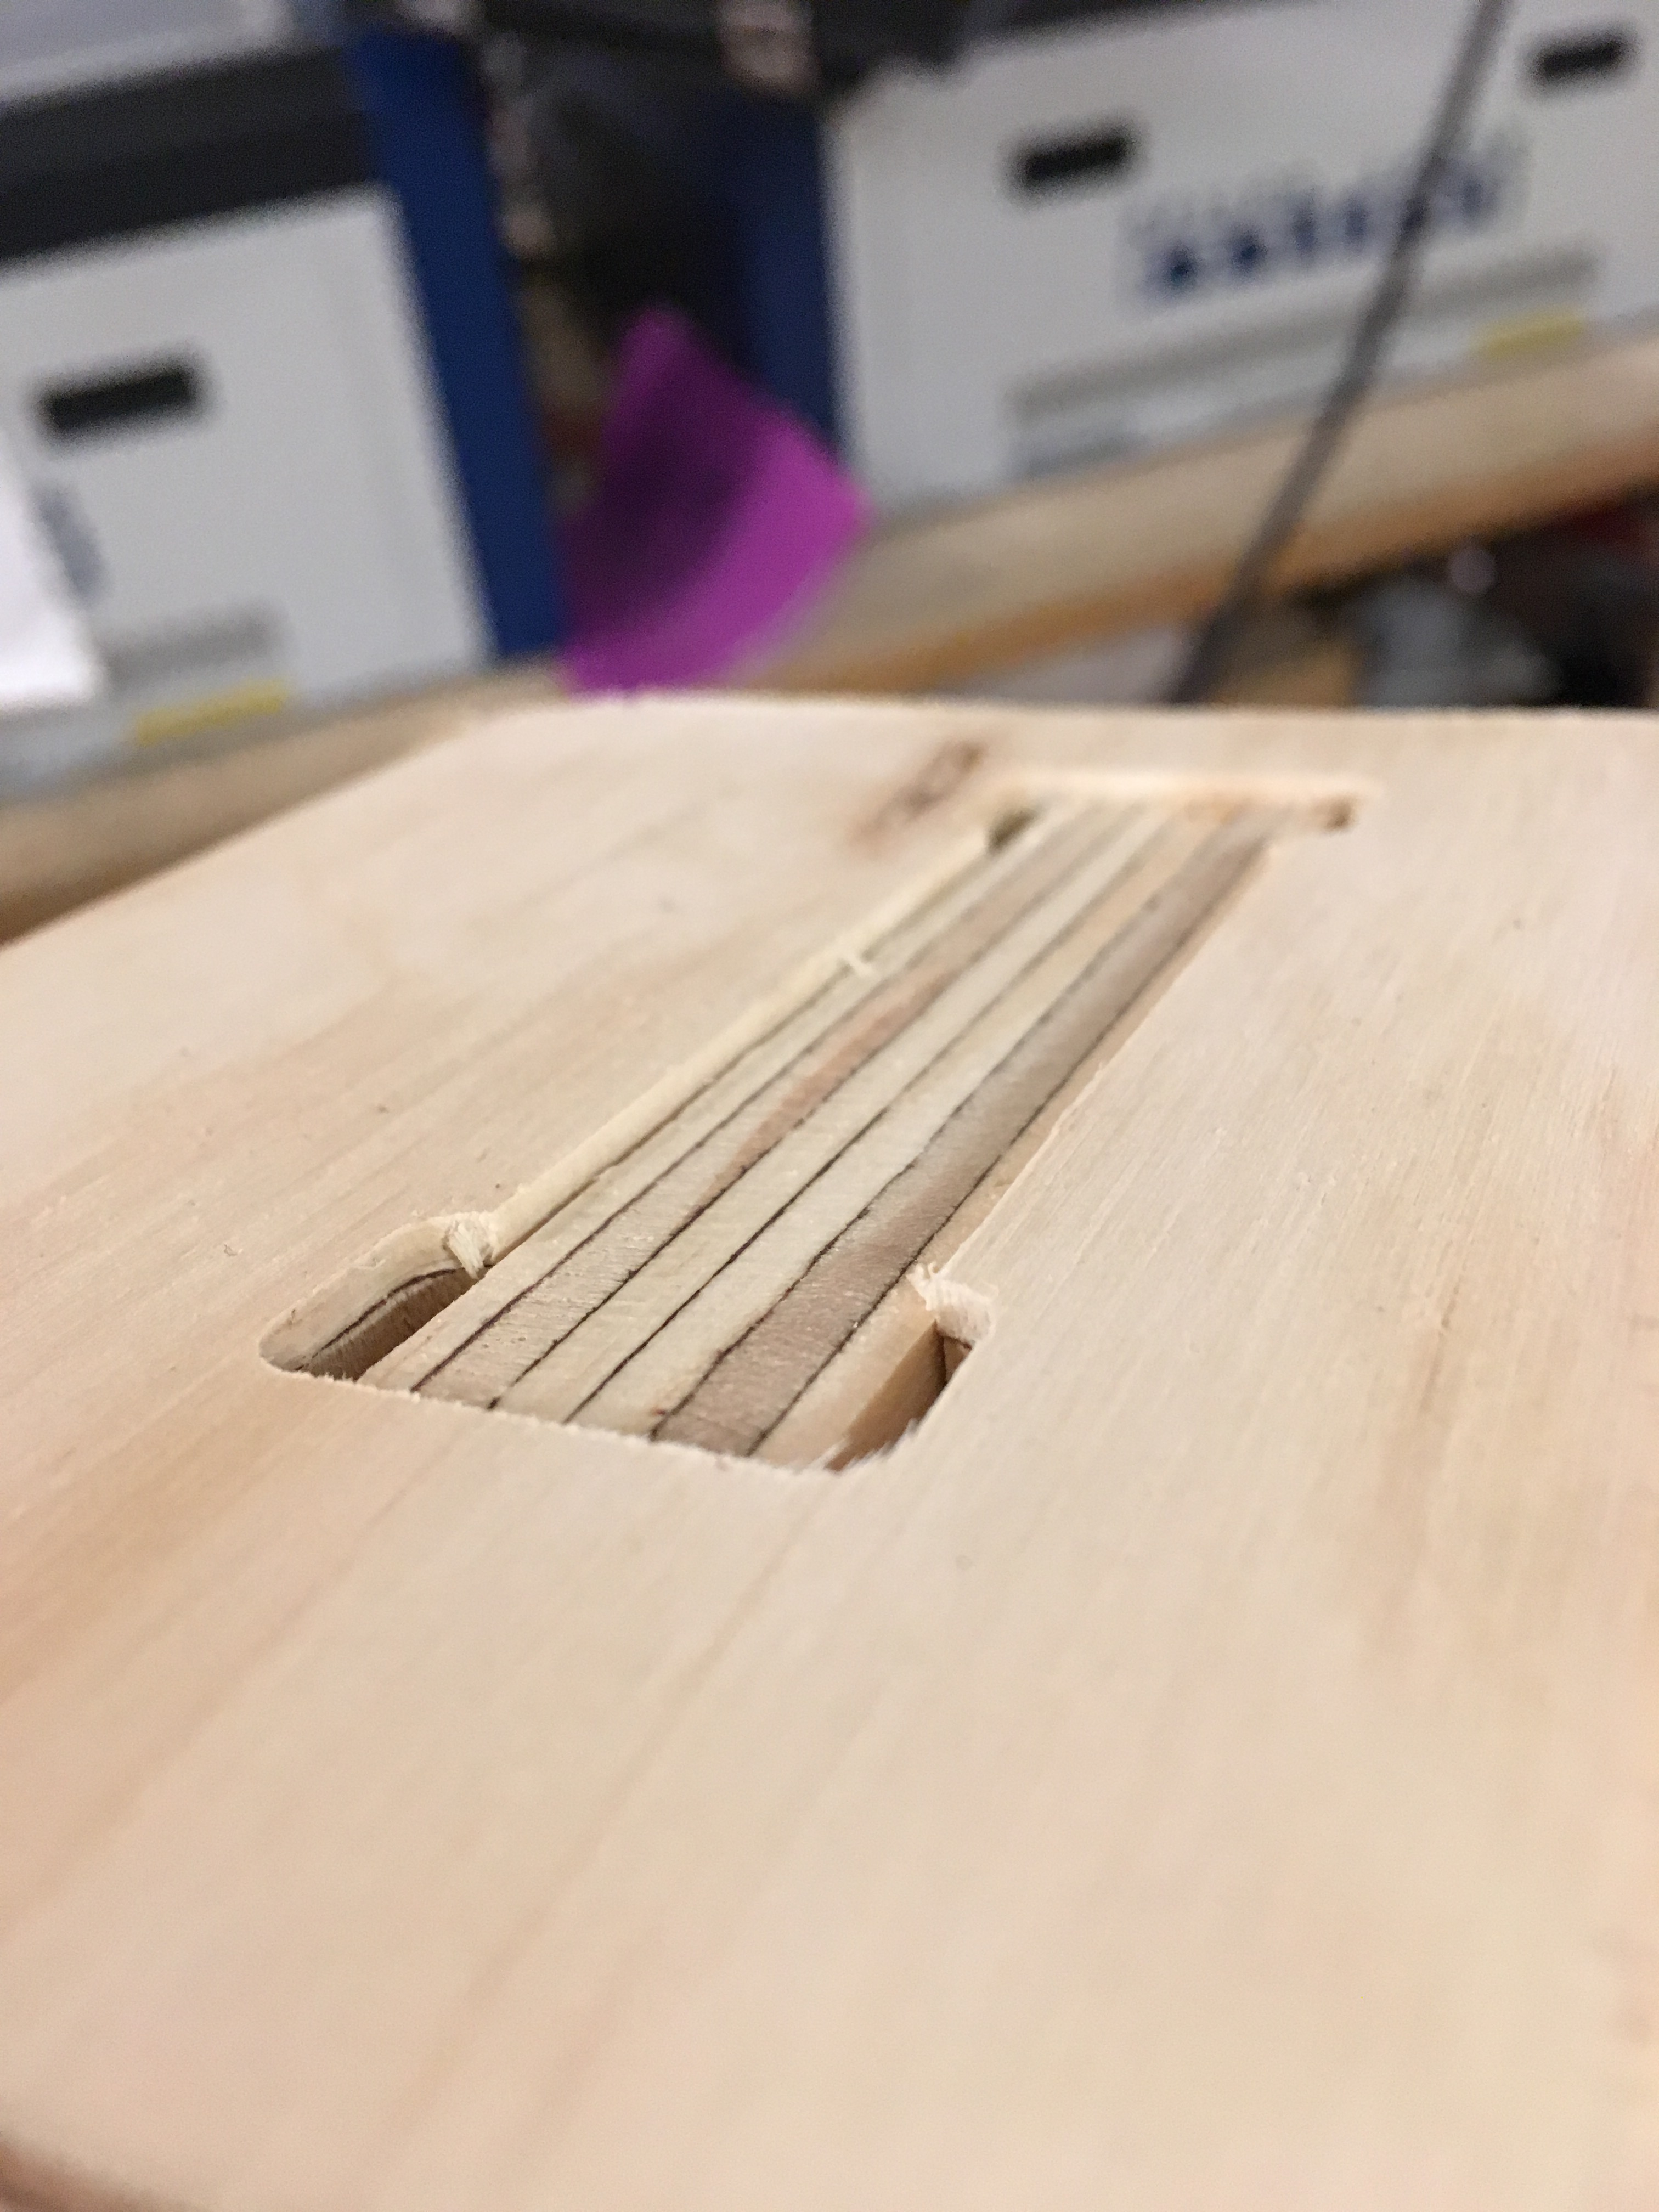 After finally getting a decent fit, I realize the rounding on the male piece makes it so the inserted edge does not sit flush with the female piece. I somewhat expected this but chose to live with it.
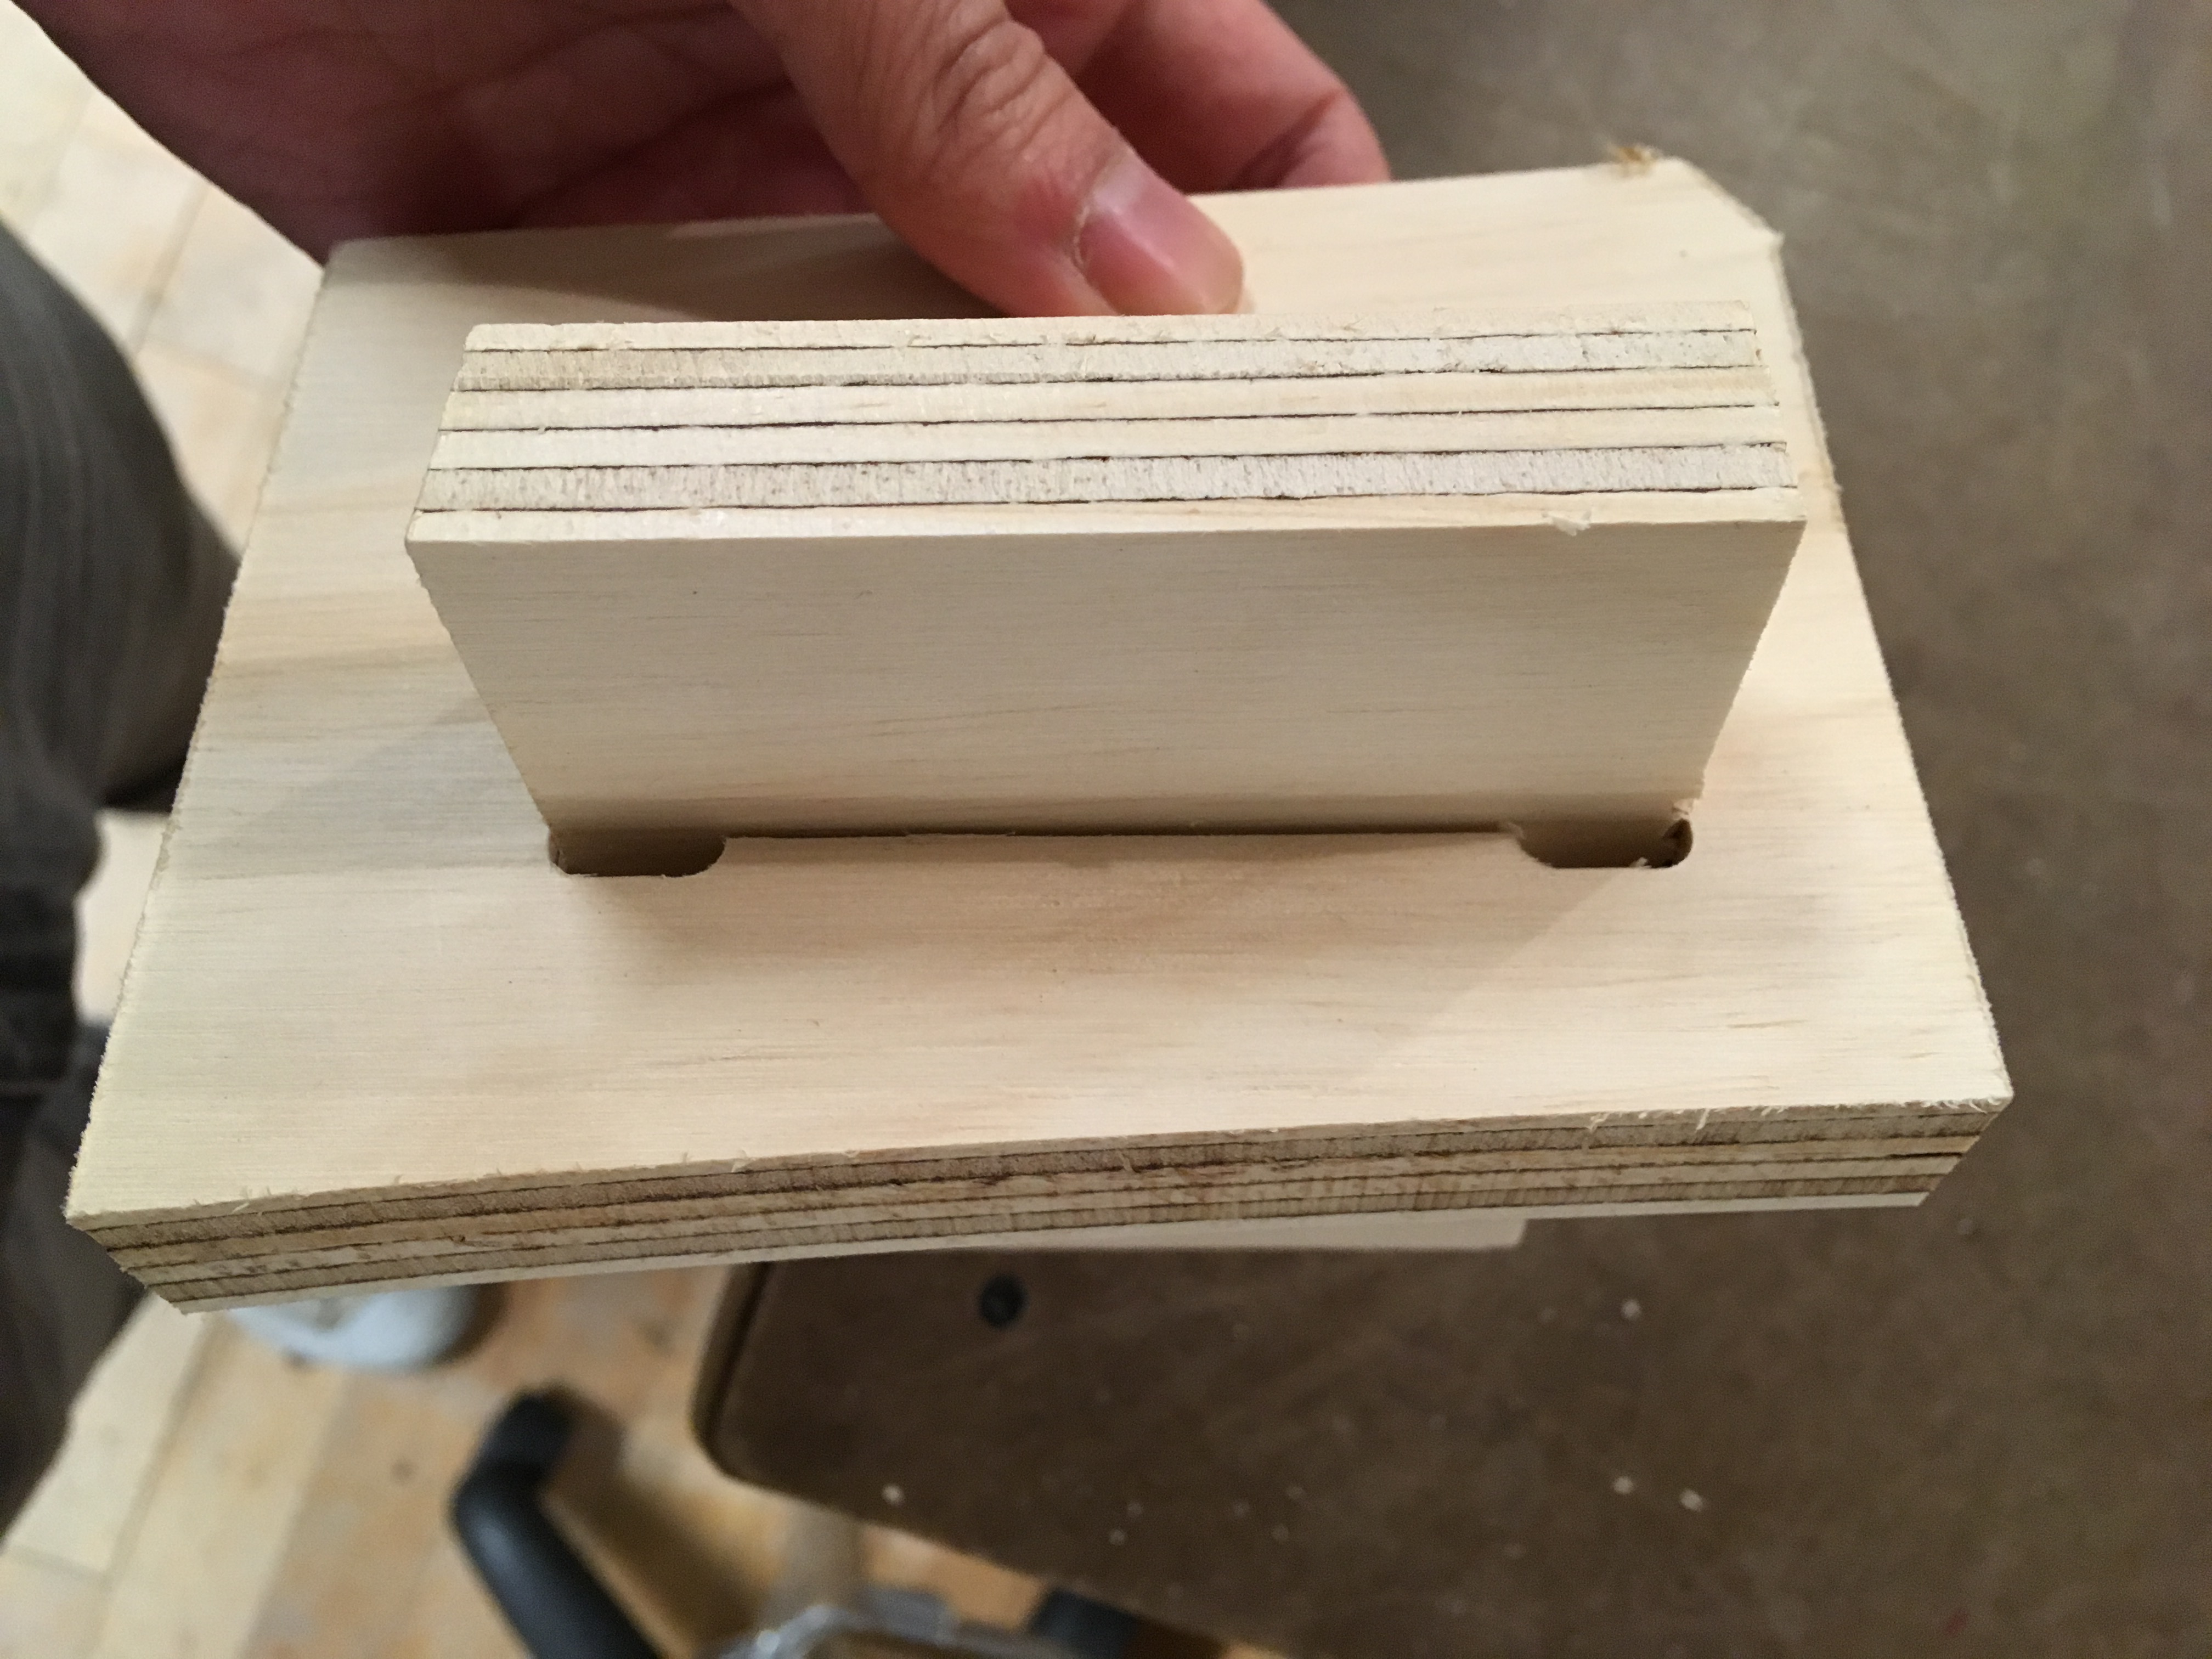
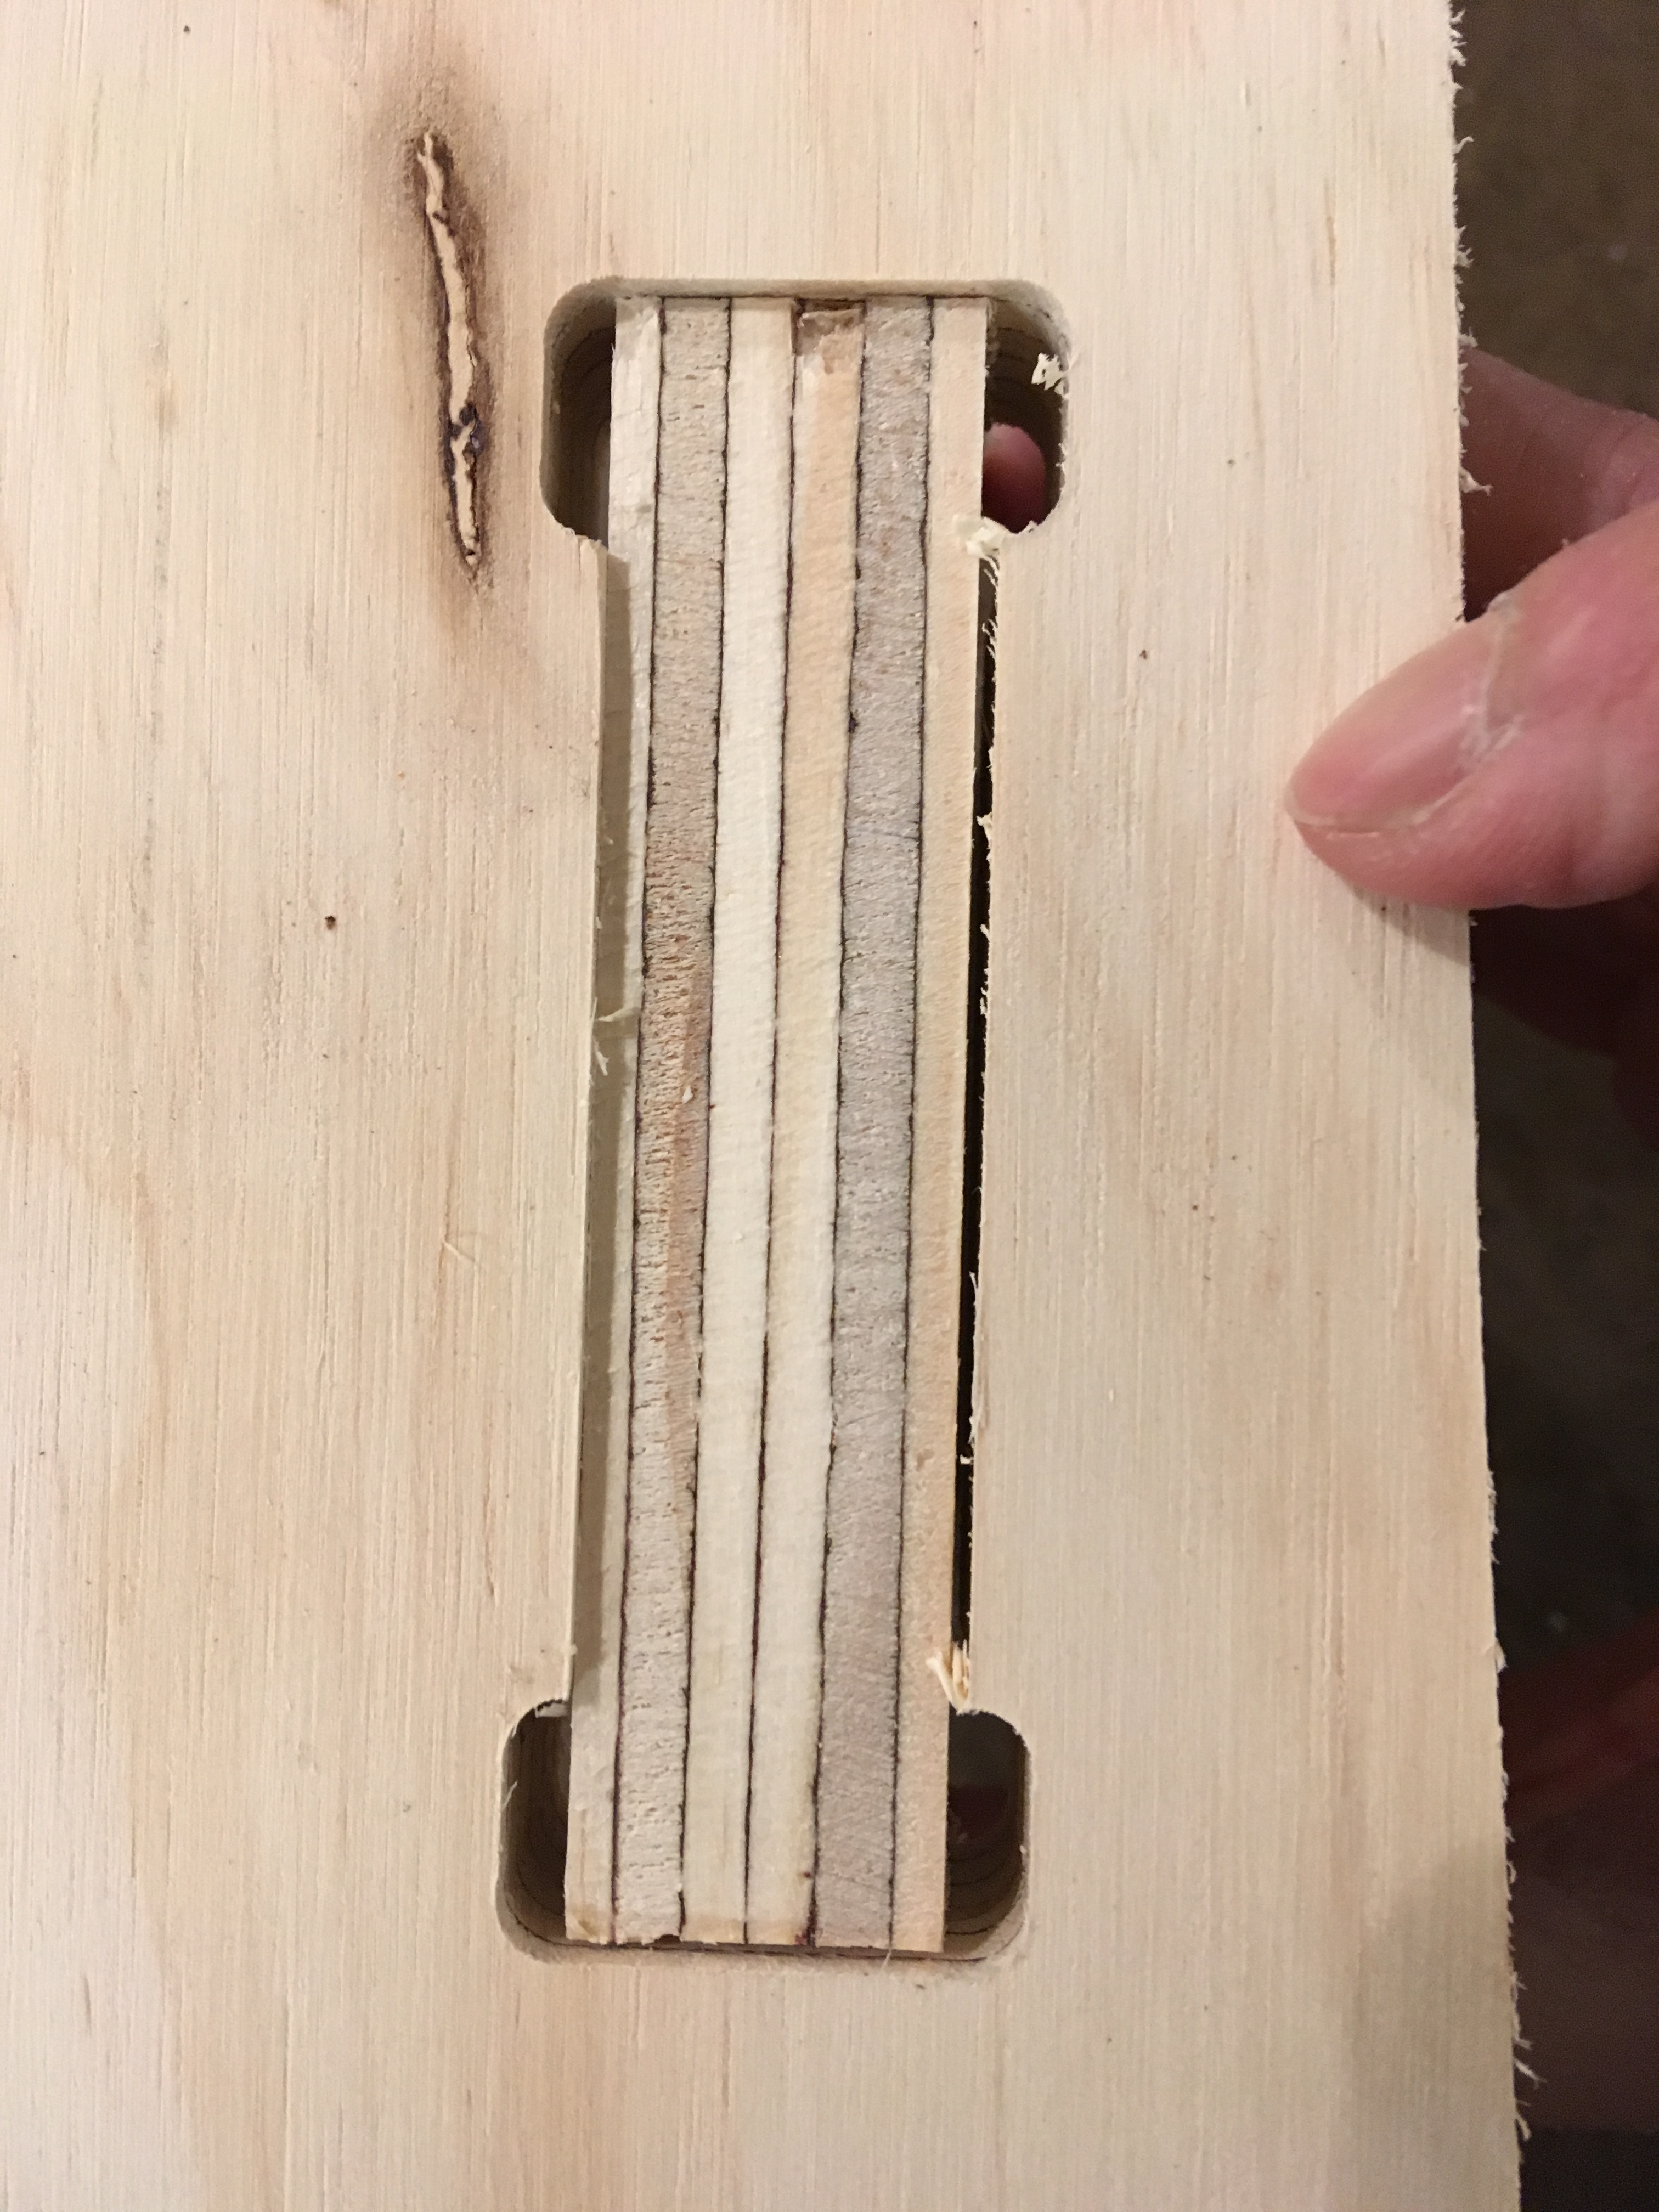 My final cut (v4) friction fit fairly well. However, I actually prefer this non-friction fit. There’s a bit more room here, which I like and just need to learn to reinforce. But my thinking is that a slightly roomy fit means I don’t need a sledgehammer assembling or reassembling.
It fits and sits!