Skill Builder: More Othermill CNC
I wish I knew how to Othermill sooner… oh how many 3D prints I wish I could have cancelled.
I’ve been wanting to build a cat and mouse flapper for a prize wheel I’m working on. I found a couple of icons at The Noun Project that were perfect. Thanks to N.K Narasimhan for his Rat and Ben Hsu for his Cat’s Paw.
![]() I didn’t actually get to this part of the project, but this is the cat’s paw I had in mind.
I didn’t actually get to this part of the project, but this is the cat’s paw I had in mind.
![]() And here’s the rat!
And here’s the rat!
New Materials!
Now that I’m in love with the Othermill CNC, I decided that this week it would be useful to expand my material knowledge. I find I’m always wanting small parts and now that I know how to use it, I see the Othermill as a big part of my future. Surprisingly, I’ve been using a lot of plywood and cheap framing lumber, never really getting a chance to work with natural woods. I also think metal is a must so I mixed in some aluminum.
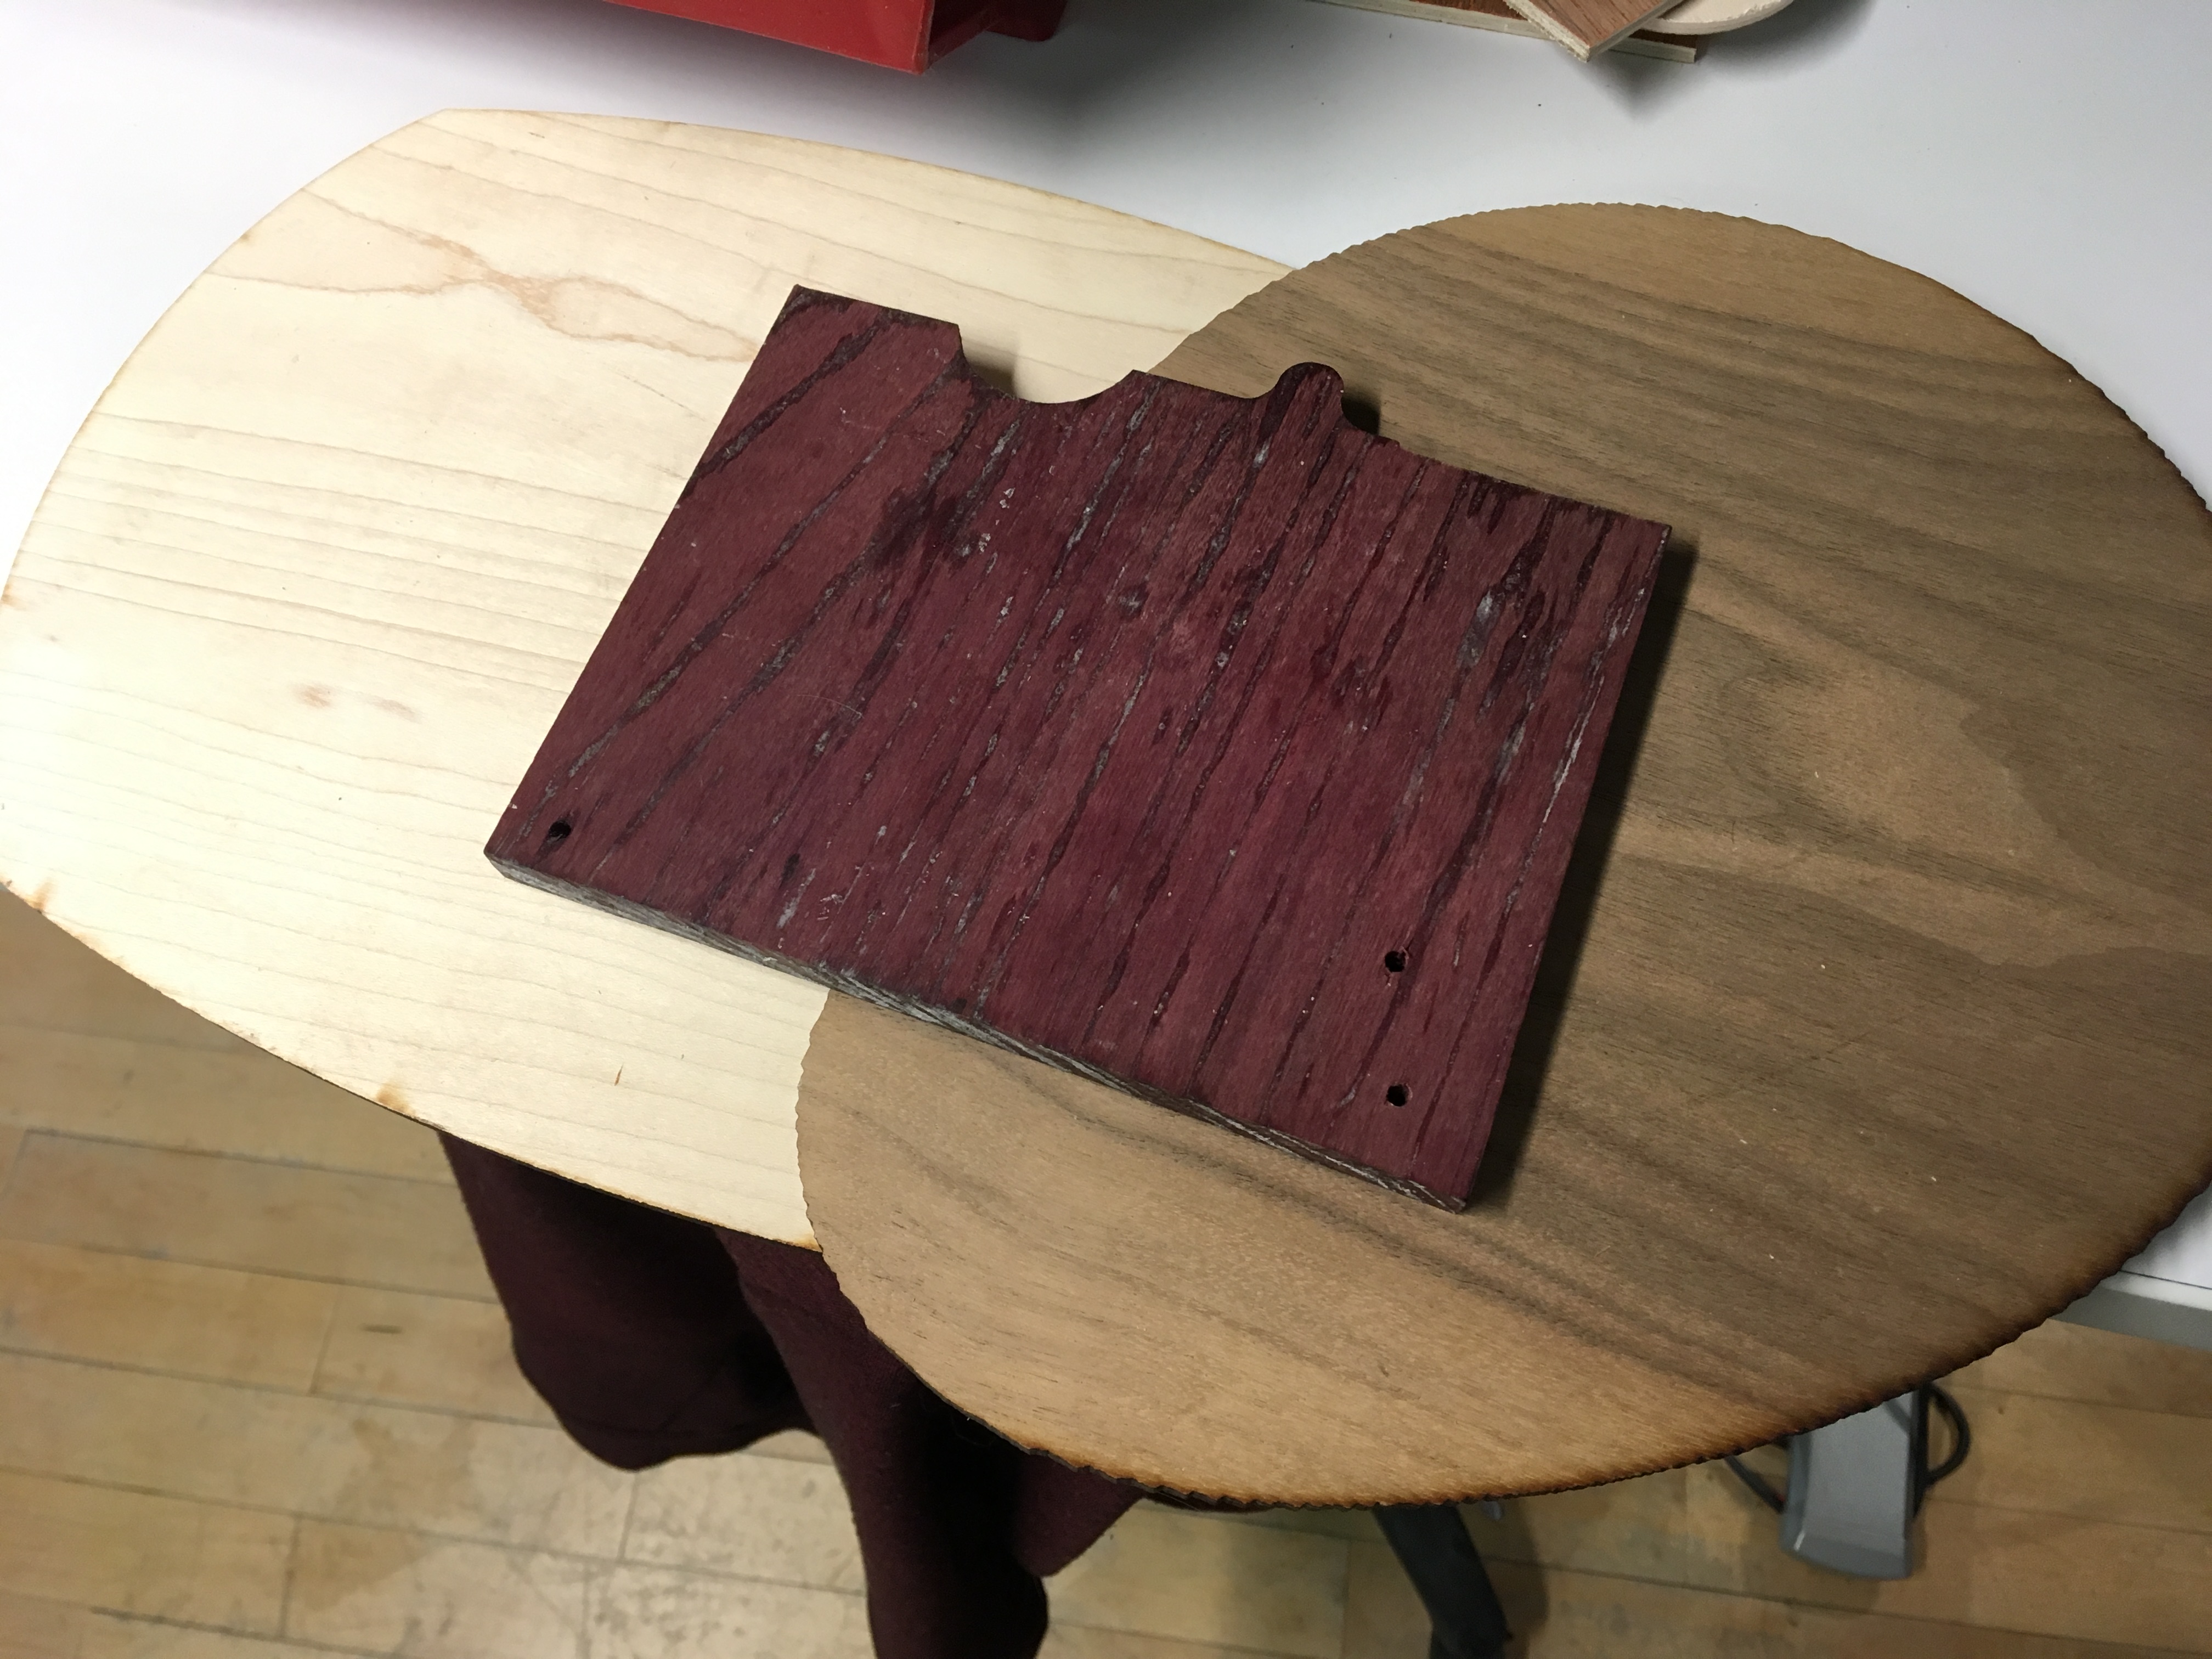 Some natural wood scraps: walnut, maple, and (most excited for) purple heart.
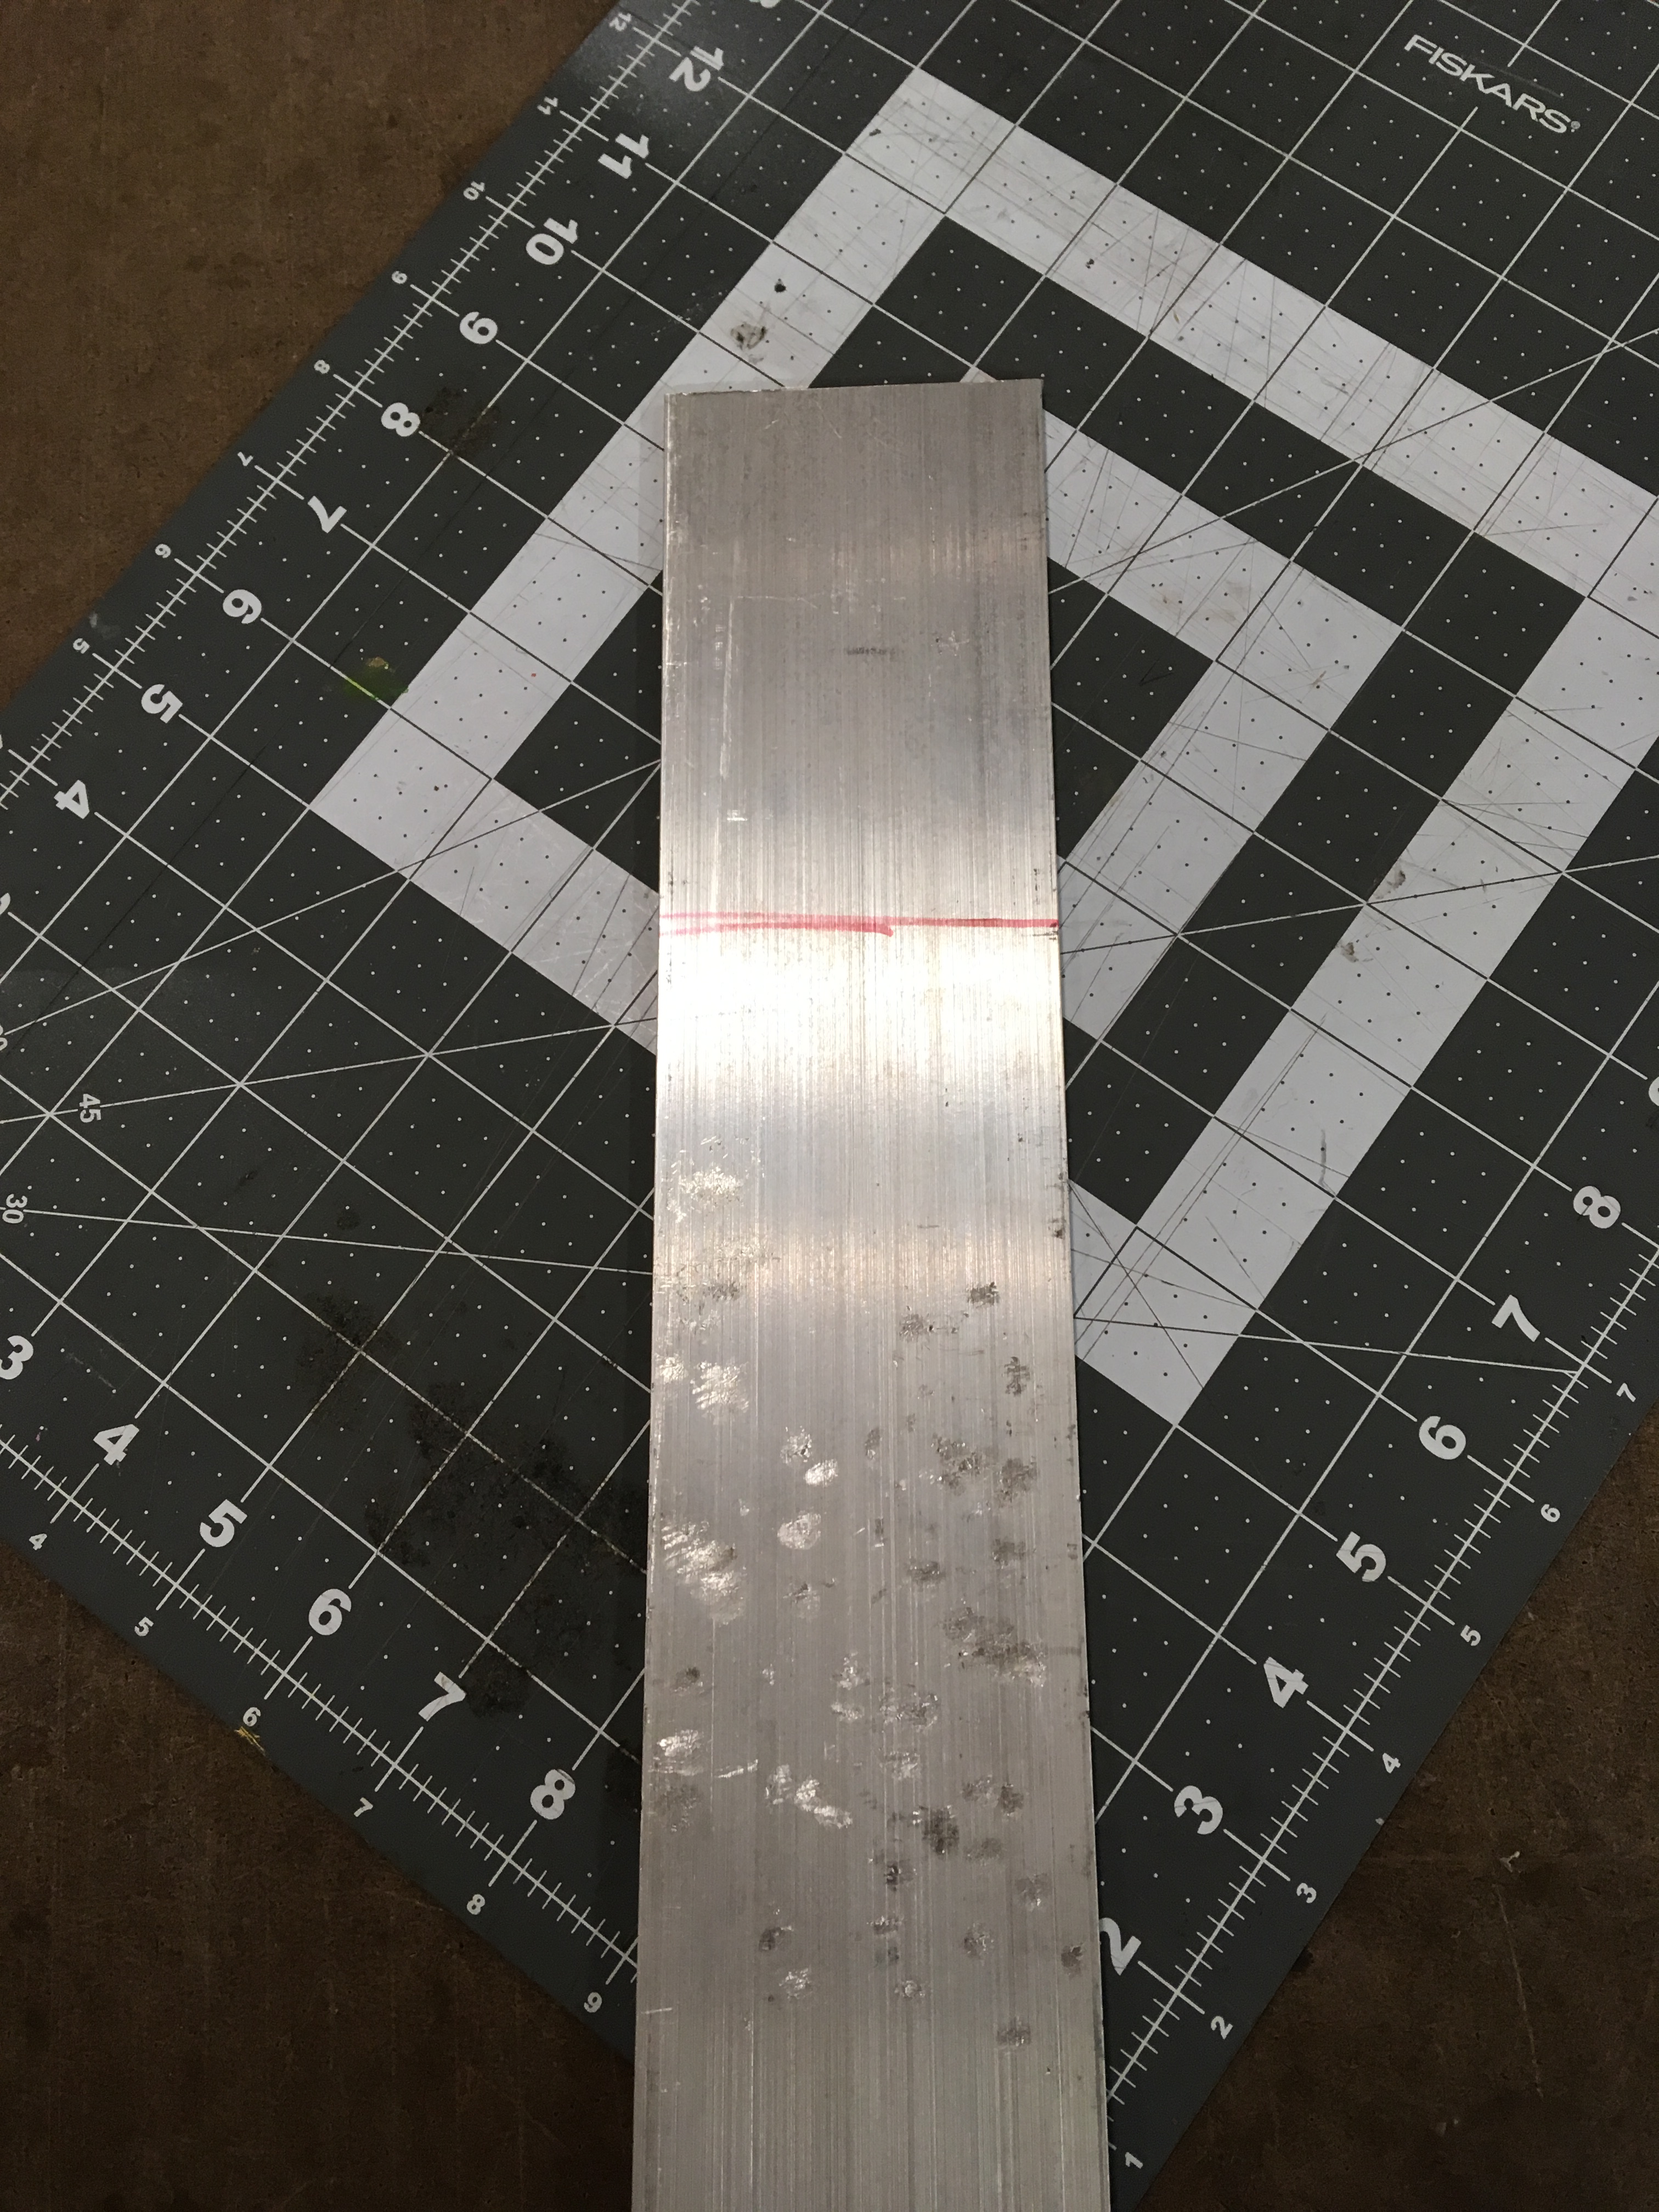 Thick aluminum sheet from our scrap pile.
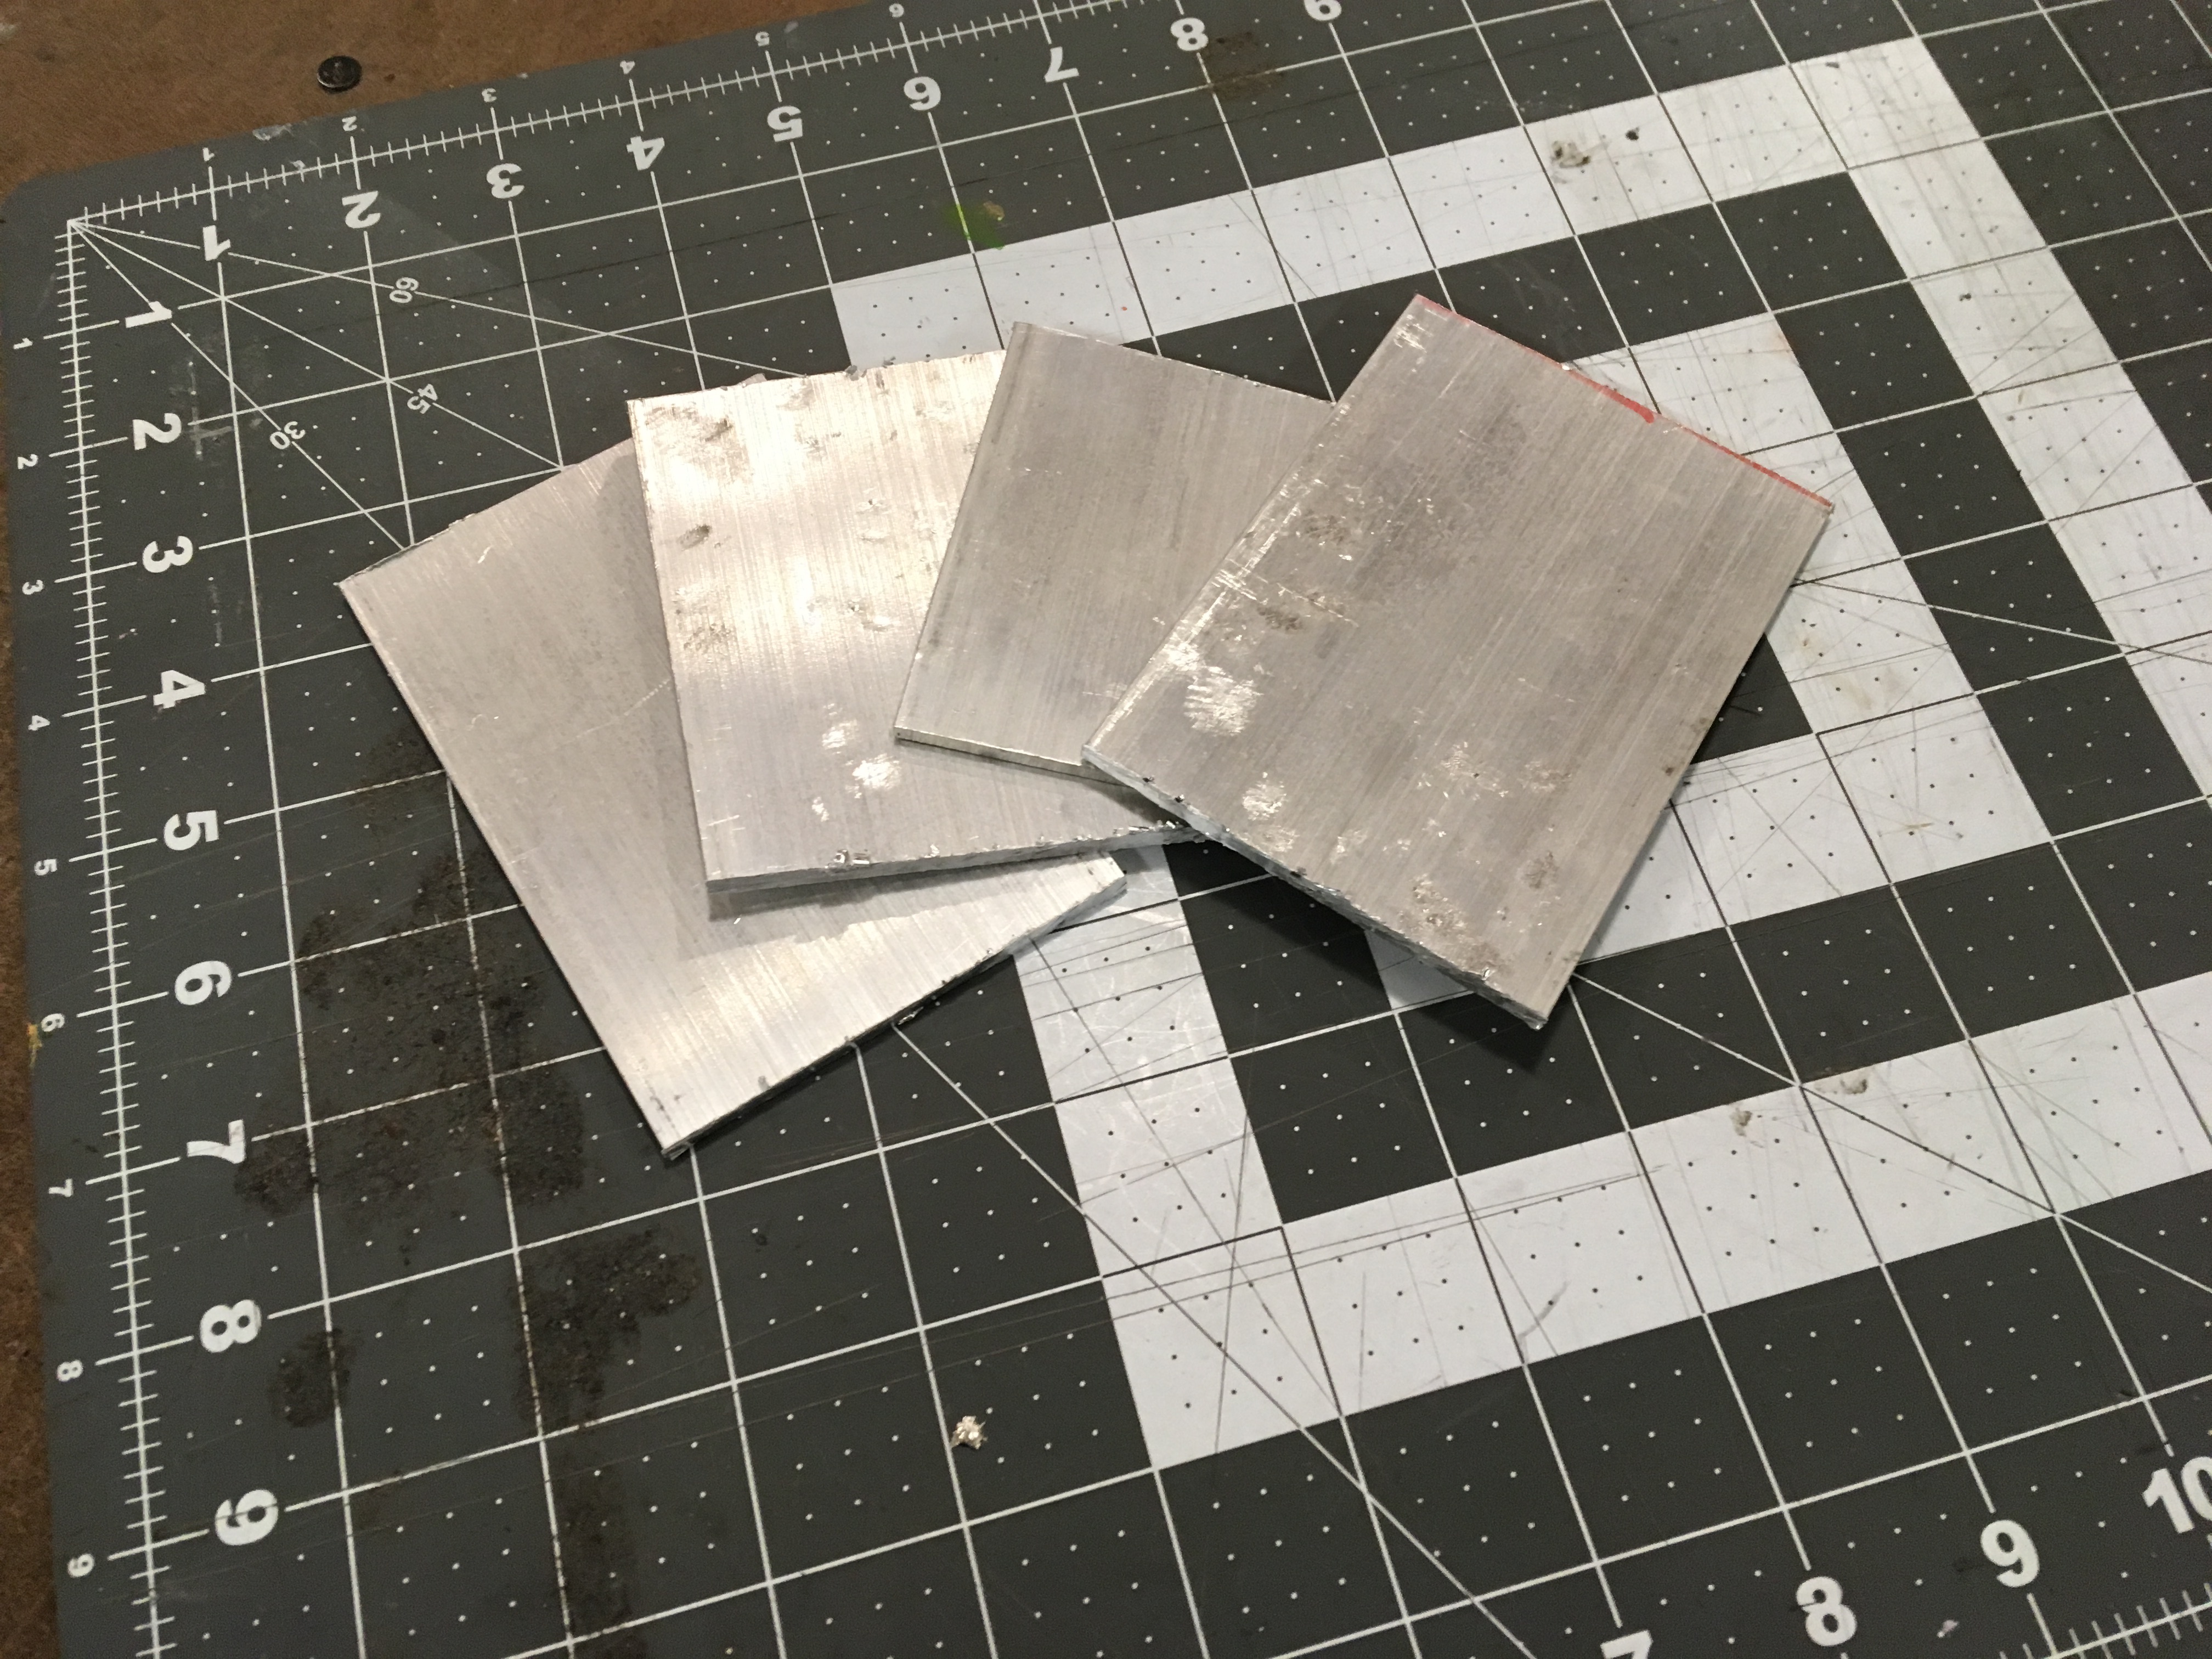 I went ahead and cut a bunch of “Othermill-able” aluminum tiles.
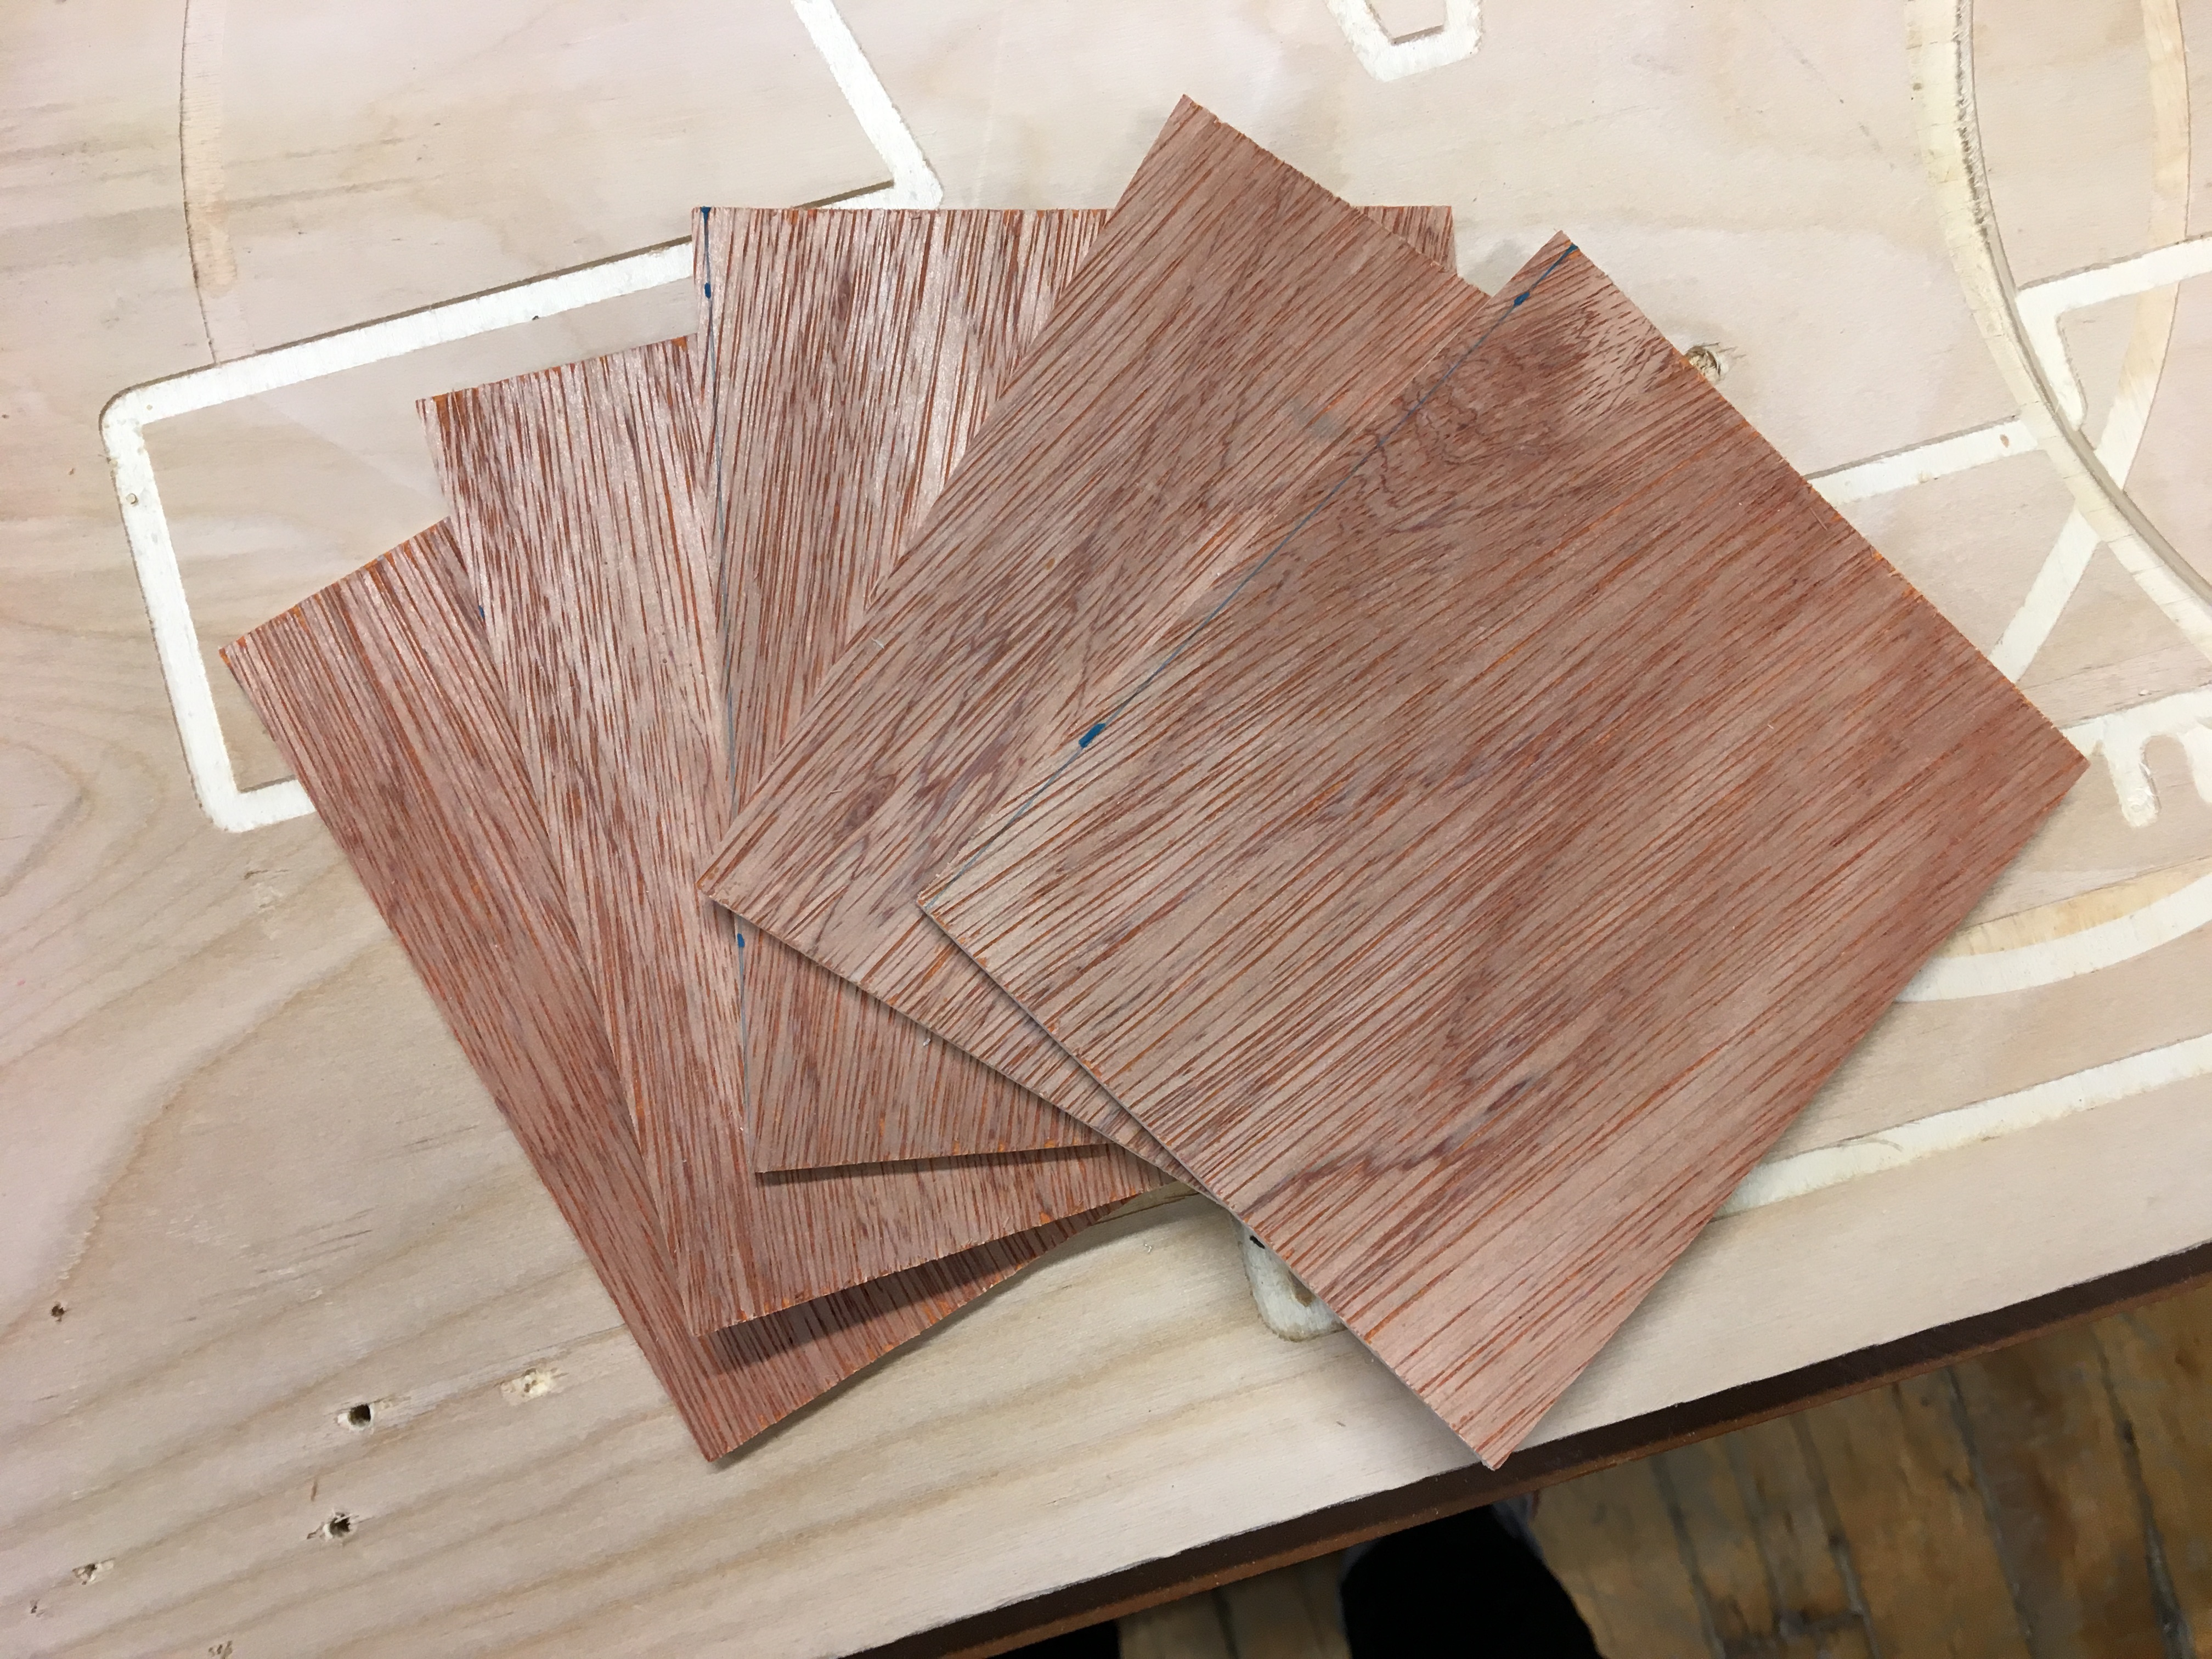 I also cut a bunch of thin plywood tiles for prototyping. I’m expecting a lot of pancakes…
First Pancake
 Rat for JOYRATS. This is also going to be a key part of a bigger project, details forthcoming.
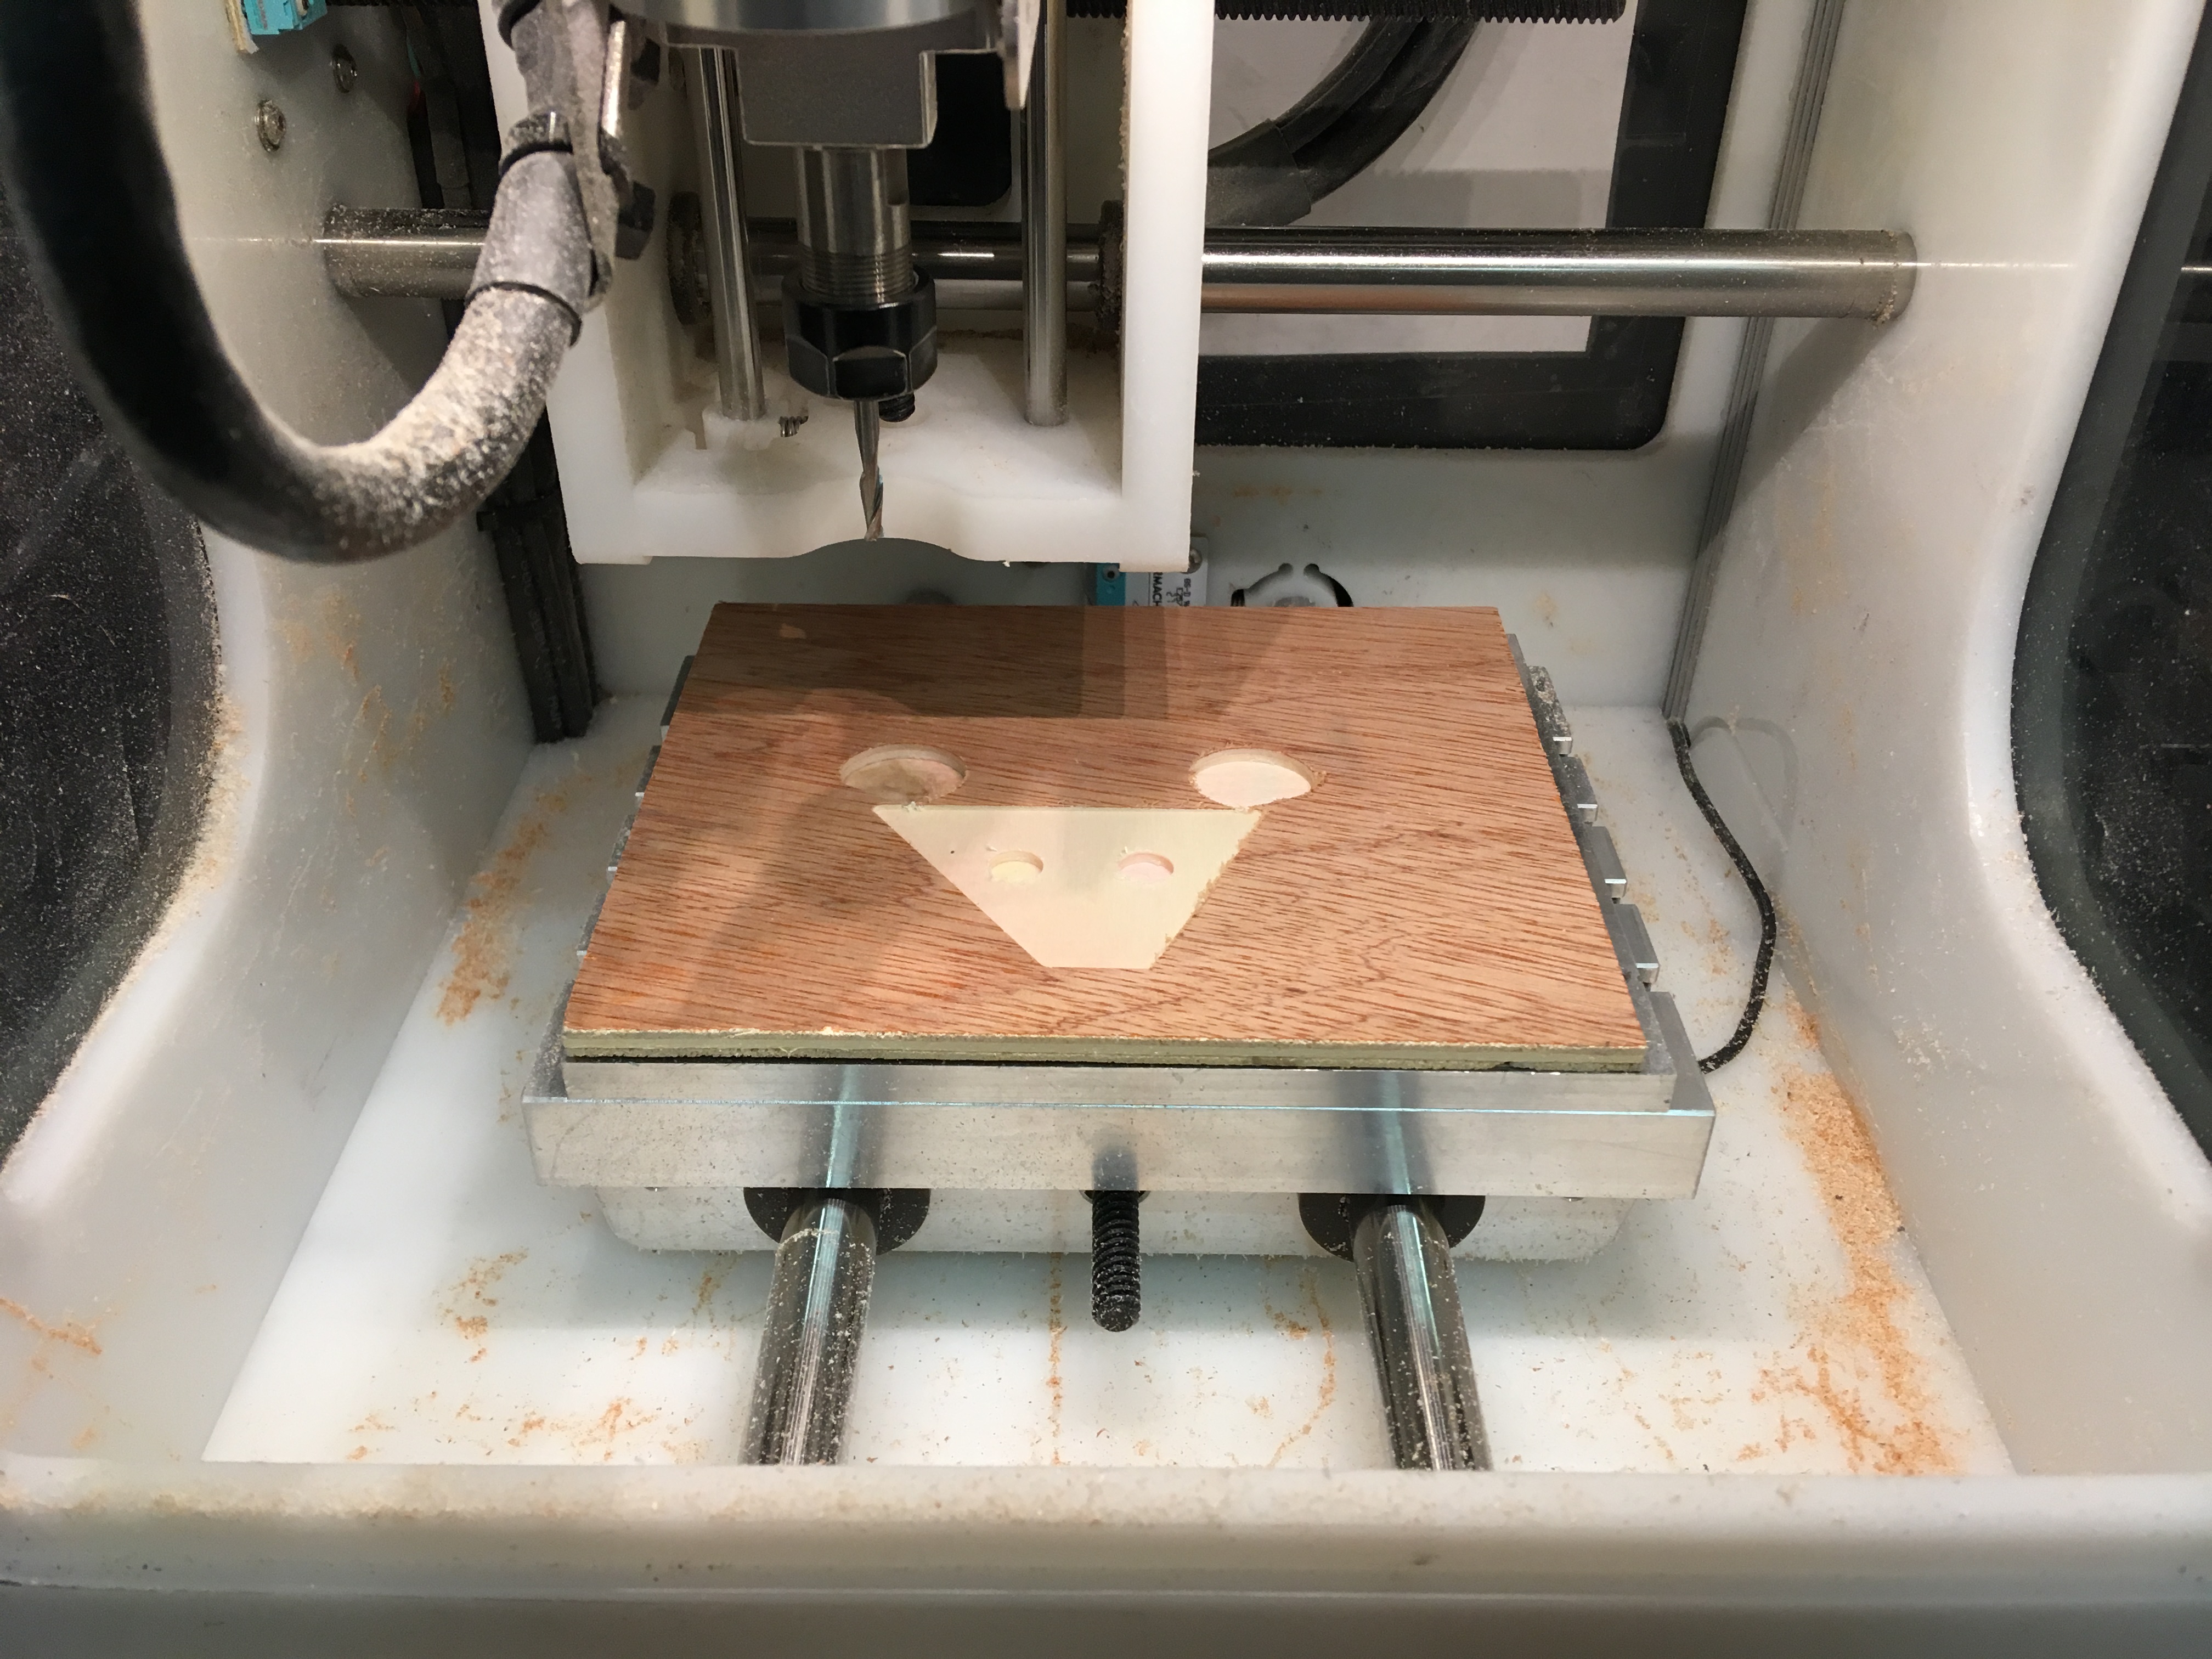
 HERE WE GO!!!
 Ah shit. I fucked up already… on the brightside I learned how to read Bantam’s toolpaths a lot better.
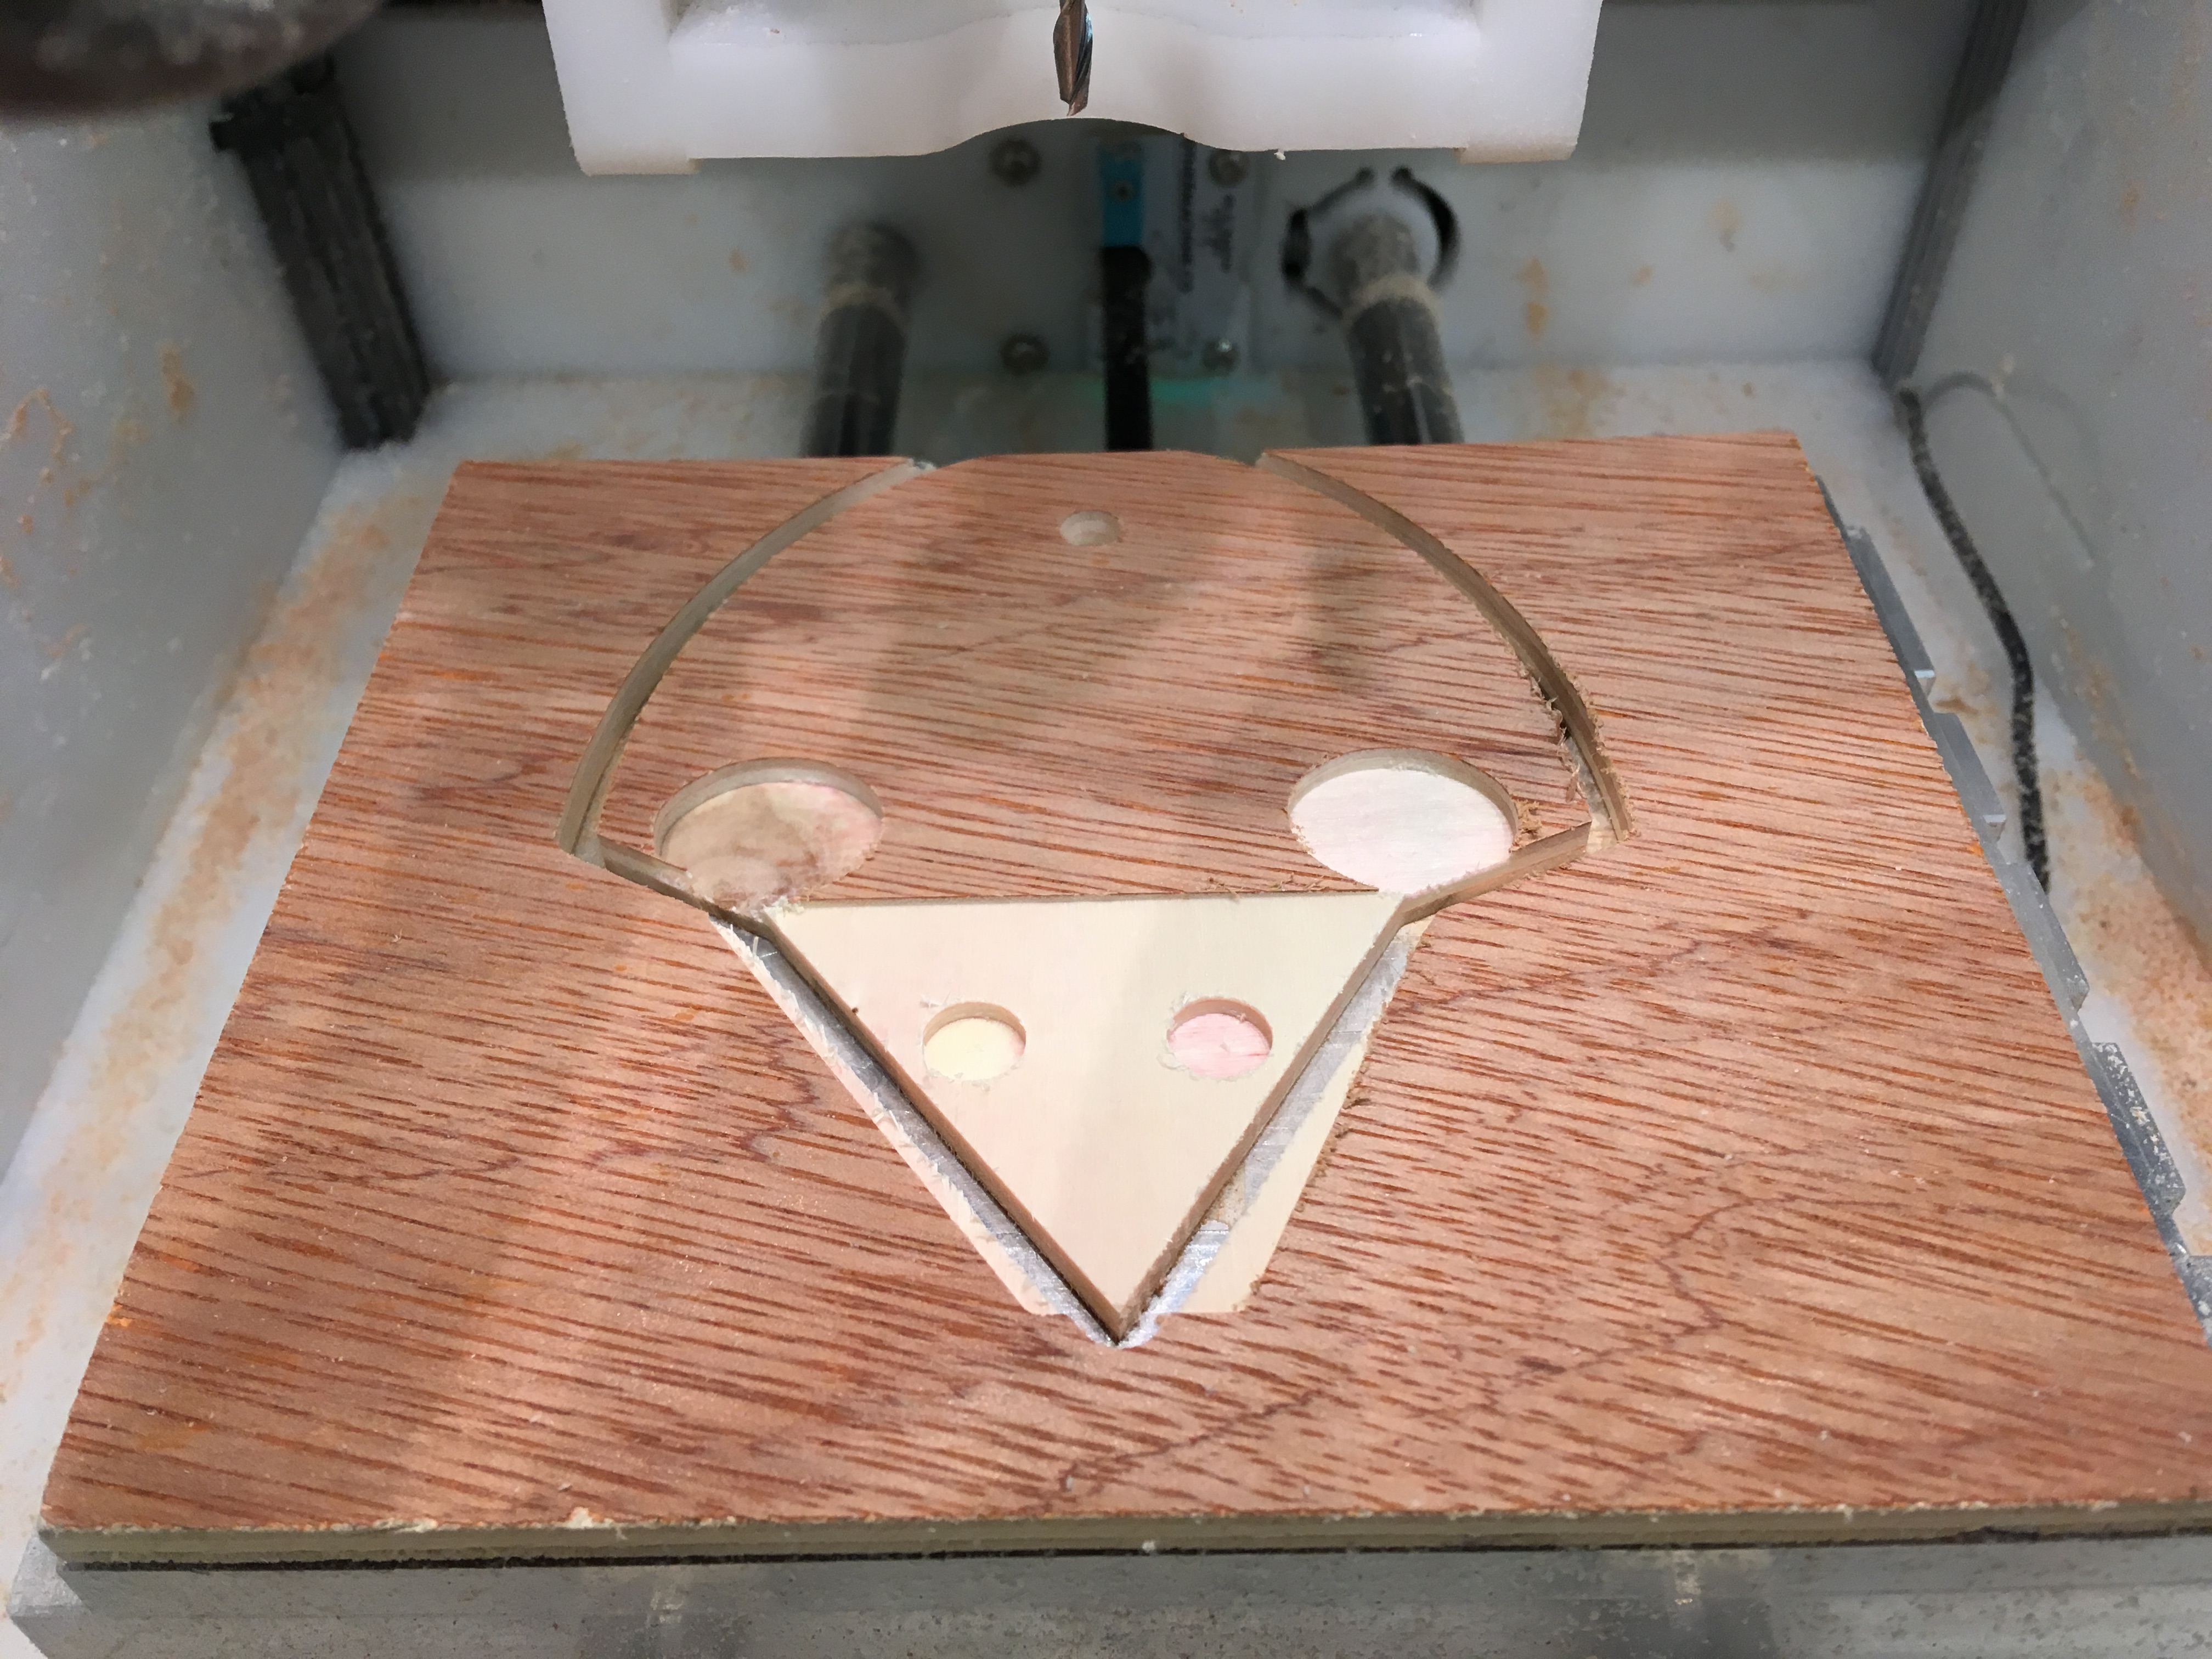
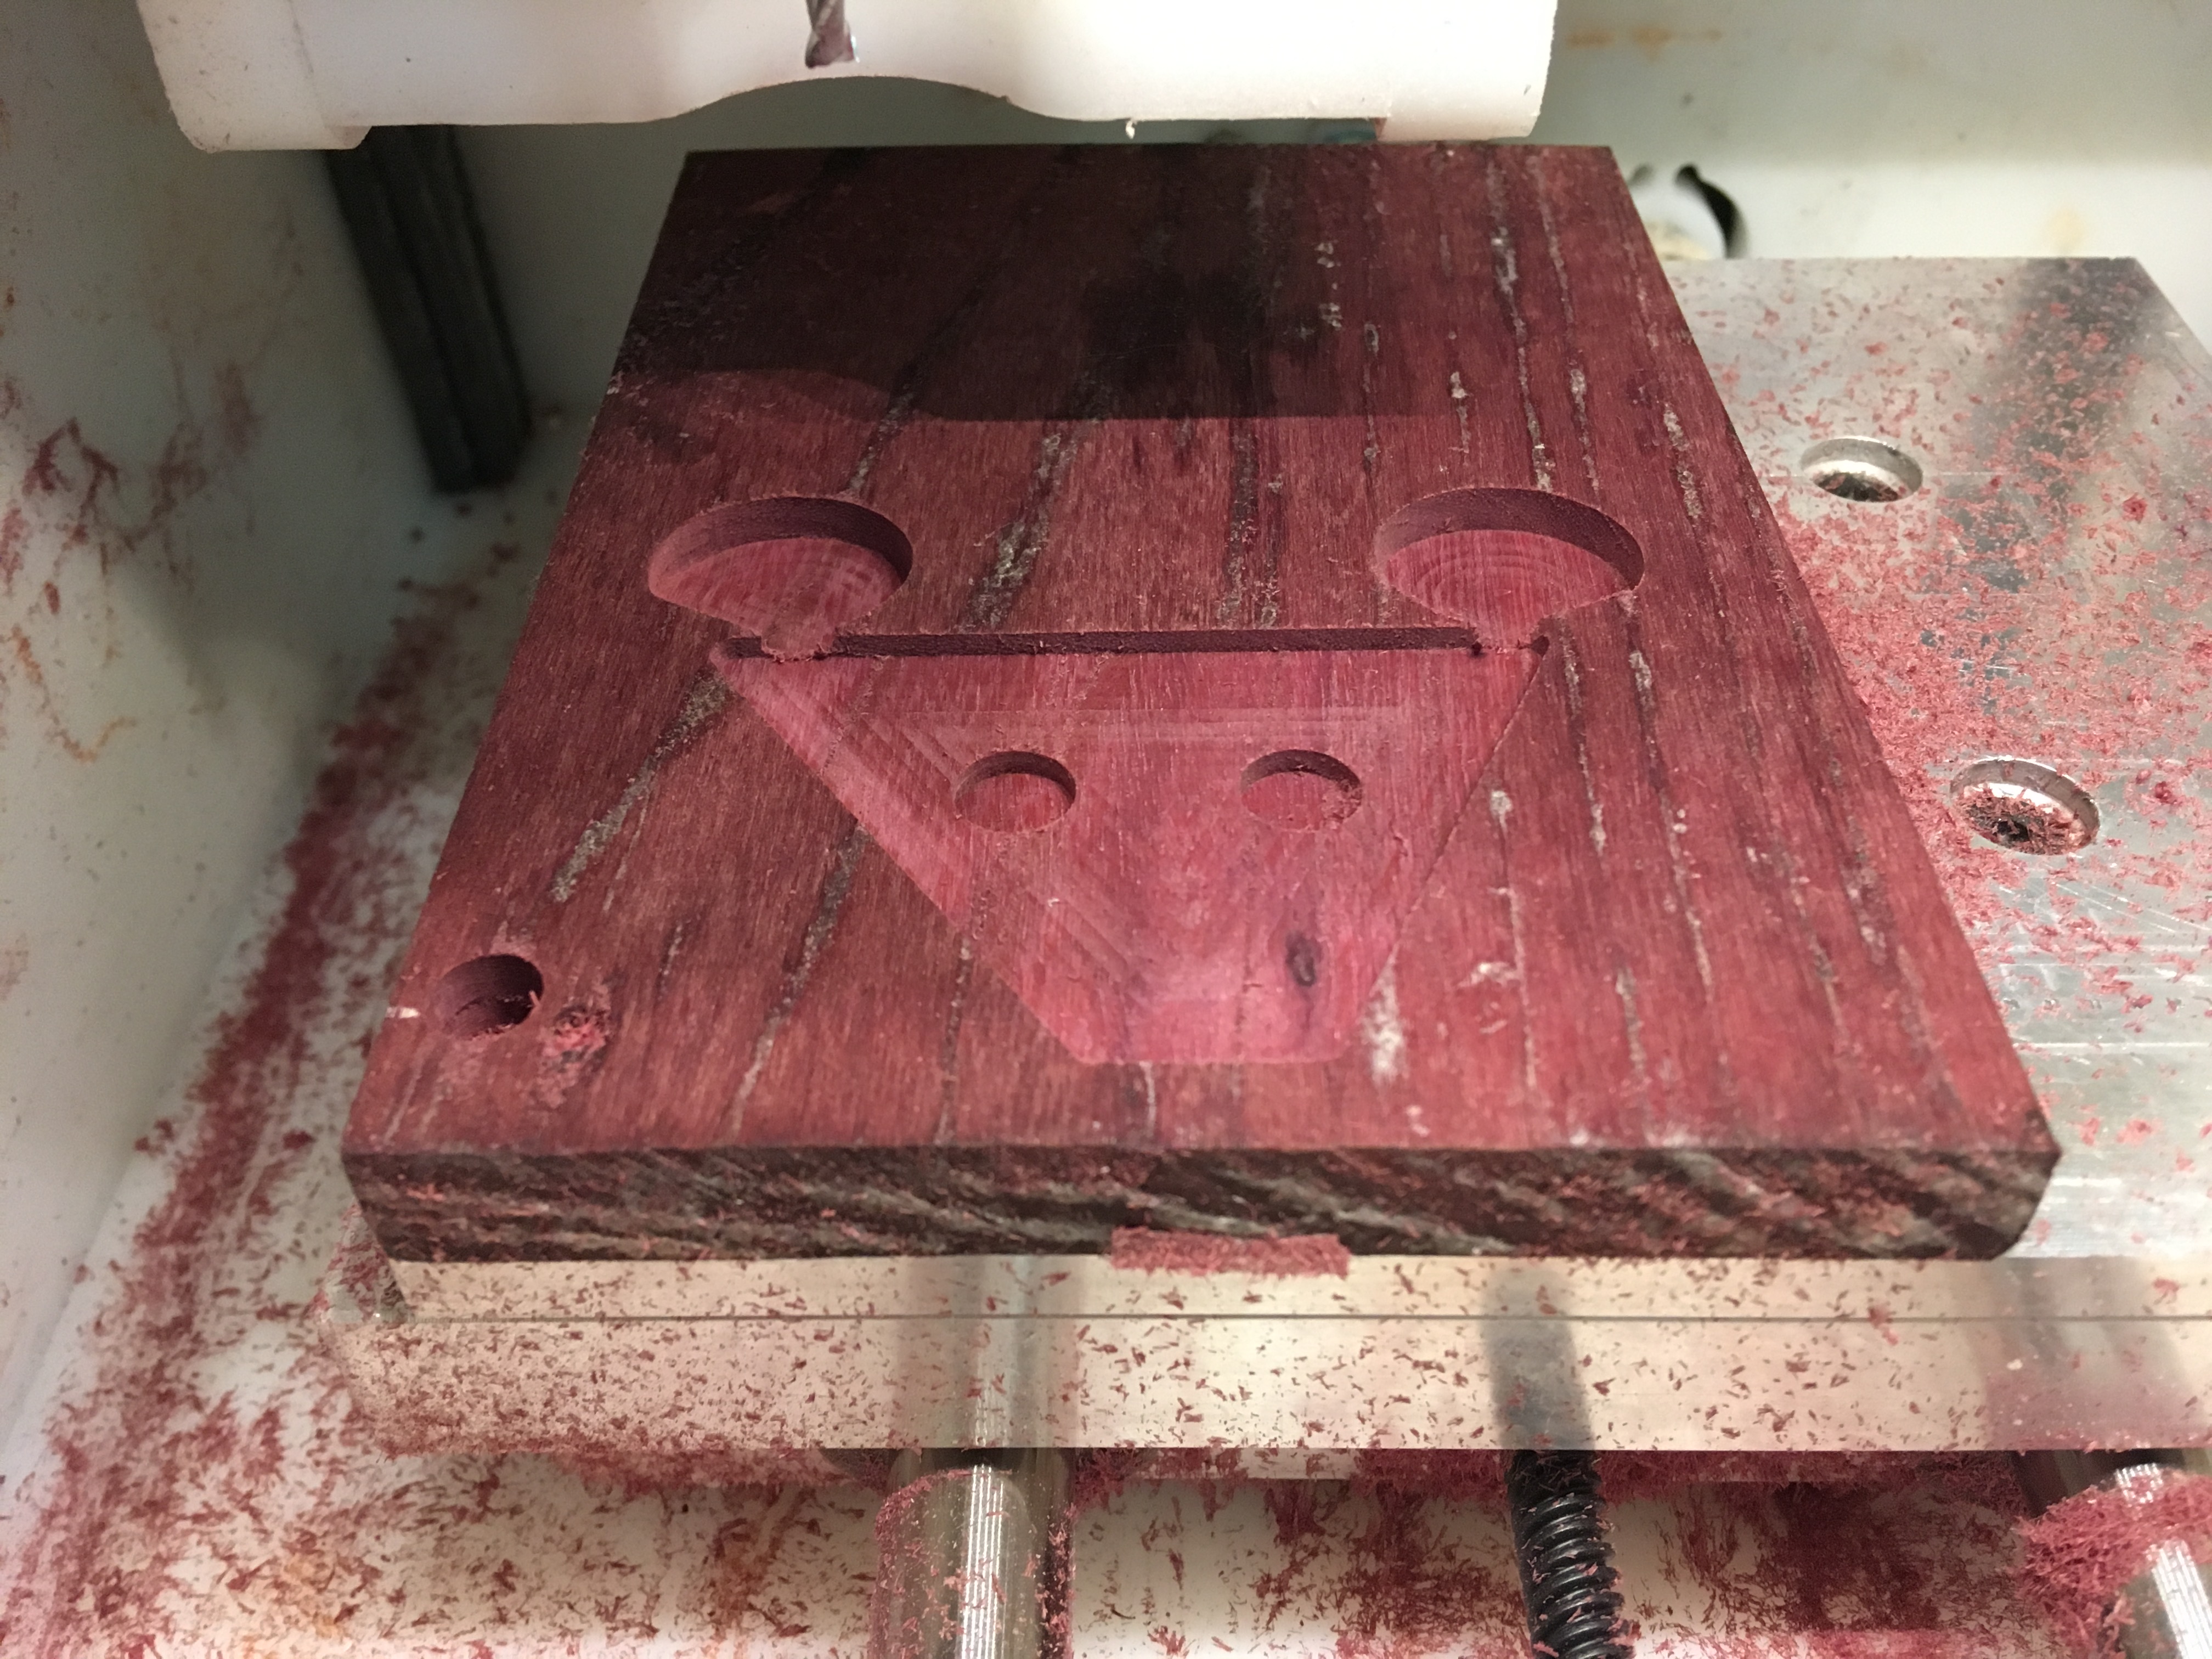
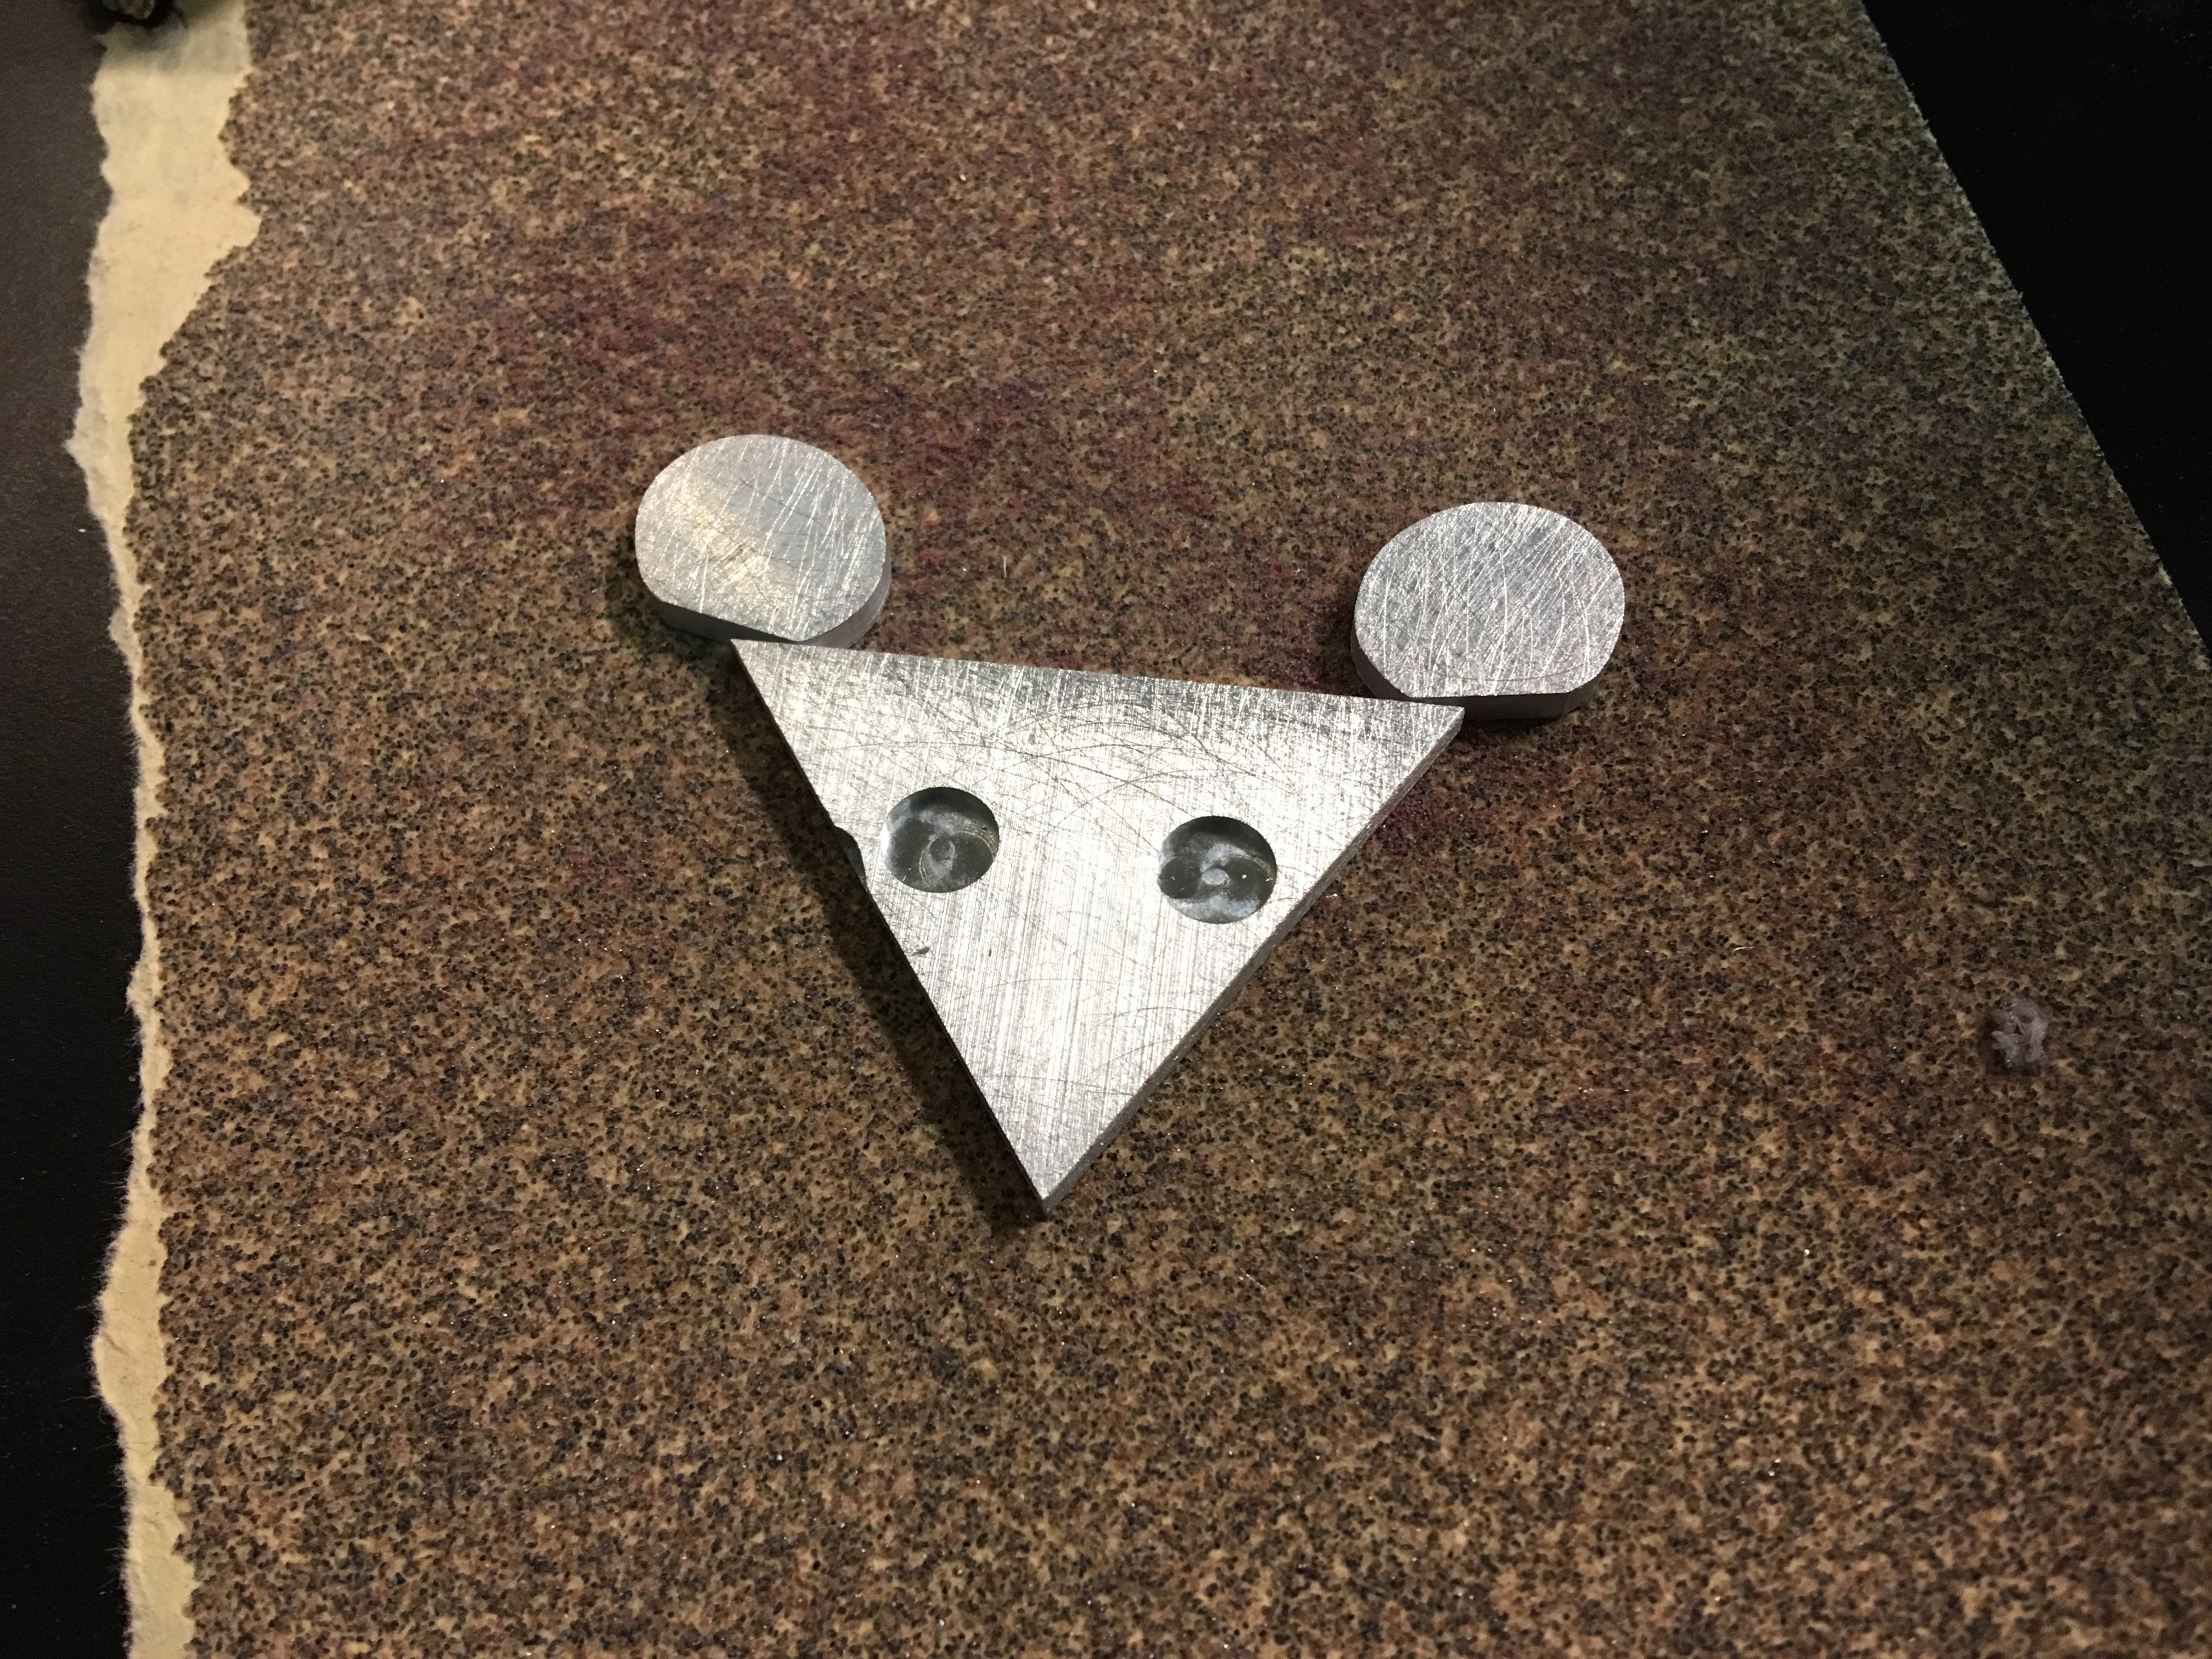
 Second time with some overcutting because I want the sharp angles on the rat’s face.
 KKKKAAAAUUTTTEEEE
 This is going better than expected!
Purple Heart Wood Base
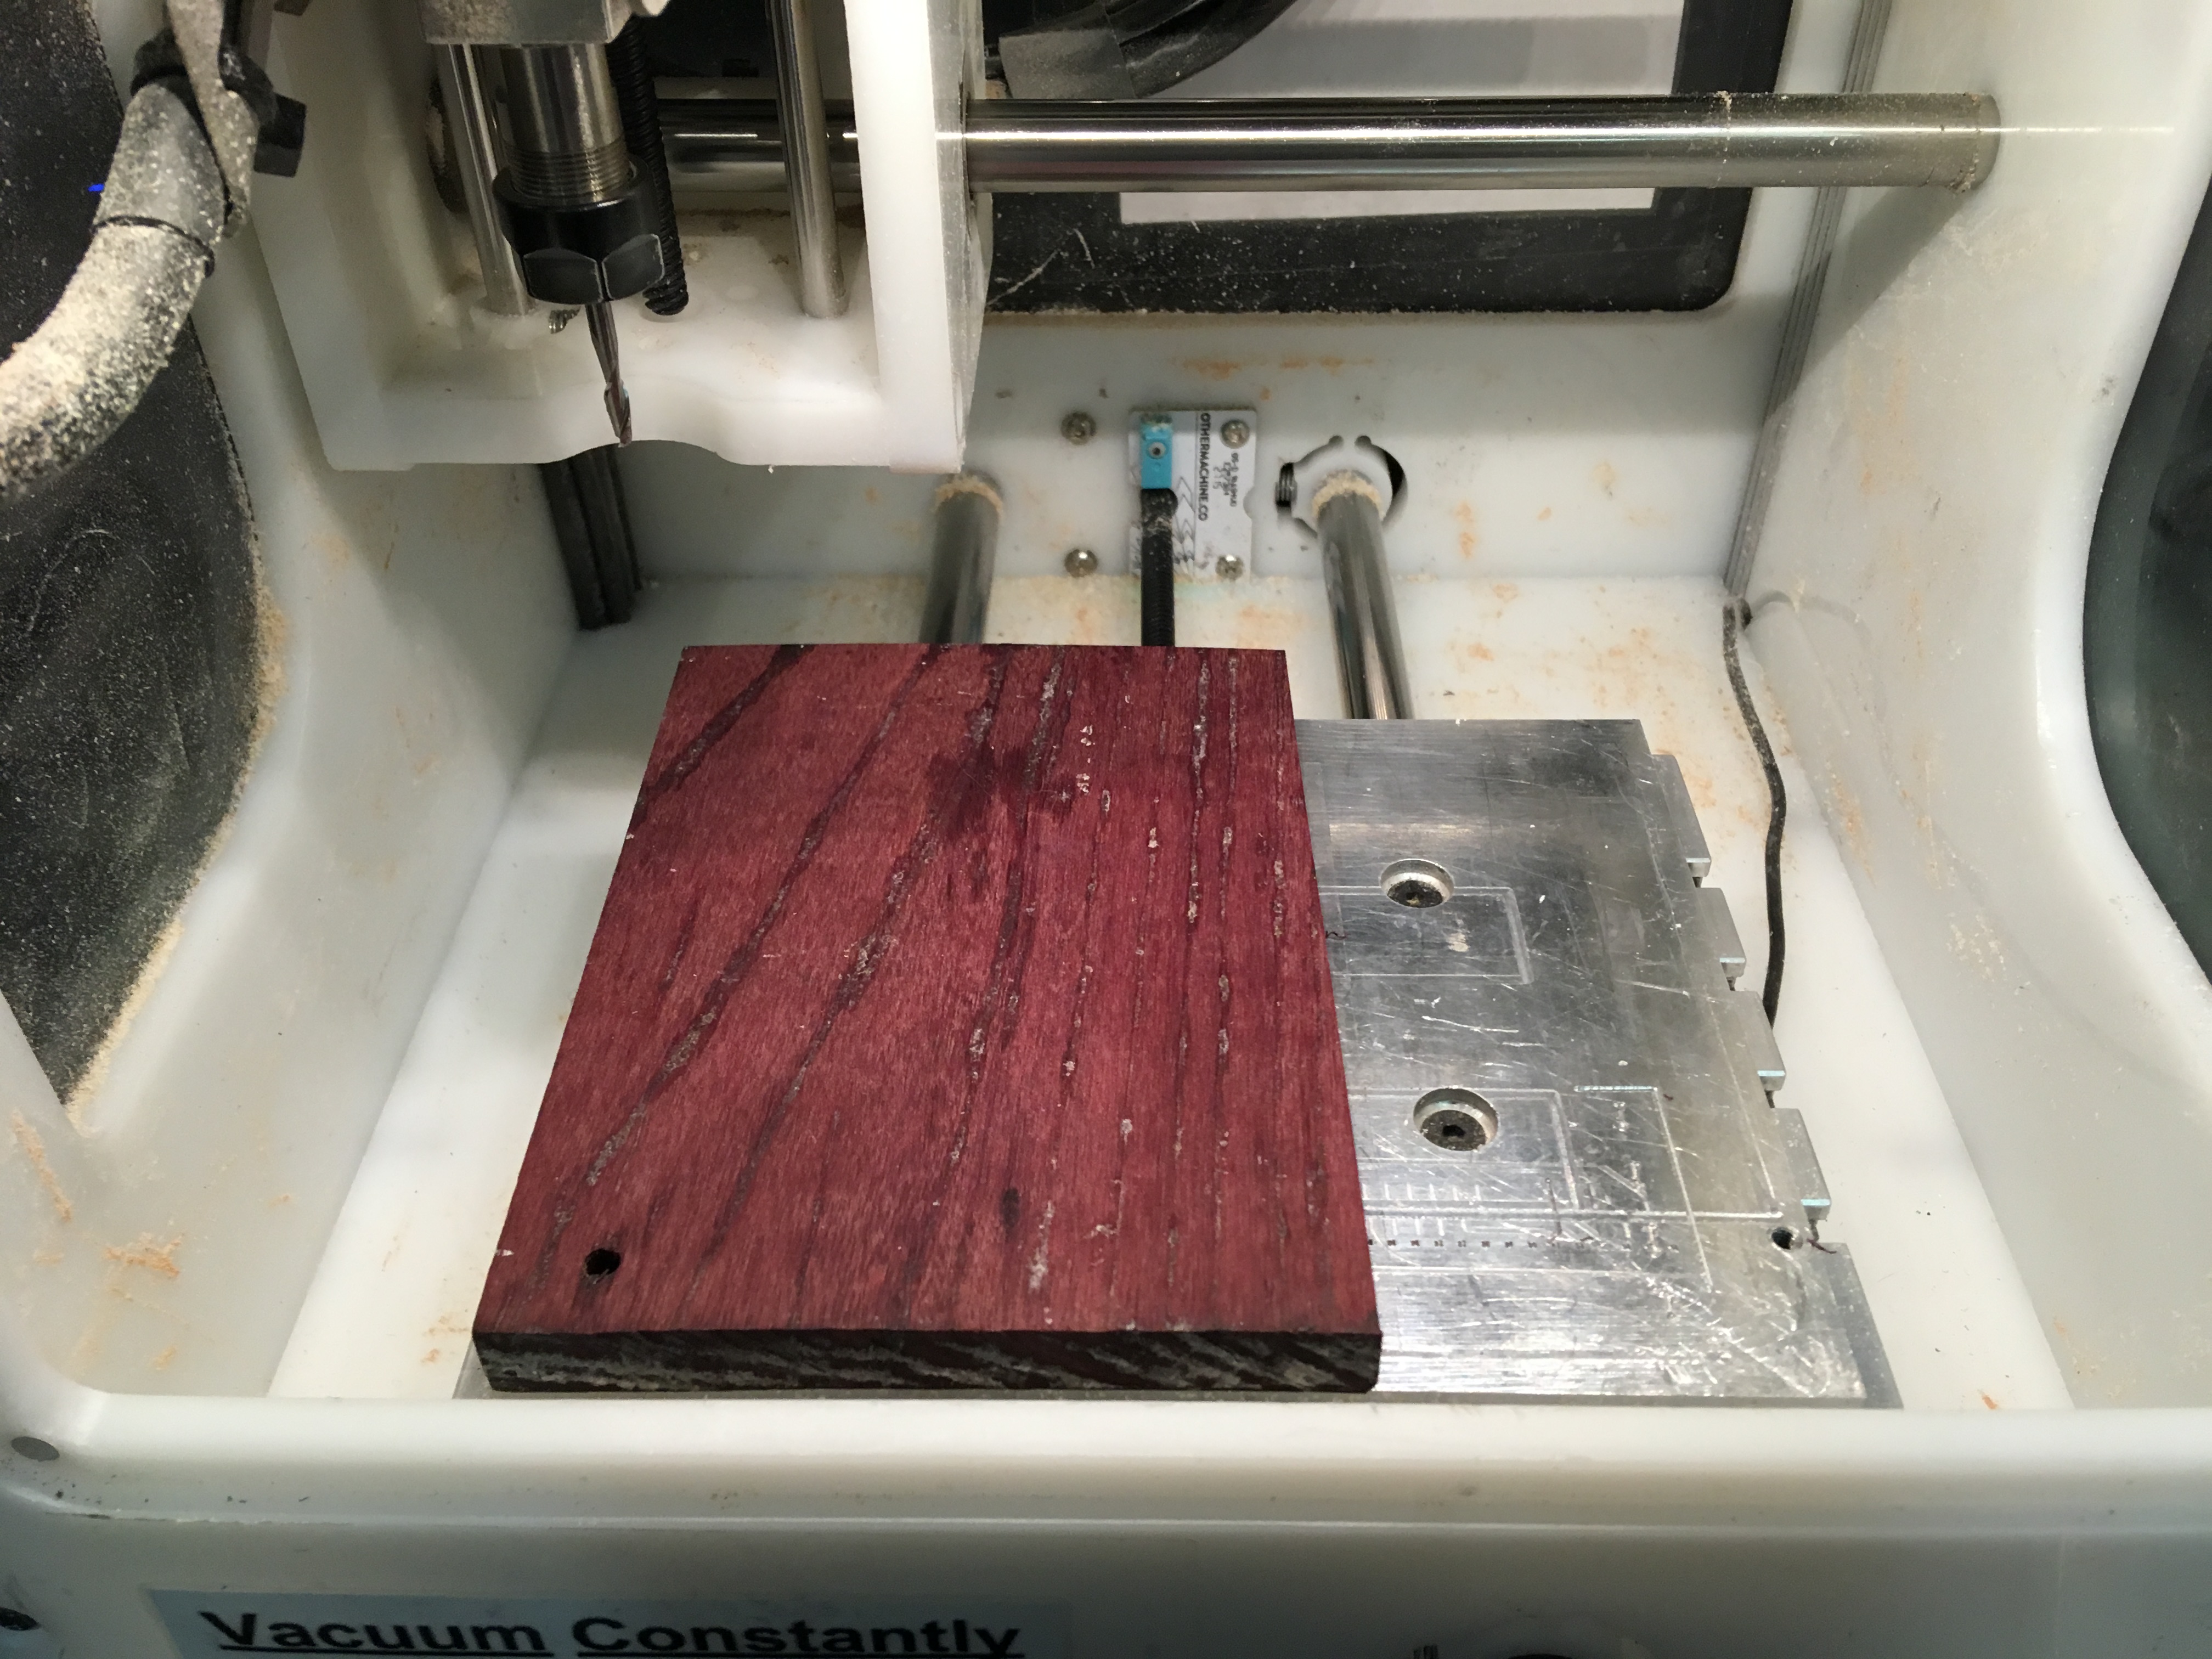 I admit that this scrap wood was gently warped. I cut out the flattest part and used two layers of double-sided tape to get extra friction at the bowed center.
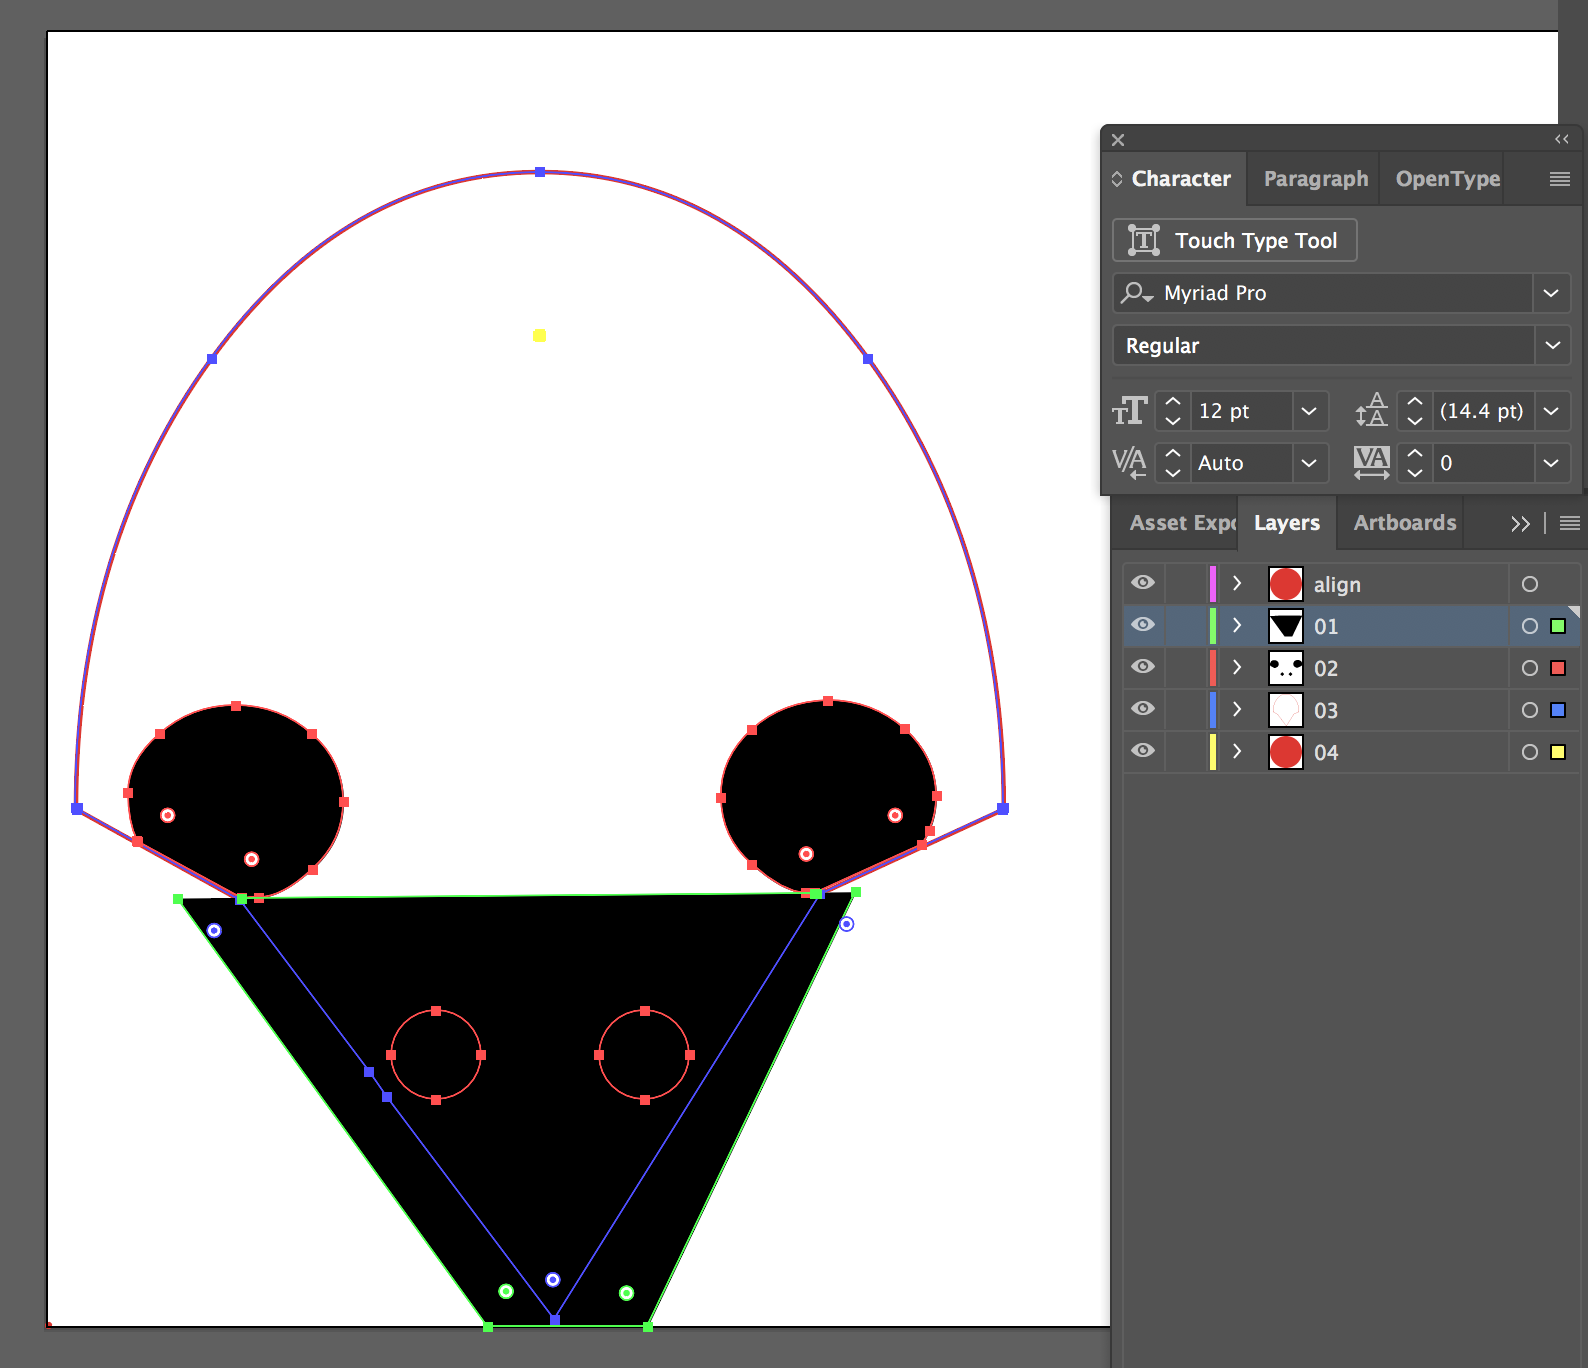
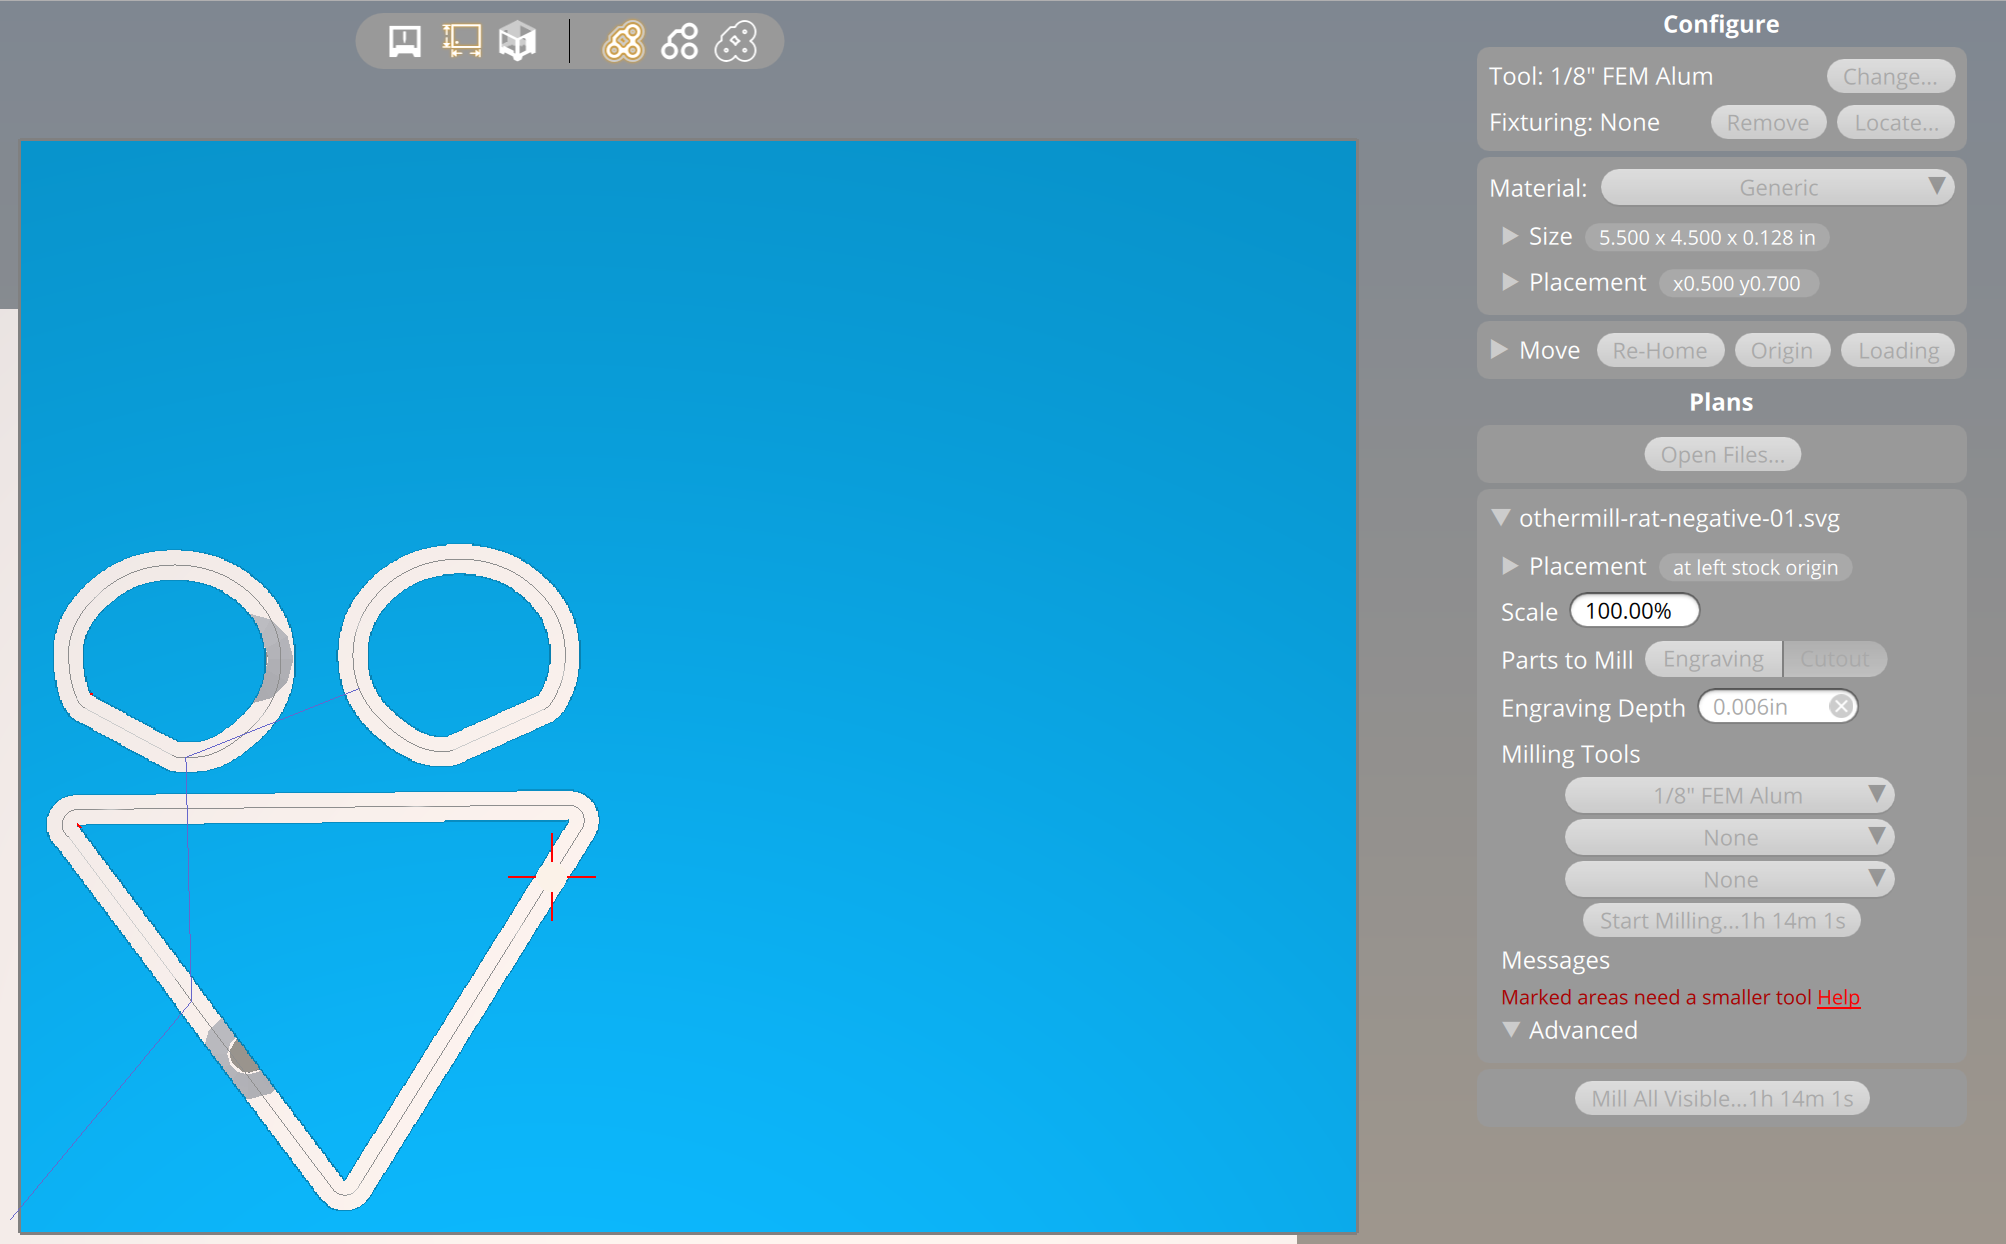
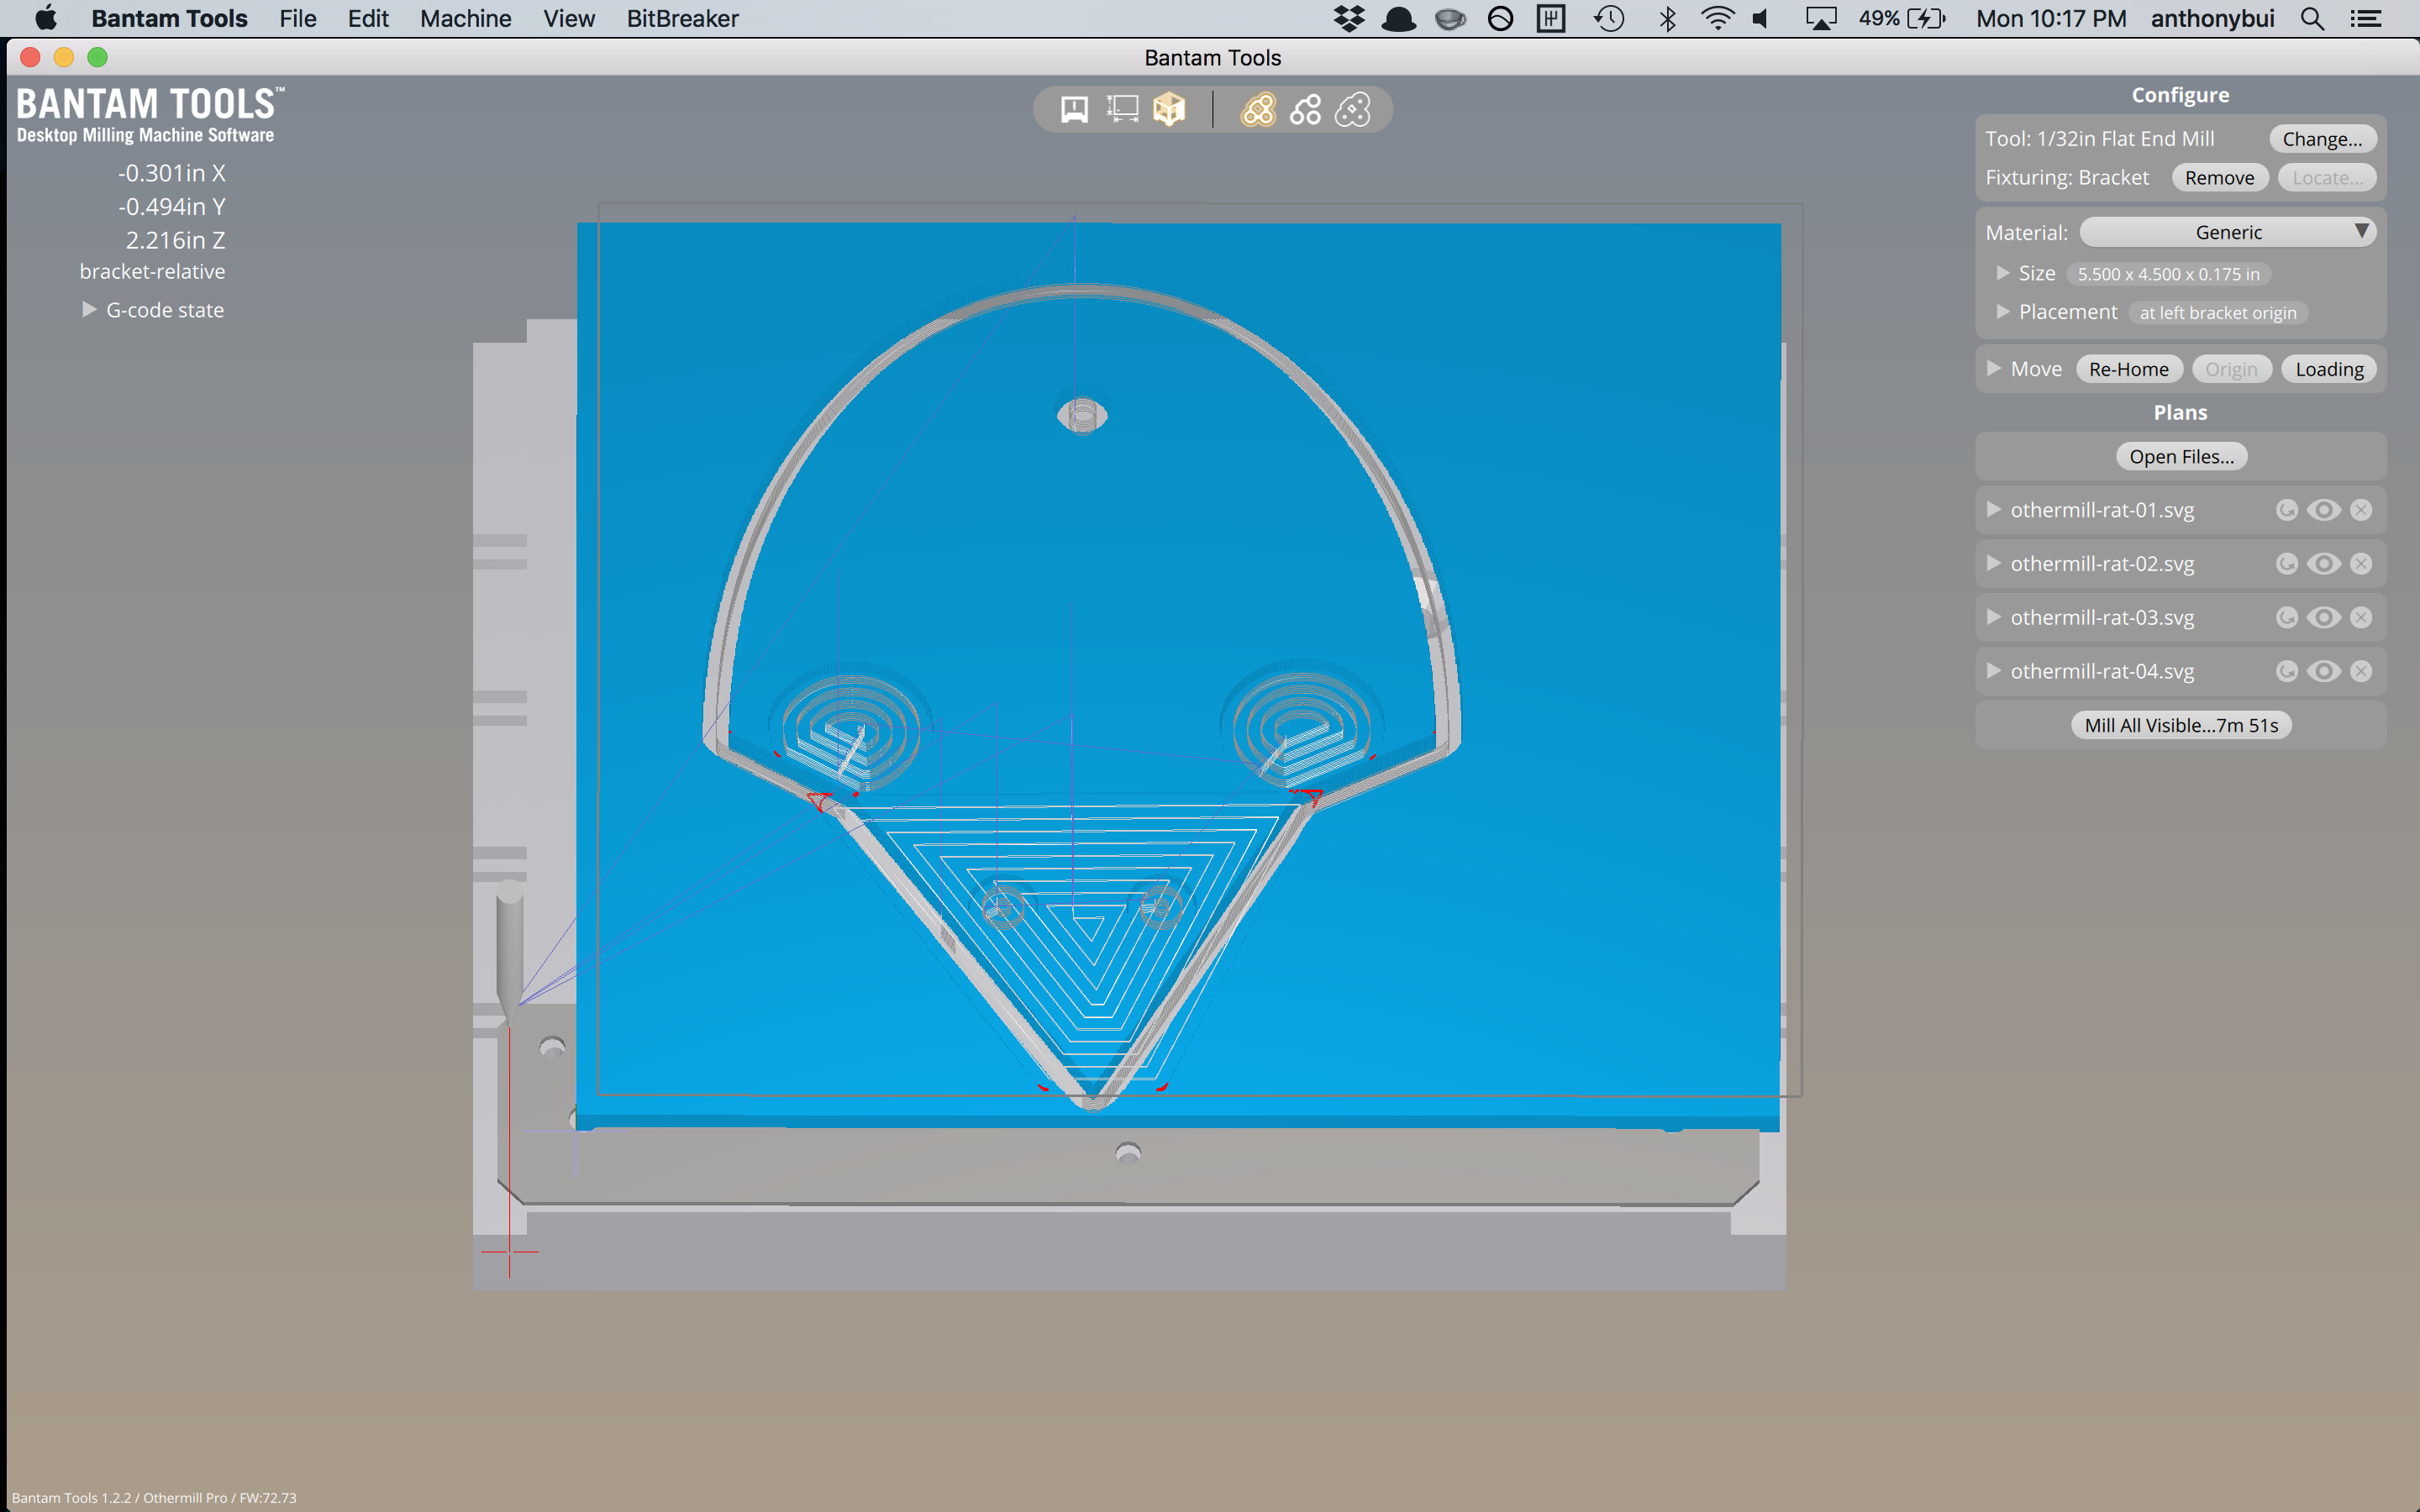 Prototyping for a long time, I got pretty good at taking multiple layers in Illustrator and turning them into multiple SVG’s to better control separate Othermill passes.
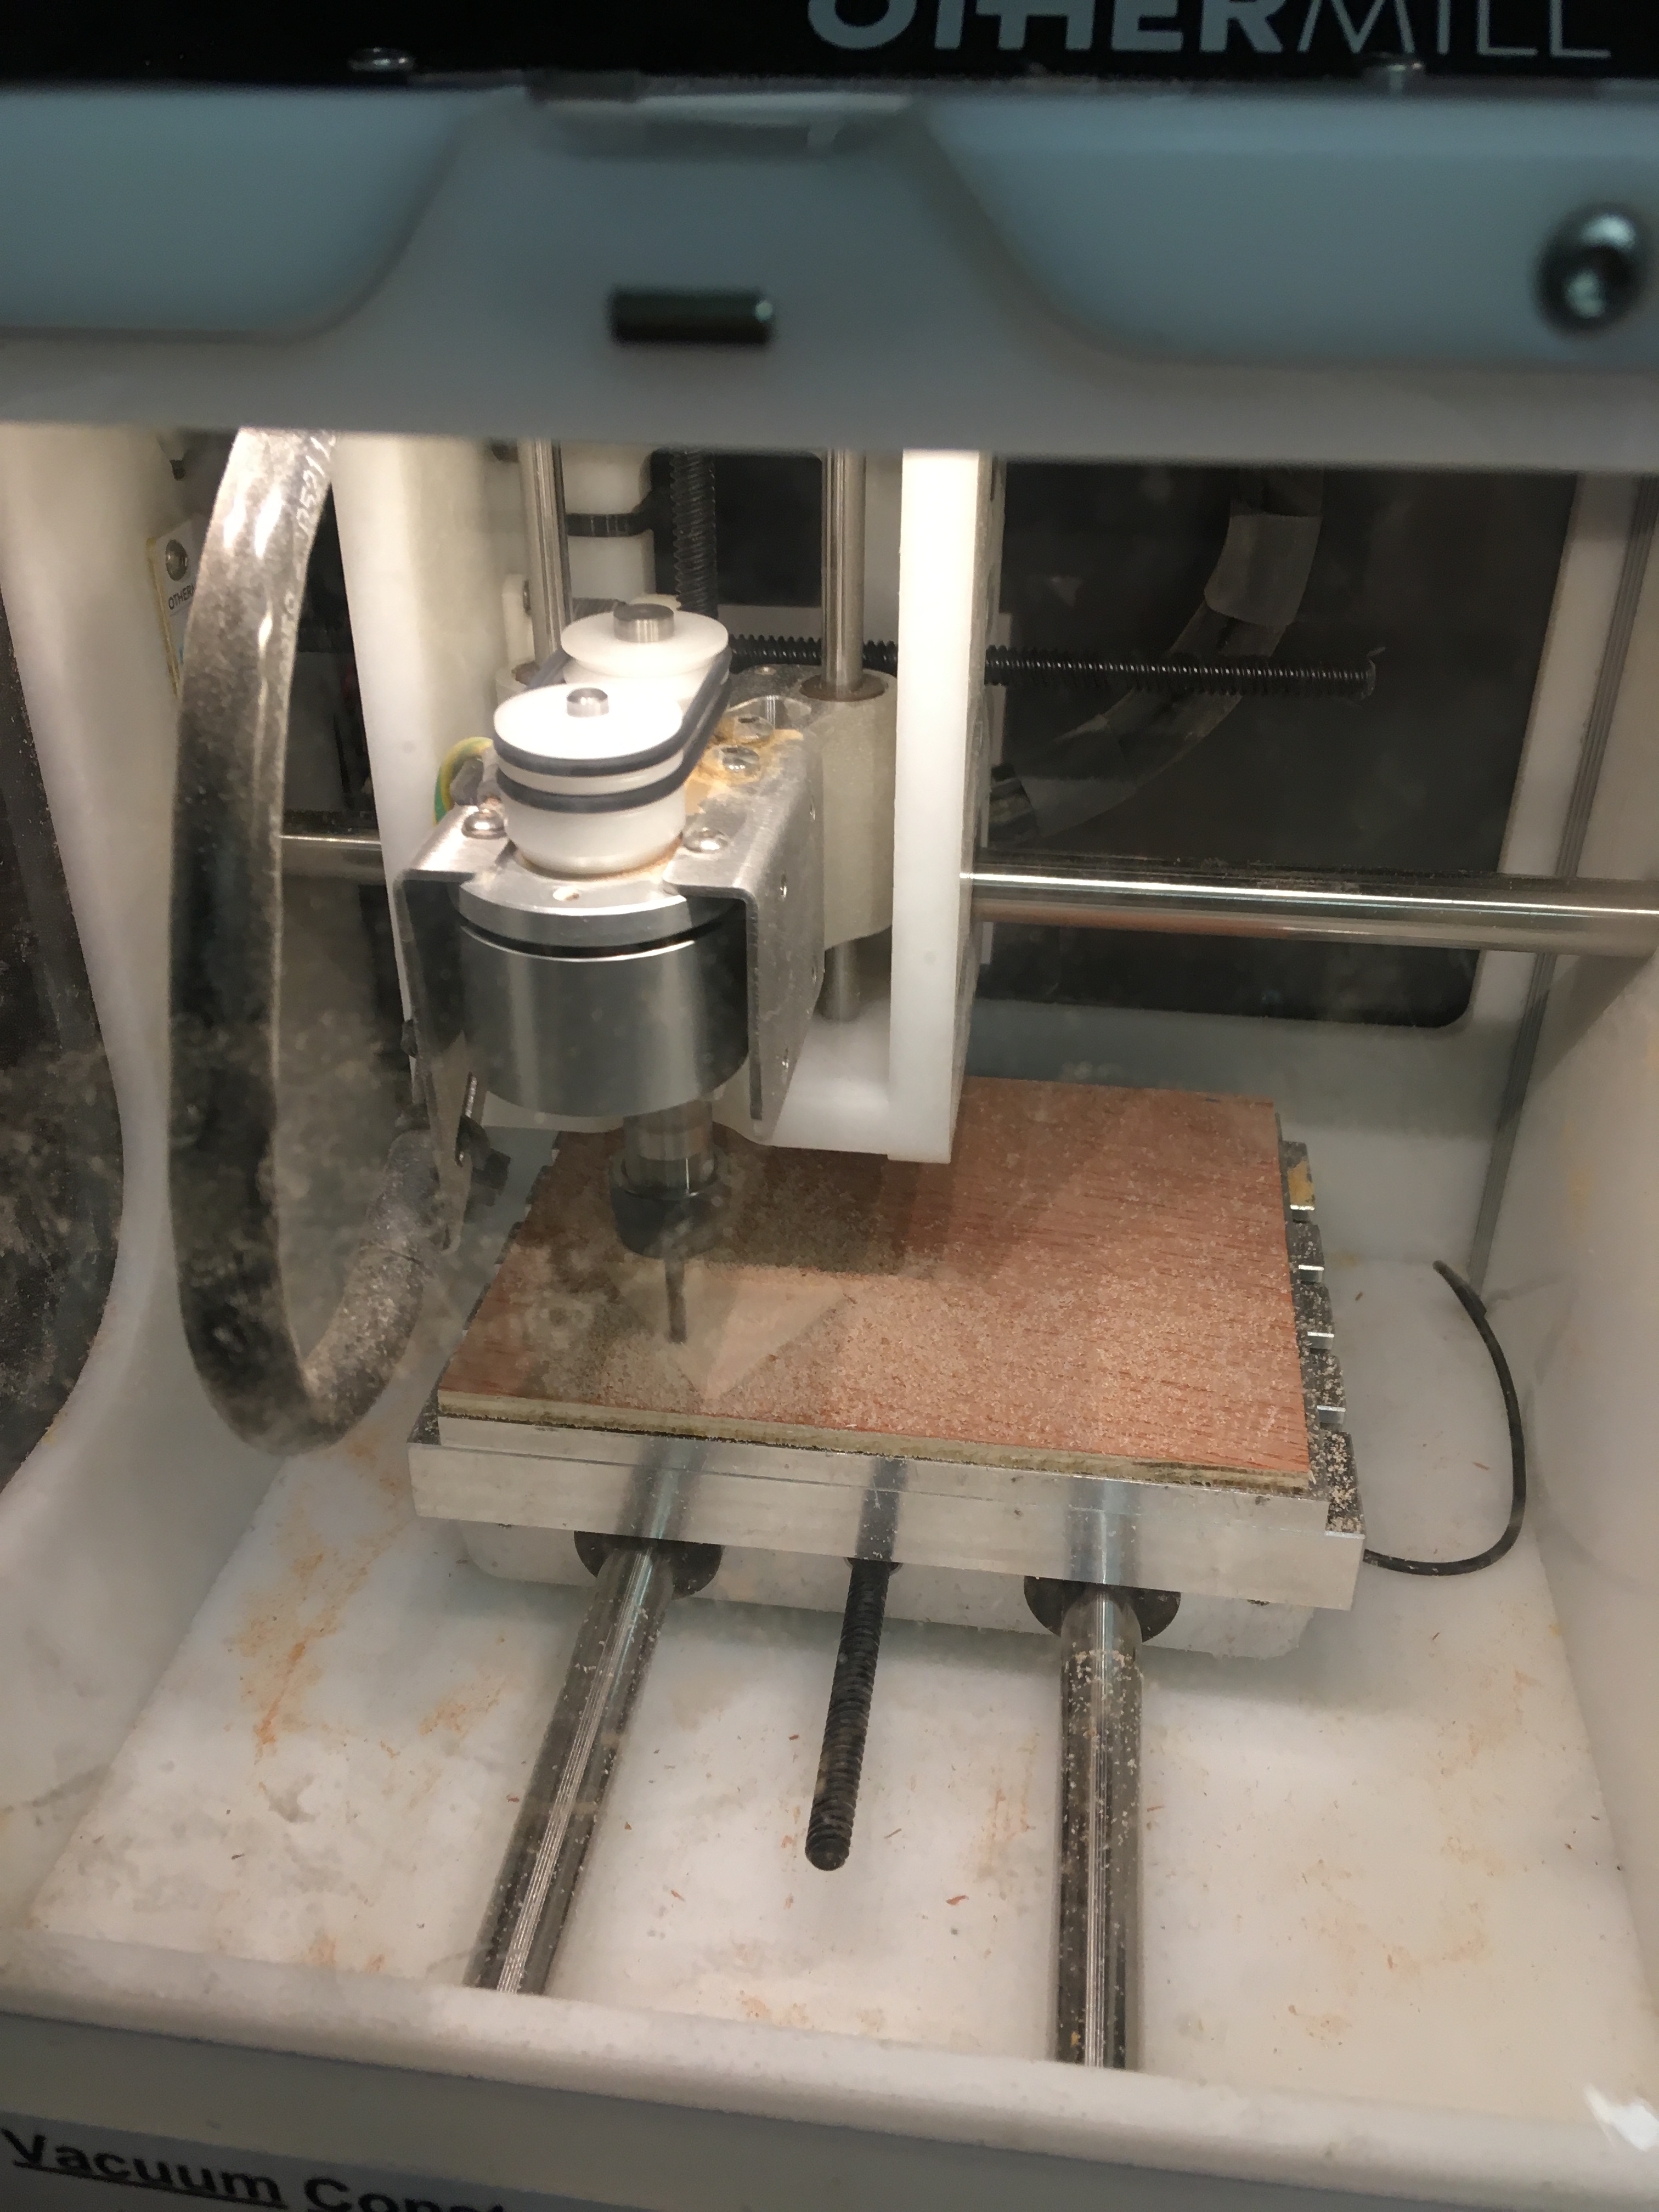
 It’s working!
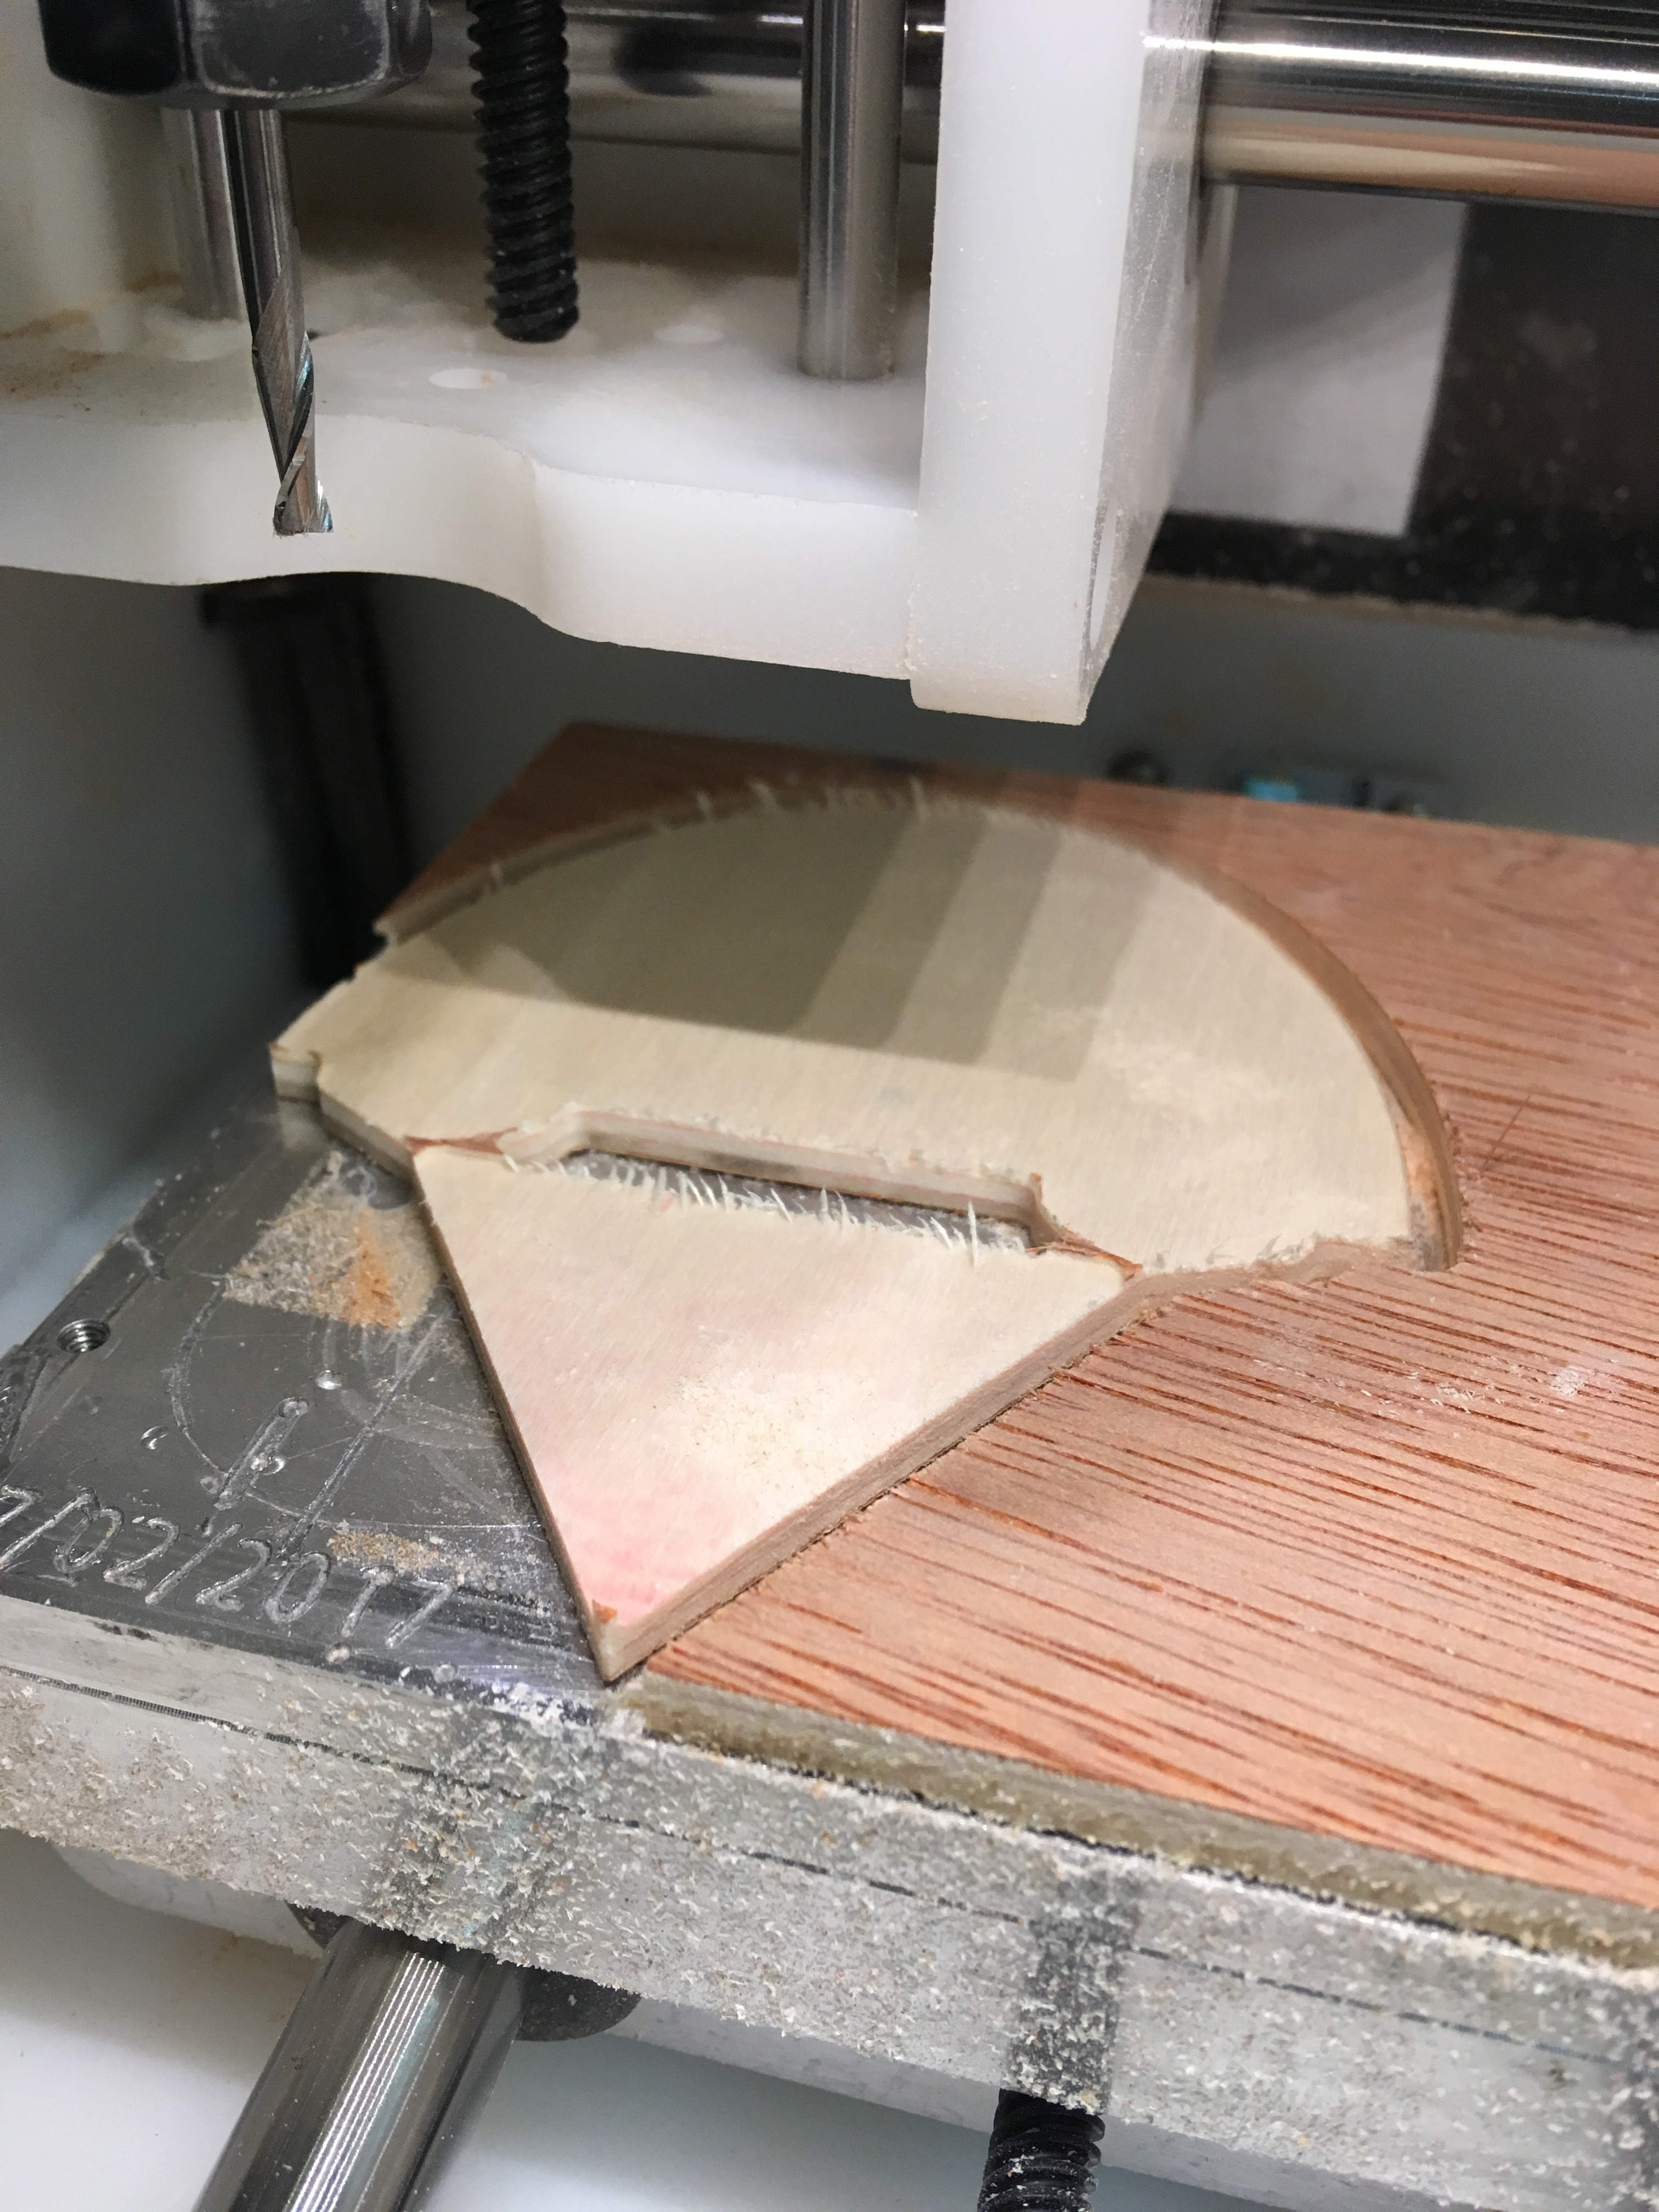
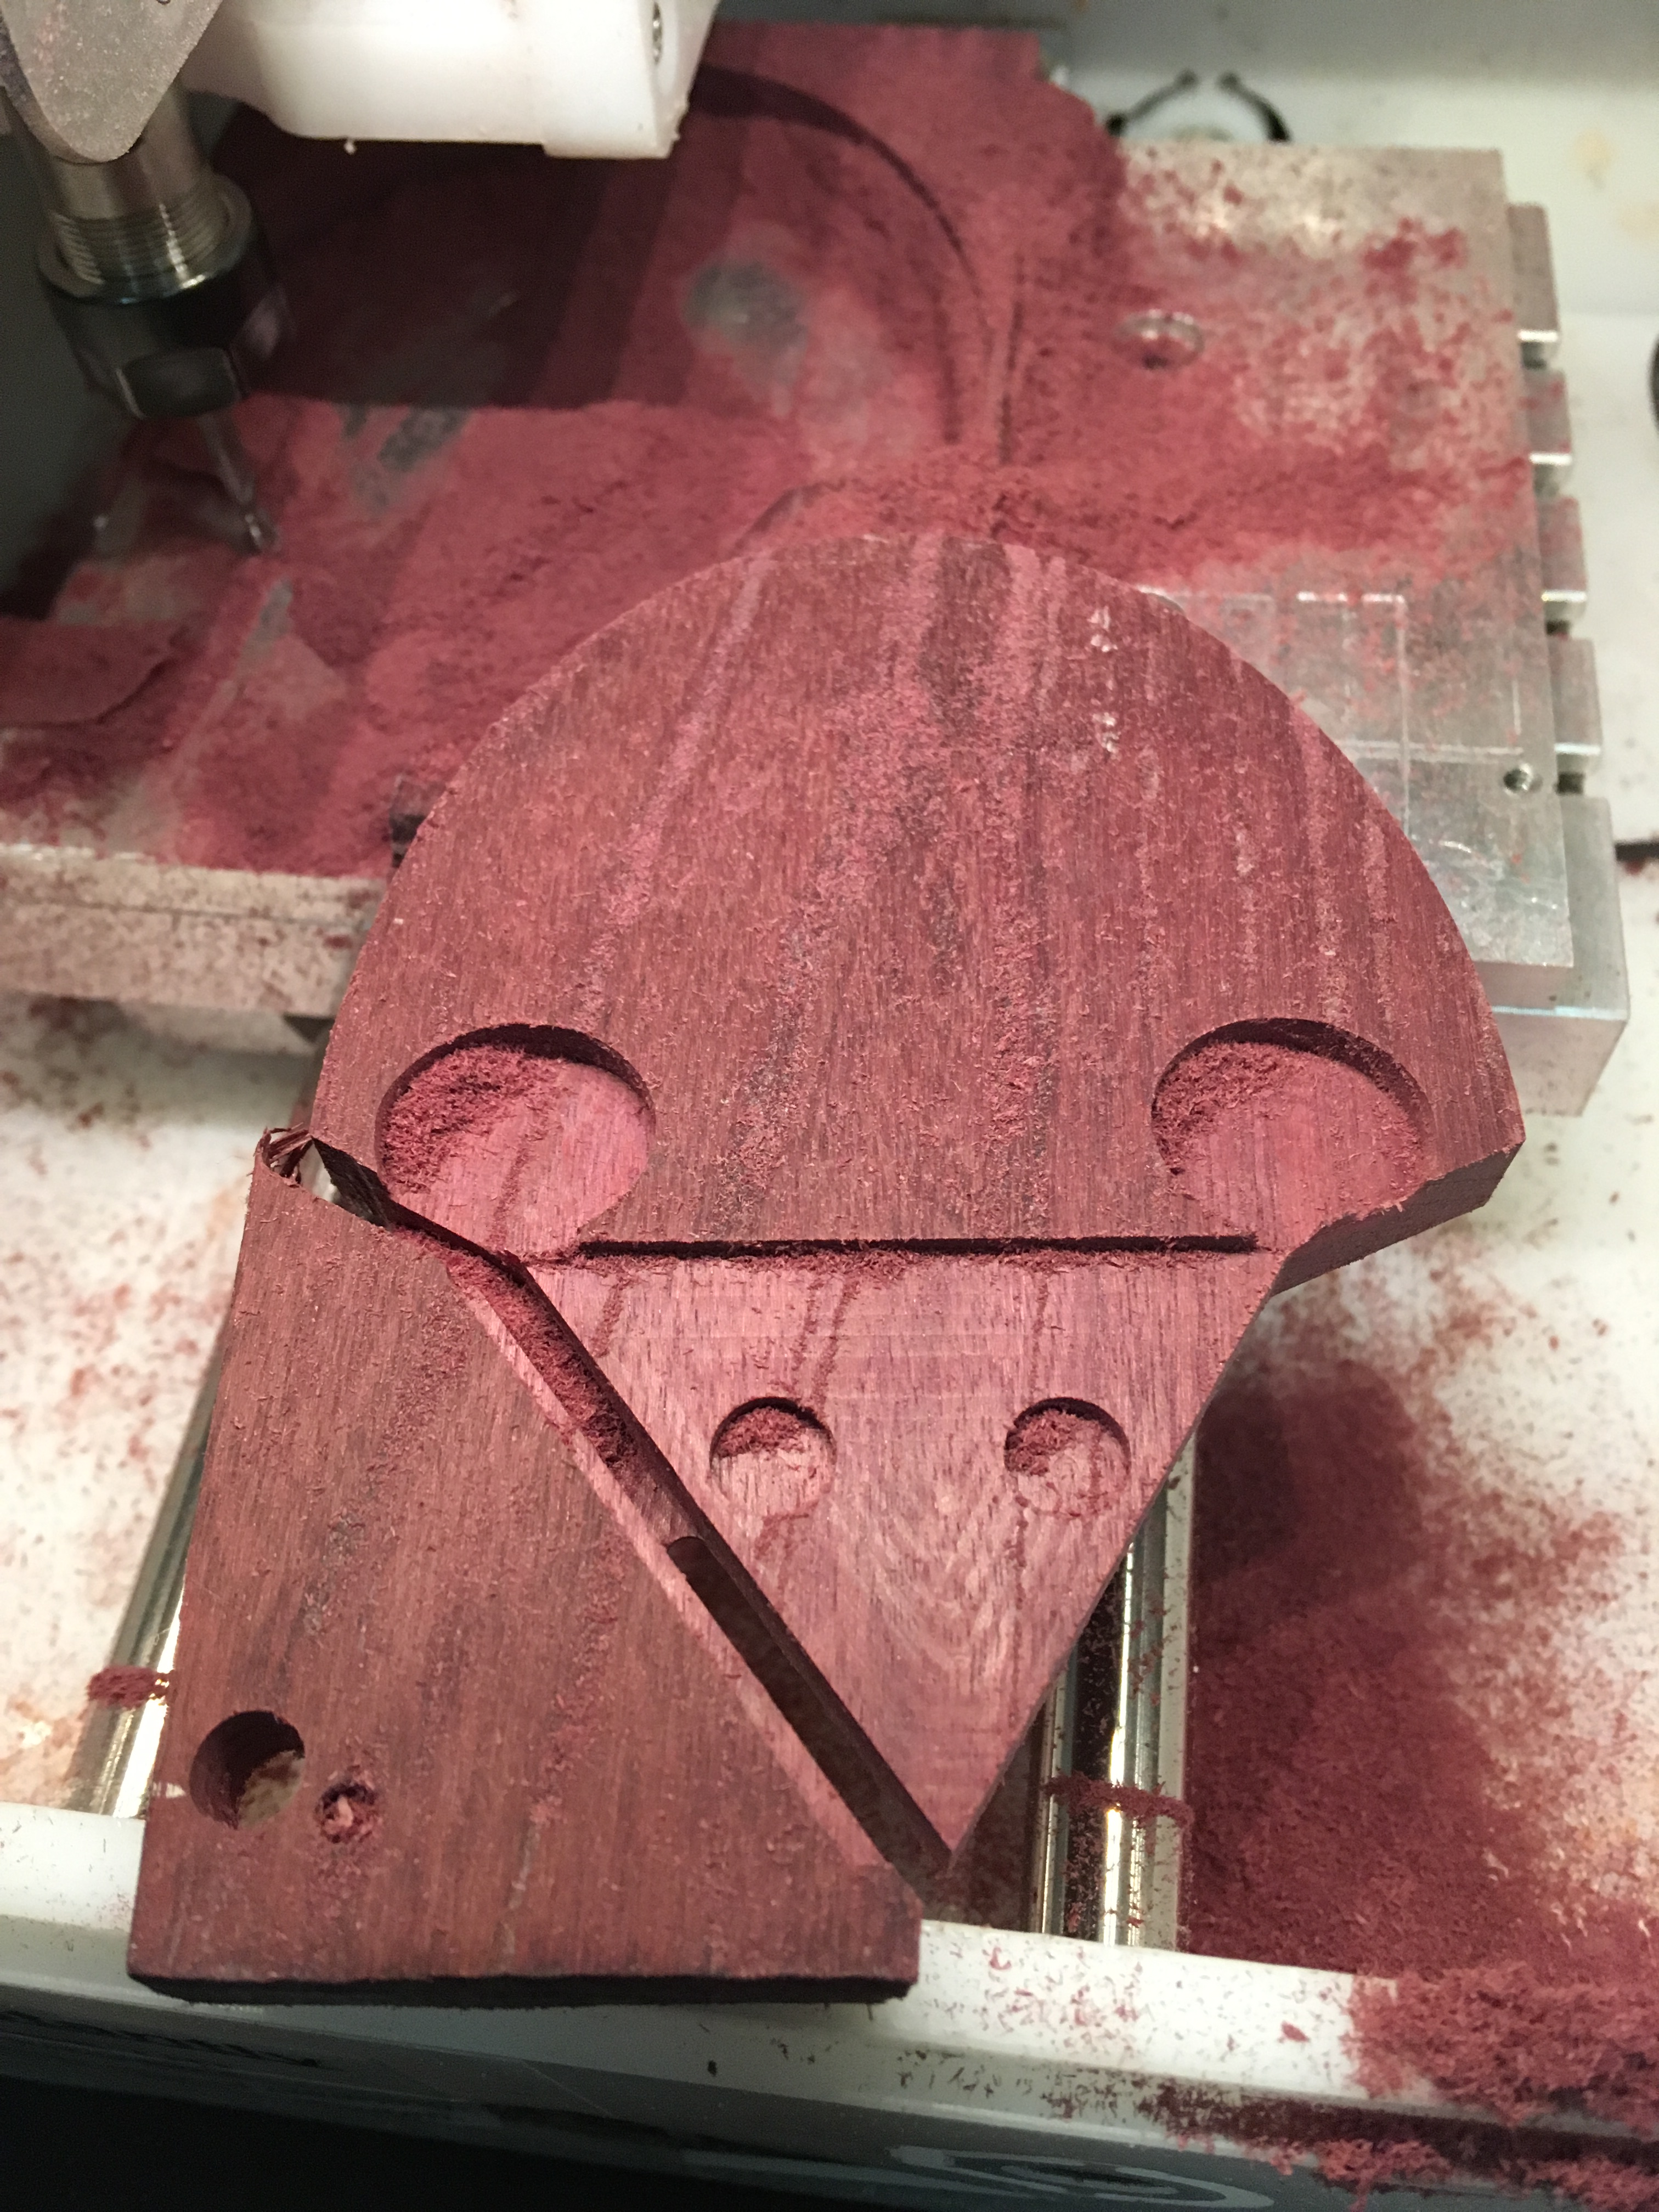 Well shit, it ALMOST FINISHED! The slight curvature in the wood came into play here. Right at the end of the cut my wood was peeled from the CNC bed. The double-sided tape gave out… but no worries we’re 99% there.
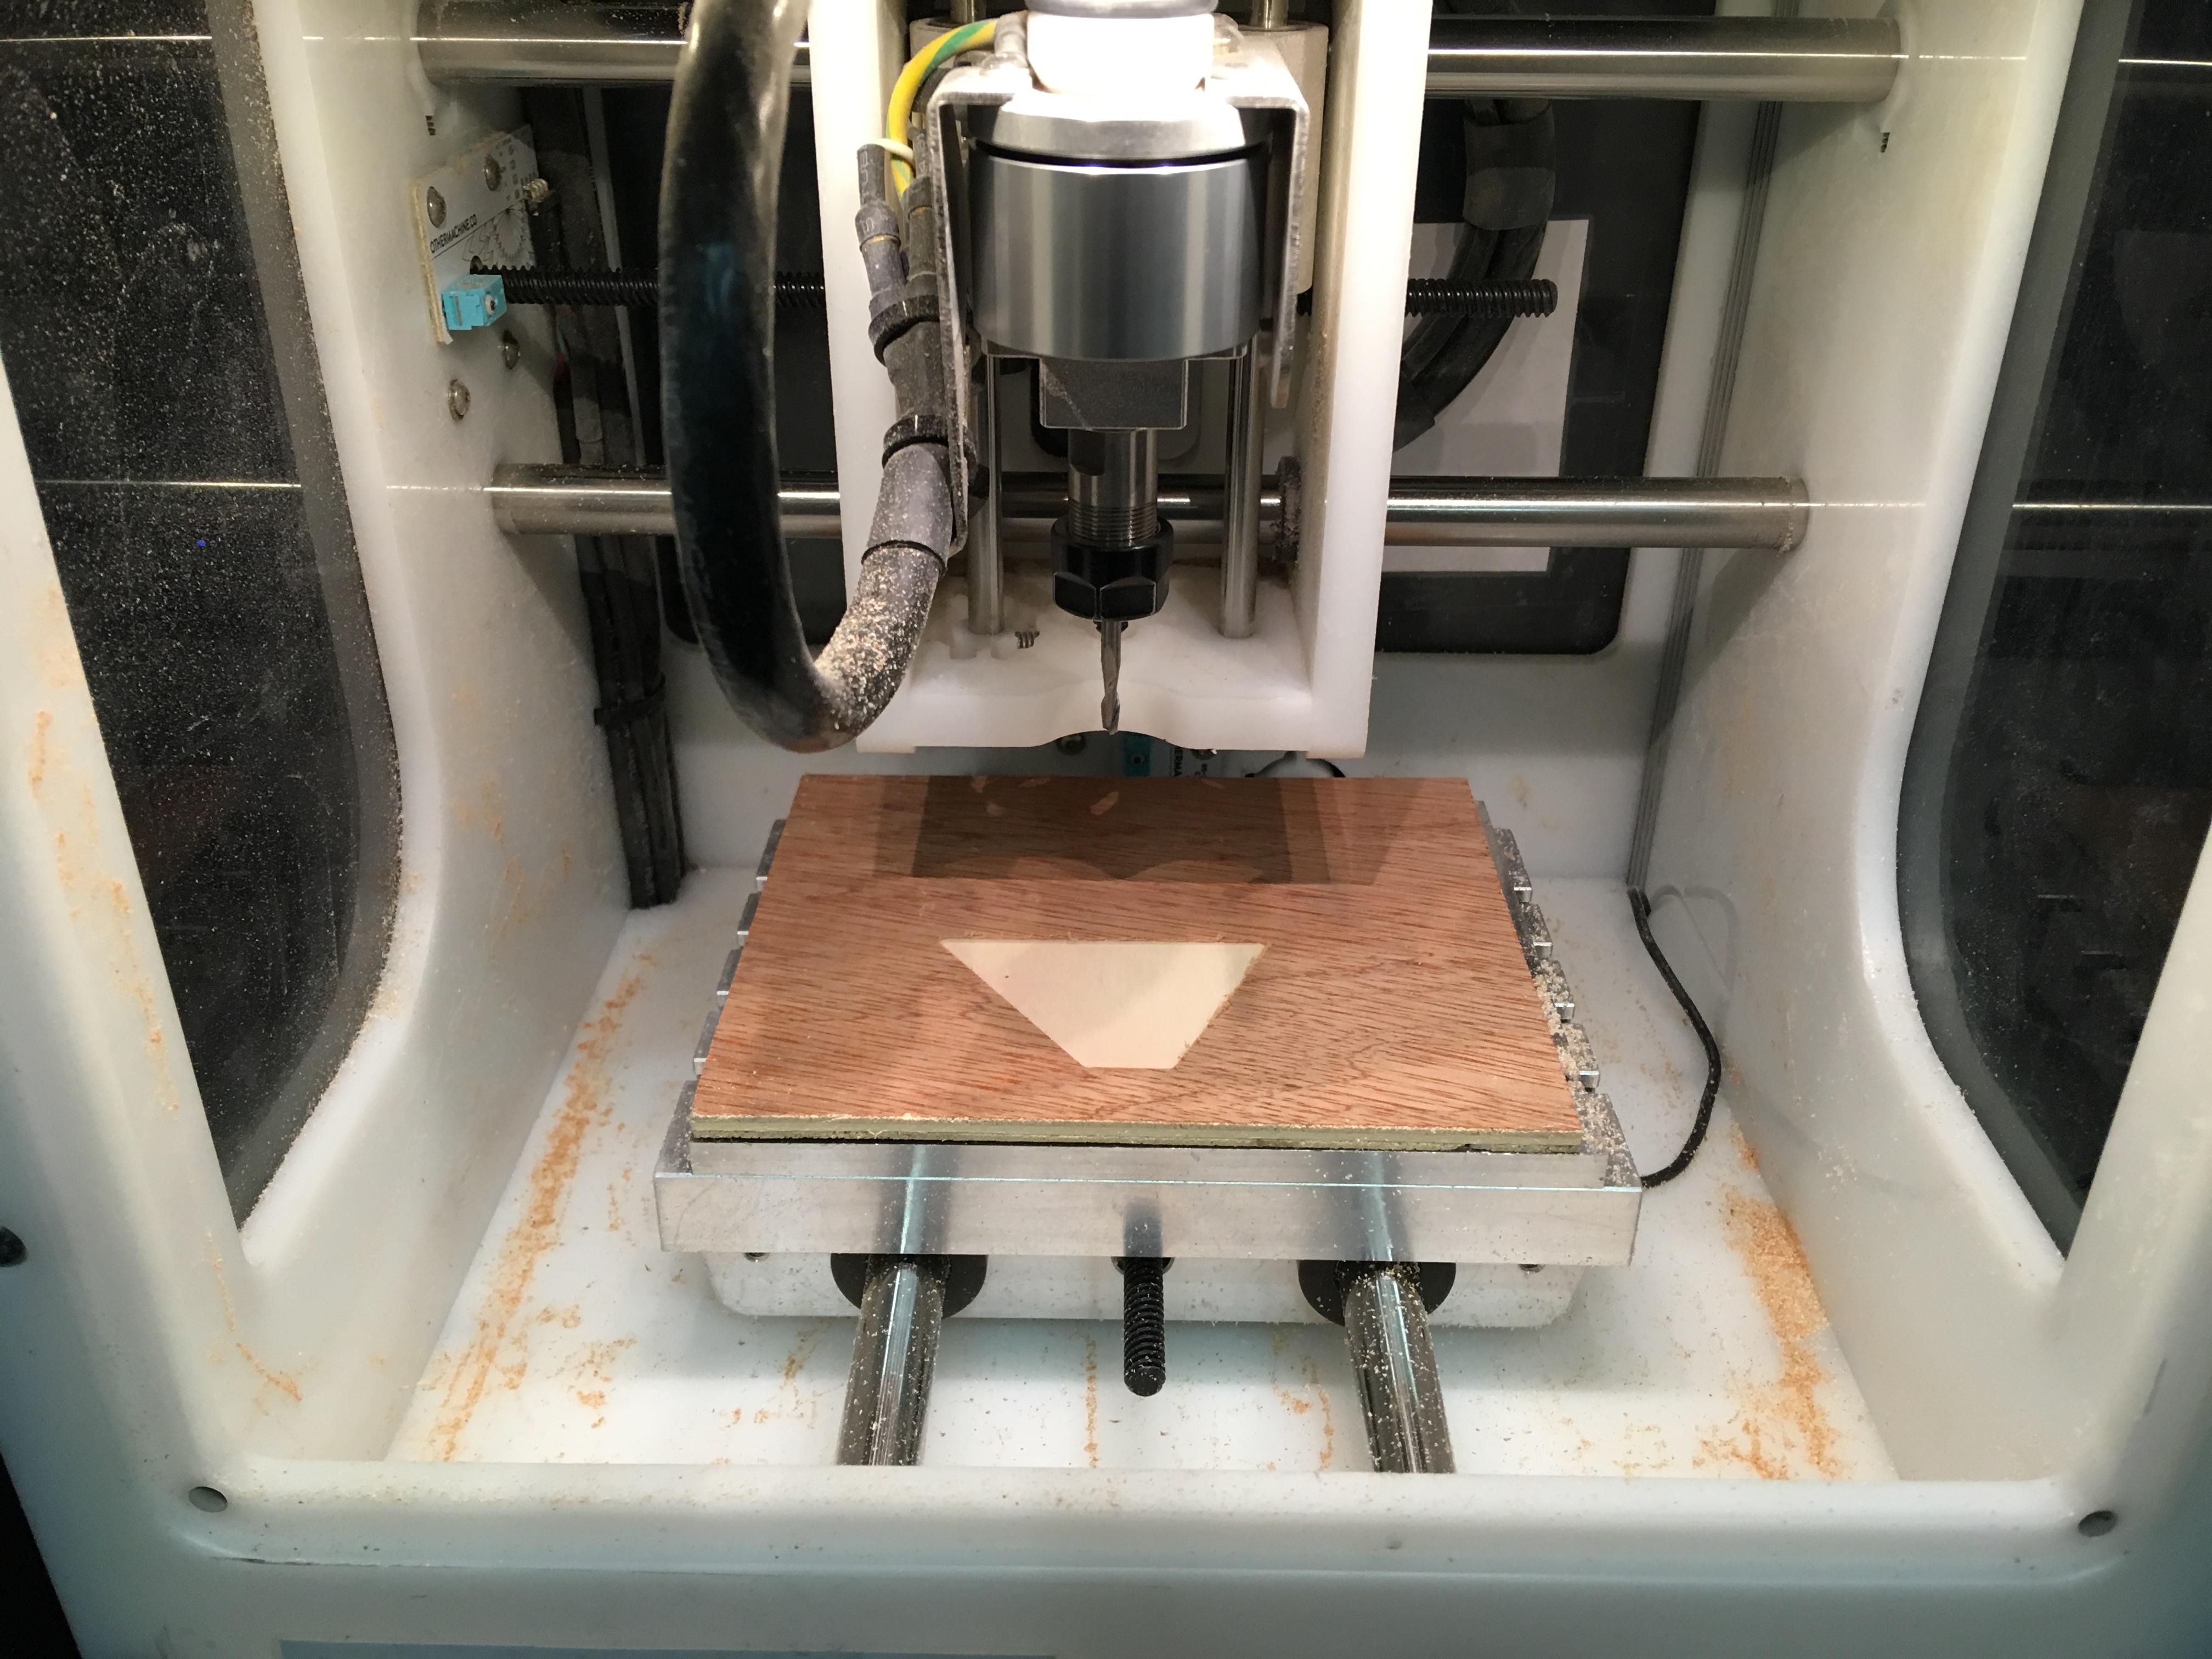
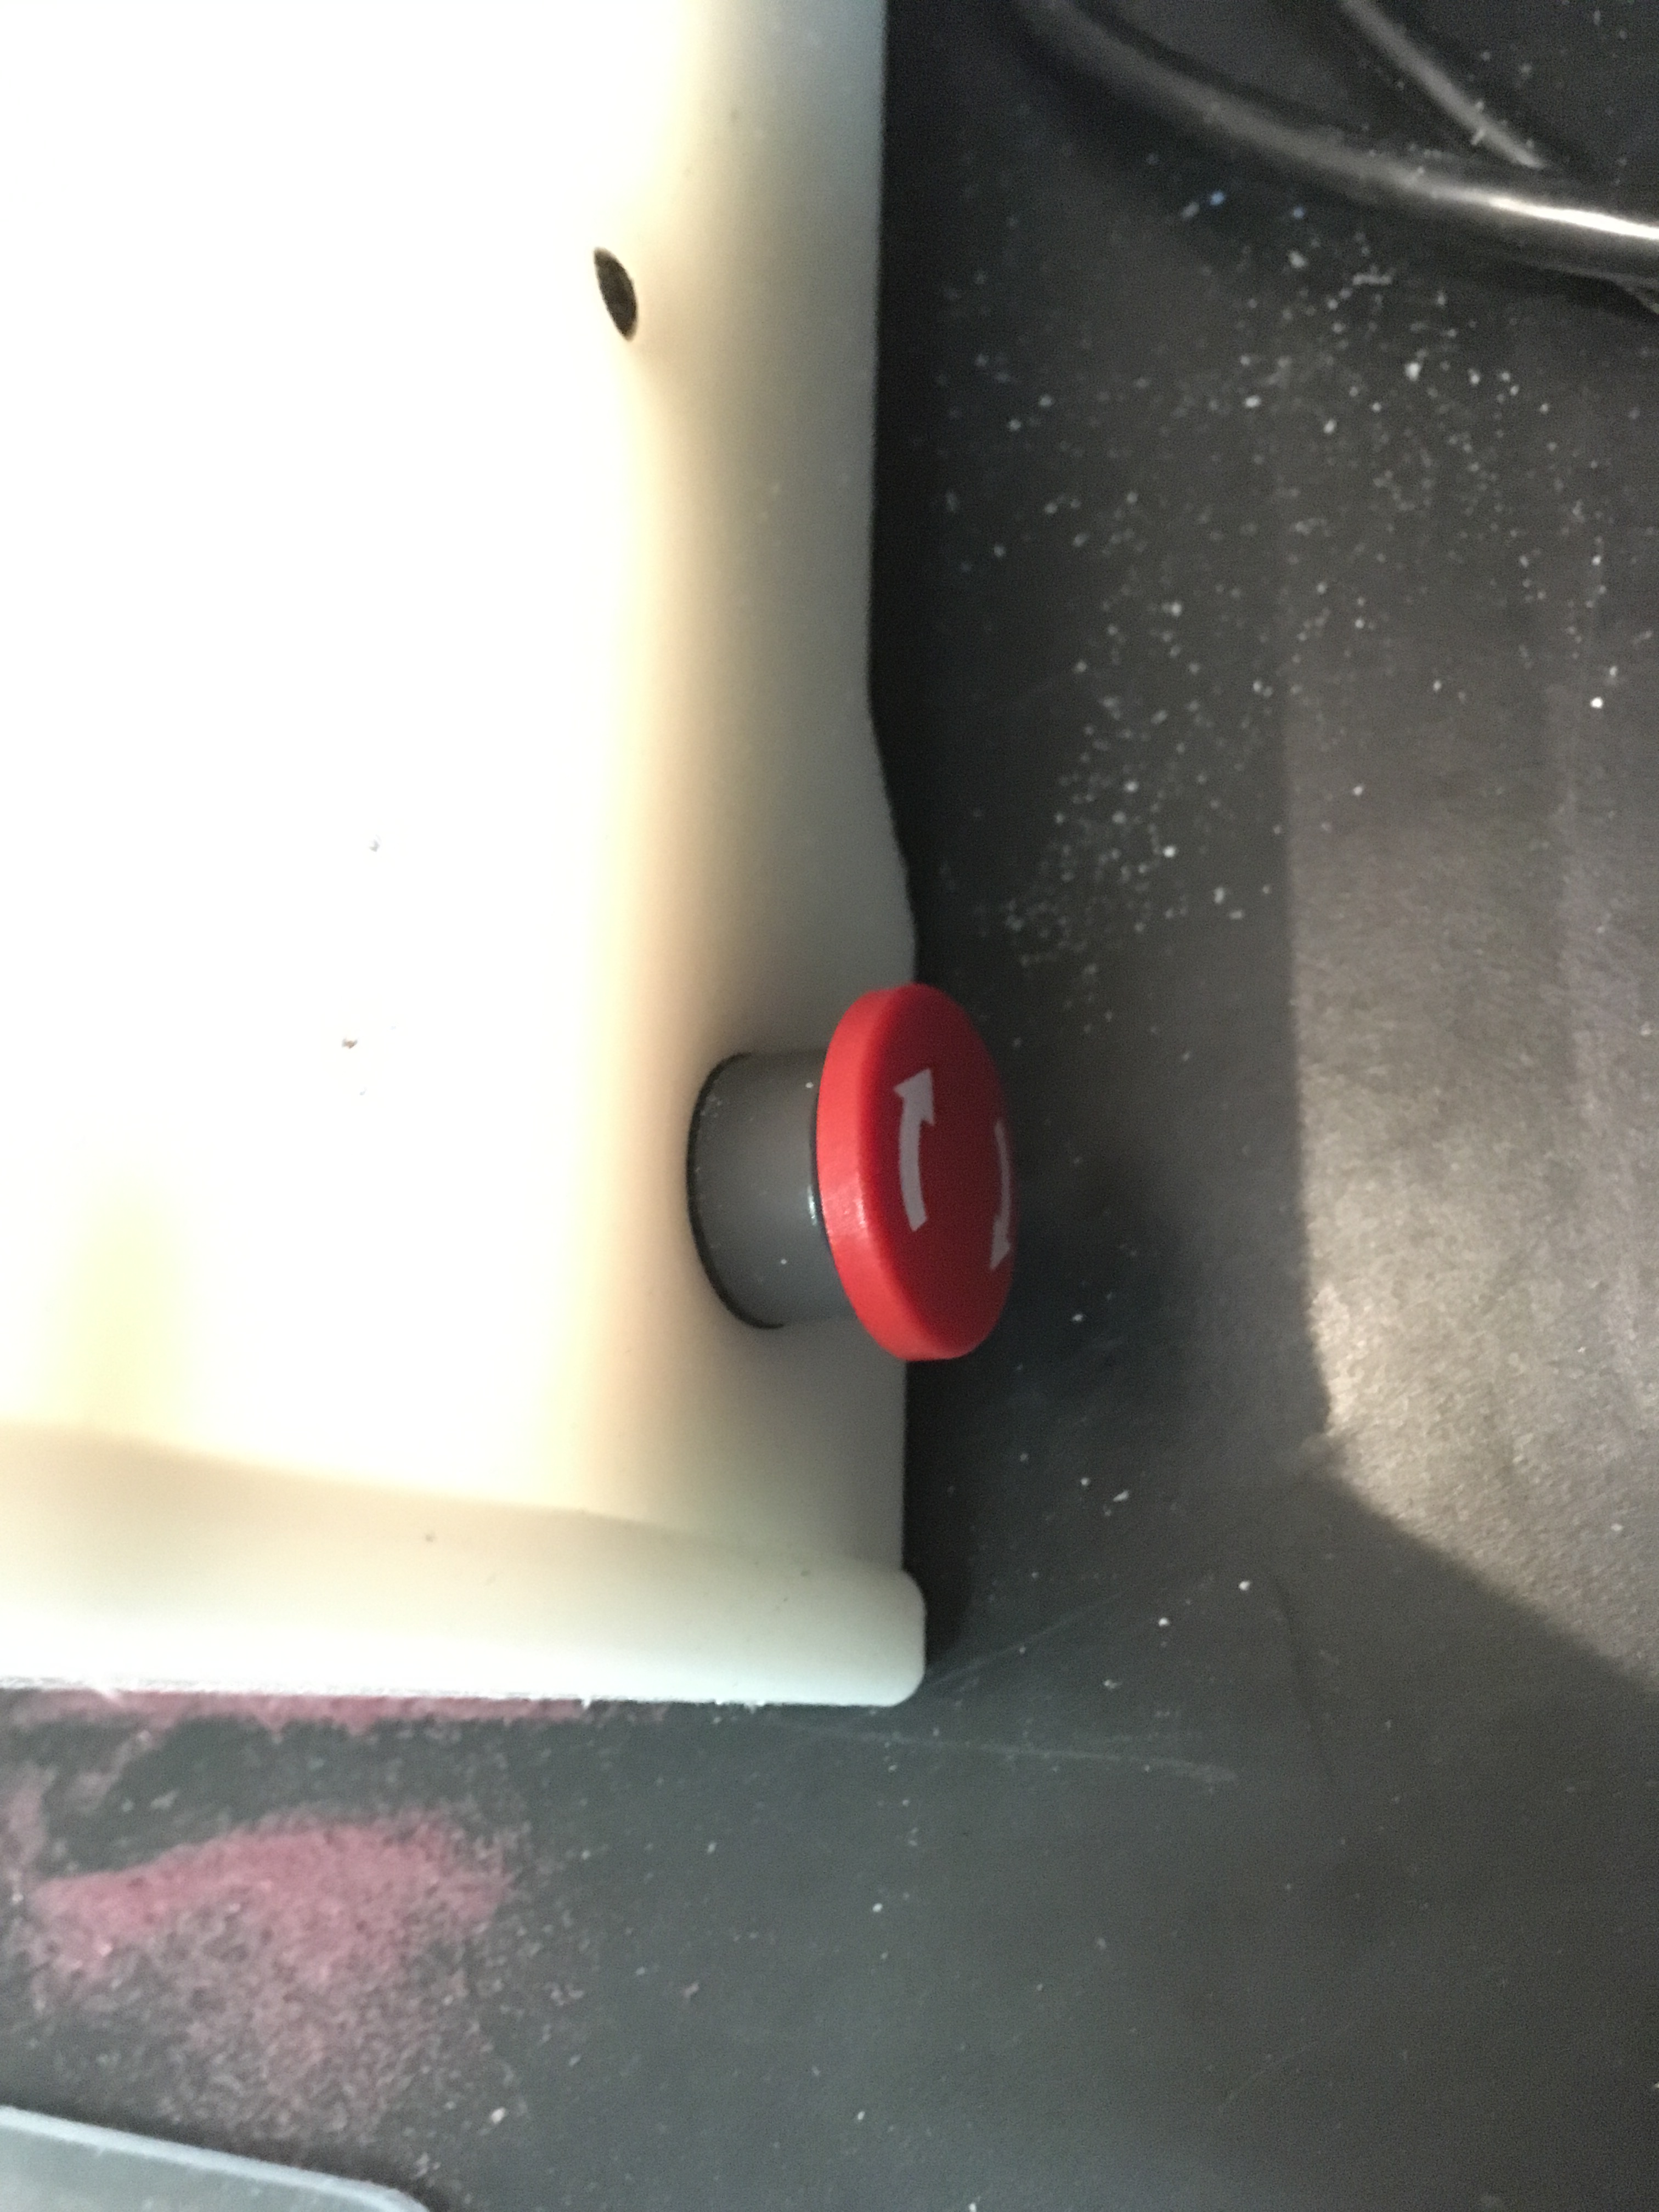 On the brightside, I feel a lot better about the placement of this button.
Aluminum Inlays
 Quick toolchain for aluminum inlays to fill the wooden base.
 Aluminum takes sooooooo much longer. Because I was in a rush and couldn’t wait 2 hours for 3 tiny pieces, I ended up modifying the aluminum tool settings to travel and plunge about twice as fast as Bantam’s recommended settings. It started off a bit aggressive but cut just fine. An hour saved.
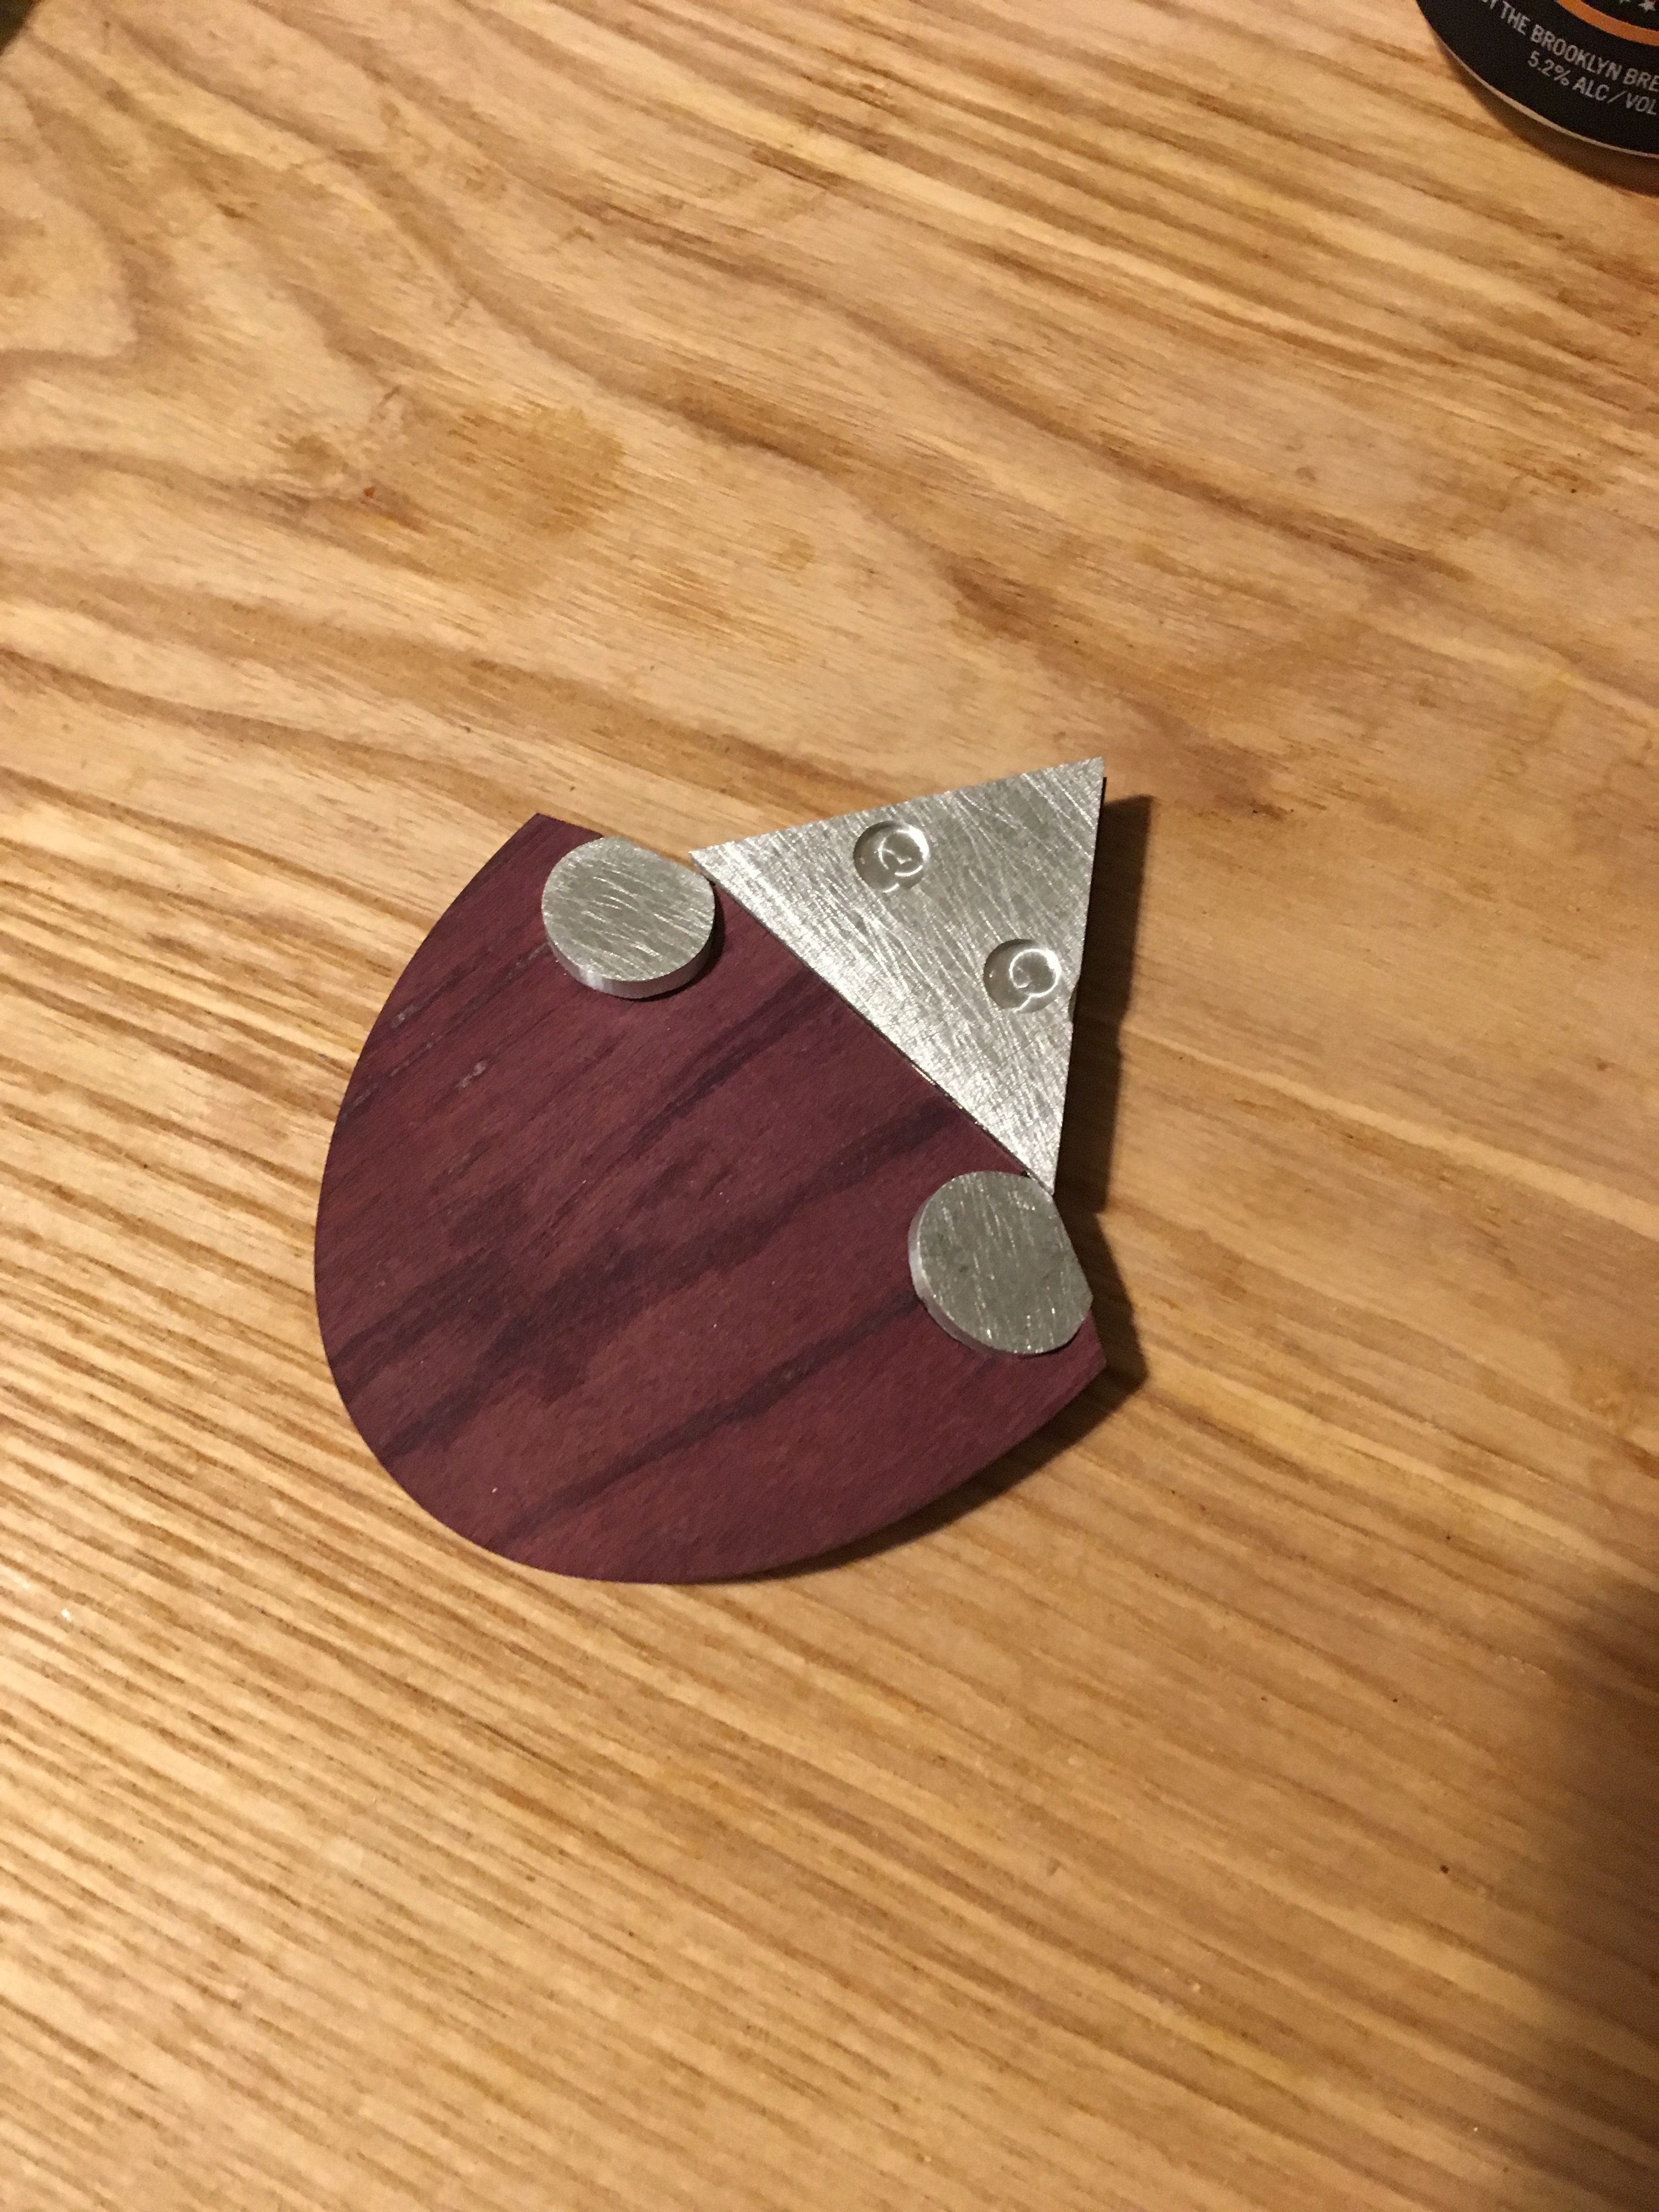 The ear inlays don’t fit perfectly, but I like the aesthetic of ears that popout. I’m going to leave as-is instead of hammering the ear inlays in.
¡VOILA!
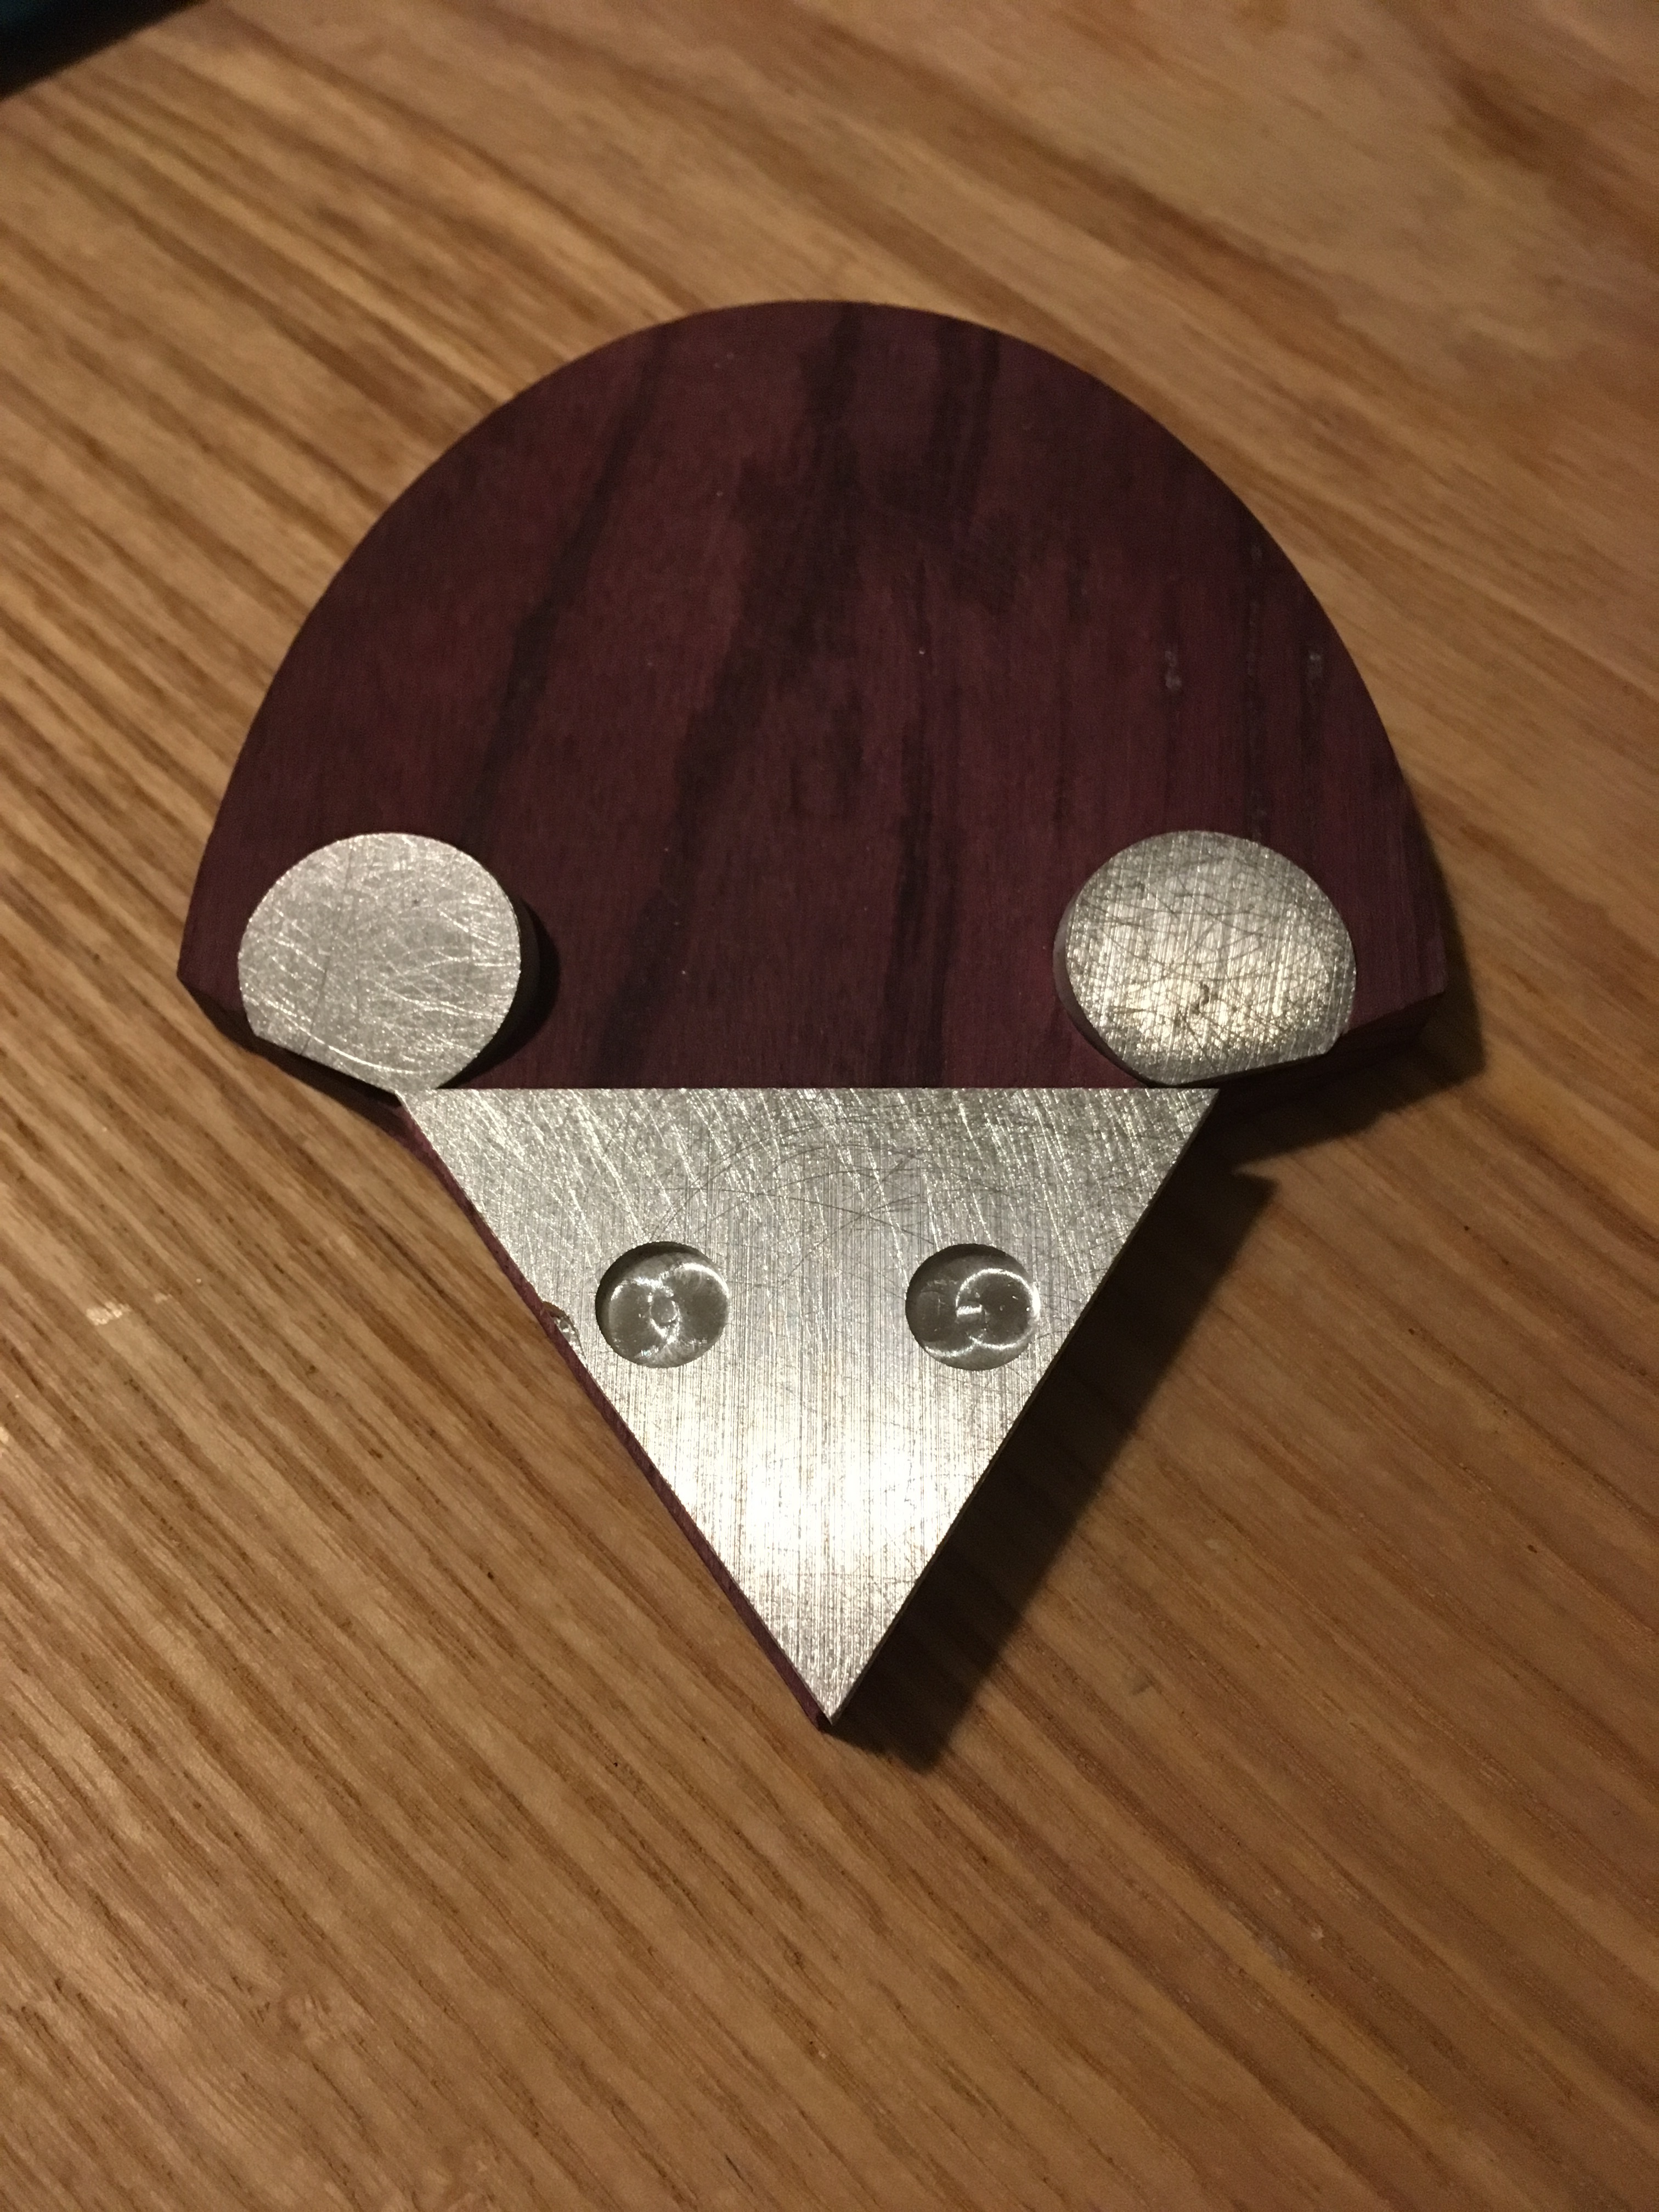 Glued and finished. I still want to experiment with waxes and stains soon.