Skill Builder: Othermill CNC
First things first, find some scrap material and make it small. I chose to use plywood from the scrap bin because it’s free and available and thus, forgiving.
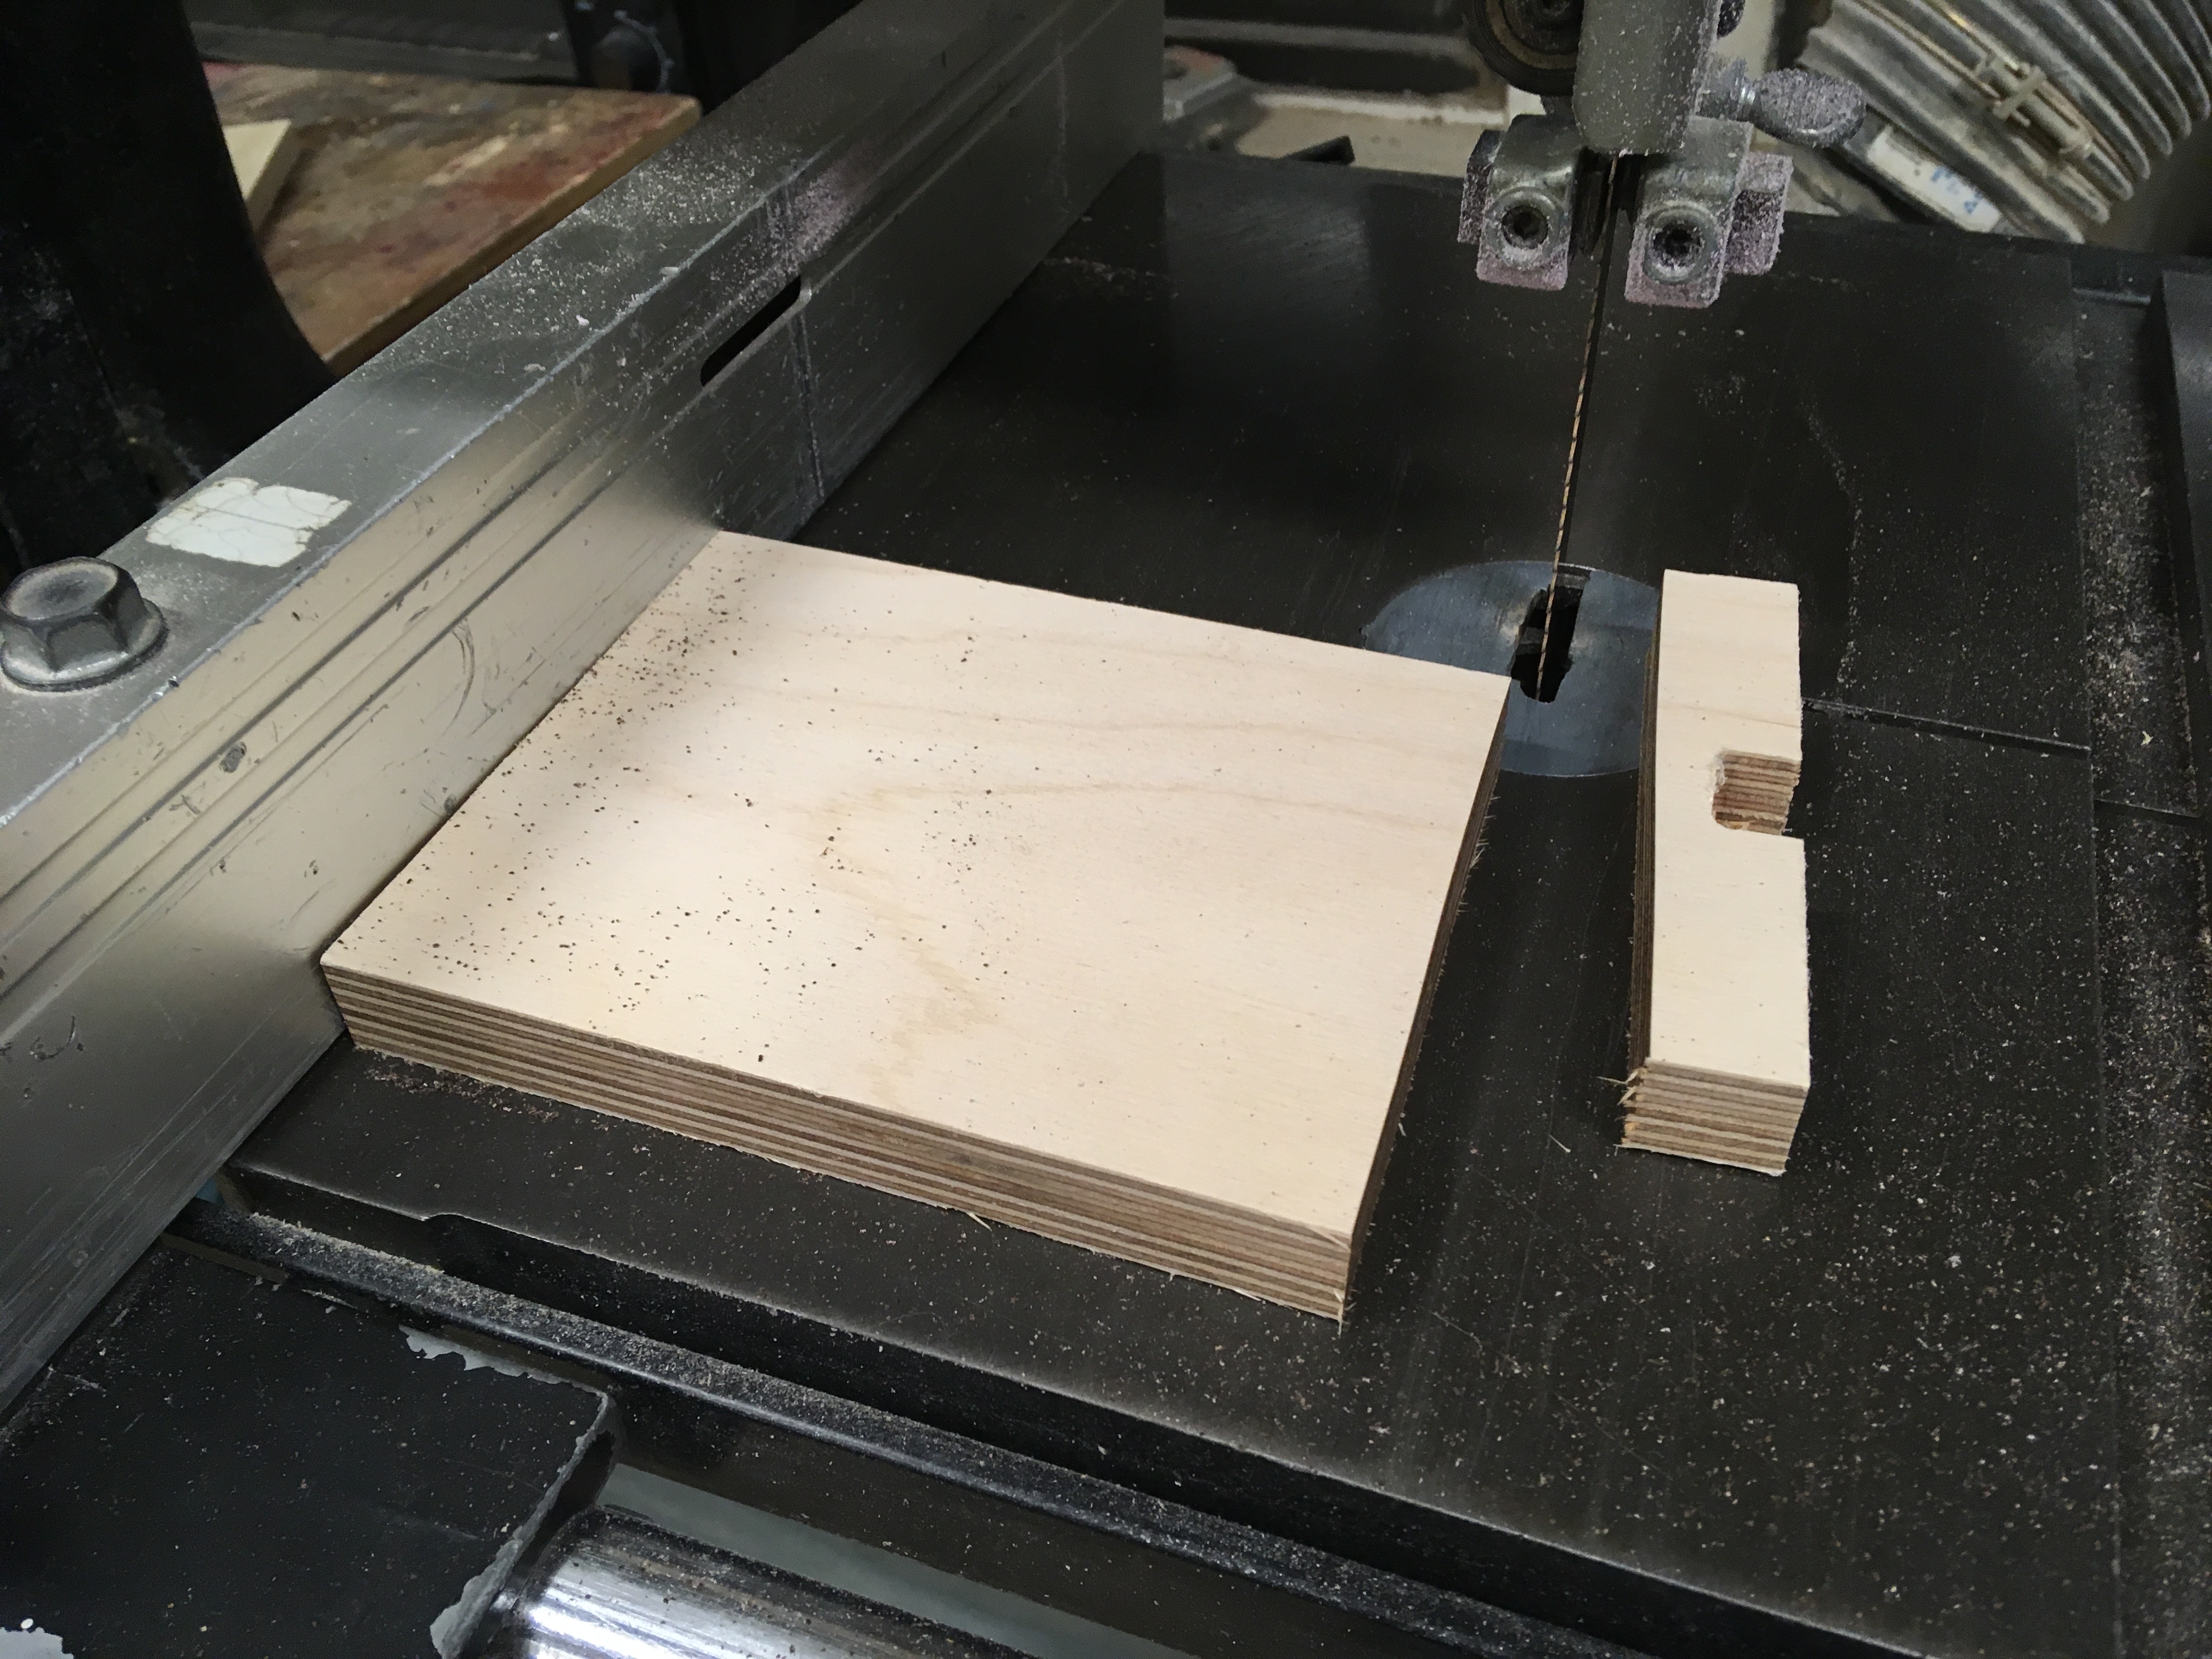 Here, I use the bandsaw to rectangular-ize my raw plywood to fit the dimensions of the Othermill CNC bed.
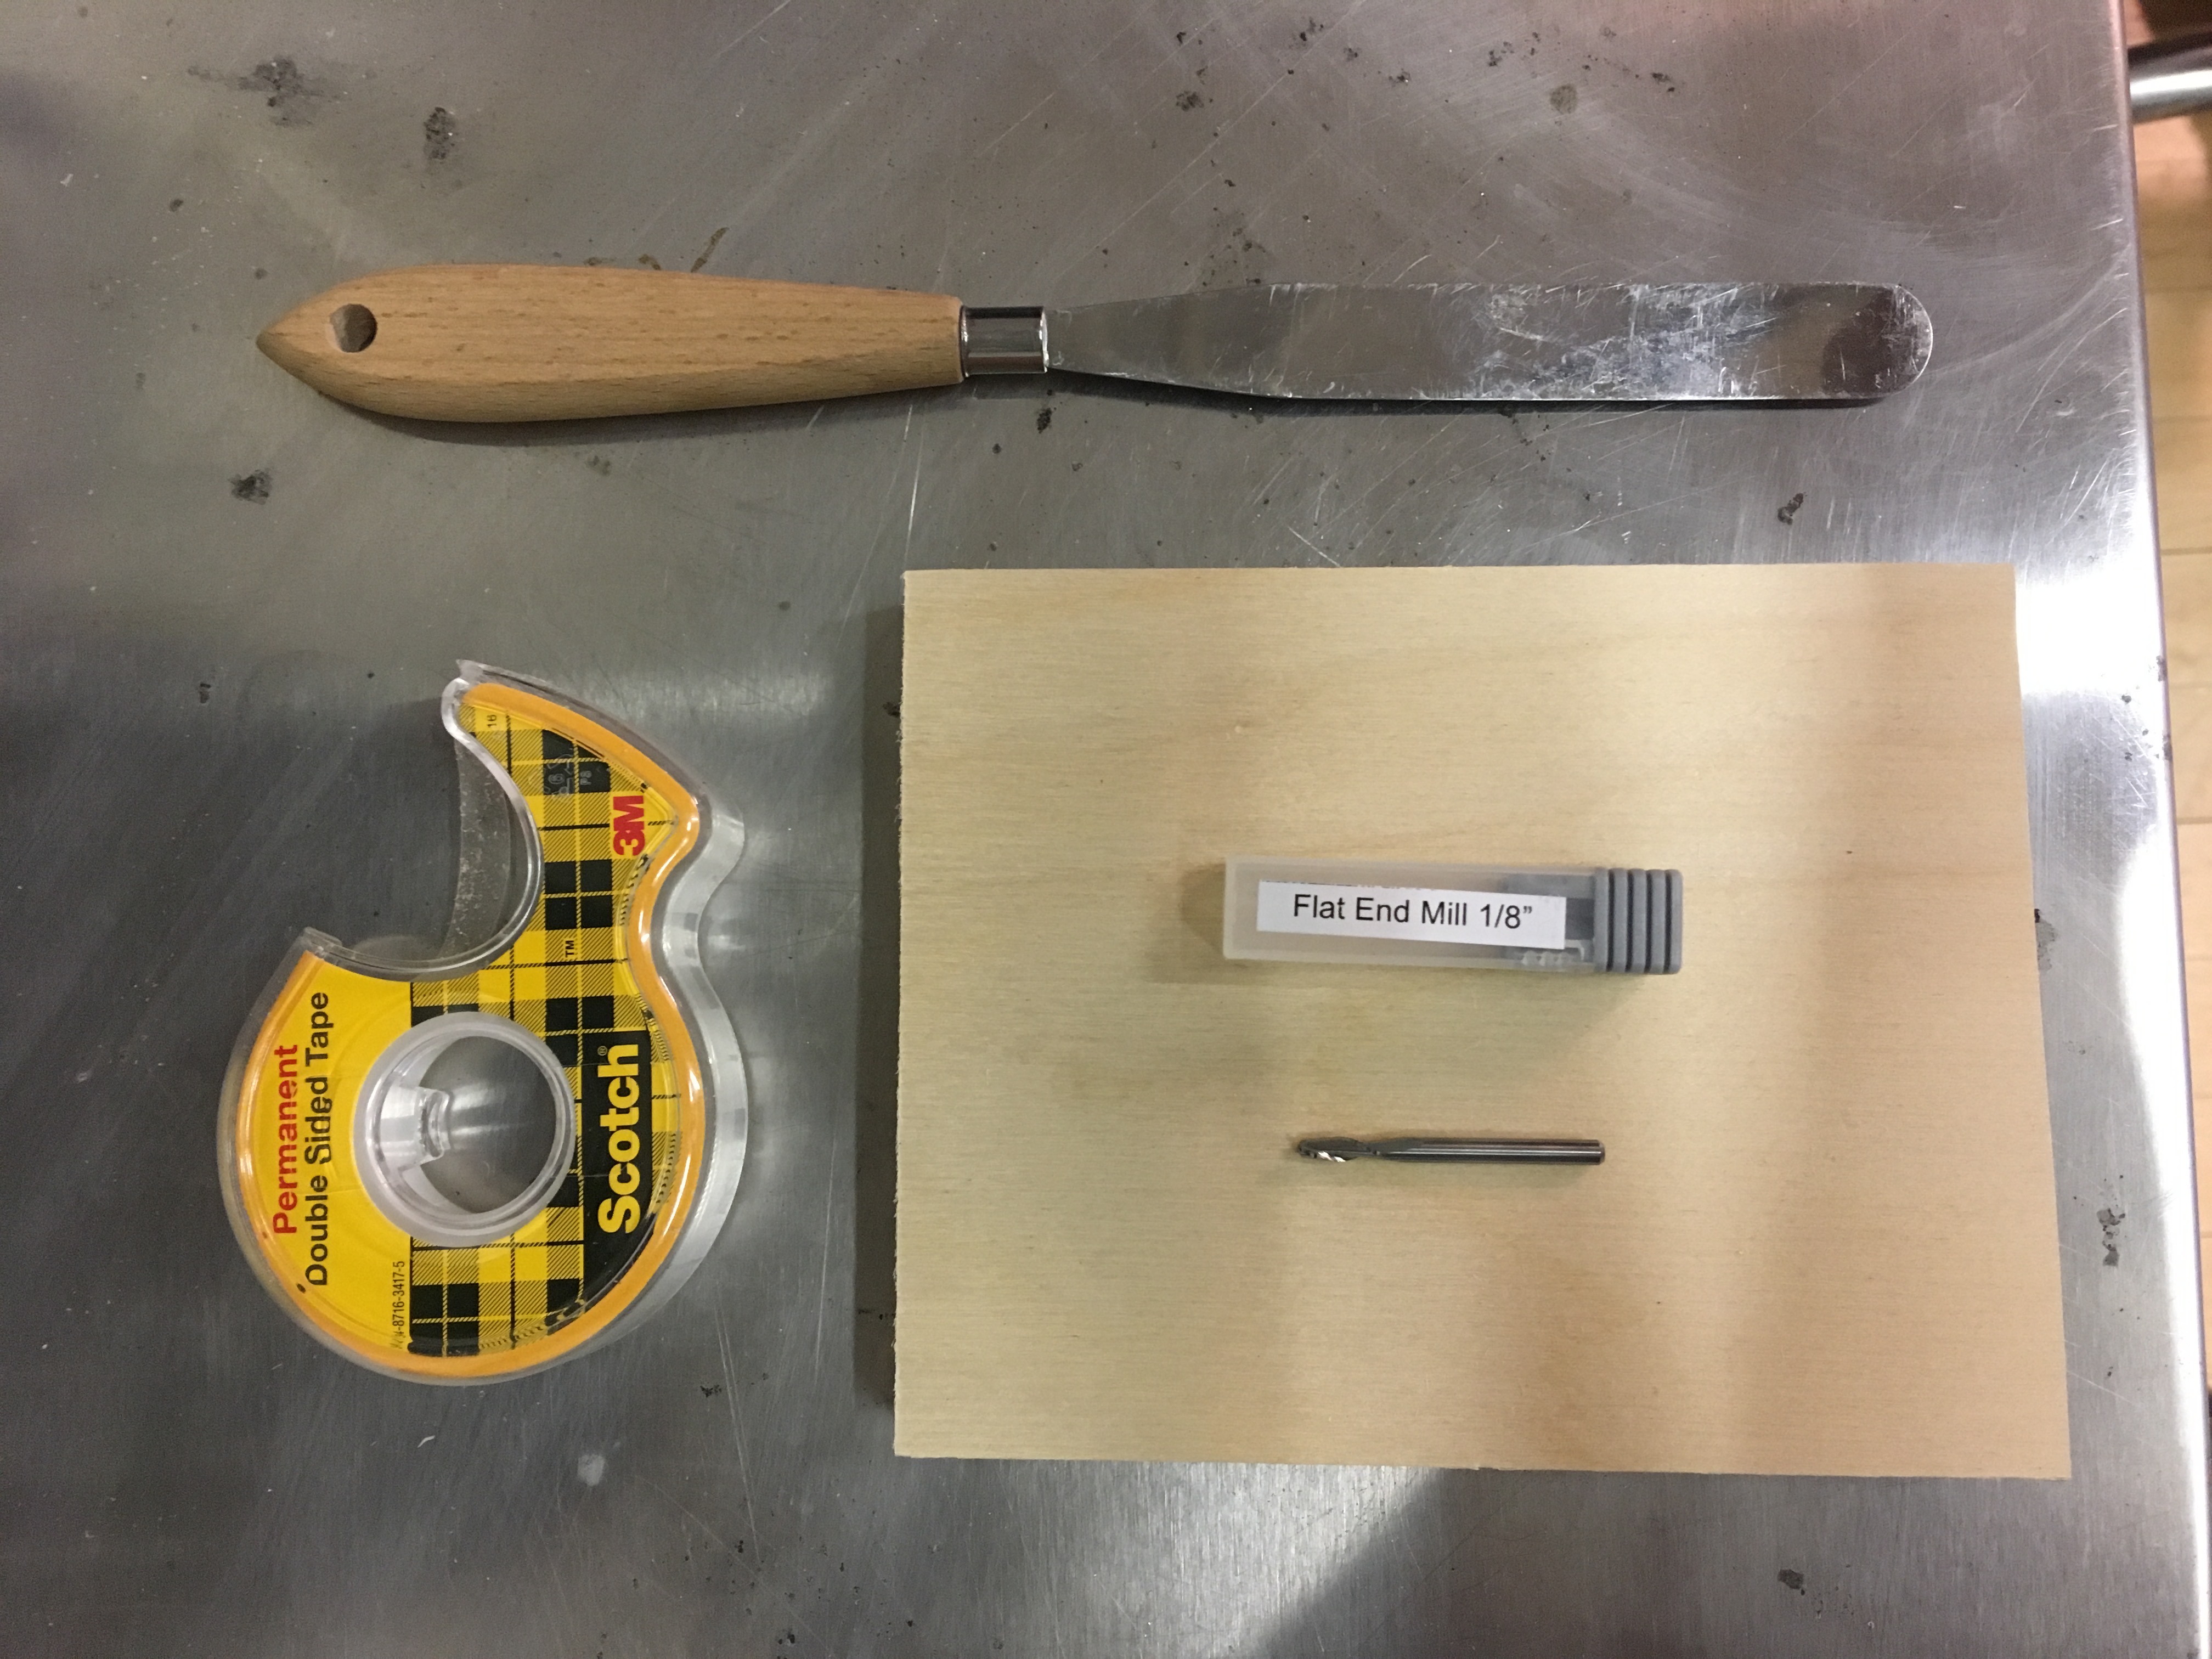 Nice hipster shot of tools and materials.
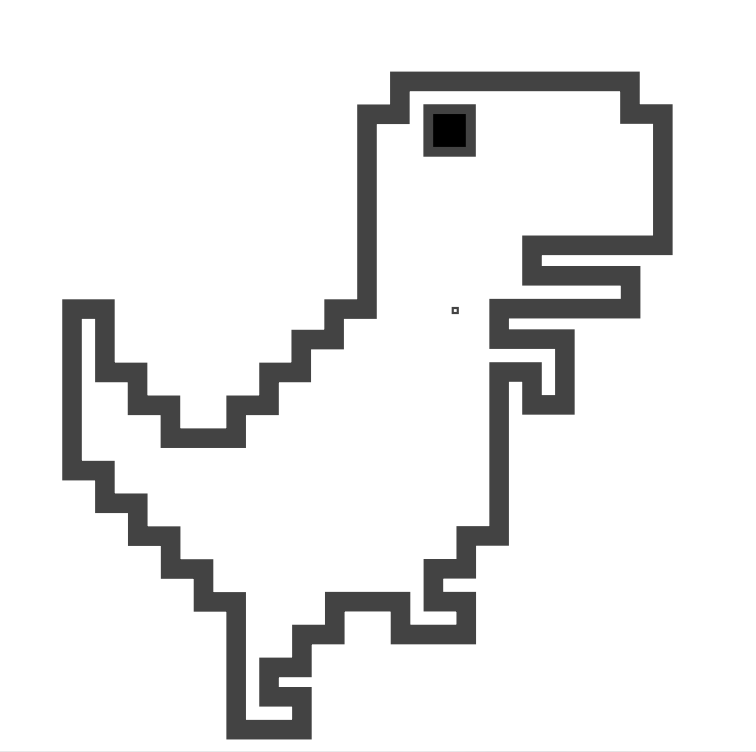 For my design, I borrowed a dinosaur icon from The Noun Project since they have everything and IT’S ALL SVG! With some Illustrator magic, I unify the paths and fix the fills to do what I need. I know the sharp edges of the 8-bit design won’t cut out well, but I want to see what it looks like anyway.
It’s all about the prep
- Click “Change” in BantamTools and it centers the spindle and walks you through the process to change the drill bit.
- Remove the collet, tap to clean, return to spindle.
- Add our 1/8 Flat End Mill Bit and hand tighten.
- Use the handy wrenches to properly tighten.
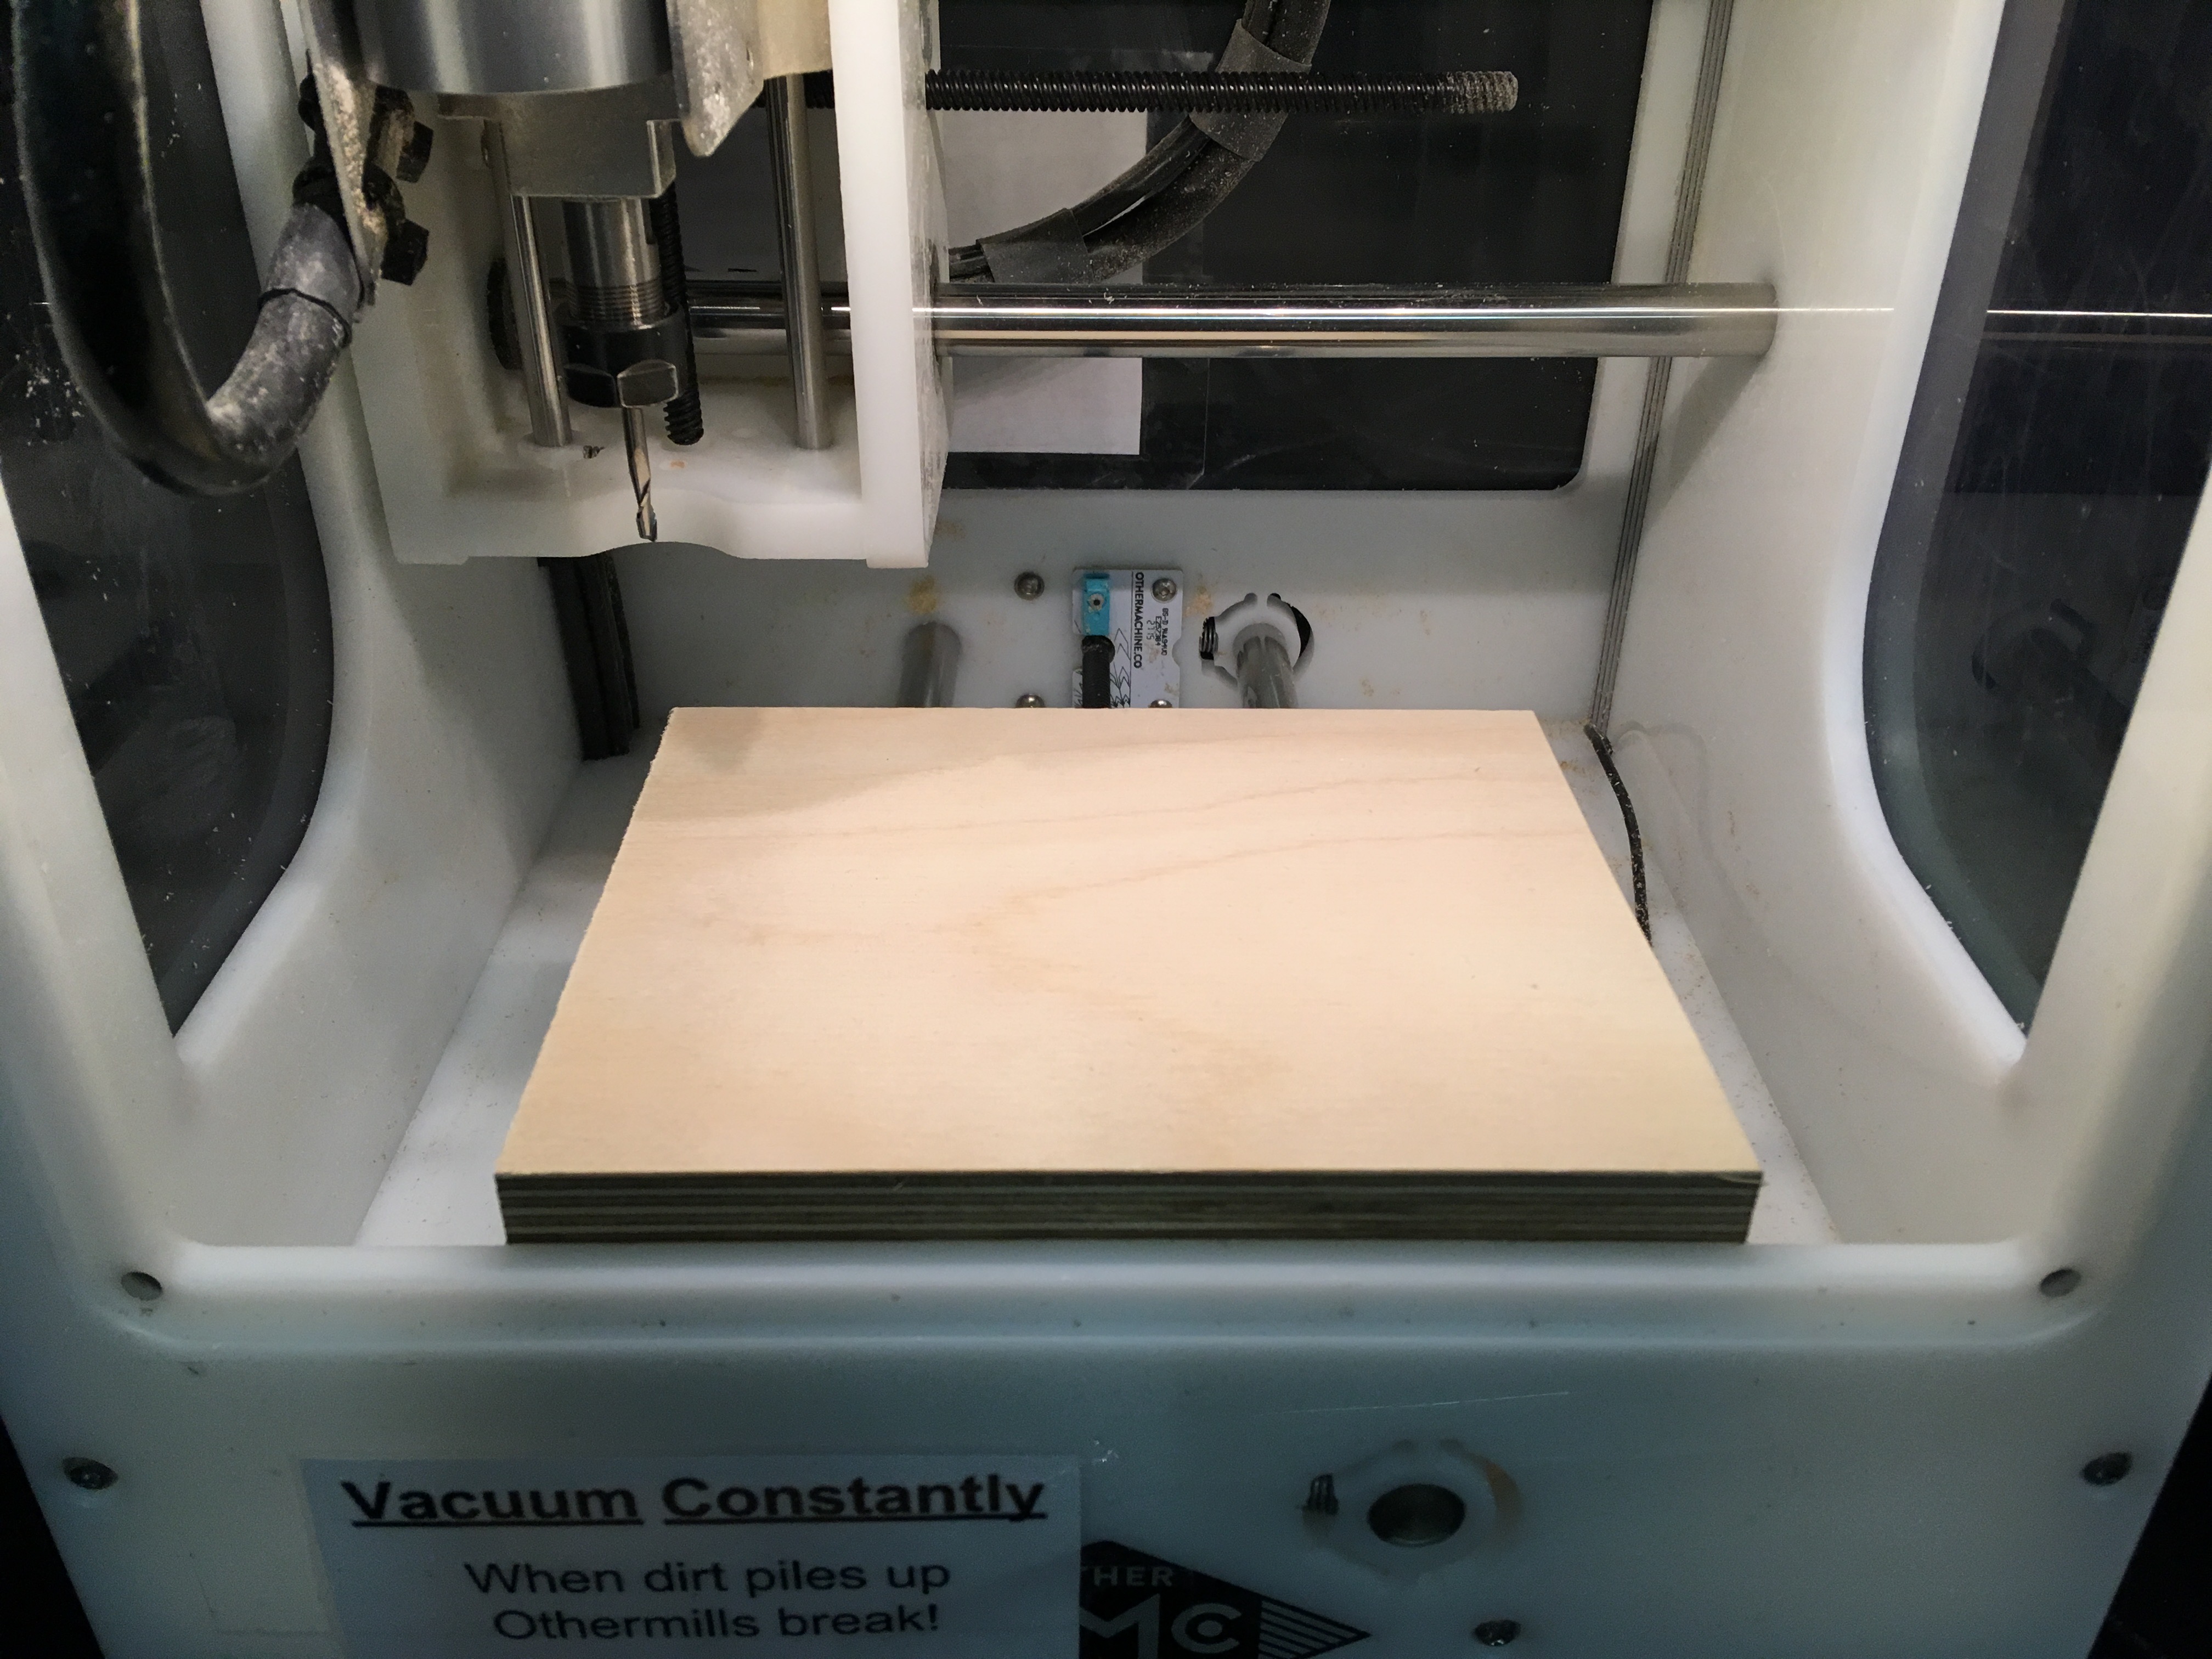 For material setup, I lined the bed with double-sided tape and placed my raw material on, doing my best to align everything to the bottom left.
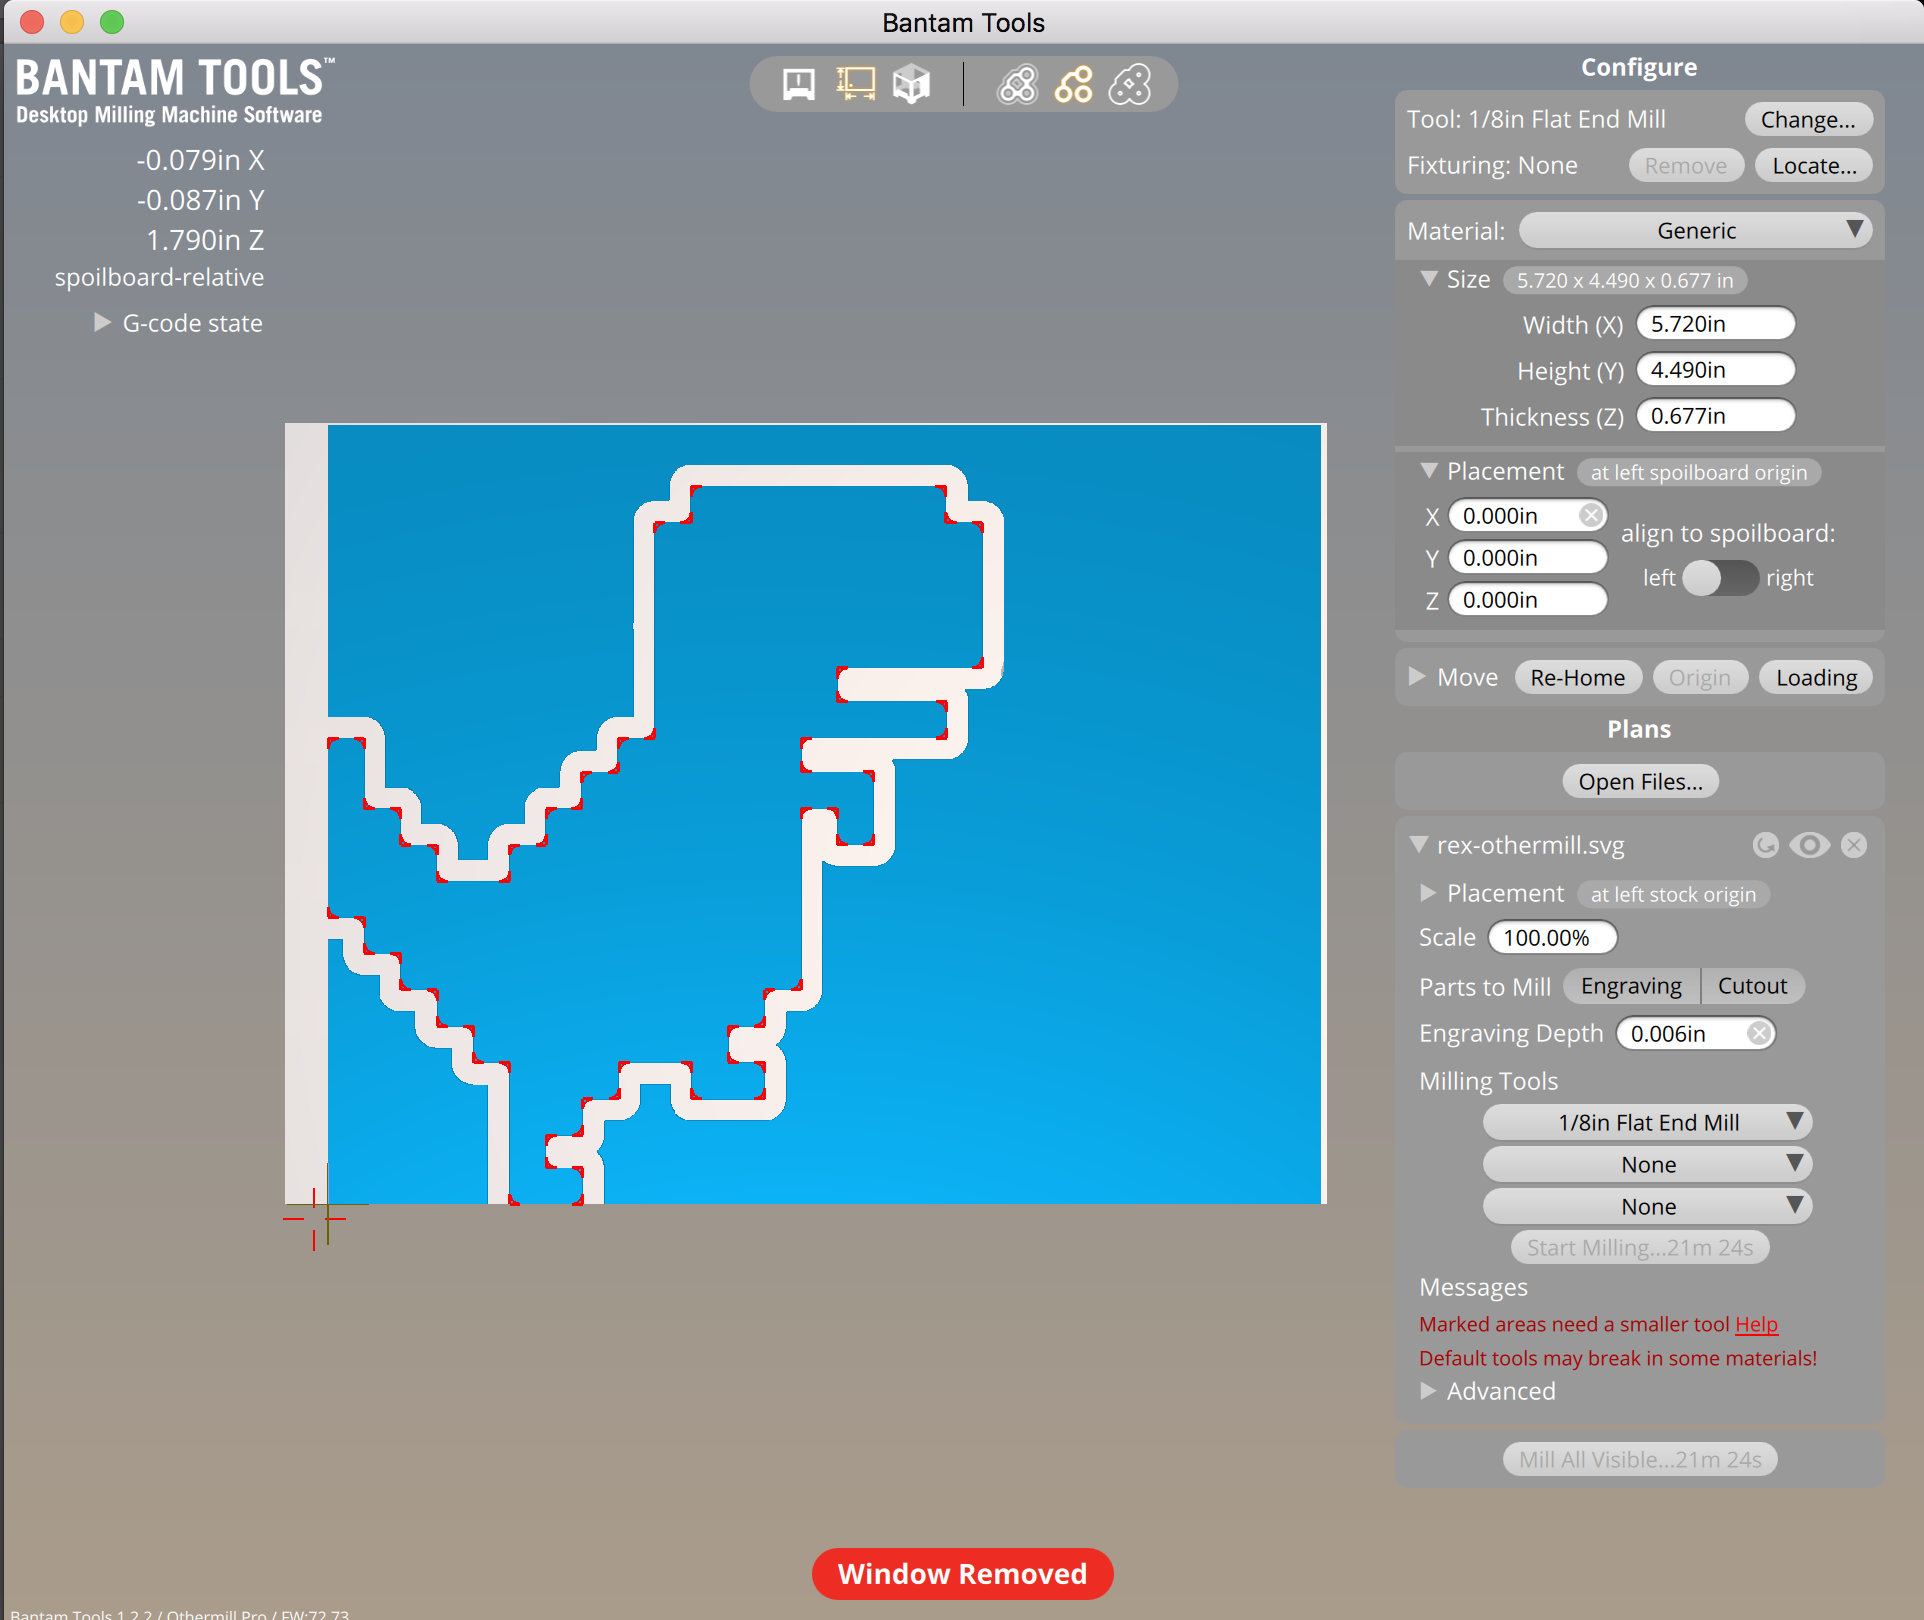 <3 BantamTools shows you the toolpath! And a Mill-er time estimate! <3
Ready to Work
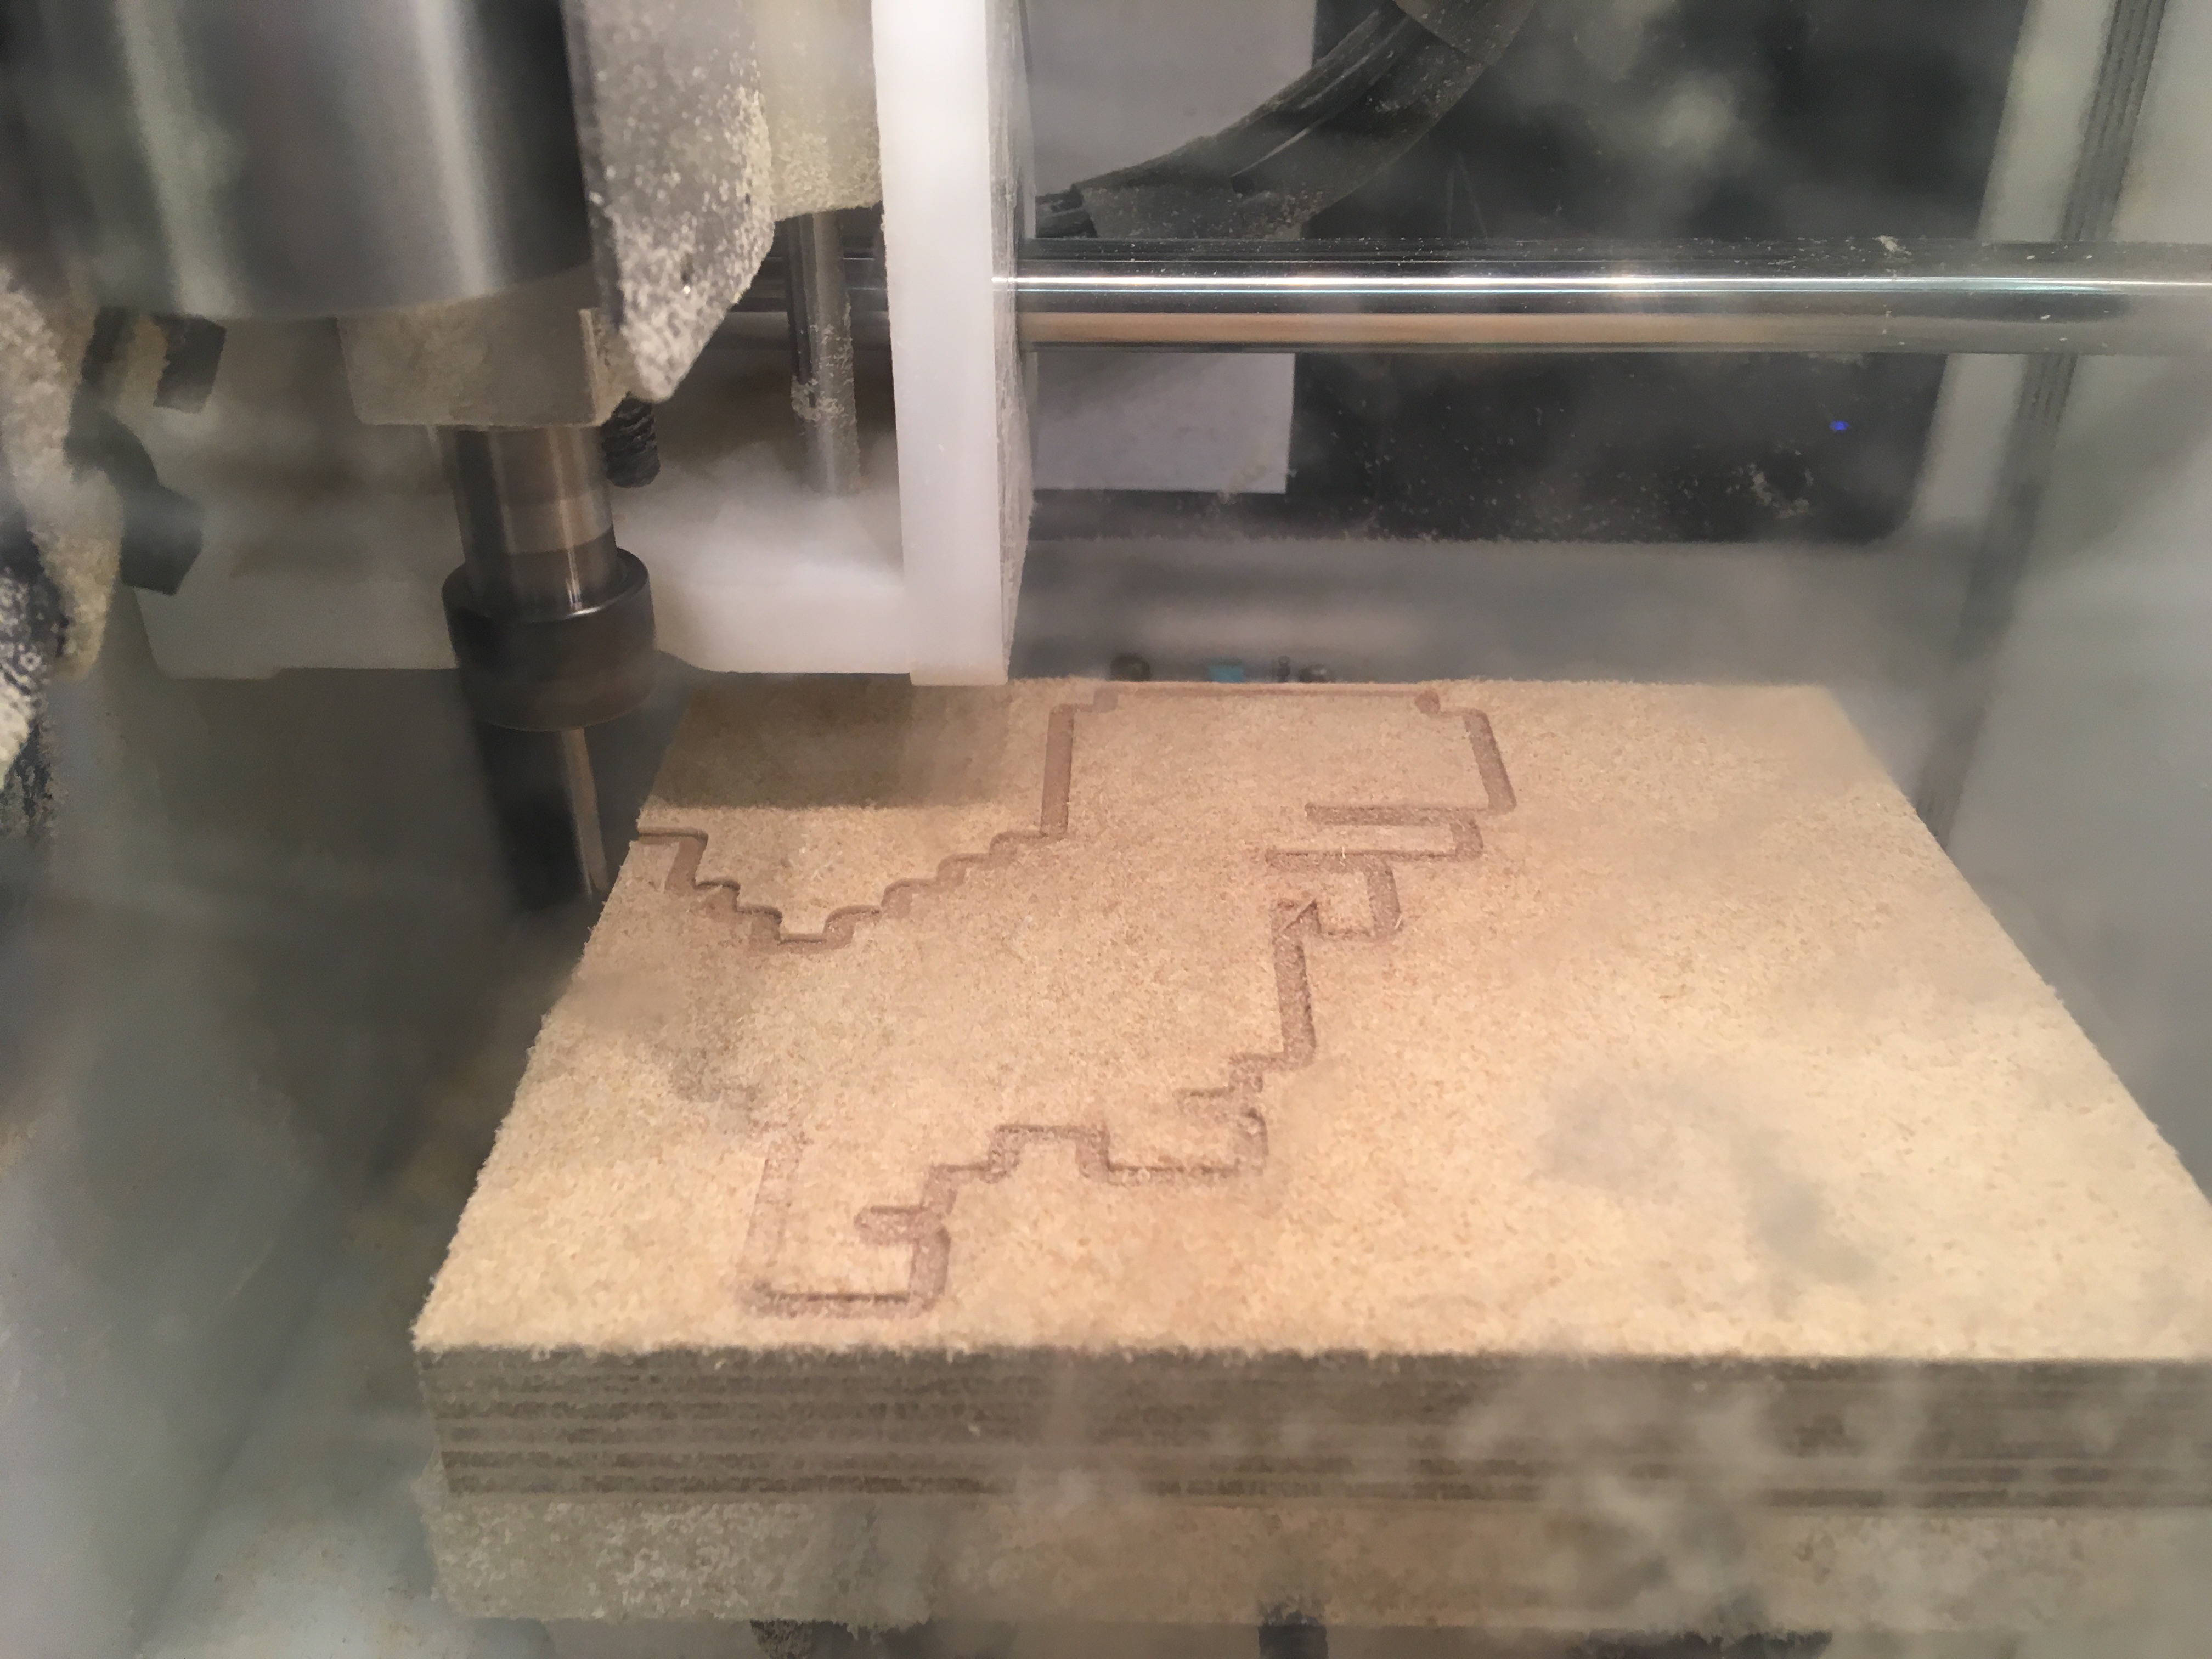 Not seen here, but I actually engraved the top layer gently. Here’s an image of the first cutout (contour?) pass.
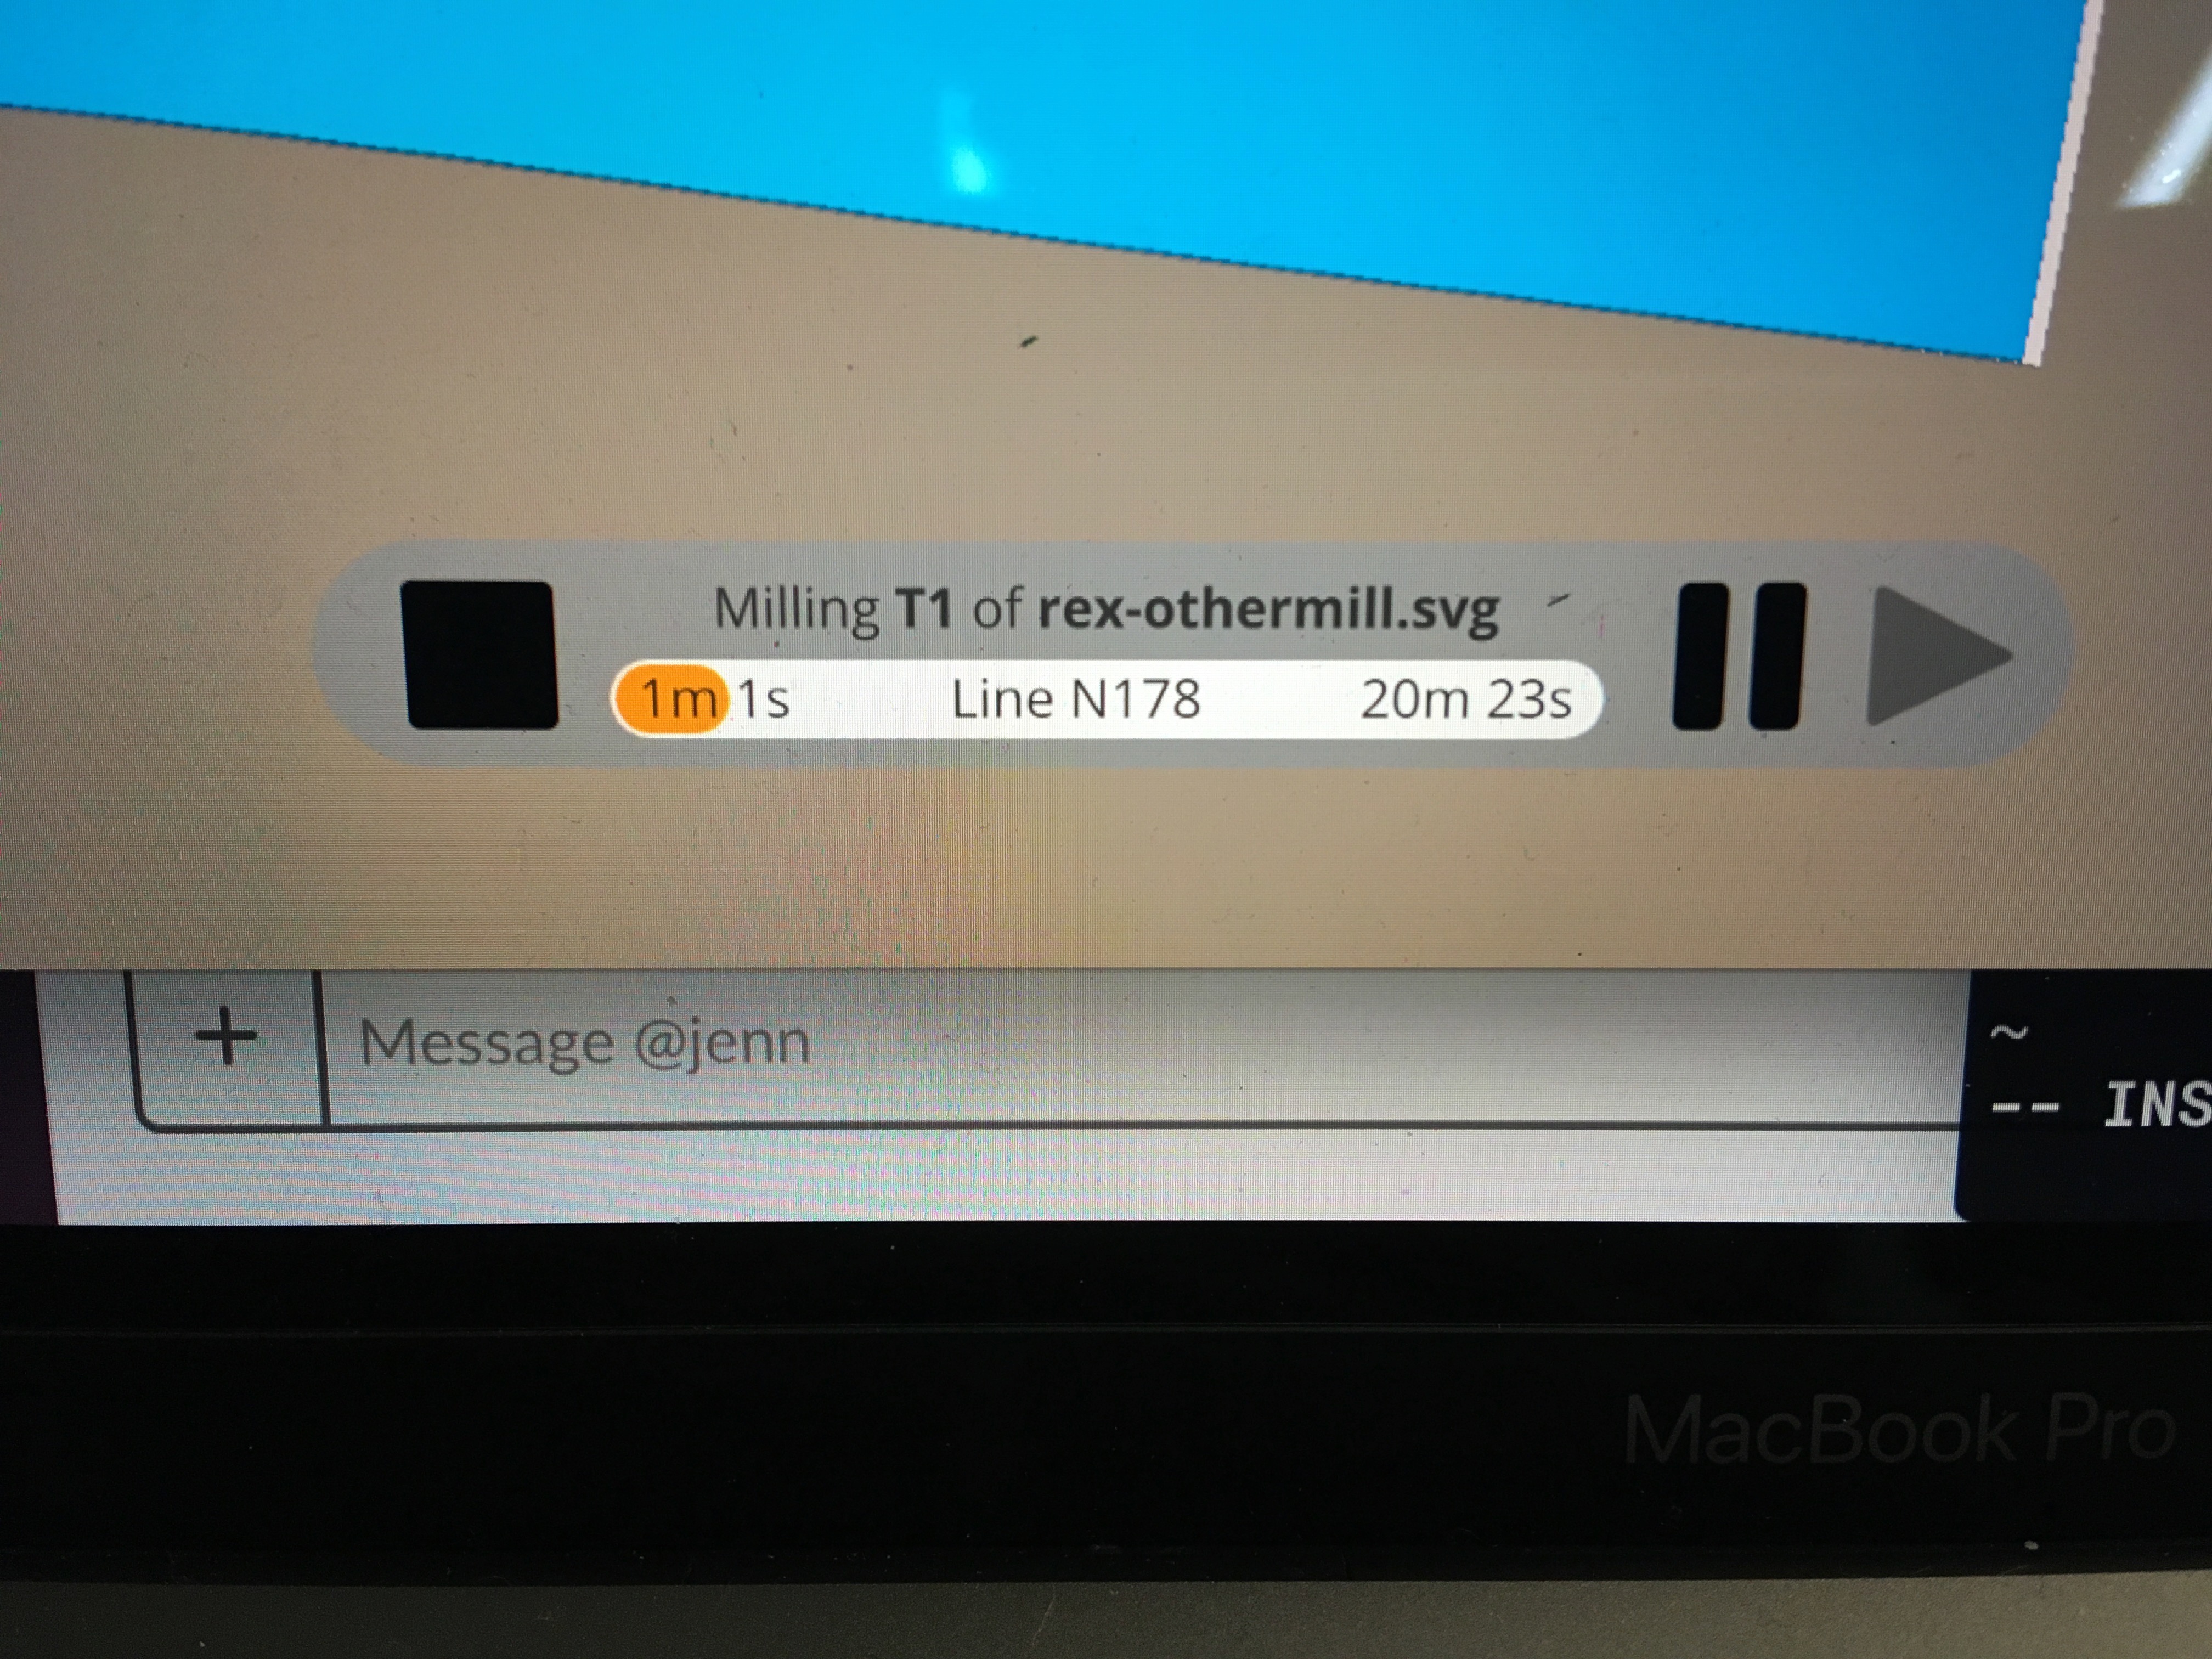 Loving this status bar with an ability to pause. I pause a few times to vacuum.
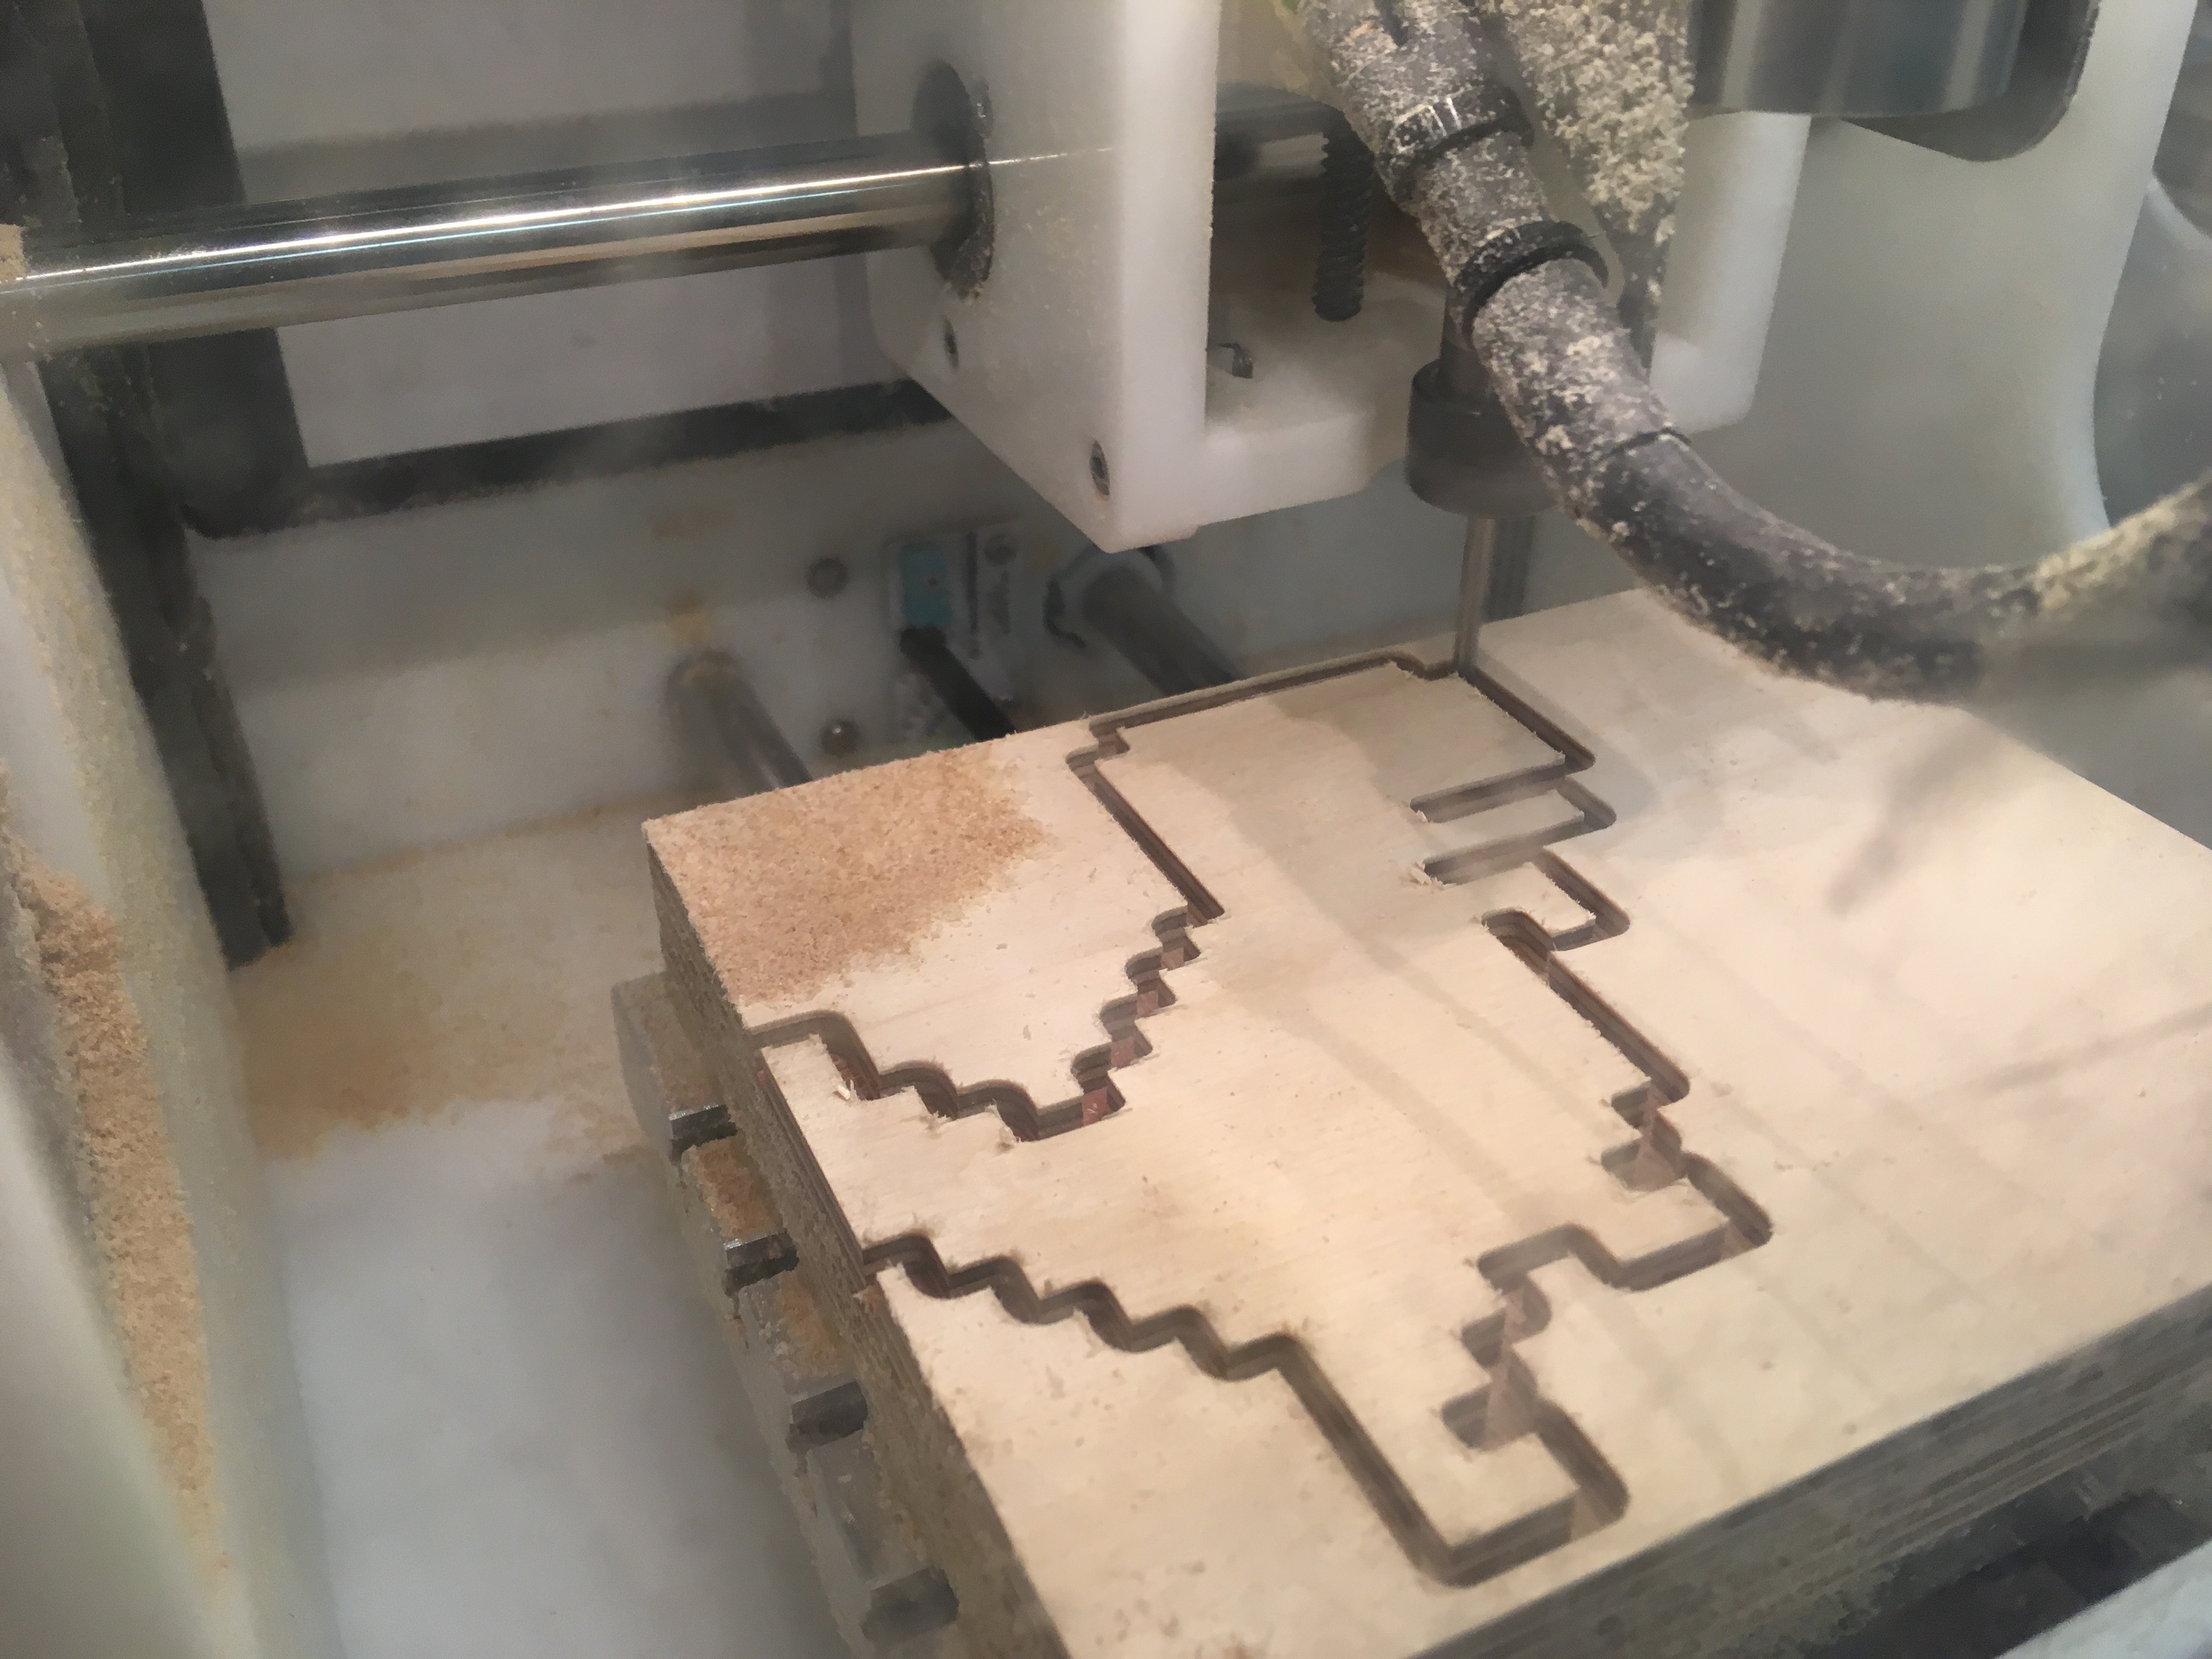 The final cutout pass.
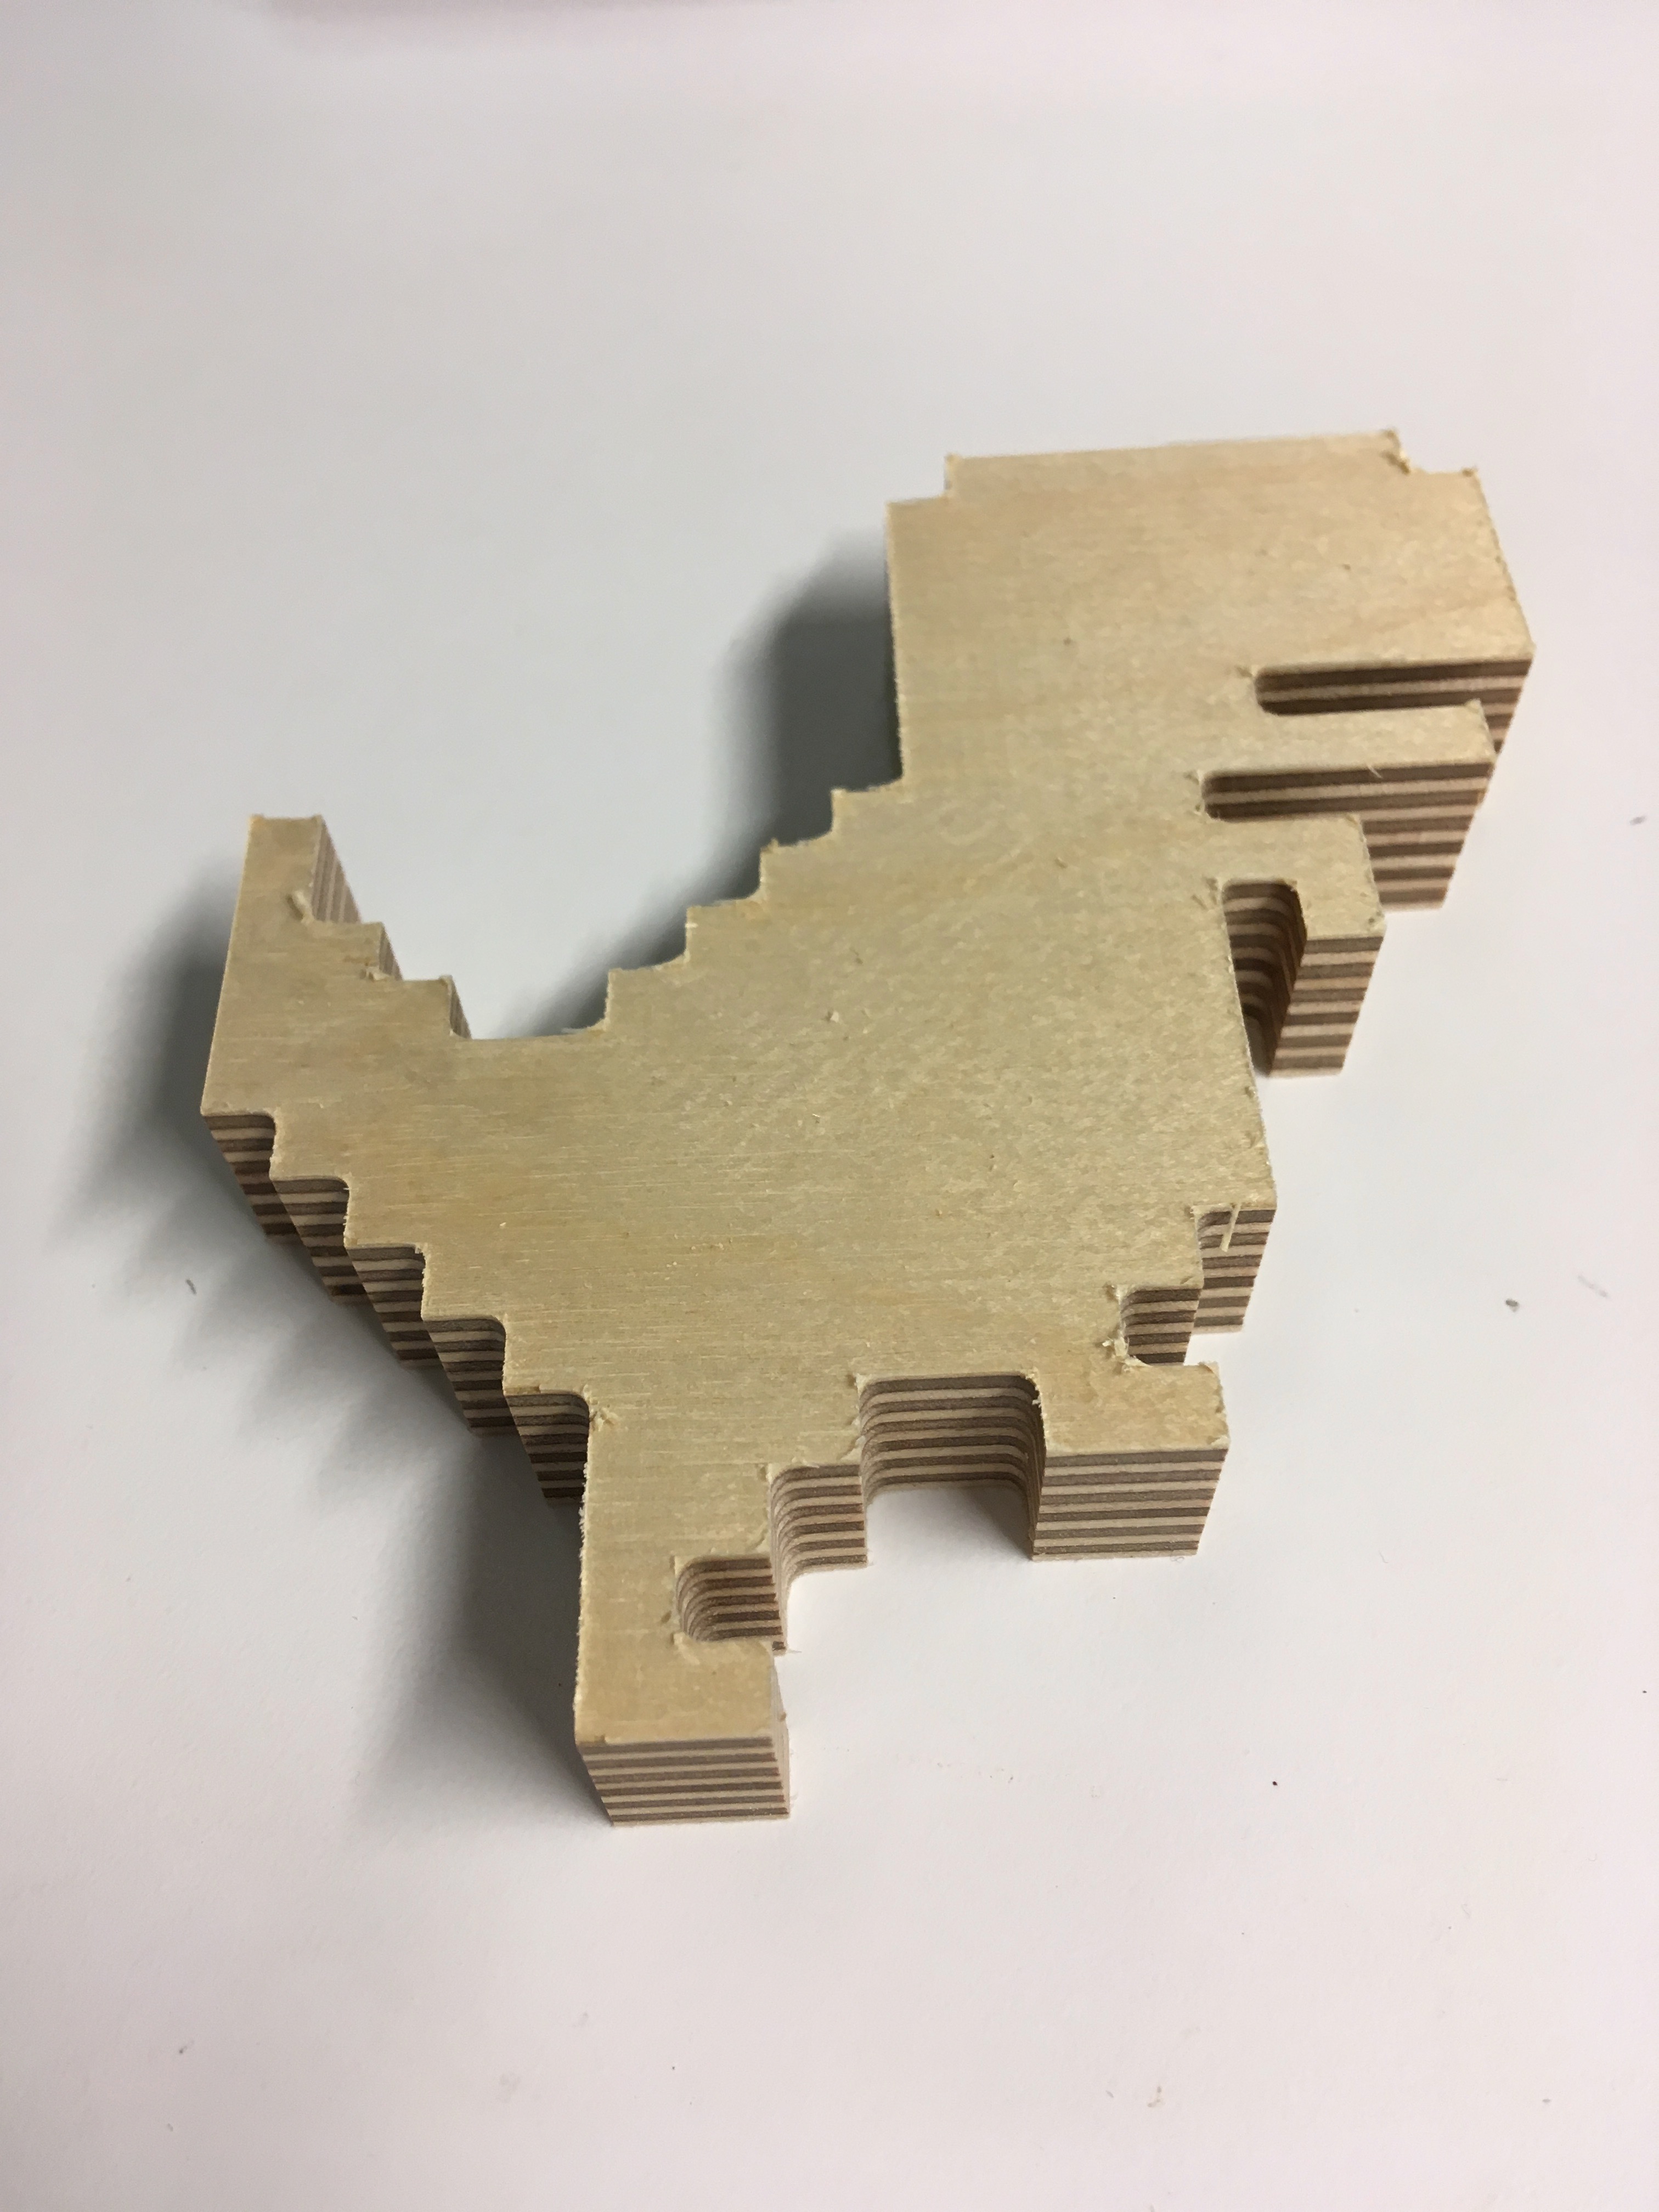
 Cutout from above. The sharp edges in the original design turned out better than I expected.
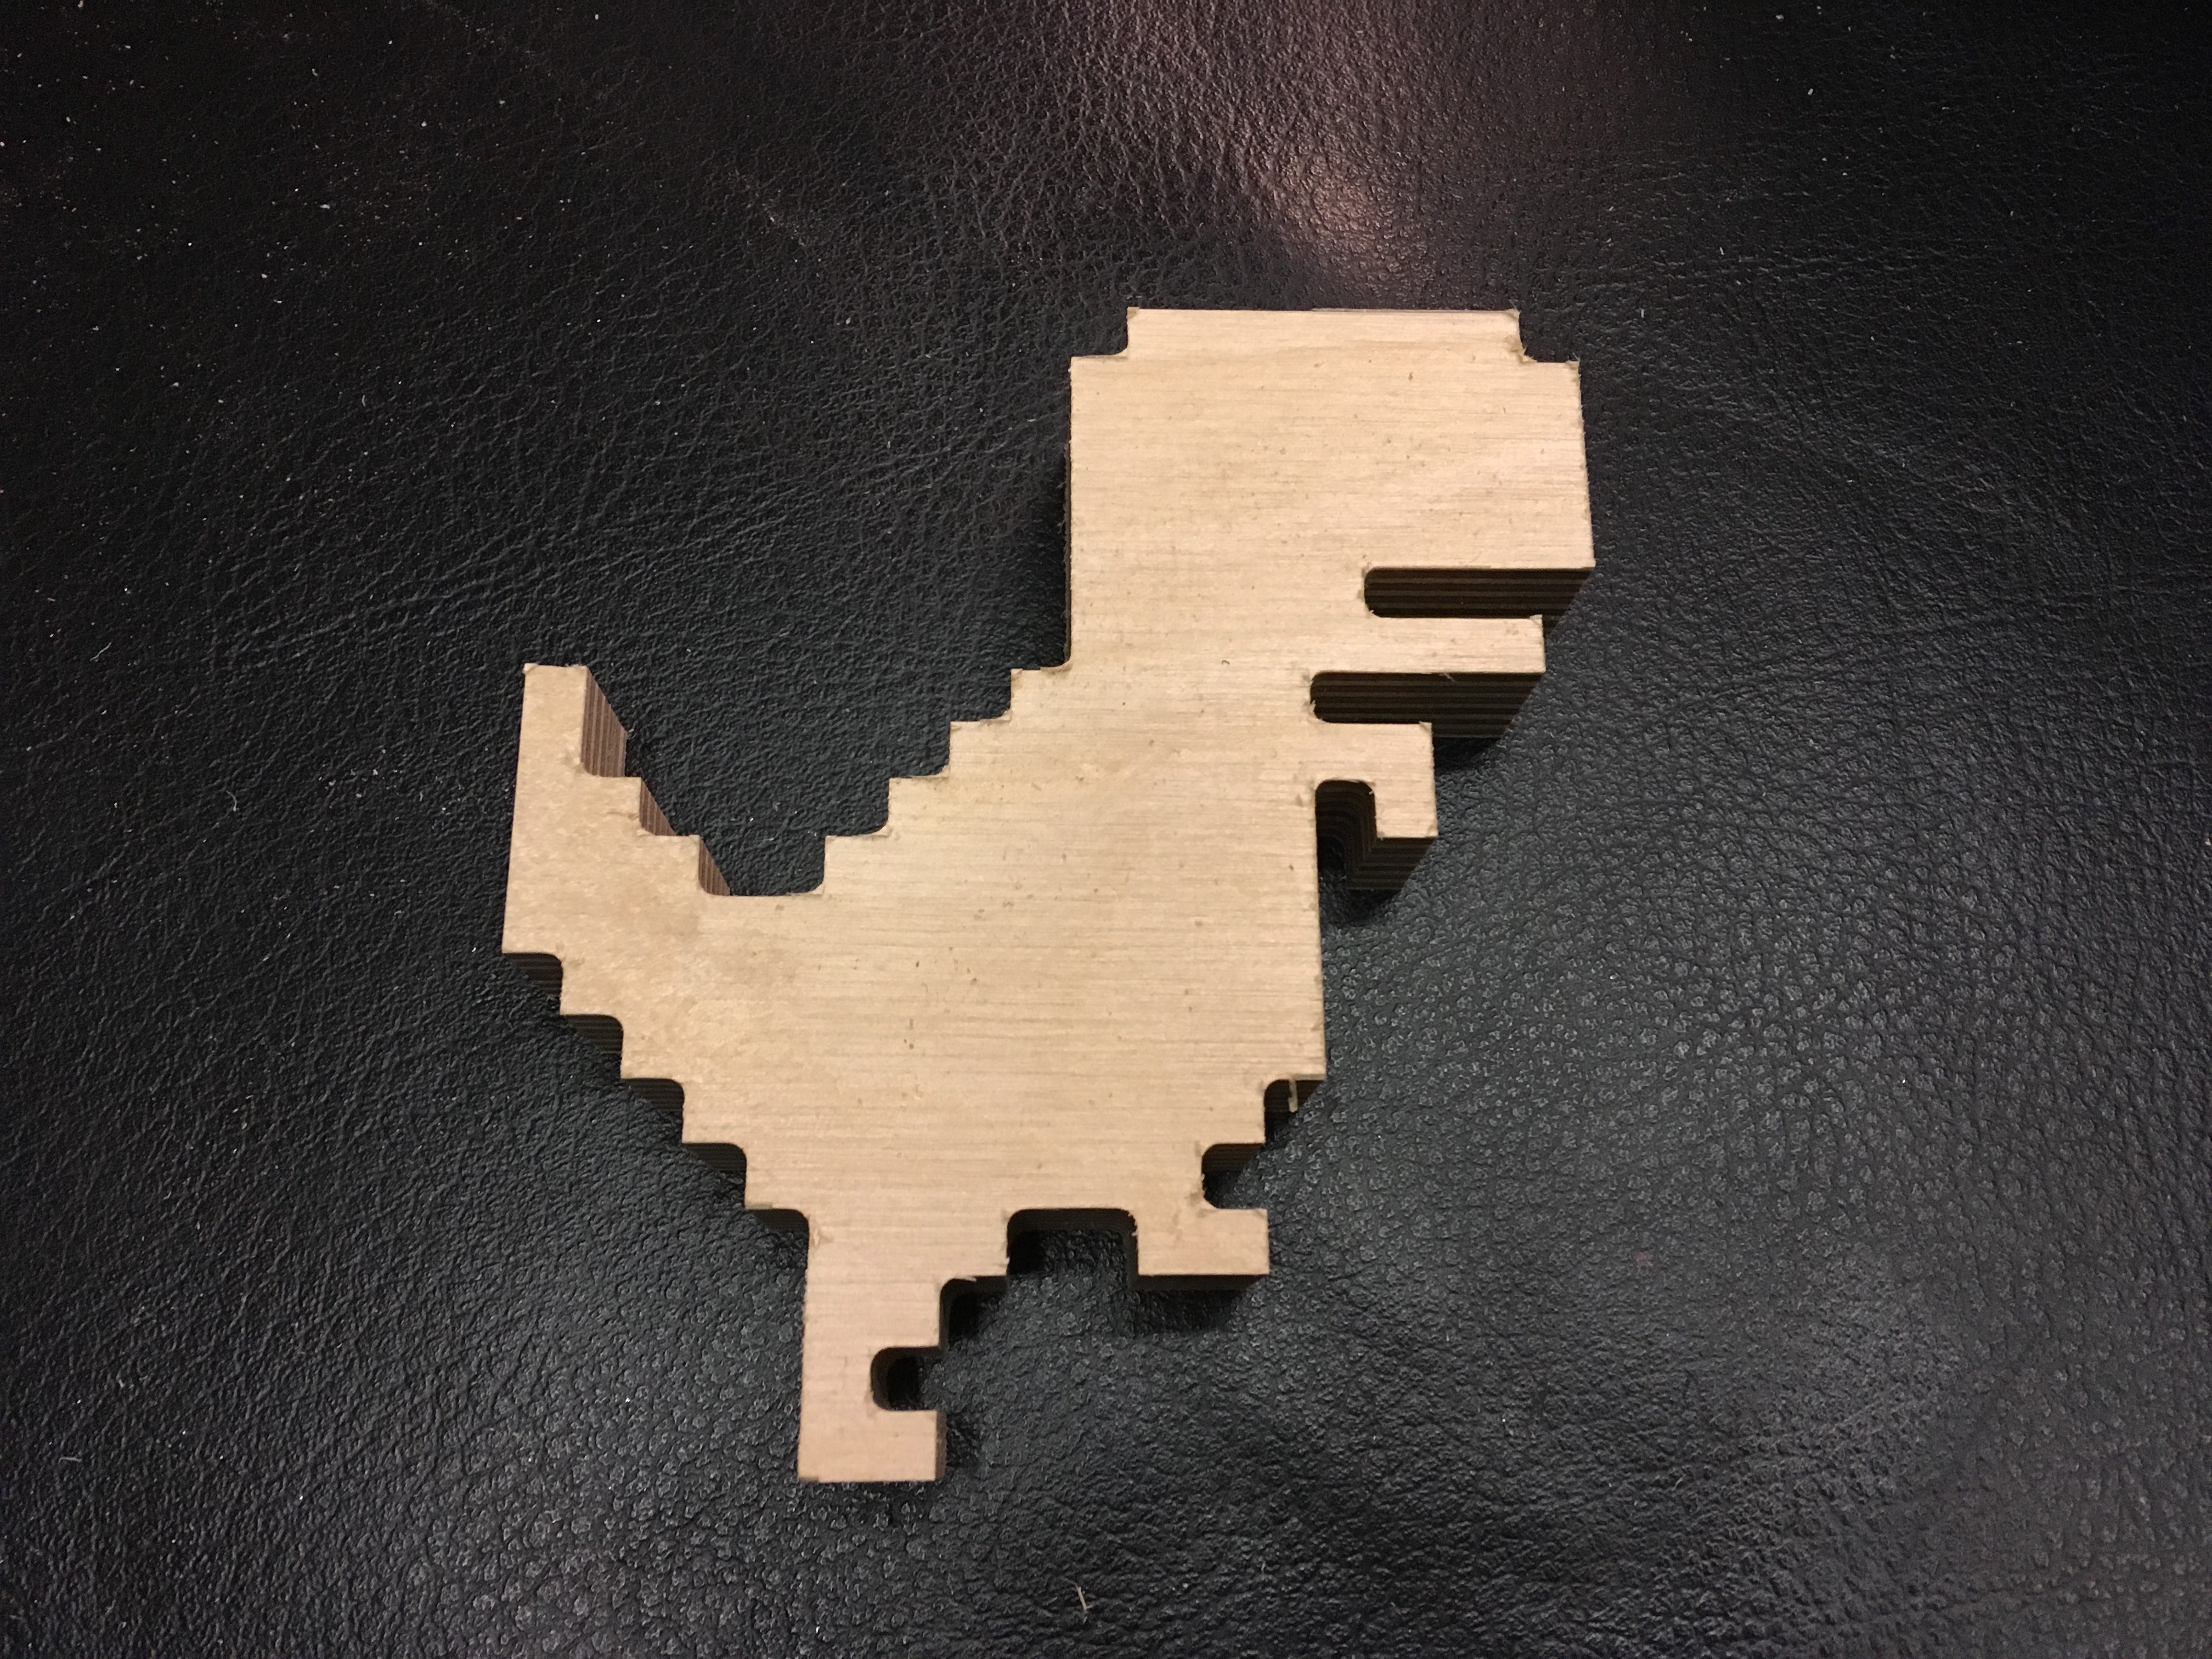 Cute, quick and easy. My cutout dinosaur in about 20 minutes.