Witchin' Ain't Breezy
For our Physical Computation midterm project, Krizia and I set out to build a wearable witch hat that moved in response to the wearer’s motions. Ideally, we wanted our witch hat to move it’s tip to point opposite of the direction of the wearer’s movements, almost simulating a wind effect. In addition, we wanted the tip to also vary its angle based on how fast the wearer was moving.
We weren’t able to achieve ALL of our goals, but we did learn a lot about wearables!
 Youjin kindly demo’s our hat during midterm presentations.
Our First Prototype
Or as Ben Light would call it, our first “Pancake”. We started out by building a simpler version of our ideal hat, one with a single servo controlled by a potentiometer. We figured we should wait on the more complex details like accelerometer and external power supply until we figured out the correct form factor and experience feel.
 A hat harness cannabalized from a Halloween costume helmet.
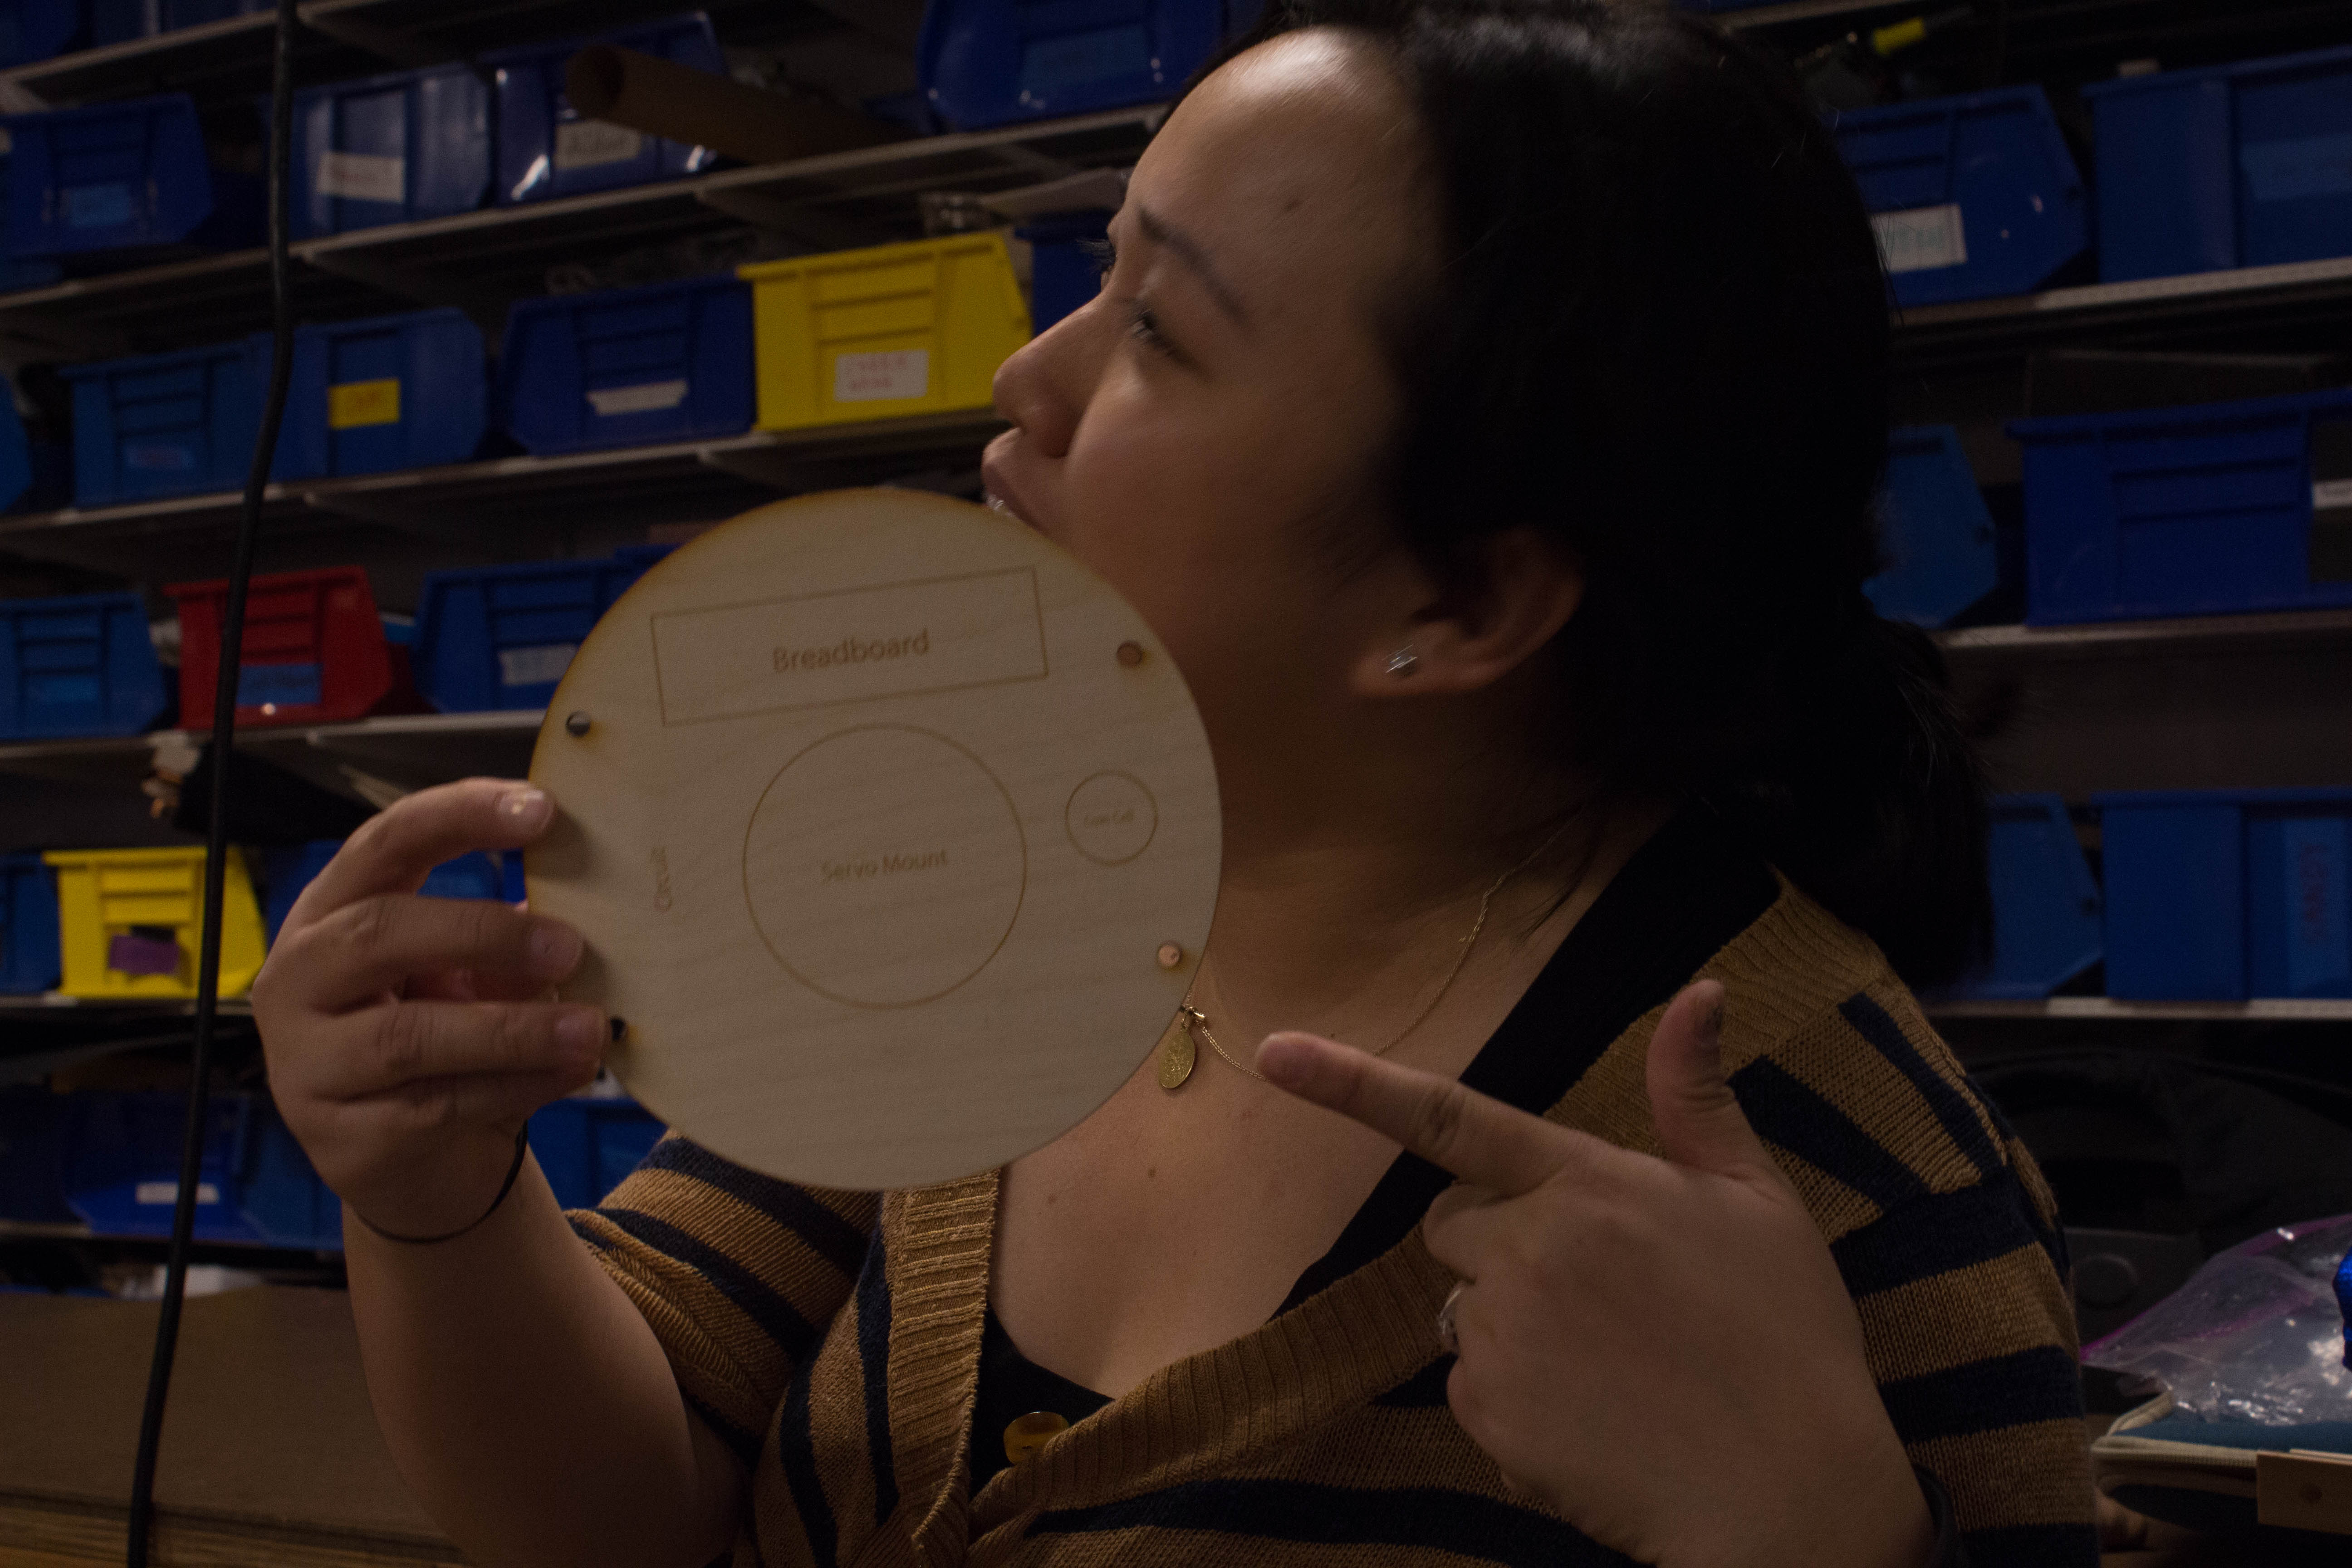 Krizia showing off our early component layout, lasercut to perfection.
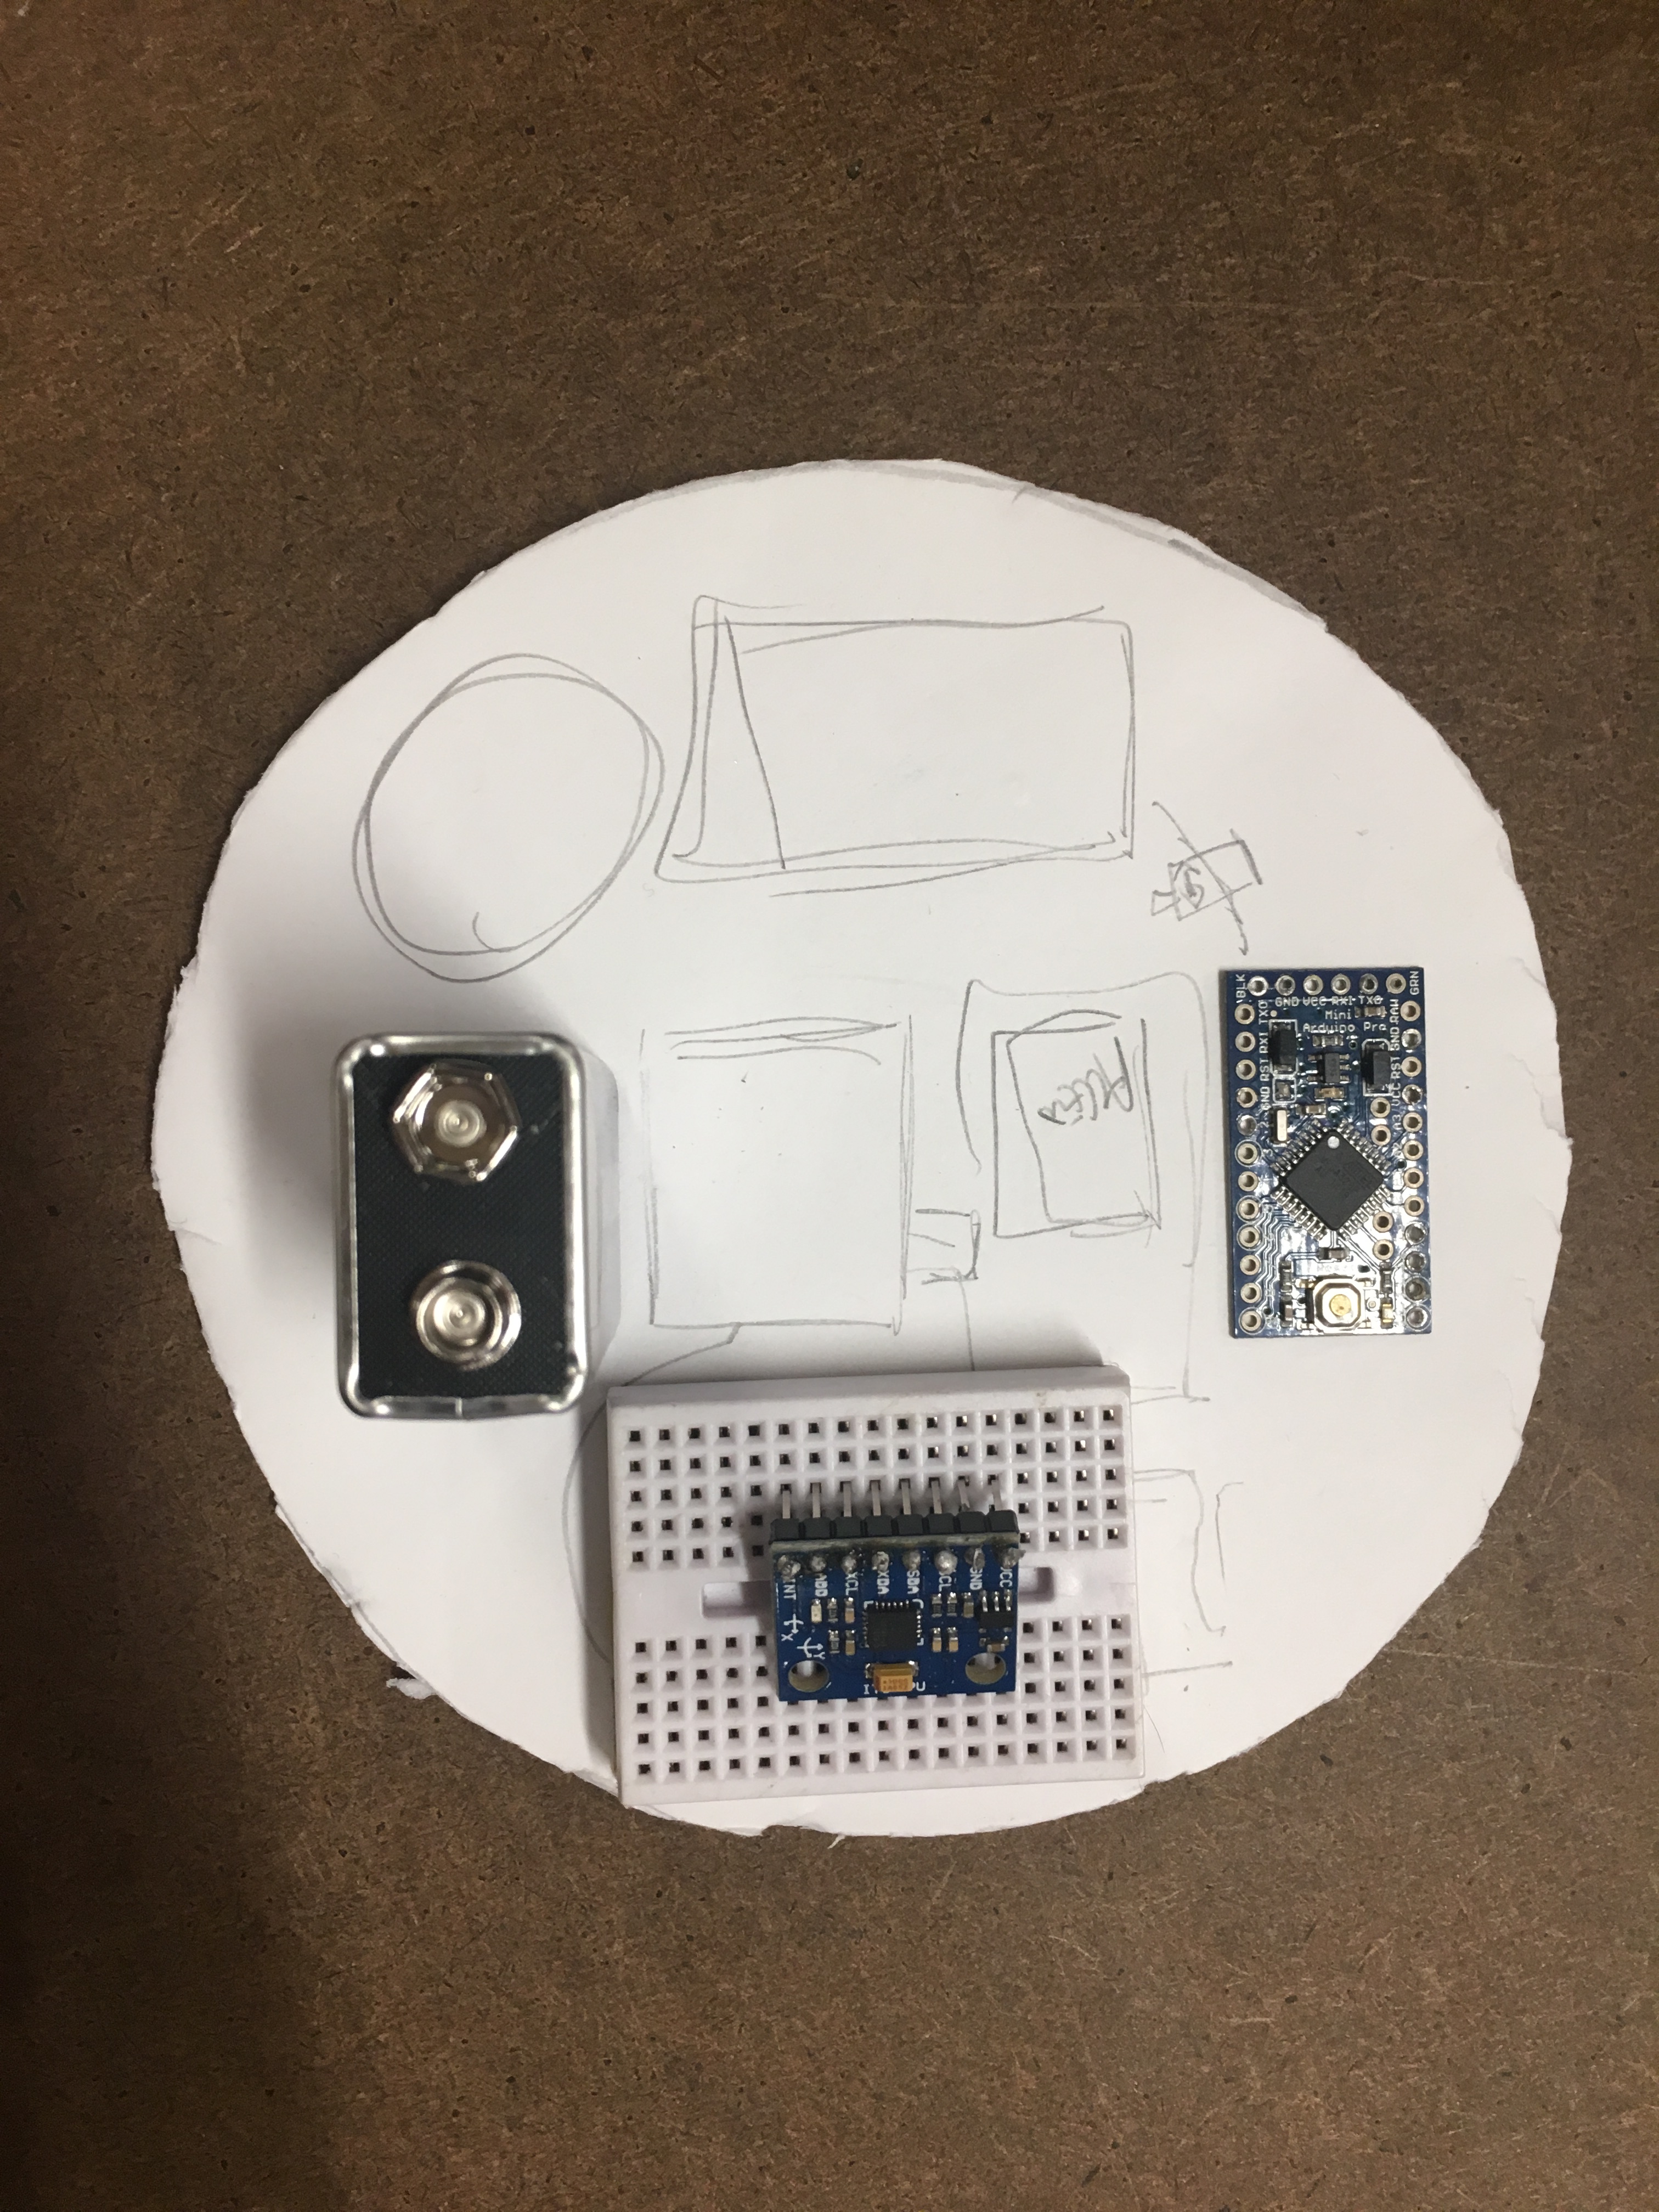 Laying out the components!
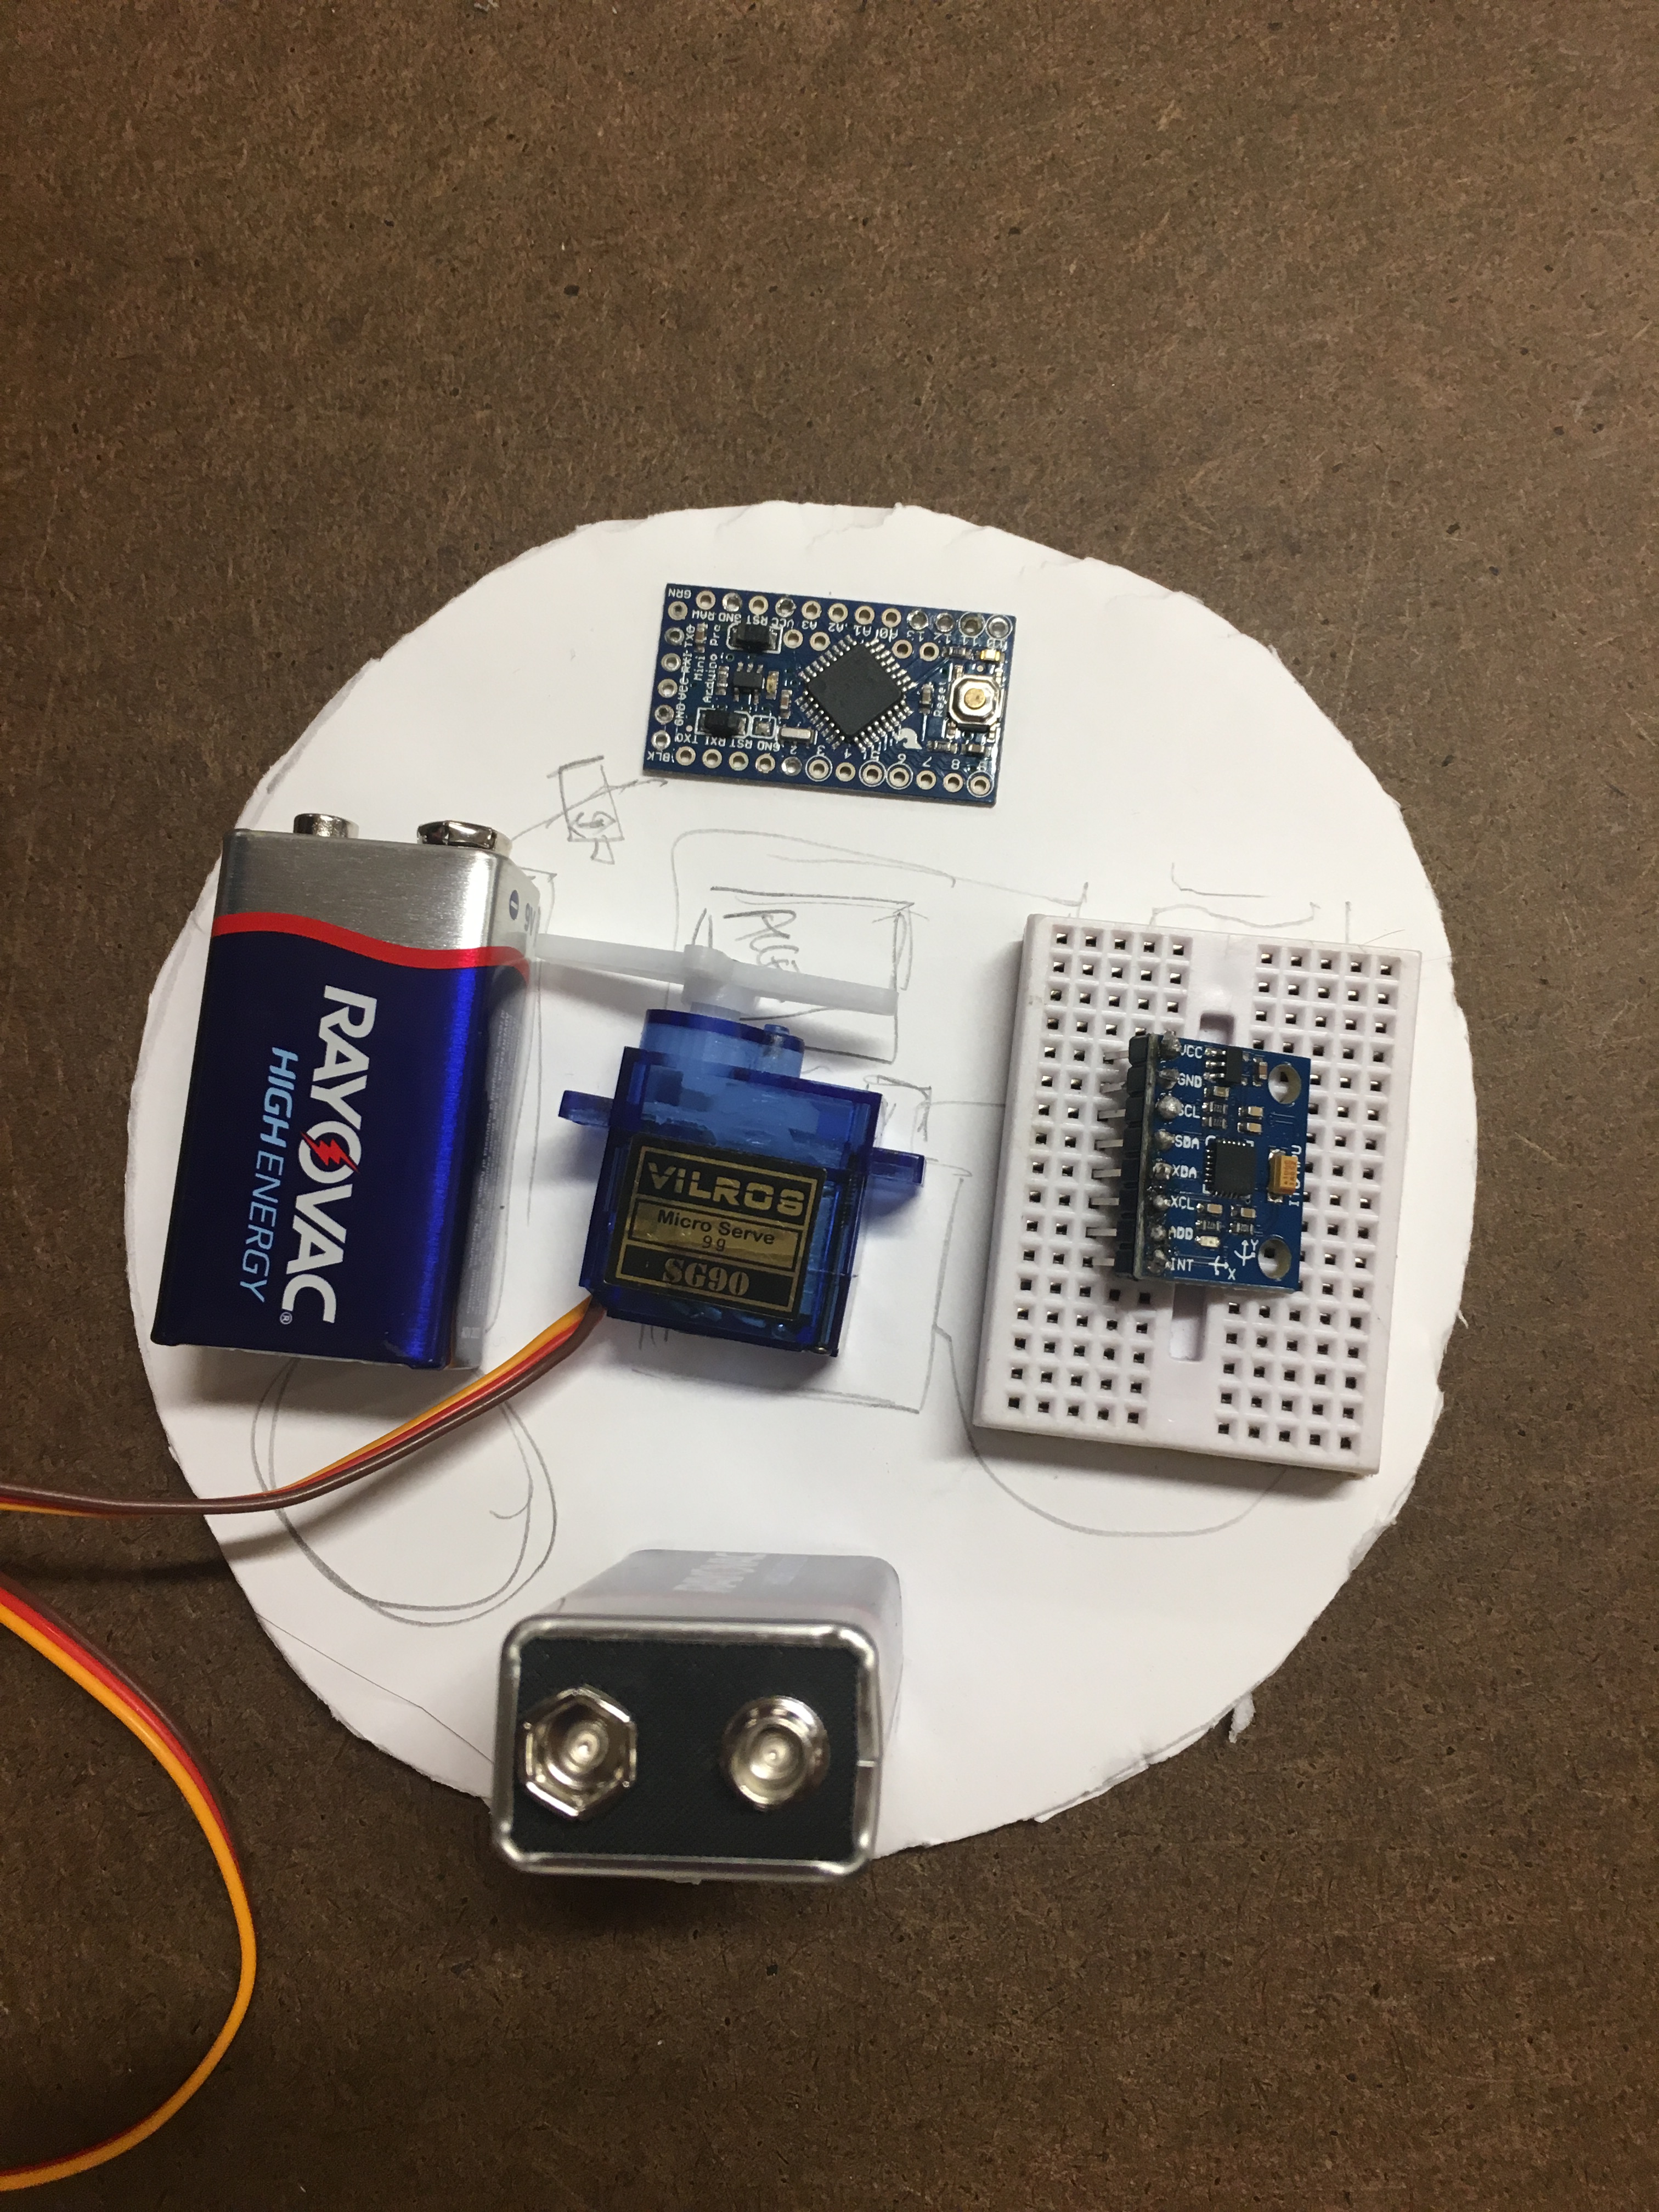 But wait, we also need to know the dimensions of the accelerometer and possible second battery!
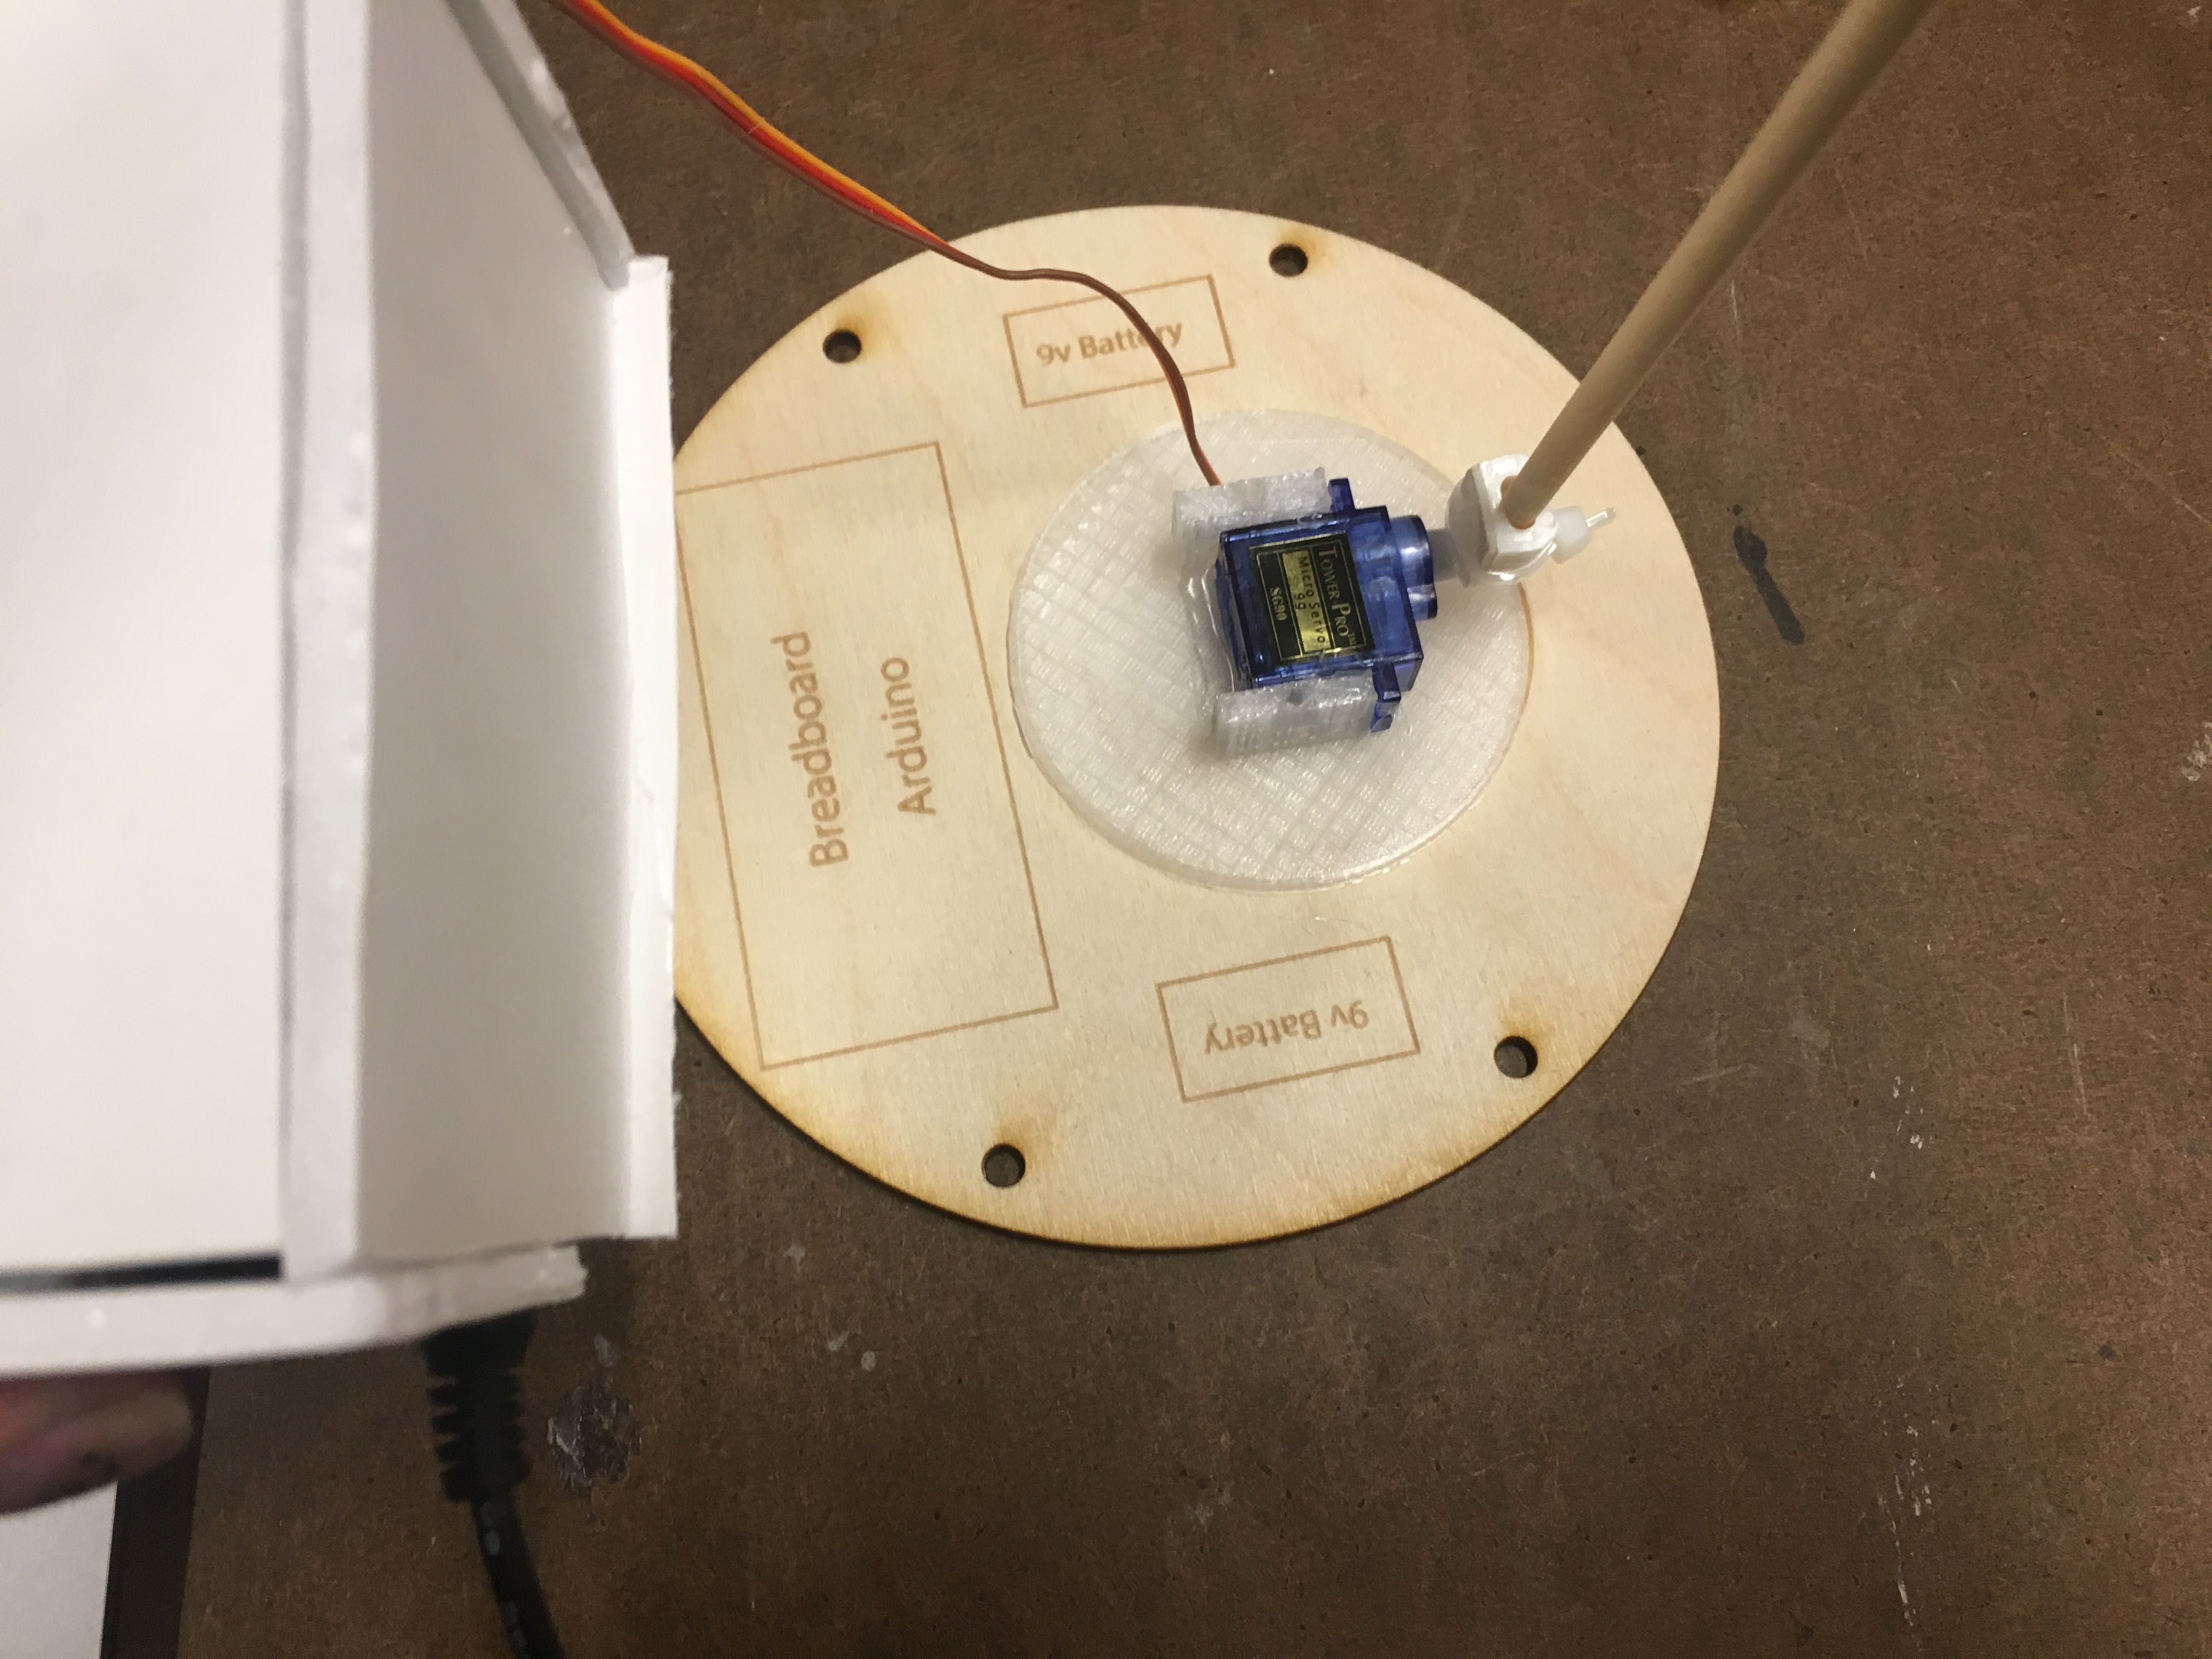 Using a 3D-printed servo mount and putting our large circuitry in a foam-board enclosure.
Wearable
Finally happy with our prototype, which took longer than anticipated, we started pulling things together for our ideal plan. This included:
- Two servos – one for controlling rotation and another for angle
- AA batteries for more current draw!
- Switching to Arduino Pro Minis – because they’re lightweight and I have a bunch.
- Using a through-hole solder board, because people will wear it and wires will get loose. Let’s make it sturdy by removing loose wiring.
- Accelerometer!
- Switches, indicator lights, debug potentiometers – nice to haves!
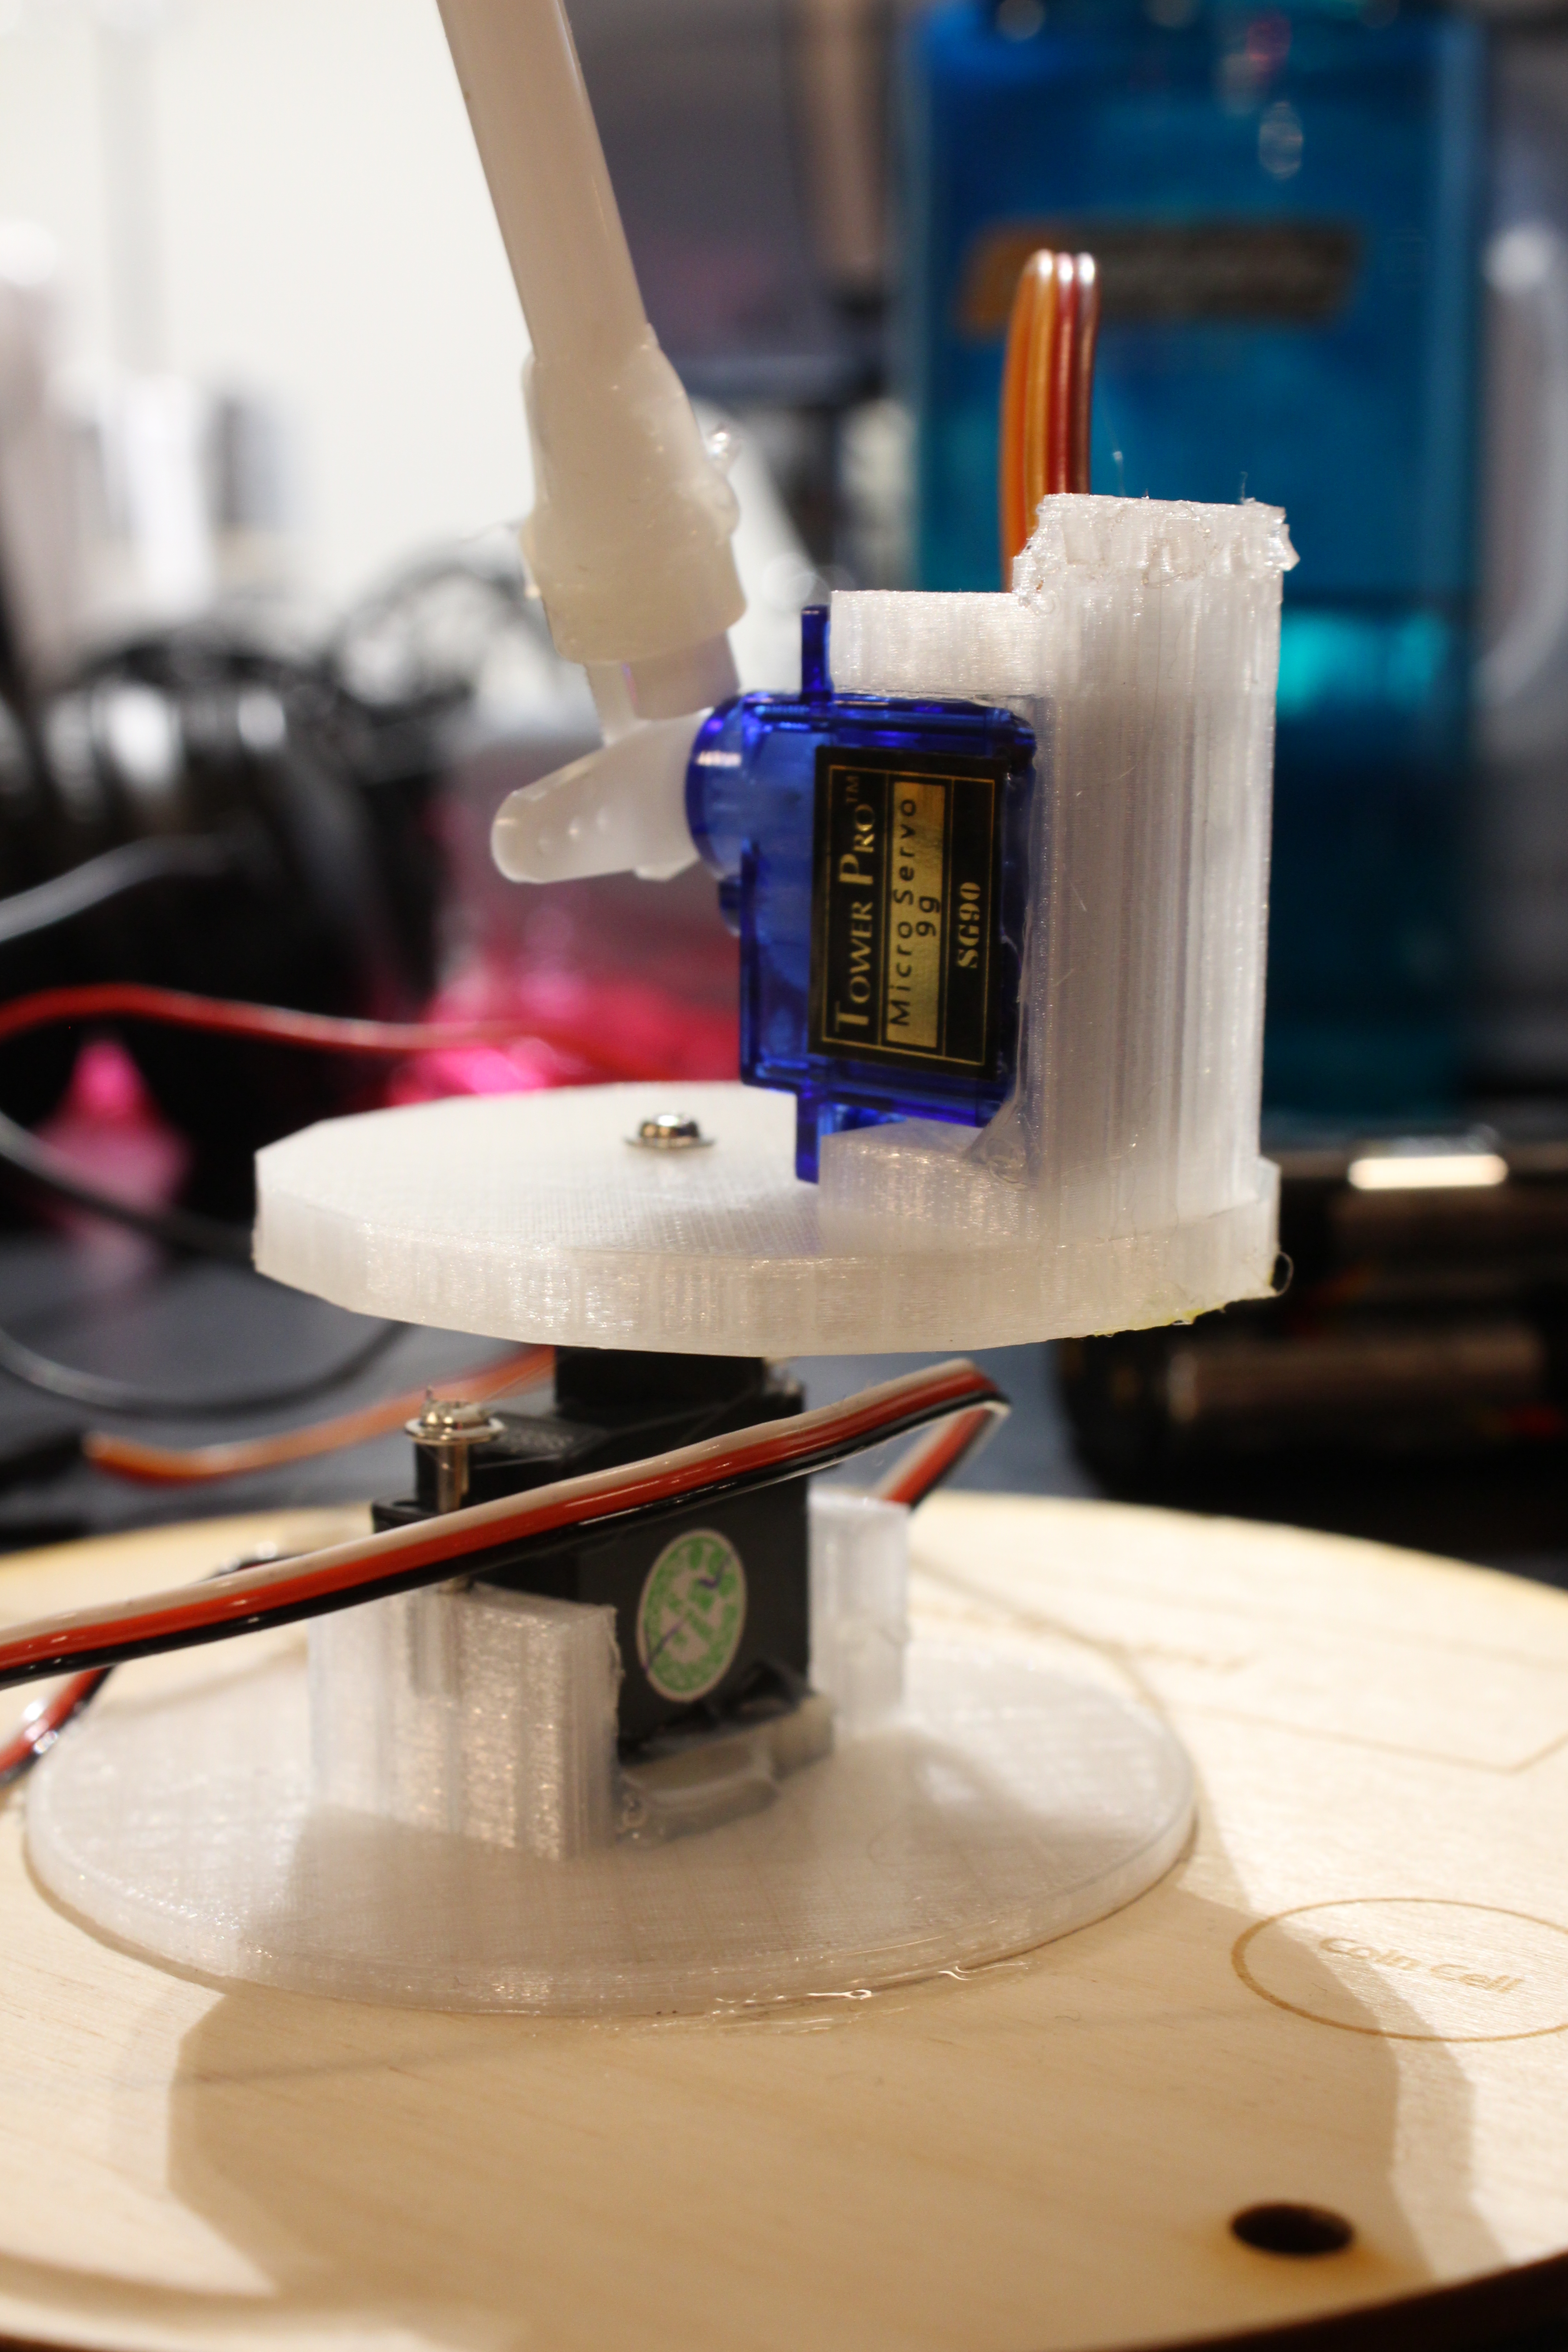 Servoception – use a base servo to control rotation, and a top mounted servo to control angle
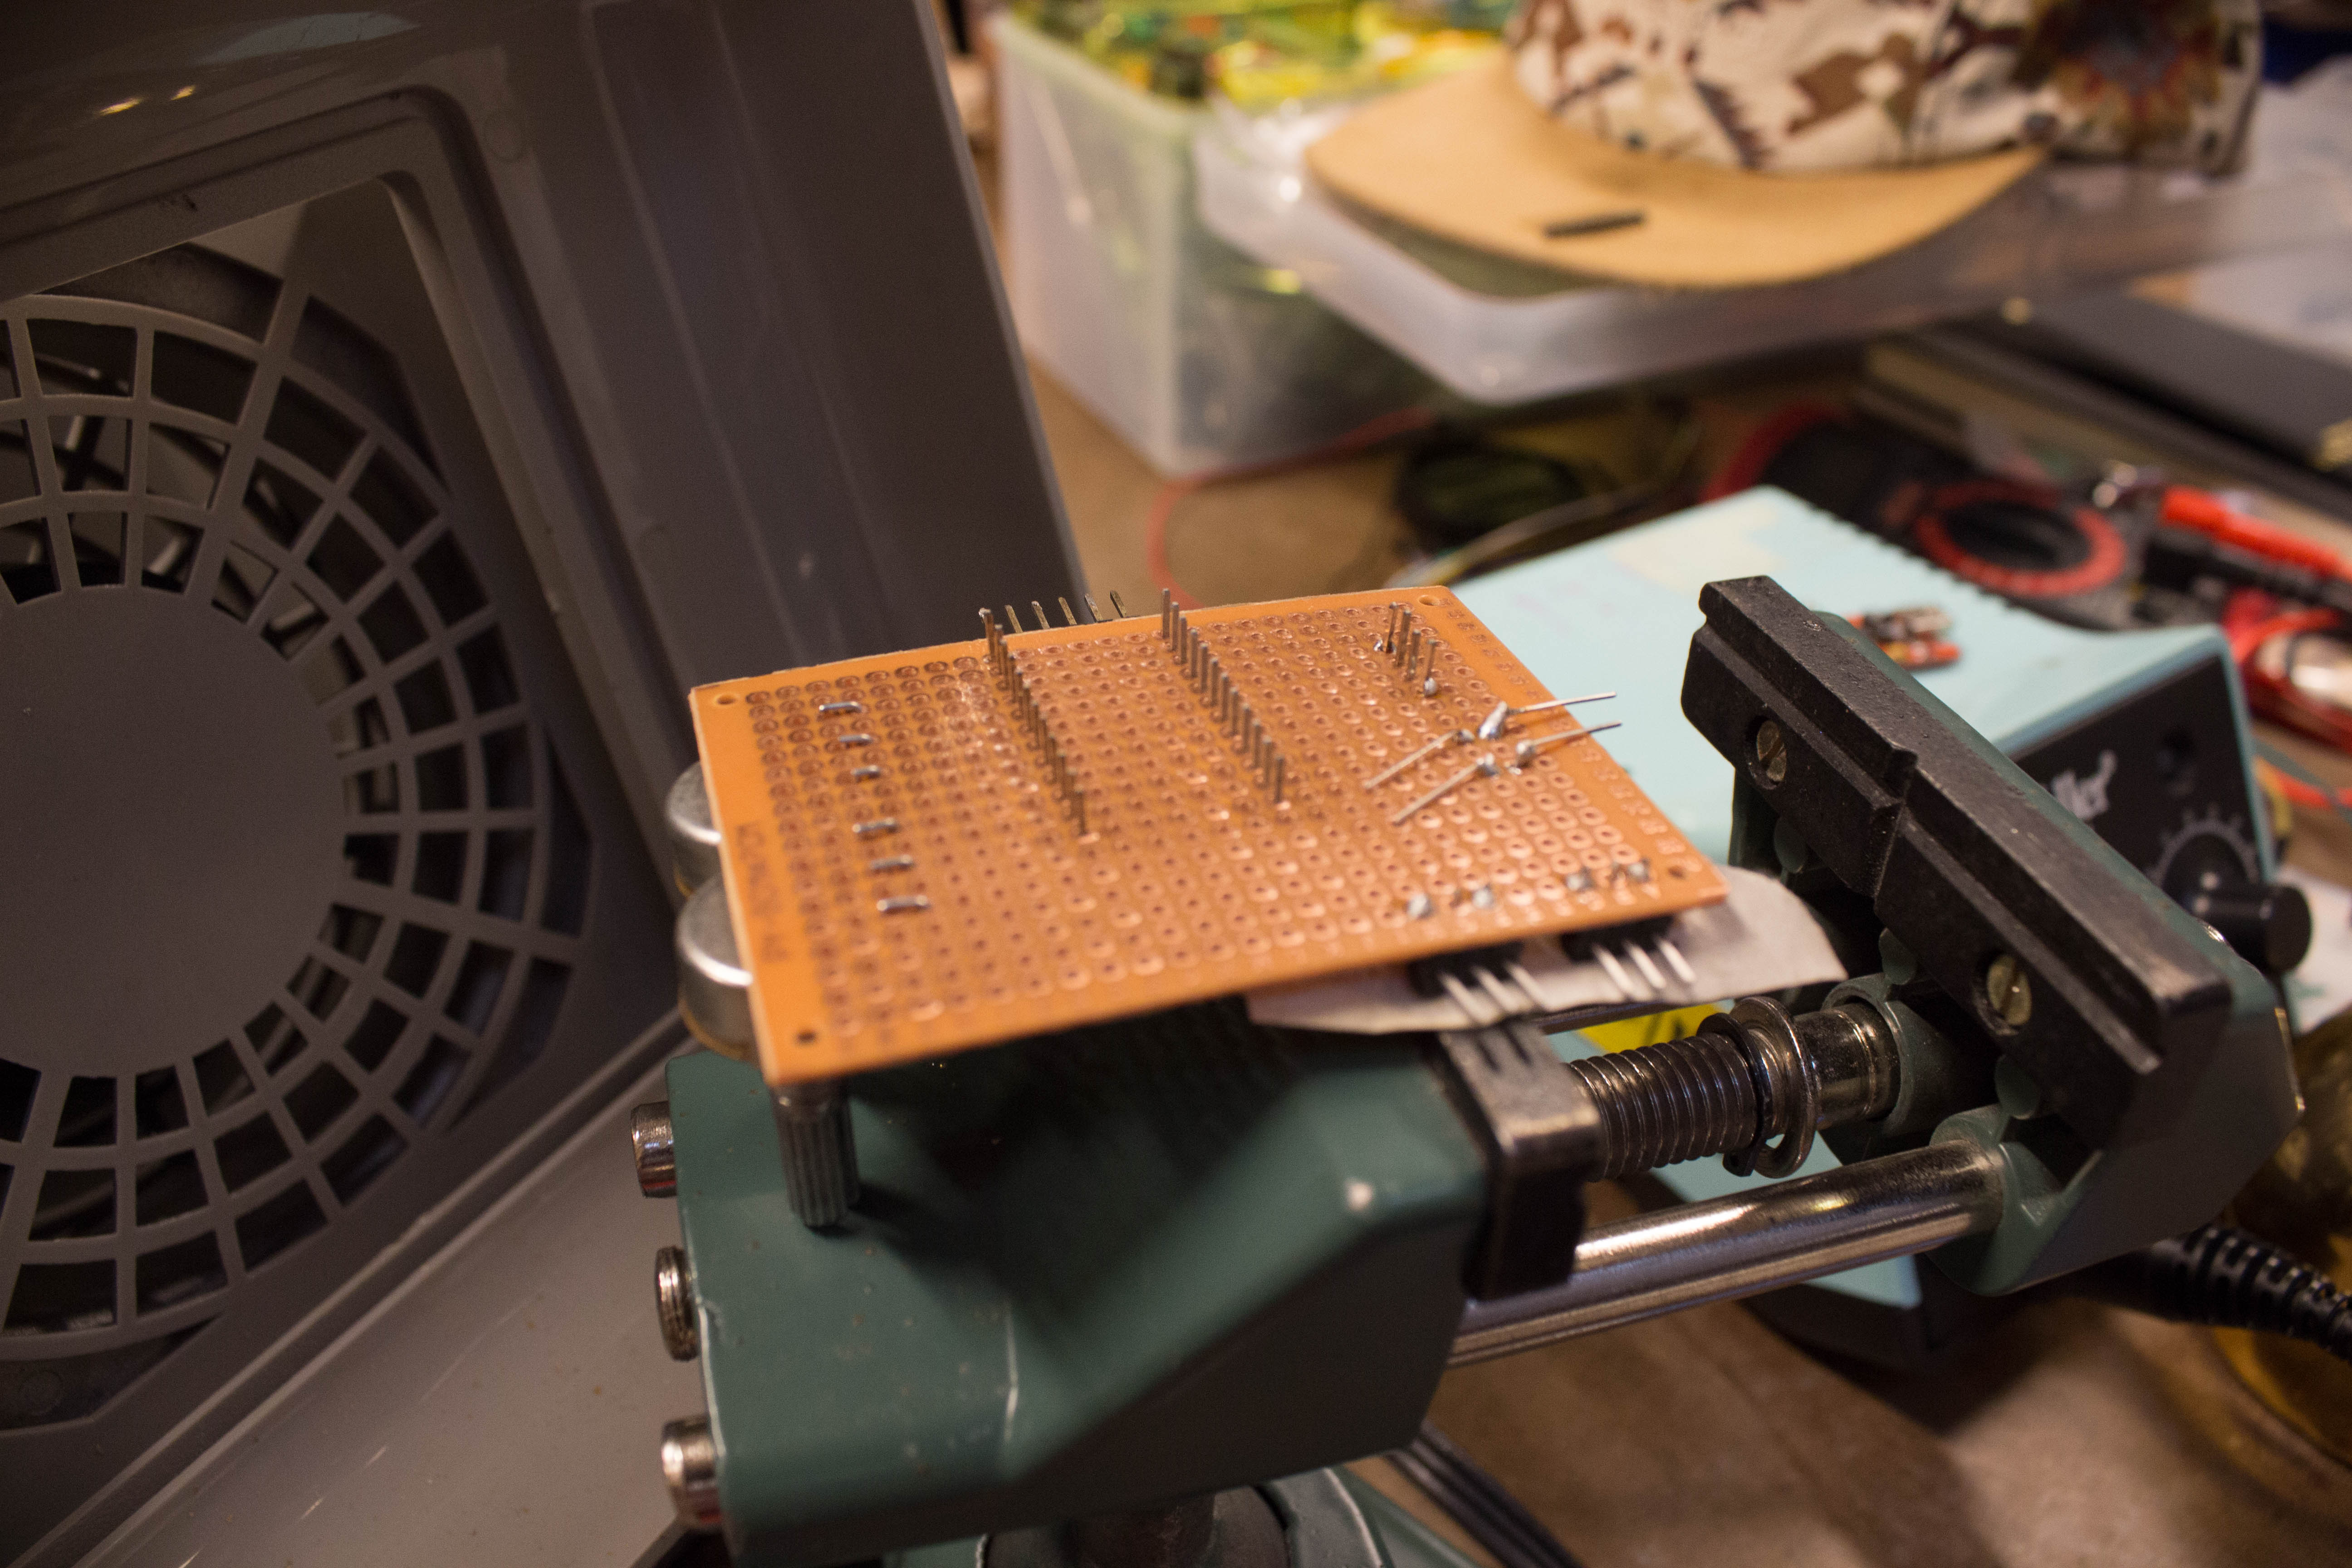 Work-in-progress through-hole soldering.
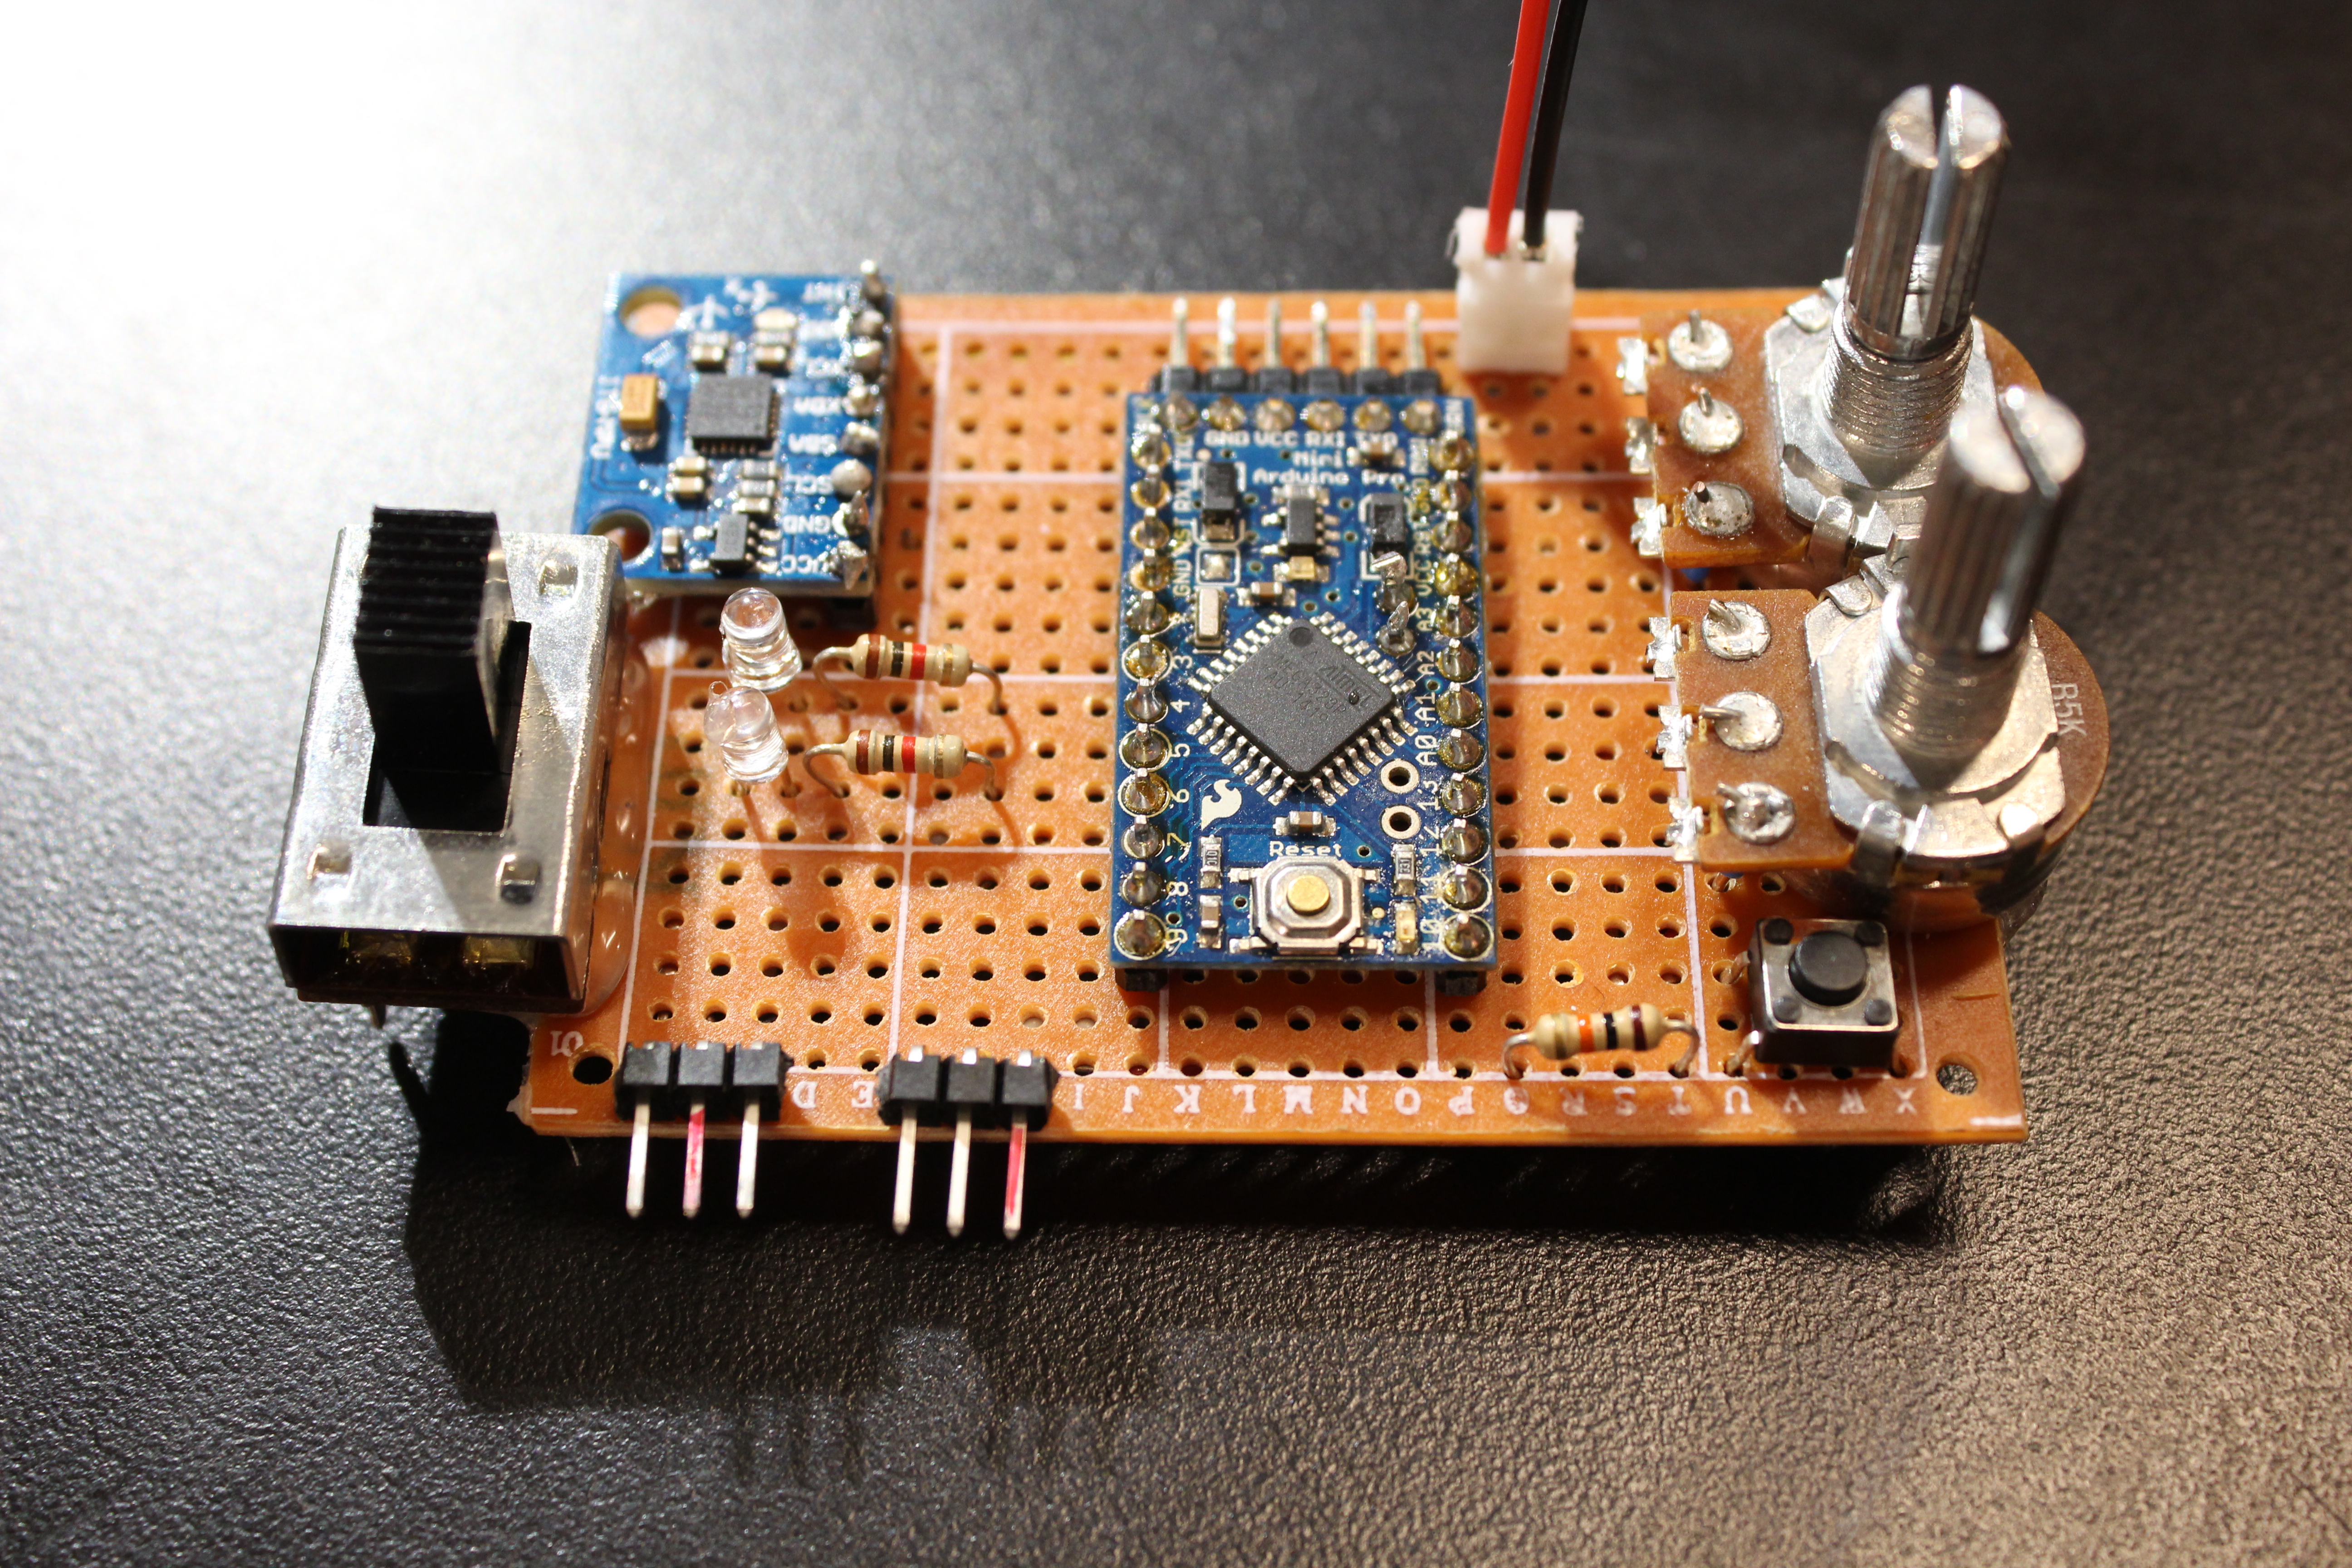 Through-hole circuit looking REAL PRETTY! <3
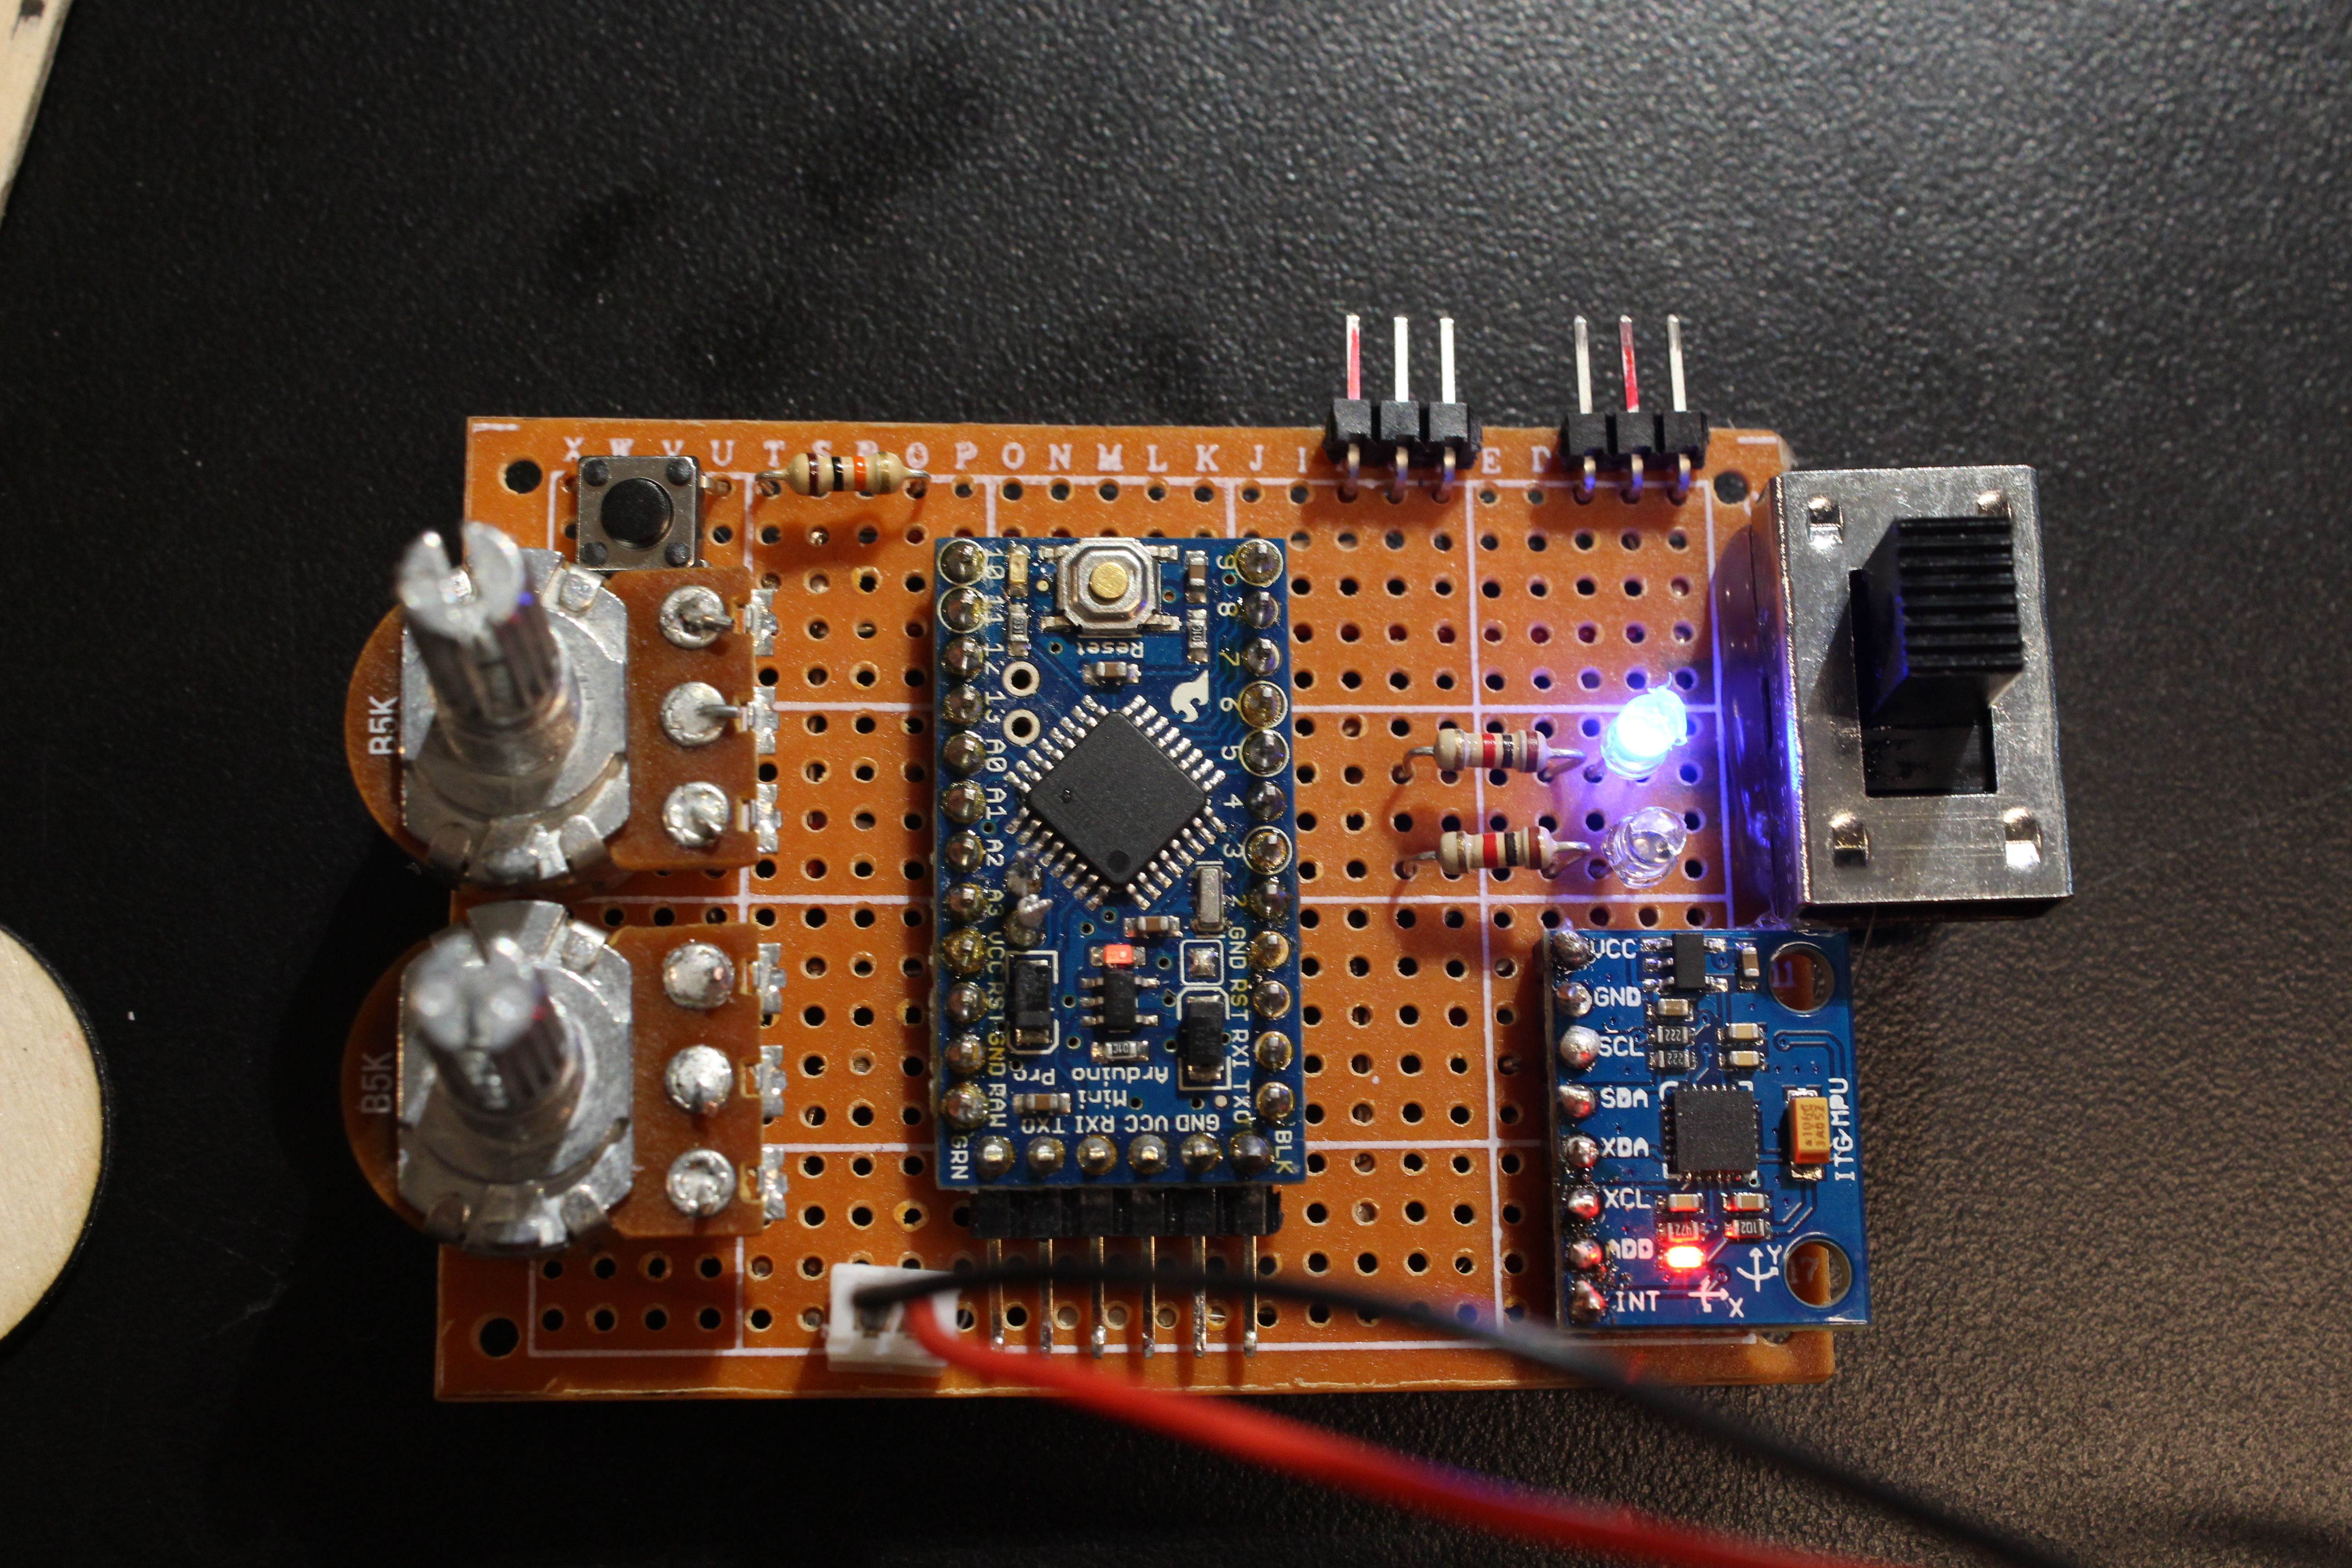 And it lights up so we can save some battery life!
Enclosure
The last hurdle was thinking about the enclosure. We wanted everything to be hidden but we also wanted everything to be accessible. Since we left the debug potentiometers and lights on our final through-hole circuit, we had to make sure the switches and buttons were accessible. Another need that we overlooked is that we need extra freedom in our hat tip, due to the circular motion created when the hat tip moved.
We nailed two birds with one stone: a cone tip that hooked the rod connected to the servos, and also served as a rigid piece through which we connect the hat.
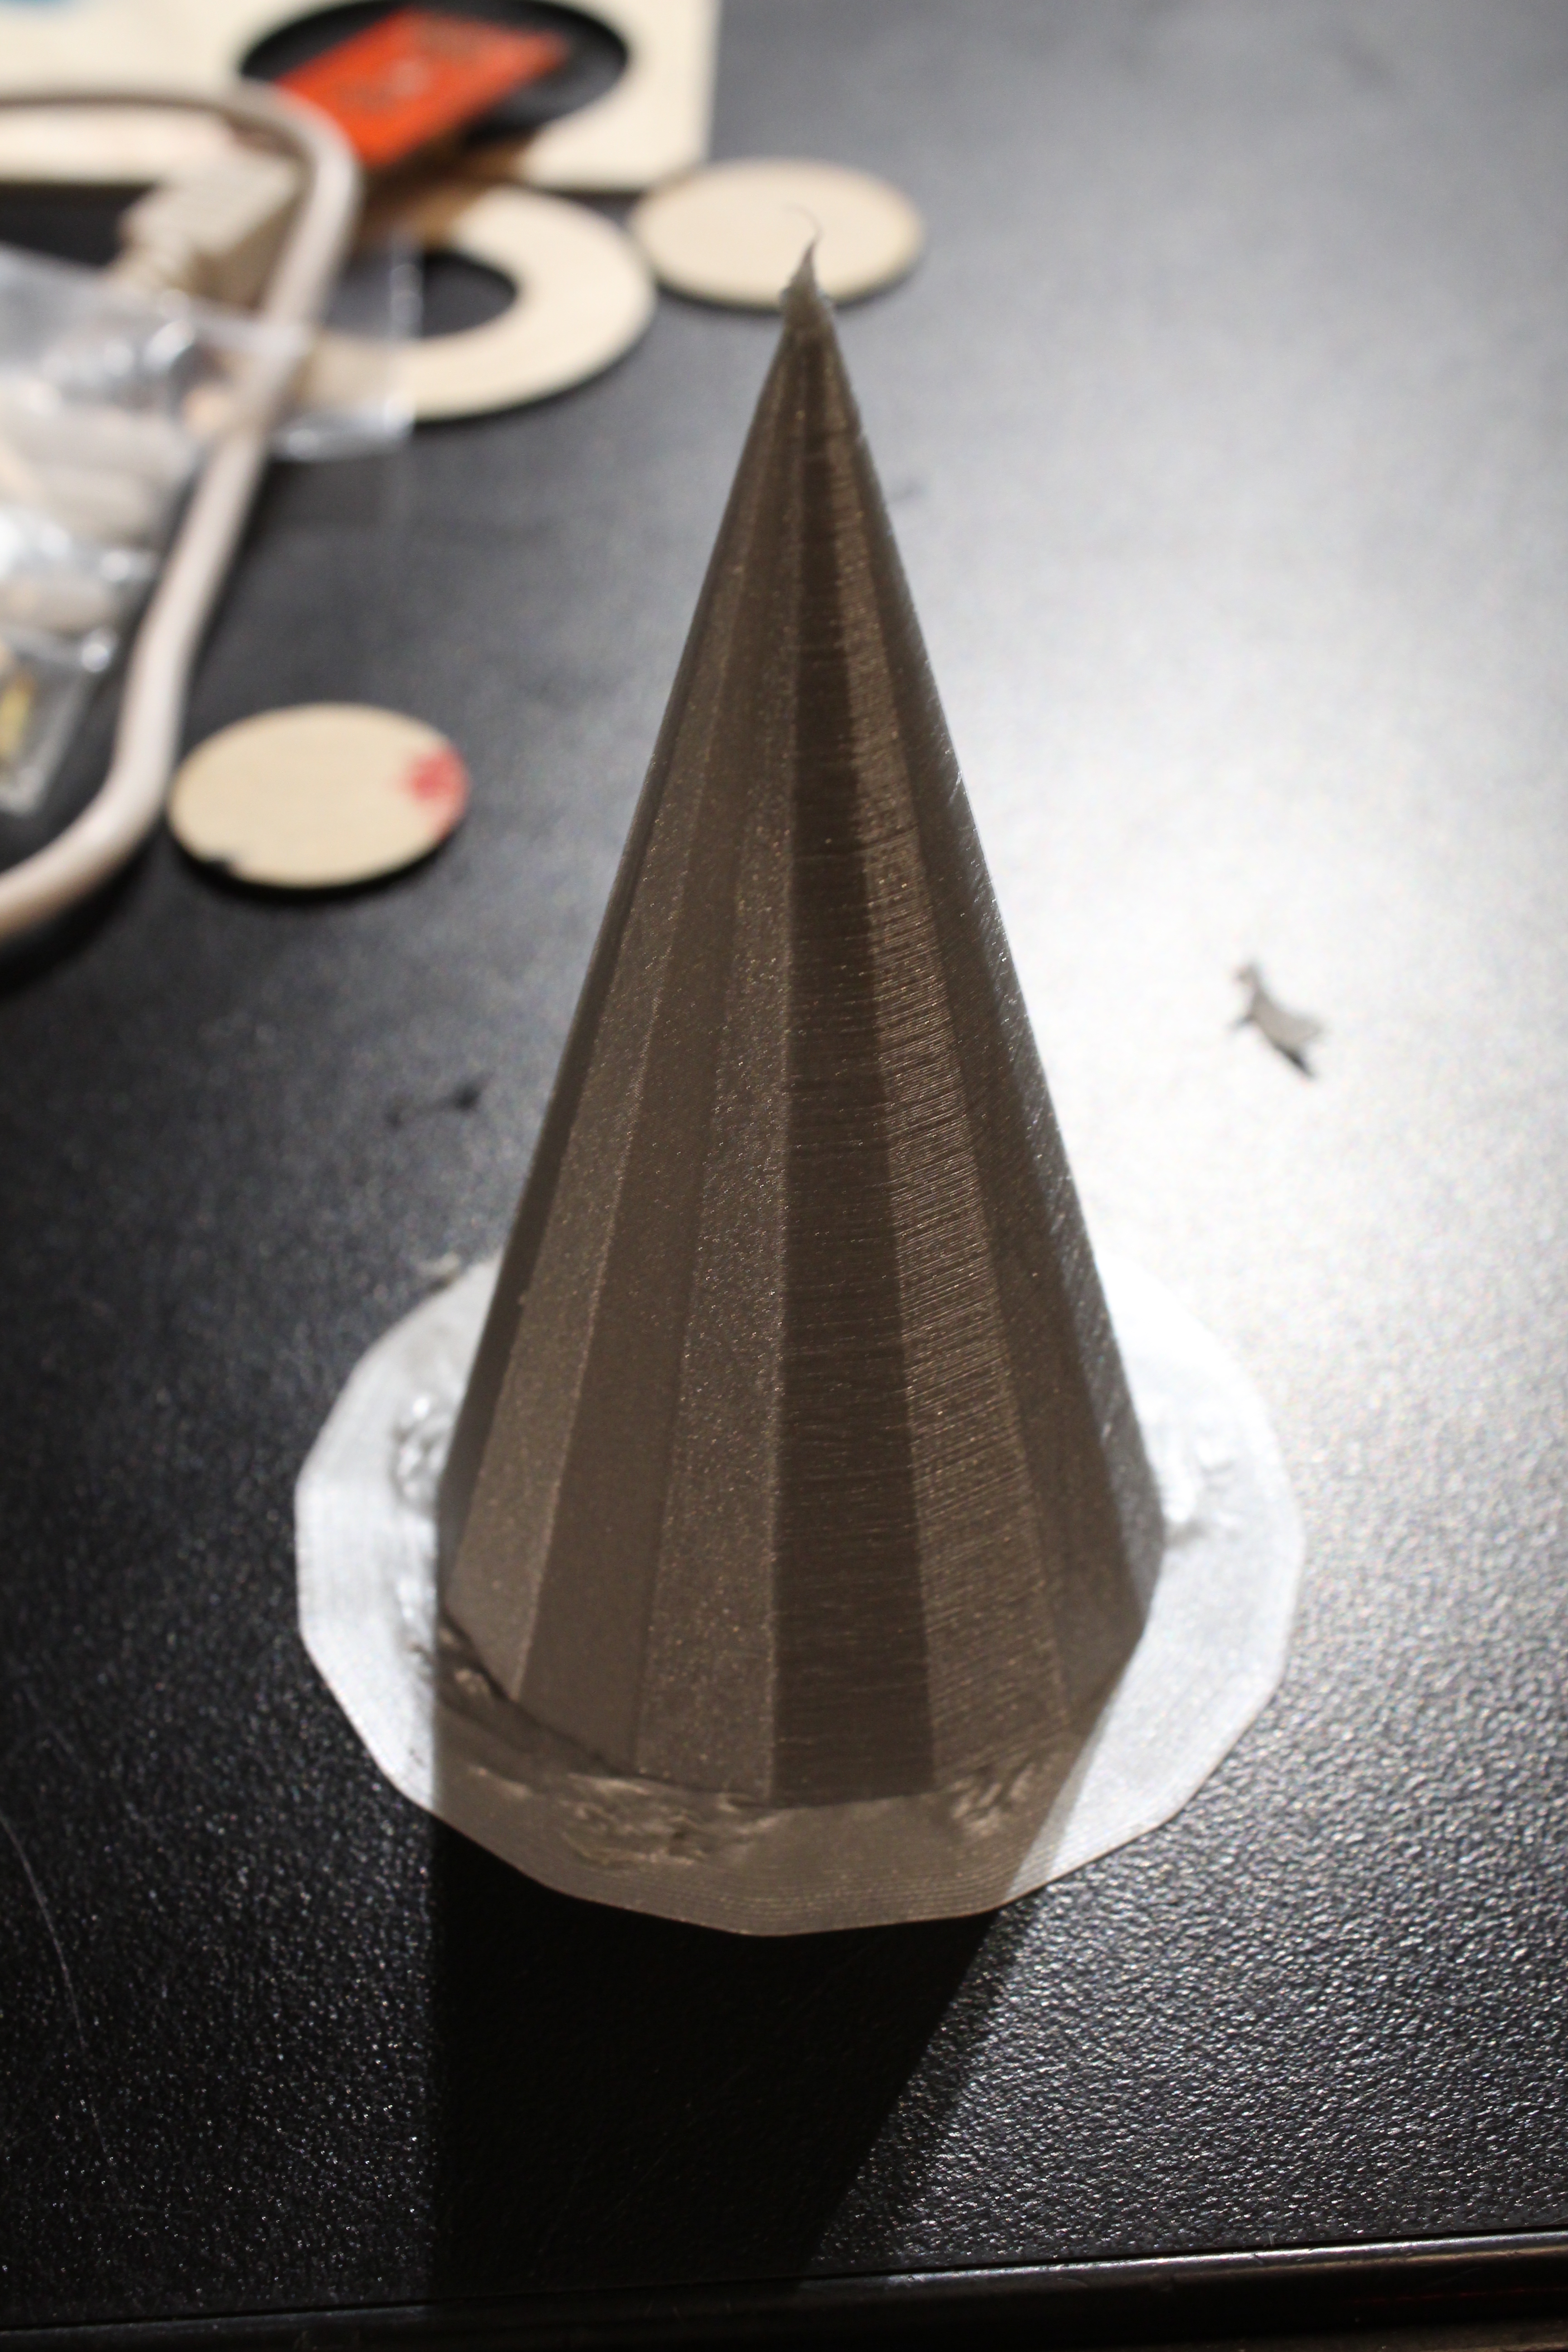 Simple 3D-printed cone to capture our motion.
Code dump
Notes to Future-Anthony
- Batteries and power supplies are hard. Learn them properly.
- Signup for office hours before project is due
- When building circuits, test each component individually.
- When doing through-hole, it’s worth spending the extra money to get breadboard-types.